















































PROJECT INSTRUCTIONS


PROJECT INSTRUCTIONS
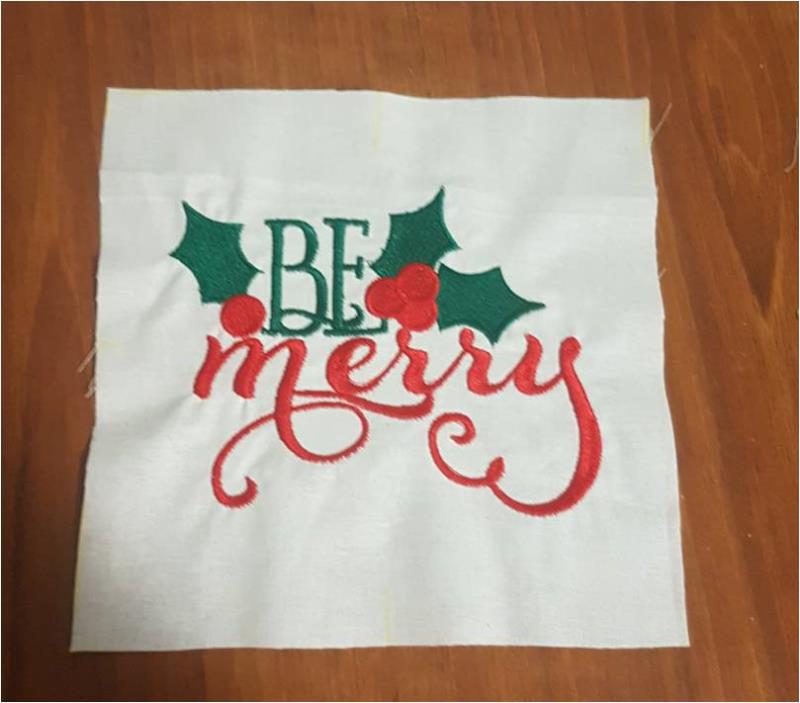
Be Merry Hanging Cushion Embroidery Project
By
Kylie Burke
on
December 19, 2017
Description
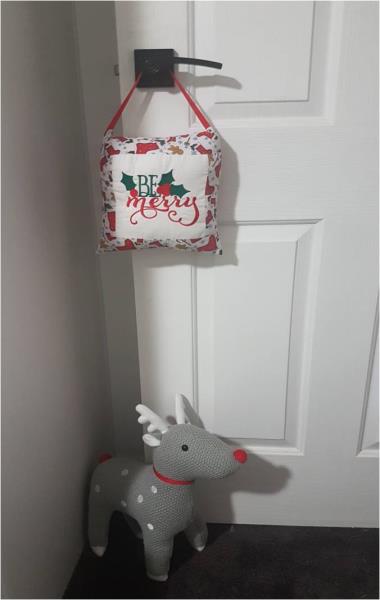
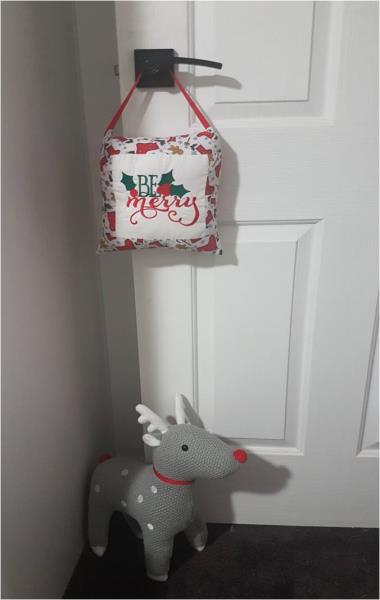
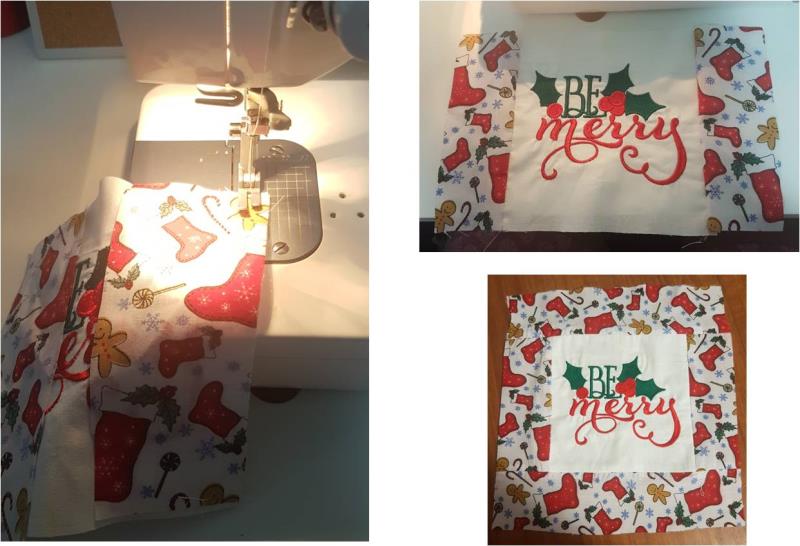
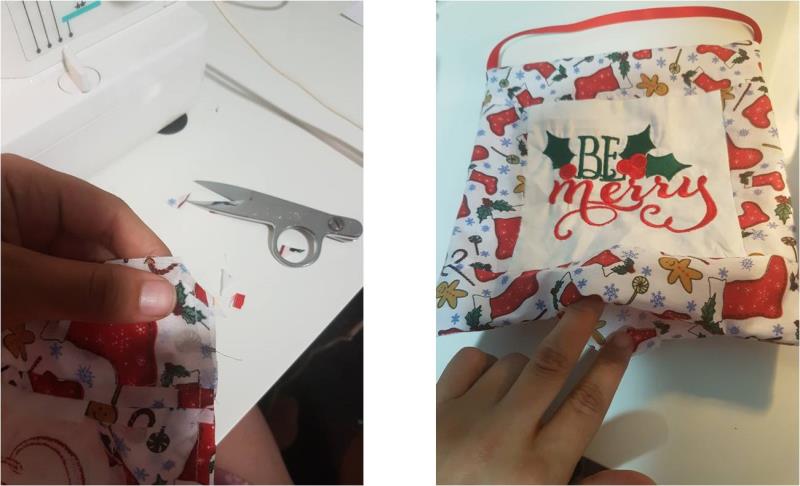
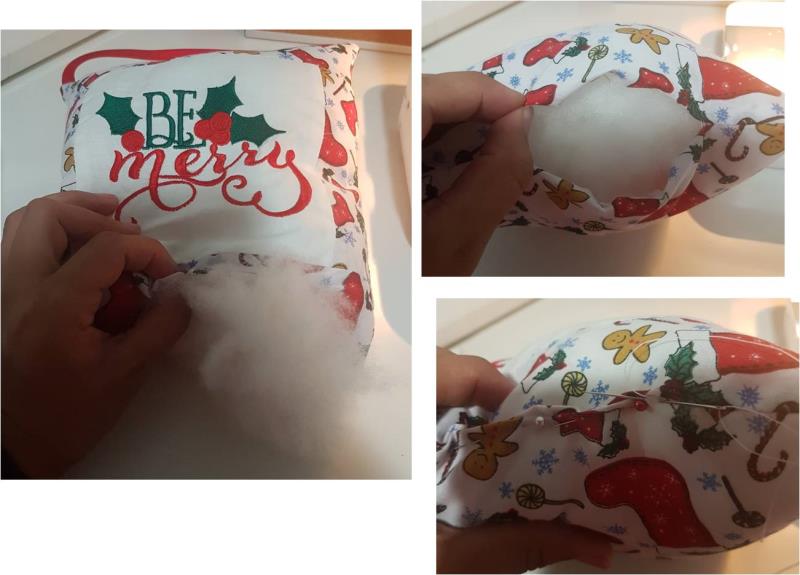
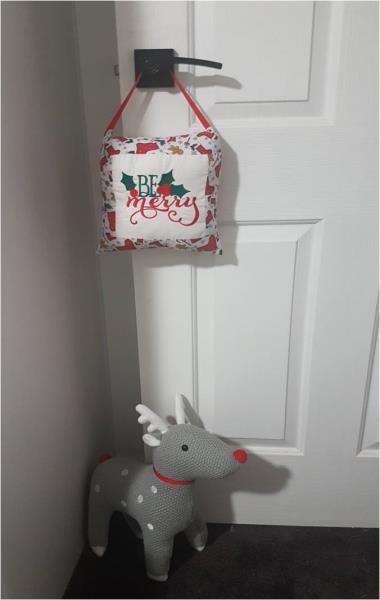
Brighten your home with this festive hanging cushion, perfect for adding a touch of Christmas cheer. Whether you hang it on your tree or a door, this cushion is a delightful addition to your holiday decor. Simple sewing is required. Step-by-step instructions are included.
Step
of
Materials
Project Preview Video

Cut Away Stabilizer - 2.5 Oz wt.
$8.94
Circle Price: $8.05

Cut Away Stabilizer - 2 oz wt.
$8.52
Circle Price: $7.67
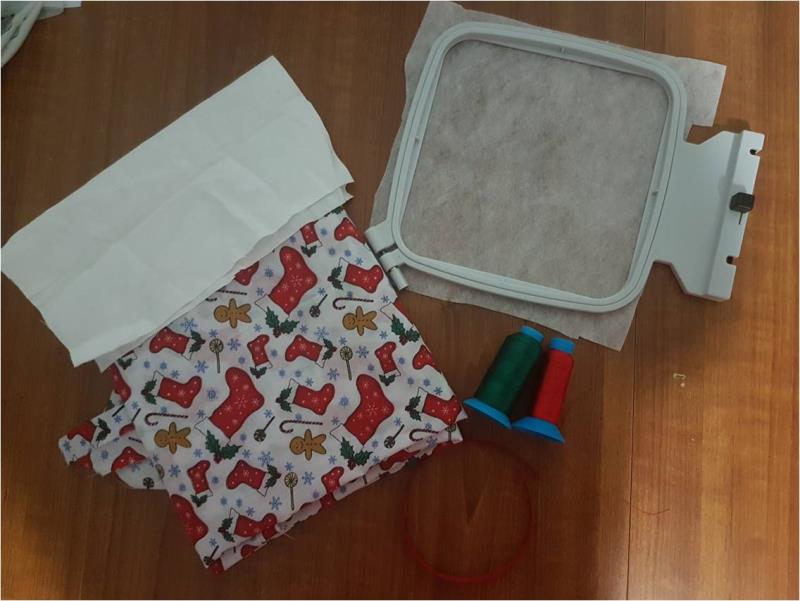
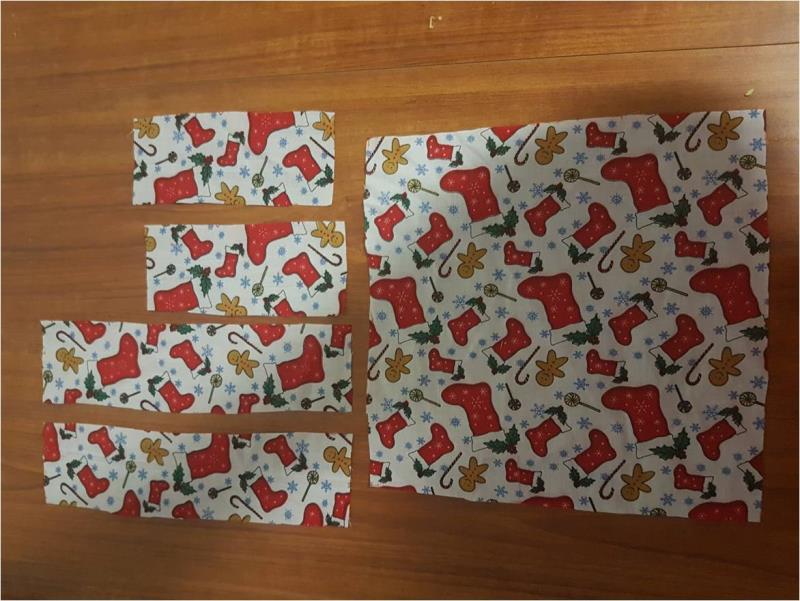
| Materials Fabric of your choice, you require a 25cmx25cm square for the embroidered panel then 30cm of a print or plain fabric for the borders and backing 1 layer of tearaway stabilizer Green and Red embroidery thread Polyester filling Red or green ribbon pins Sewing thread to match fabric Hand sewing needle |
| Designs used in this project |
| Final Product: What You Will Create |
 |
|
Projects You May Like
Meet the Author:
Kylie Burke

Kylie is based in Australia and loves creating and sharing her unique pieces.
Feedback
Characters Remaining
Please Login to Submit a Feedback
Invalid Characters, Please enter a valid Comment
Please enter a valid Comment
Reviewed On
Link is Broken, Please check the URL