Felt Holiday Gift Bag
Zoom Watch Video View Larger
View Project Instructions
Felt Holiday Gift Bag Embroidery Project
Description
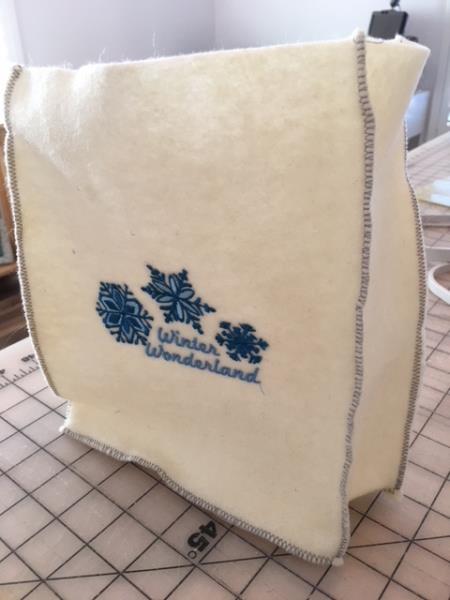
A holiday gift bag made out of felt with an embroidered design for that personal touch.
Jump to
Felt Holiday Gift Bag
By Linda Mills
Materials
Print Materials
Materials Felt 1/2 yard
Embroidery Thread
Cotton Thread
Tear Away Stabilizer
Temporary Adhesive Spray
Designs used in this project
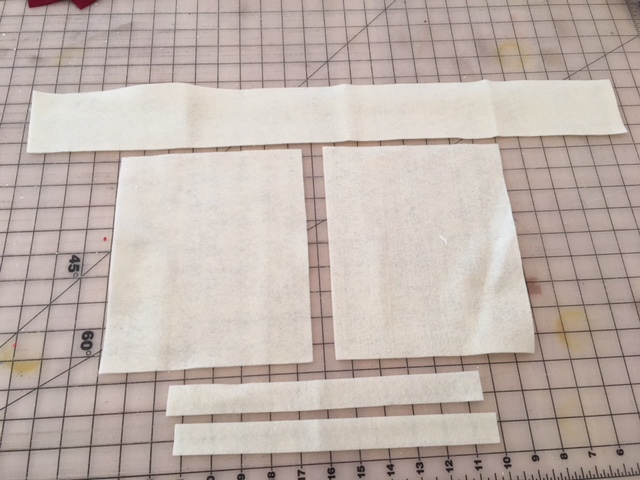
Step 1: Cut 2 - 7 1/2" x 9" felt for front and back of bag
Cut 1 - 3" x 26" felt for sides and bottom of bag
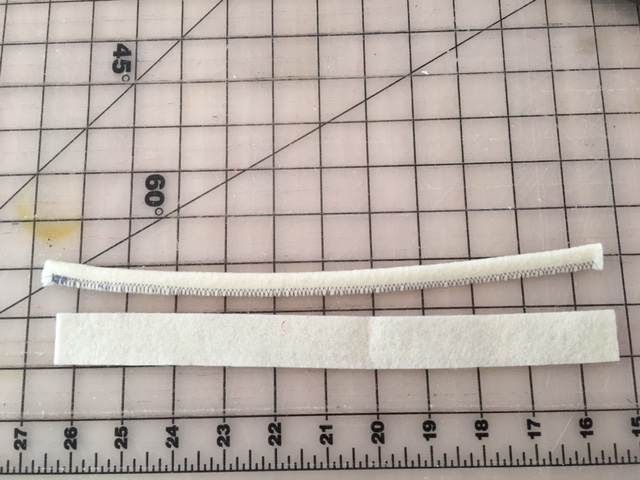
Cut 2 - 1" x 10" felt for bag handles
(Click Image to Enlarge)
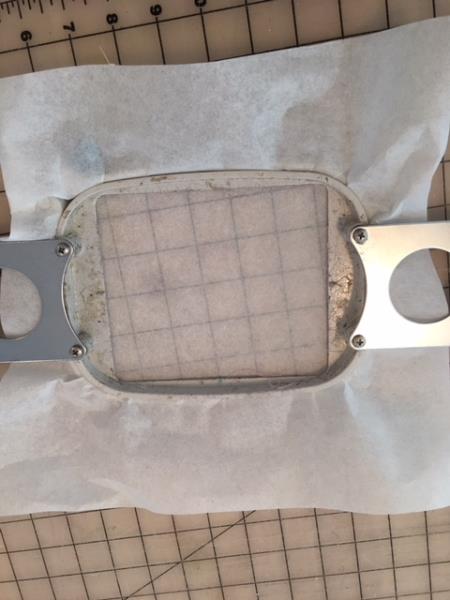
Step 2: Prepare for embroidery. You will be using one 7 1/2" x 9" cut felt piece. Hoop your tear away stabilizer.
(Click Image to Enlarge)
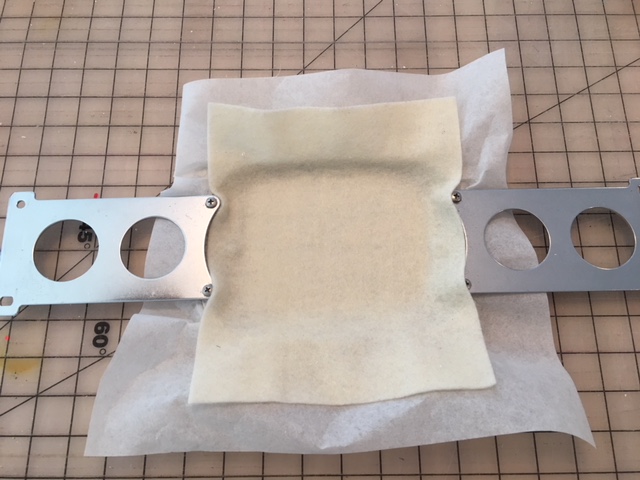
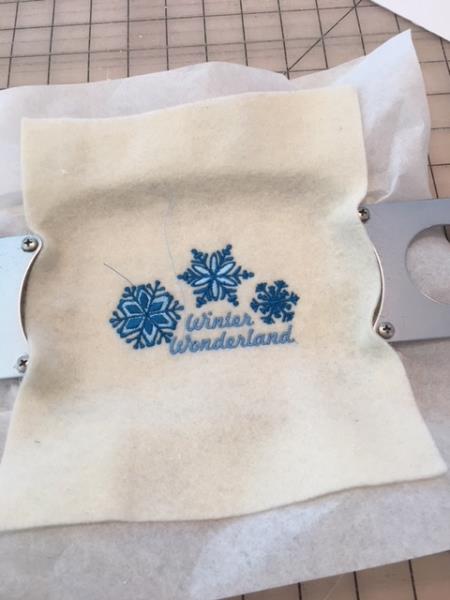
Step 3: Spray temporary adhesive spray onto hooped stabilizer and center your cut felt piece. Press to temporarily adhere. This will be the front of your bag.
(Click Image to Enlarge)
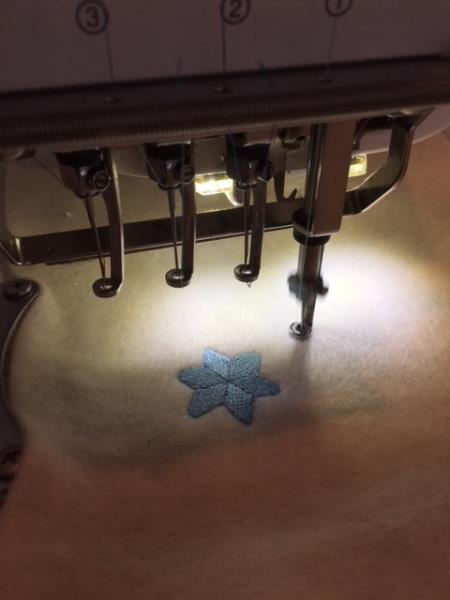
Step 4: Stitch out design. This design will take approximately 20 minutes. ( Stitch time is determined based on your embroidery machine.)
(Click Image to Enlarge)
Step 5: Once design is completed. Clean by cutting all loose thread and jump stitches. Remove from hoop and remove stabilizer
(Click Image to Enlarge)
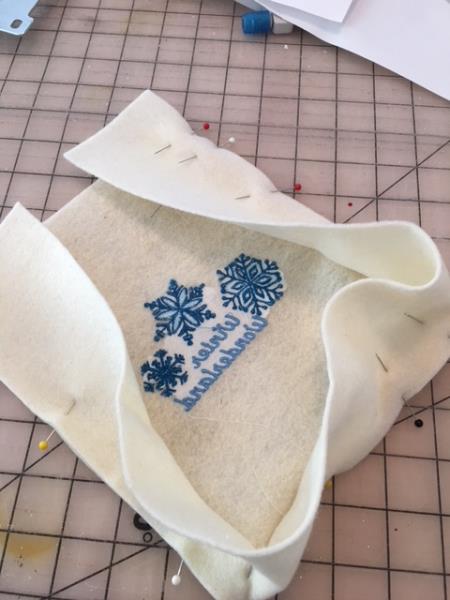
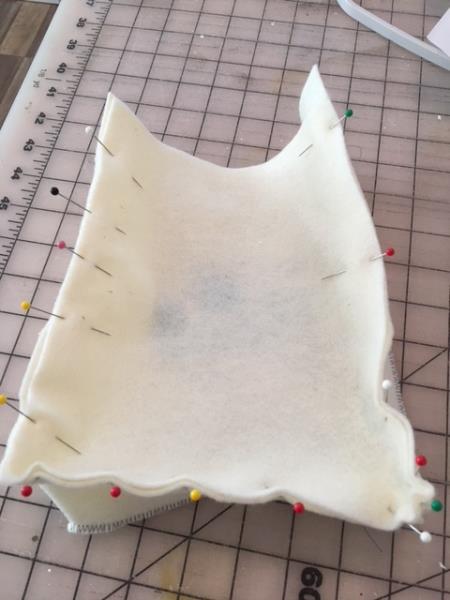
Step 6: Using the 3" x 26" cut piece of felt.. Attach sides and bottom to front of bag. Wrong sides together.
Pin in place, easing around bottom corners as you go.
(Click Image to Enlarge)
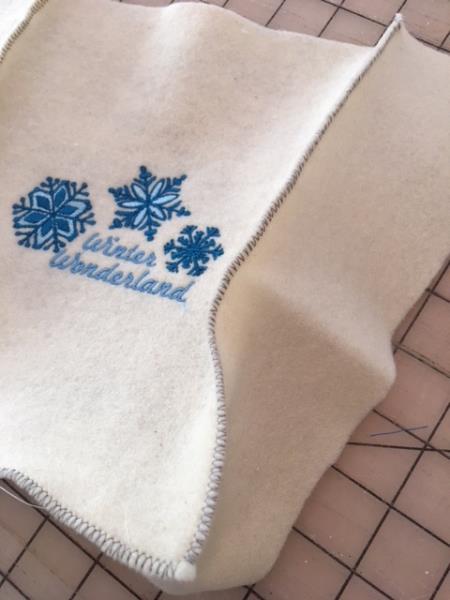
Step 7: Stitch in place using zig zag stitch.
(Click Image to Enlarge)
Step 8: Your bag should now look like this.
(Click Image to Enlarge)
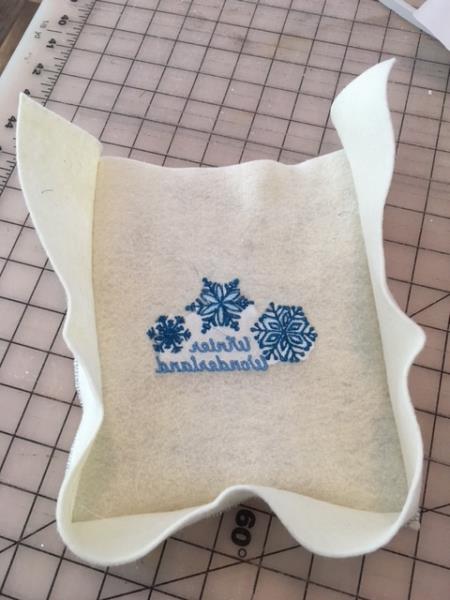
Step 9: Now repeat using the other 7 1/2 x 9" felt piece ( this will be the back of the bag) by attaching sides and bottom.
(Click Image to Enlarge)
Step 10: After all sides and bottom are attached to front and back pieces.... trim excess top sides even. Top stitch top of bag using zig zag stitch.
(Click Image to Enlarge)
Step 11: Using 1" x 10" felt strips you will now create the handles for your bag. Fold strips in half and stitch the long side in place using zig zag stitch.
(Click Image to Enlarge)
Step 12: Attach finished handles to bag top ( each side) approzimately 1/2" - 1" from sides using a straight/back stitch. Your bag is now complete!
Create bags for all occasions by embroidering different designs. Be creative and personalize a special message and/or name on front of bag.
Linda loves to create by sharing her different sewing and machine embroidery techniques so others can utilize their machines to the fullest
More From This Author
Feedback
Characters Remaining
Please Login to Submit a Feedback
Invalid Characters, Please enter a valid Comment
Please enter a valid Comment
LOG IN
Submit
Link is Broken, Please check the URL