














































PROJECT INSTRUCTIONS


PROJECT INSTRUCTIONS

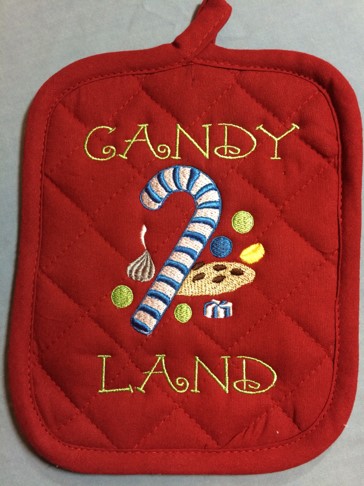
Candy Land Potholder Embroidery Project
By
Marisa Littleton
on
December 12, 2017
Description
Go a little Wonkers with this cute Candy Land potholder. A simple and quick design using puffy foam. Great for beginners or a quick gift.
Step
of
Materials
Project Preview Video

QUICK VIEW
Loop Embrilliance
$9.95
$4.98
Circle Price: $4.98

QUICK VIEW
PUFFY FOAM CANDY CANE
$5.94
$2.97
Circle Price: $2.82

QUICK VIEW
Puffy Foam 2mm Sheets
$3.10
Circle Price: $3.10
505 Spray Temporary Spray Adhesive
$19.99
Circle Price: $19.99

Cut Away Stabilizer - 2.5 Oz wt.
$8.94
Circle Price: $8.05

Cut Away Stabilizer - 2 oz wt.
$8.52
Circle Price: $7.67


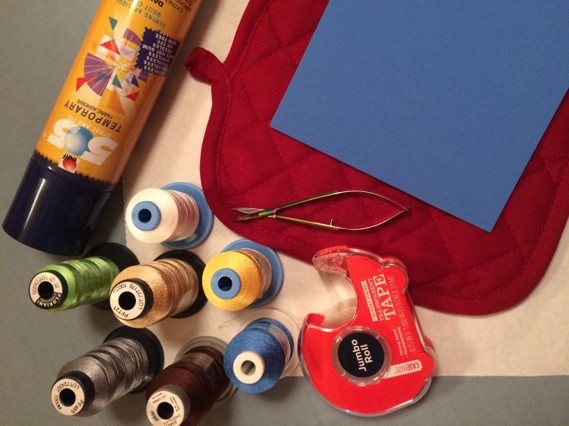
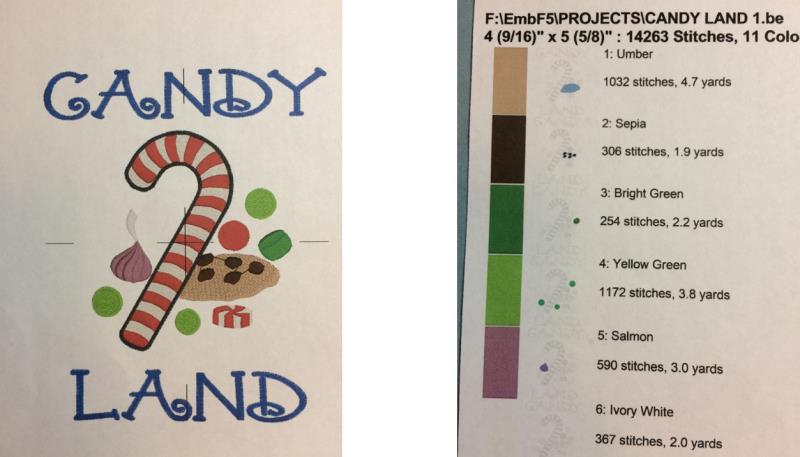
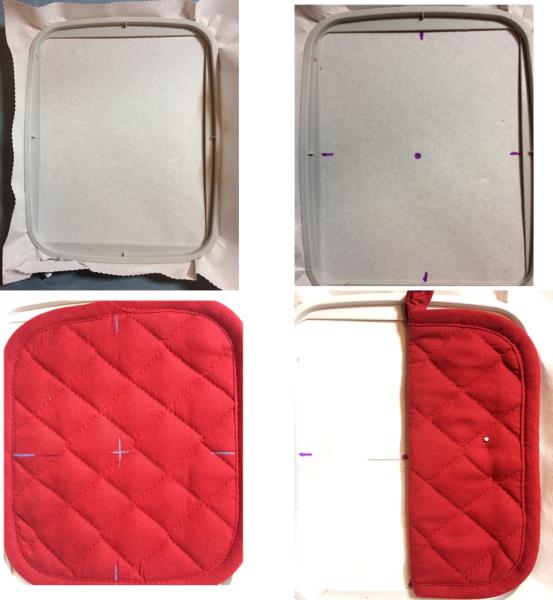
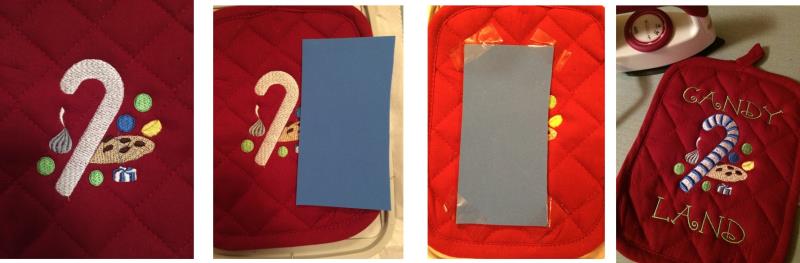
| Materials Design template and color chart Potholder 1 sheet tear-away stabilizer 1 sheet puffy foam embroidery thread Temporary spray adhesive Clear tape Iron Size 90/14 embroidery needle (light ballpoint) erasable fabric pen |
| Designs used in this project |
|
Projects You May Like
Meet the Author:
Marisa Littleton

Marisa Littleton is a retired educator with a love for teaching and learning. Interests include machine embroidery, hand embroidery, quilting, cooking, and antiques.
Feedback
Characters Remaining
Please Login to Submit a Feedback
Invalid Characters, Please enter a valid Comment
Please enter a valid Comment
Reviewed On
Link is Broken, Please check the URL