














































PROJECT INSTRUCTIONS


PROJECT INSTRUCTIONS

Halloween Dolls Embroidery Project
By
Amber Stevens
on
September 09, 2022
Description
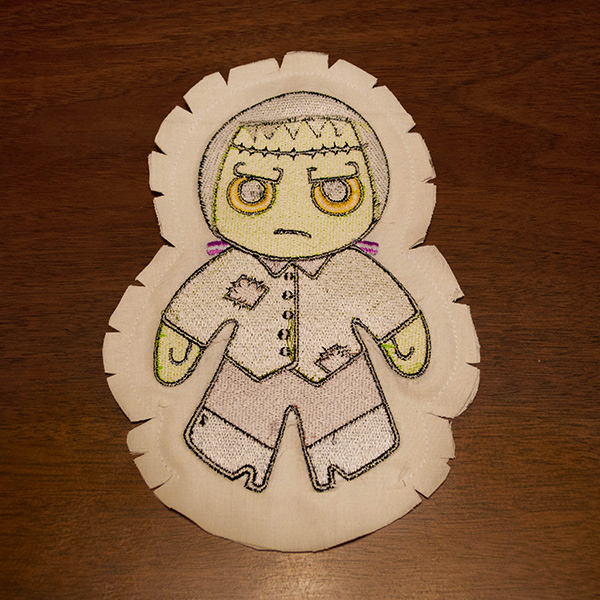
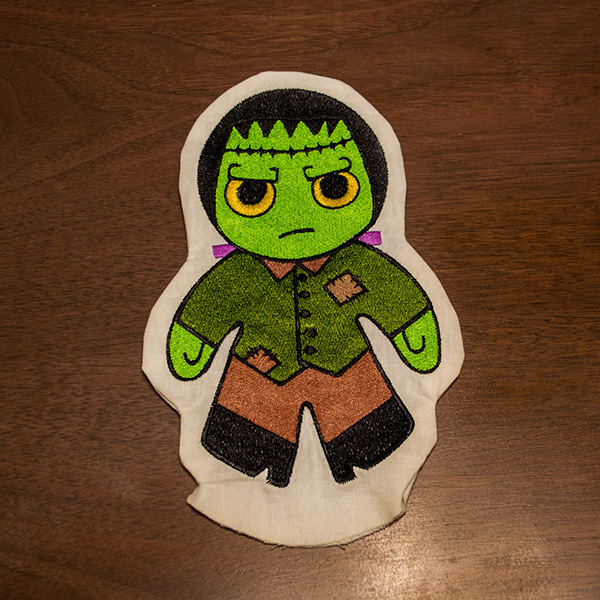
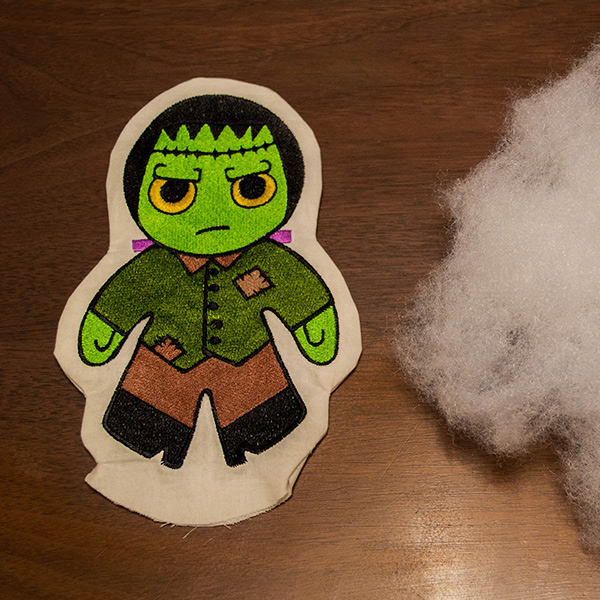
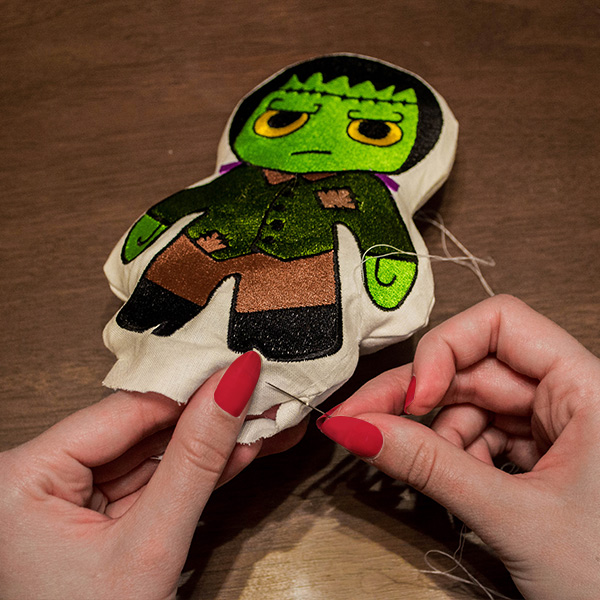
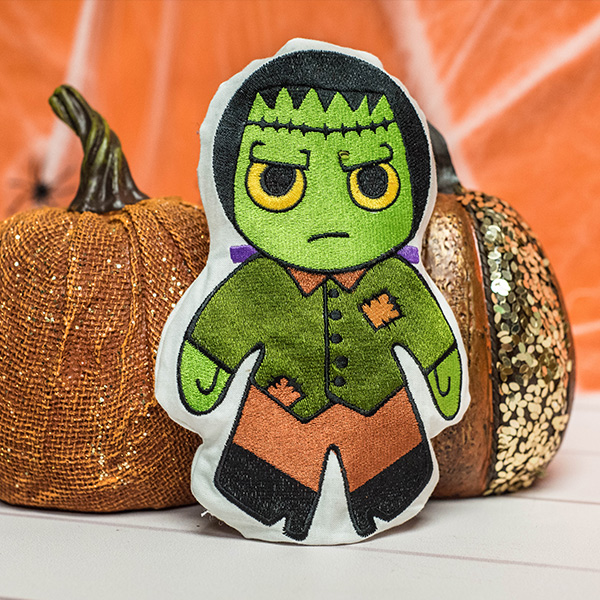
Bring these Halloween dolls to life with Adventures in Stitcherland's Halloween Dolls Pack that includes 5 front and back embroidery designs for each character. This 360-degree experience makes these dolls a great toy for young ghosts and ghouls!
Step
of
Materials
Project Preview Video

QUICK VIEW
Cute Halloween Characters Embroidery Designs Bundle – Witch with Broom, Mummy, Skeleton, Frankenstein & More (5 Designs)
$14.95
$8.97
Circle Price: $8.97

QUICK VIEW
Skeleton Doll
$8.04
$3.22
Circle Price: $3.07

QUICK VIEW
Witch Doll
$7.79
$3.12
Circle Price: $2.97

QUICK VIEW
Frankenstein Doll
$7.79
$3.12
Circle Price: $2.97

QUICK VIEW
Black Cat Doll
$7.79
$3.12
Circle Price: $2.97

QUICK VIEW
Mummy Doll
$7.79
$3.12
Circle Price: $2.97

Cut Away Stabilizer - 2.5 Oz wt.
$8.94
Circle Price: $8.05

Cut Away Stabilizer - 2 oz wt.
$8.52
Circle Price: $7.67

| Materials 1/4 yard Fabric for doll. We used a 100% cotton. 5x7 hoop Embroidery thread as stated in the design sequence Poly Mesh Stabilizer Poly-fill stuffing Hand sewing needle and thread Thread that matches your fabric |
| Designs used in this project |
| Final Product: What You Will Create |
 |
|
Projects You May Like
Meet the Author:
Amber Stevens

Amber, the Designer Extraordinaire over at Adventures in Stitcherland, has been sewing since she was 9 years old. When she's not creating stunning embroidery designs, she is elbow-deep in all things fashion.
Feedback
Characters Remaining
Please Login to Submit a Feedback
Invalid Characters, Please enter a valid Comment
Please enter a valid Comment
Reviewed On
Link is Broken, Please check the URL