














































PROJECT INSTRUCTIONS


PROJECT INSTRUCTIONS
Cute Bug Magnifying Glass Applique Embroidery Project
By
Starbird Inc.
on
October 02, 2017
Description
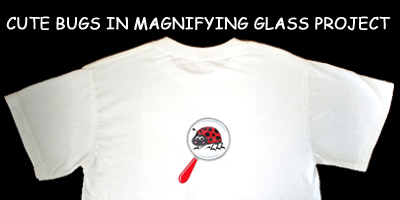
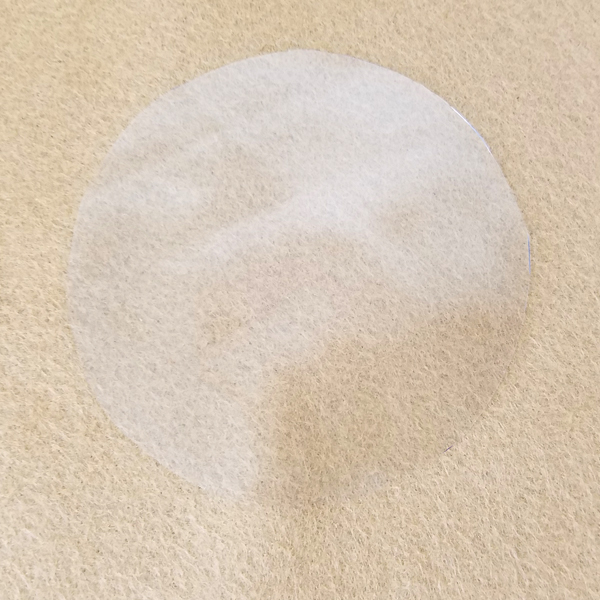
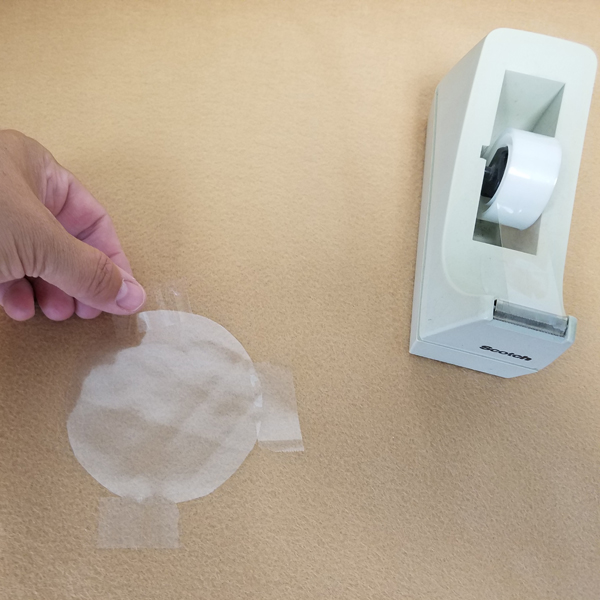
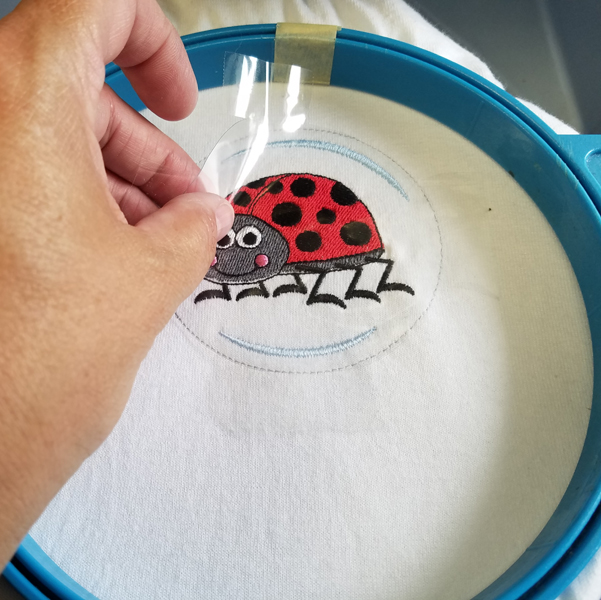
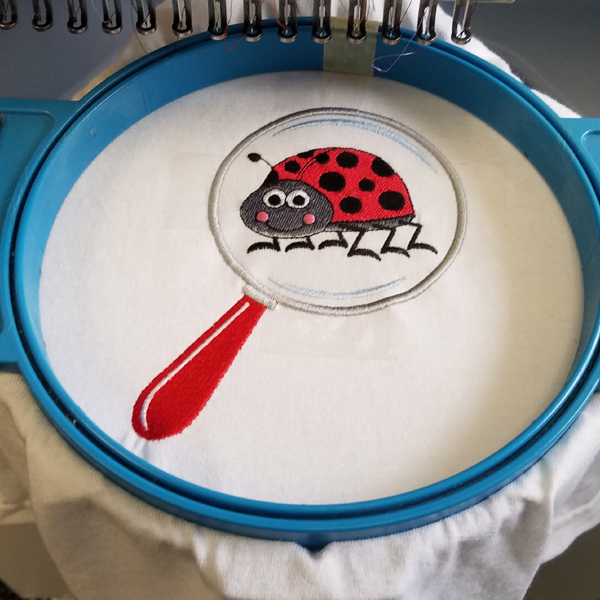
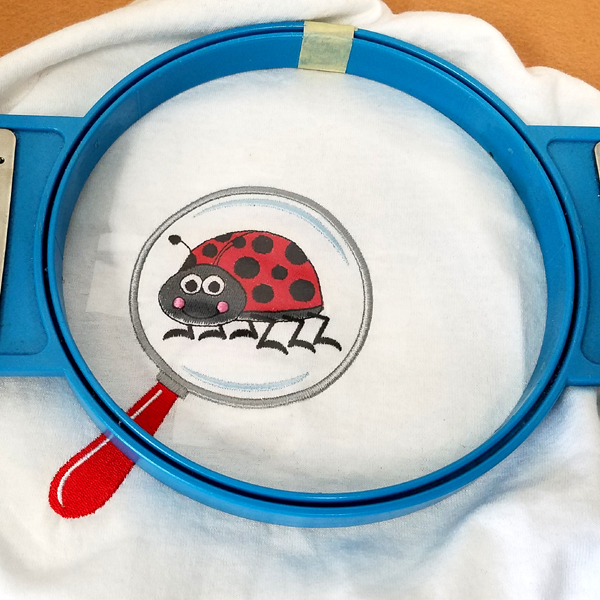
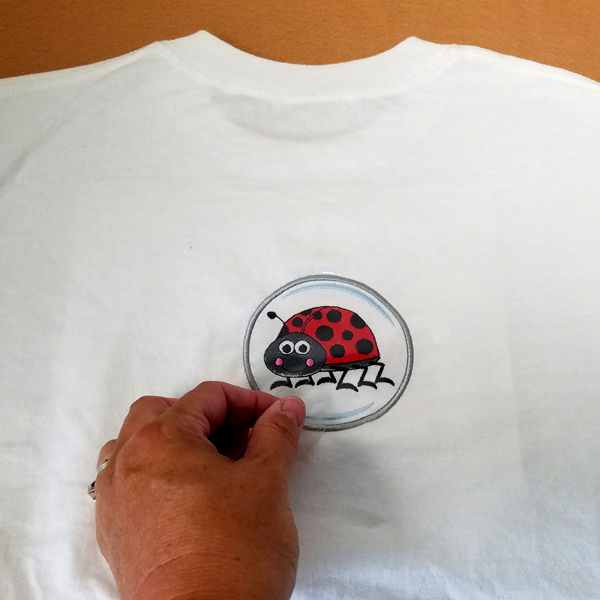
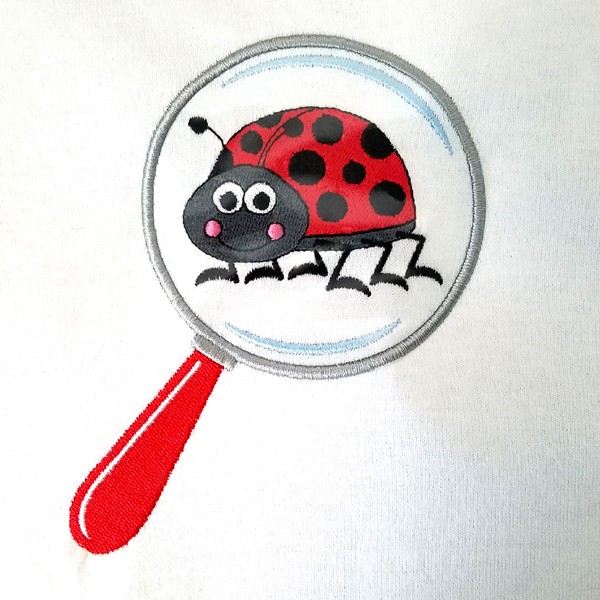
Create a charming applique featuring a cute bug inside a magnifying glass, perfect for adding a unique touch to pillows, aprons, towels, and apparel. This project uses a heavyweight vinyl clear shower curtain liner for the applique piece. Step-by-step instructions are included.
Step
of
Materials
Project Preview Video

QUICK VIEW
Cute Ladybug Magnified
$6.95
$1.99
Circle Price: $1.84

QUICK VIEW
Cute Caterpillar Magnified
$6.95
$1.99
Circle Price: $1.84

QUICK VIEW
Cute Firefly Magnified
$6.95
$1.99
Circle Price: $1.84

QUICK VIEW
Cute Snail Magnified
$6.95
$1.99
Circle Price: $1.84

QUICK VIEW
Cute Grasshopper Magnified
$6.95
$1.99
Circle Price: $1.84

QUICK VIEW
Cute Centipede Magnified
$6.95
$1.99
Circle Price: $1.84

QUICK VIEW
Cute Spider Magnified
$6.95
$1.99
Circle Price: $1.84

QUICK VIEW
Butterfly Magnifier
$6.95
$1.99
Circle Price: $1.84

QUICK VIEW
Cartoon Fly Magnifier
$6.95
$1.99
Circle Price: $1.84

QUICK VIEW
Cute Bee Magnified
$6.95
$1.99
Circle Price: $1.84

QUICK VIEW
Dragonfly Magnifier
$6.95
$1.99
Circle Price: $1.84

QUICK VIEW
Cute Ant Magnified
$6.95
$1.99
Circle Price: $1.84

Cut Away Stabilizer - 2.5 Oz wt.
$8.94
Circle Price: $8.05

Cut Away Stabilizer - 2 oz wt.
$8.52
Circle Price: $7.67

| Final Product: What You Will Create |
 |
|
Projects You May Like
Meet the Author:
Starbird Inc.

Starbird Inc. has been digitizing custom embroidery designs for over 25 years. They have seen so many wonderful and creative designs over the years that Starbird decided to create some of their own embroidery stock designs. Starbird Inc. is having a great time creating new and imaginative ideas and would like you to be able to enjoy them also.
Feedback
Characters Remaining
Please Login to Submit a Feedback
Invalid Characters, Please enter a valid Comment
Please enter a valid Comment
Reviewed On
Link is Broken, Please check the URL