














































PROJECT INSTRUCTIONS


PROJECT INSTRUCTIONS
Chic Houndstooth Apron with Red Accents Embroidery Project
By
Ramona Baird
on
September 12, 2017
Description
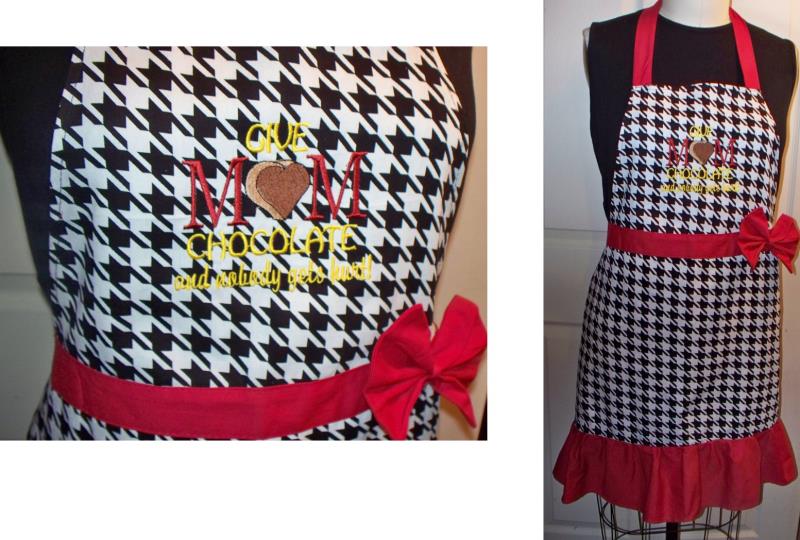
Create an elegant apron featuring a classic houndstooth pattern accented with bright red details. Perfect for adding a touch of style to your kitchen attire or as a thoughtful handmade gift. Step-by-step instructions are included.
Step
of
Materials
Project Preview Video

Give Mom
$6.49
Circle Price: $3.10

Cut Away Stabilizer - 2.5 Oz wt.
$8.94
$7.15
Circle Price: $7.15

Cut Away Stabilizer - 2 oz wt.
$8.52
$6.82
Circle Price: $6.82

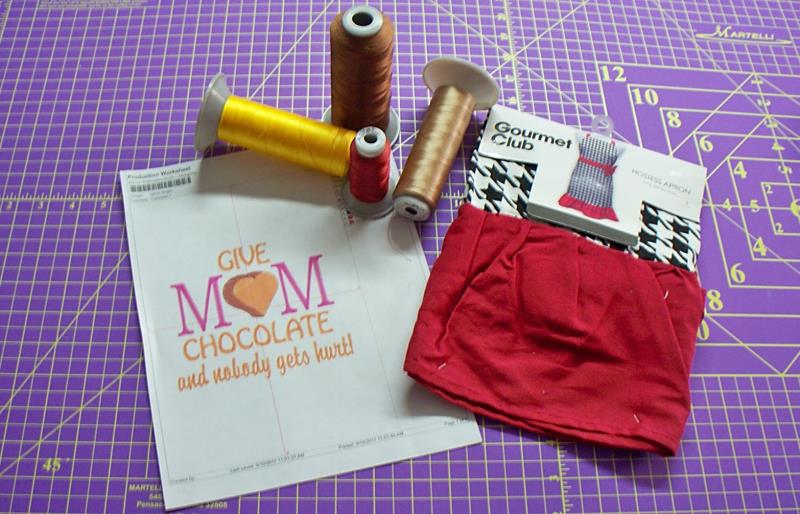
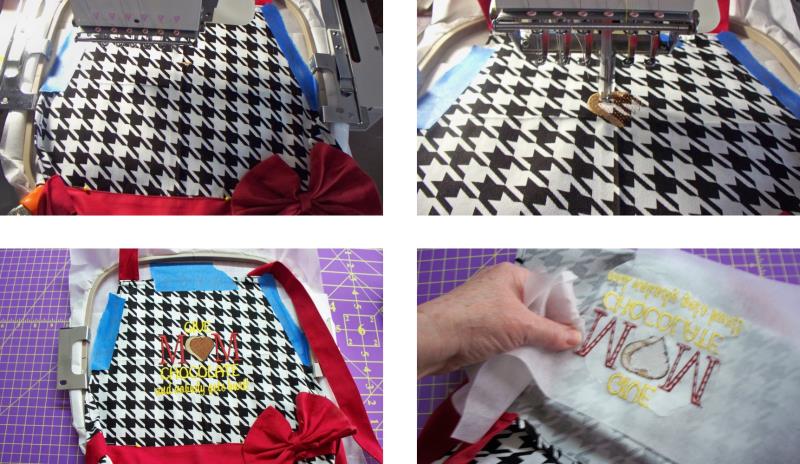
| Materials Purchased apron Tearaway stabilizer Embroidery thread as stated in color sequence Temporary spray adhesive Painters tape |
| Designs used in this project |
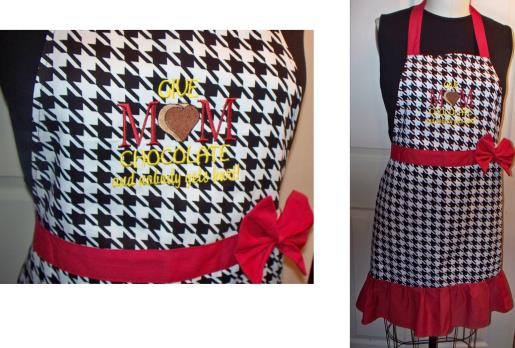
| Final Product: What You Will Create |
 |
|
Projects You May Like
Meet the Author:
Ramona Baird

Ramona Baird has been in the embroidery industry for over 23 years. She and her husband owned a commercial and retail embroidery store in Arizona for many years. She is an experienced digitizer having been mentored by award-winners Pat Williams and Lindee Goodall. Ramona is a contributor to “Creative Machine Embroidery” magazine having 5 covers to her credit. Ramona has worked for Wilcom America and served many years as Education Director for the American Sewing Guild. With a degree in fashion design, she is able to design and execute patterns which Pat Williams says are “out of the box” in creativity and application. Ramona likes to challenge the boundaries of embroidery and bring new and exciting designs, ideas, and projects to EmbroideryDesigns.com. She wants embroiderers of all levels to increase their skills and enjoyment in using their embroidery machine for gift-making and personal pleasure.
Feedback
Characters Remaining
Please Login to Submit a Feedback
Invalid Characters, Please enter a valid Comment
Please enter a valid Comment
Reviewed On
Link is Broken, Please check the URL