














































PROJECT INSTRUCTIONS


PROJECT INSTRUCTIONS
ITH Baby Doll Softies Embroidery Project
By
Pat Williams
on
June 20, 2025
Description
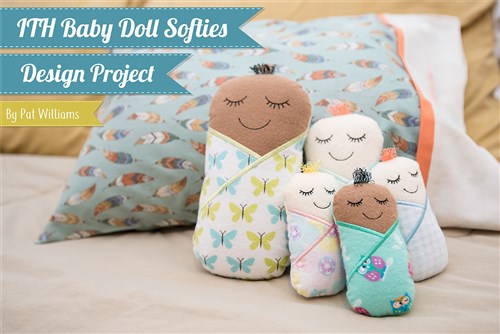
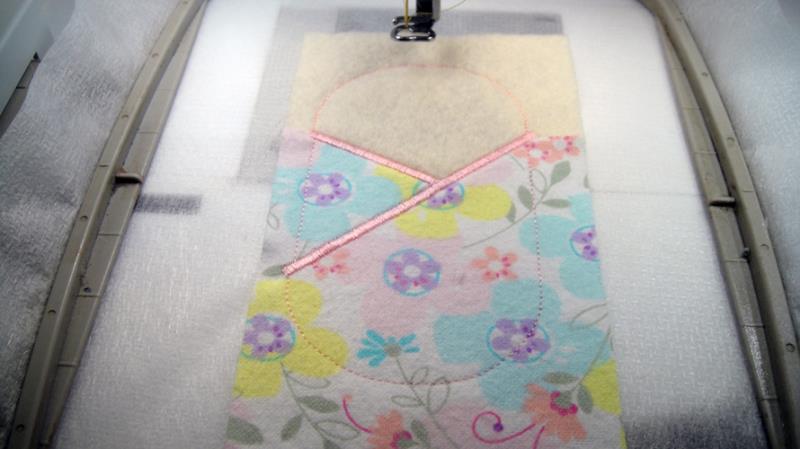
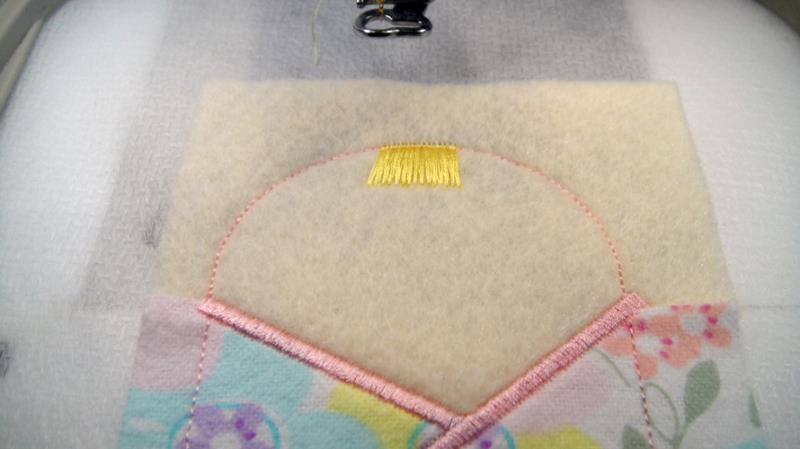
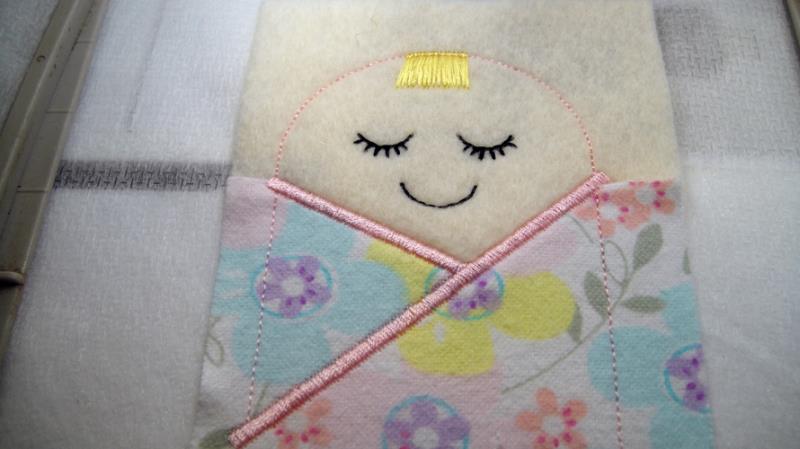
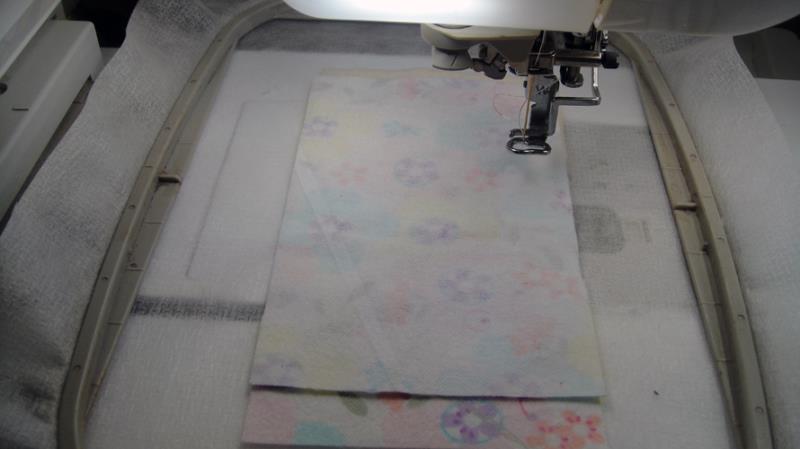
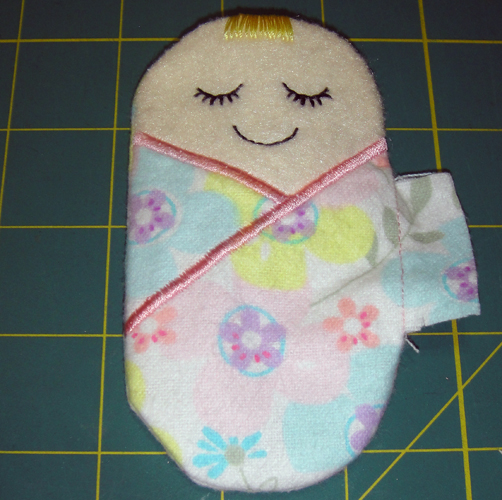
Create adorable in-the-hoop baby doll softies, perfect for cuddling. These softies are made using flannel and felt and come in three sizes: 4”, 6”, and 8”. They are quick to assemble, taking just 35 minutes. Step-by-step instructions are included.
Step
of
Materials
Project Preview Video

ITH Baby Doll Softie
$14.99
$7.50
Circle Price: $7.35

Cut Away Stabilizer - 2.5 Oz wt.
$8.94
$7.15
Circle Price: $7.15
{{ item.name }}
{{ item.listPriceDisplay }}{{ item.salePriceDisplay }}
Circle Price:
{{ item.clubPriceDisplay }}


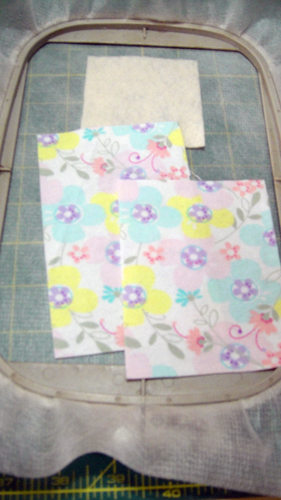
| Materials 4” Doll: 5” x 7” hoop Flesh colored felt or flannel 3” x 3 ½” Front Blanket – flannel print 4 ½” x 3 ½” Back Blanket – flannel print 5 ½” x 3 ½” 6” Doll: 5” x 7” hoop Flesh colored felt or flannel 4 ½” x 5” Front Blanket – flannel print 6” x 5” Back Blanket – flannel print 8 ½” x 5” 8” Doll: 6” x 10” hoop Flesh colored felt or flannel 5” x 6” Front Blanket – flannel print 8” x 6” Back Blanket – flannel print 10 ½” x 6” All Dolls: Poly mesh stabilizer Spray Adhesive Poly-fill stuffing Hand sewing needle and thread |
| Designs used in this project |
| Final Product: What You Will Create |
 |
|
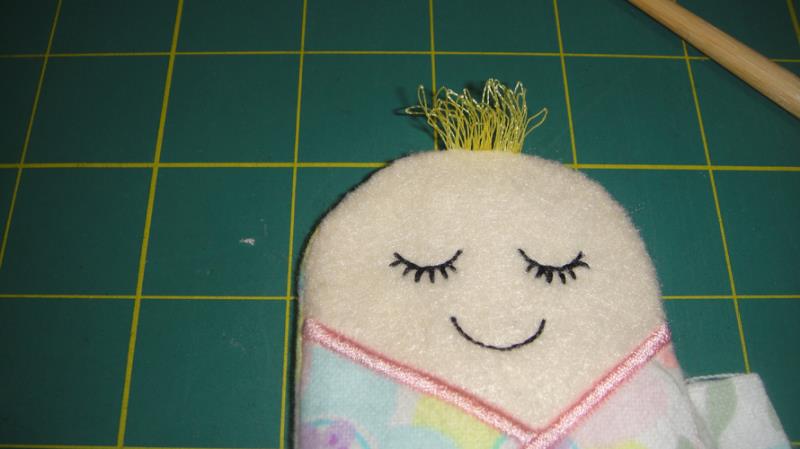
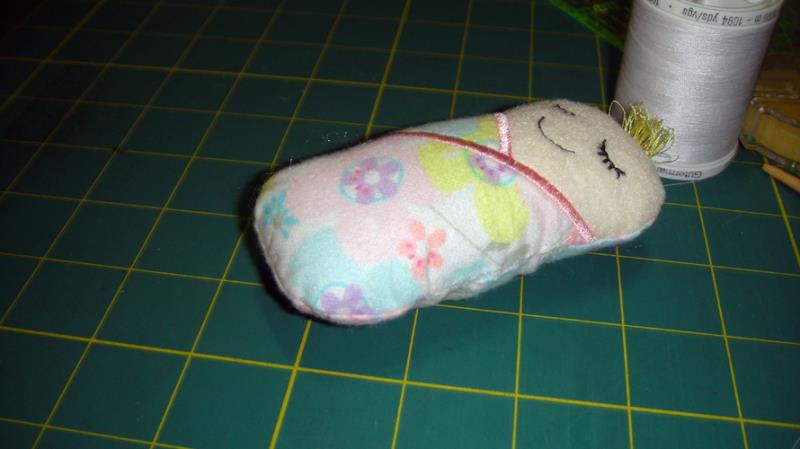
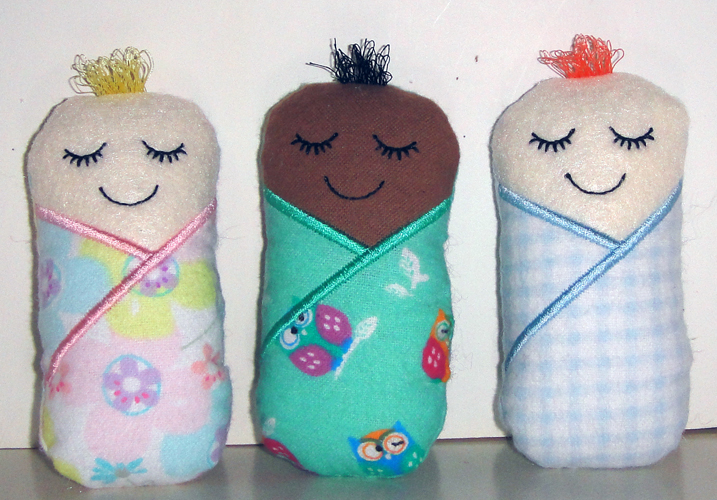
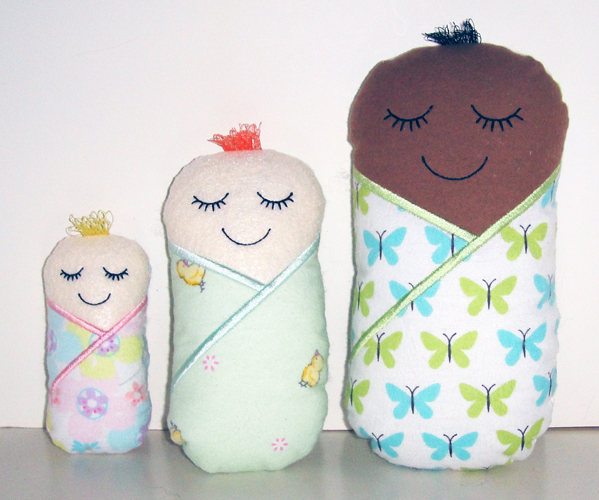
| For the love of embroidery… Pat Williams |
Projects You May Like
Meet the Author:
Pat Williams

Award winning Digitizer, Embroidery Educator, Author and a Consultant to the Industry, Pat Williams has 30 years of experience in the embroidery industry. Pat has won multiple awards for her digitizing expertise including the 2007 Impressions Awards Grand Championship, Best of Show as well as the 1st and 2nd Place Awards. Pat’s love of digitizing has afforded her the opportunity to write numerous articles for Impressions magazine in the United States and Images Magazine in Europe. In 2001 Pat was named “Embroidery Educator of the Year.” For many years Pat taught digitizing seminars at the ISS Shows in Long Beach, CA and for Compucon software. She now resides in Tucson, AZ.
Feedback
Characters Remaining
Please Login to Submit a Feedback
Invalid Characters, Please enter a valid Comment
Please enter a valid Comment
Reviewed On
Link is Broken, Please check the URL