














































PROJECT INSTRUCTIONS


PROJECT INSTRUCTIONS

St. Patrick's Day Bar Towel Embroidery Project
By
Ruth Vangrowski
on
February 17, 2017
Description
Hosting a St Patrick's Day party, or attending someone else's party? This will make a great accent to your bar, or a great Hostess gift!
Step
of
Materials
Project Preview Video

QUICK VIEW
Beer Cheers
$5.69
$2.85
Circle Price: $2.70

MINI SHAMROCK
$3.89
$1.95
Circle Price: $1.80

Cut Away Stabilizer - 2.5 Oz wt.
$8.94
Circle Price: $8.05

Cut Away Stabilizer - 2 oz wt.
$8.52
Circle Price: $7.67

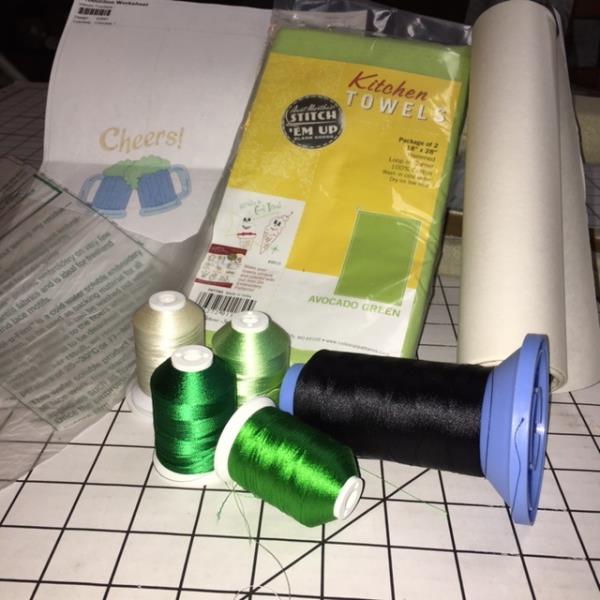
| Materials 1 Kitchen Towel (from Joann's Fabric and Crafts) two come in a package 2 Pieces of Pellon Fuse-N-Tear-Away Stabilizer large enough for the designs 1 Piece of Pellon Sol-U-Film water soluble stabilizer large enough for designs Embroidery thread per design color chart, thread used by Robison-Anton Designs used by Great Notions Cheers! 42883 Mini Shamrock 63587 |
| Designs used in this project |
| Final Product: What You Will Create |
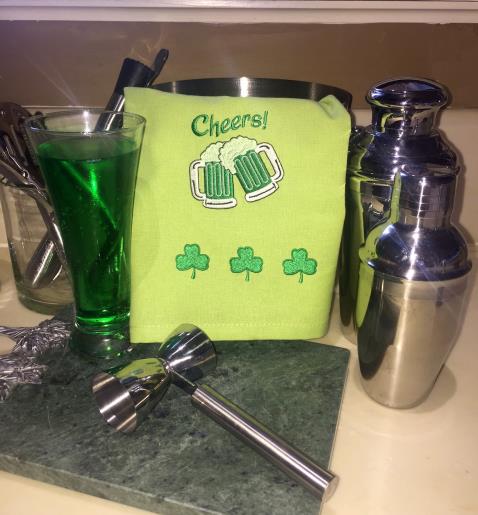 |
|
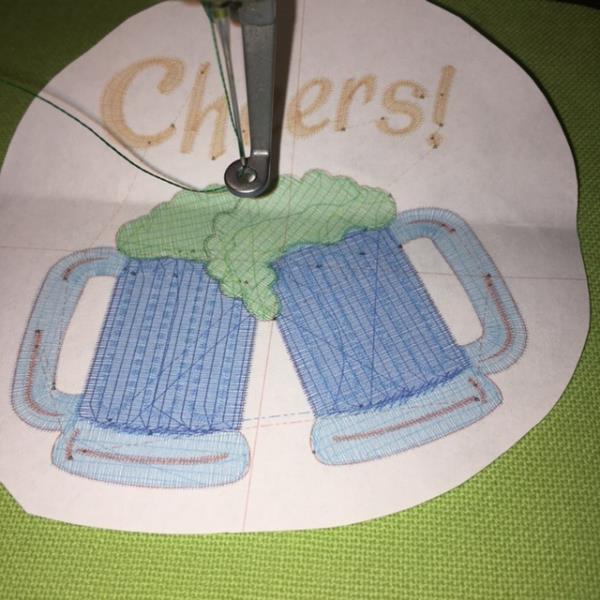
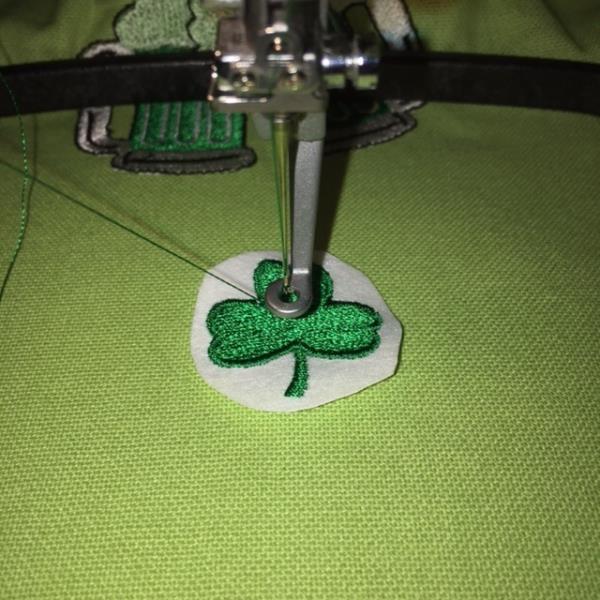
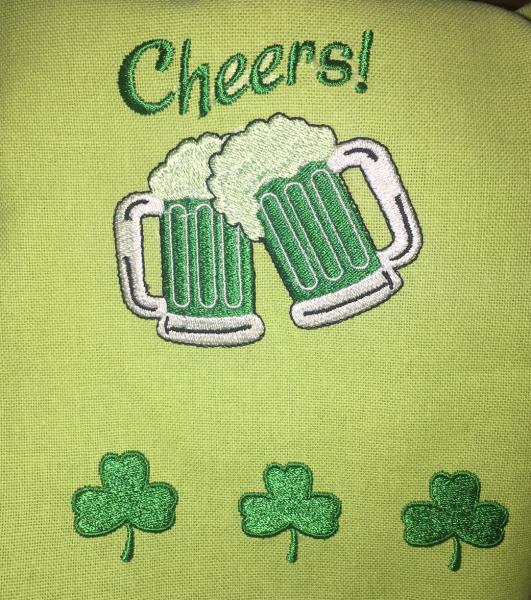
| You have just completed your project. The package of towels have 2 per package. Embroider both and give one as a host or hostess gift. |
Projects You May Like
Meet the Author:
Ruth Vangrowski

Ruth works for Great Notions. Has been sewing for over 50 years and embroidering for more than 30 years.
Feedback
Characters Remaining
Please Login to Submit a Feedback
Invalid Characters, Please enter a valid Comment
Please enter a valid Comment
Reviewed On
Link is Broken, Please check the URL