Holiday Flash $1.49
Sports-Themed Microwave Heating Bag

Sports-Themed Microwave Heating Bag Embroidery Project

By   Sue Gerhardt   on   June 25, 2026
  • SKILL LEVELBeginner
  • TIME REQUIRED02:00
  • FINISHED SIZE19 x 7 inches
Description

Create a cozy microwave heating bag featuring a sports motif. Perfect for soothing sore muscles, this bag wraps comfortably around your neck or back. Step-by-step instructions are included.

Step of

Materials

Project Preview Video

Materials
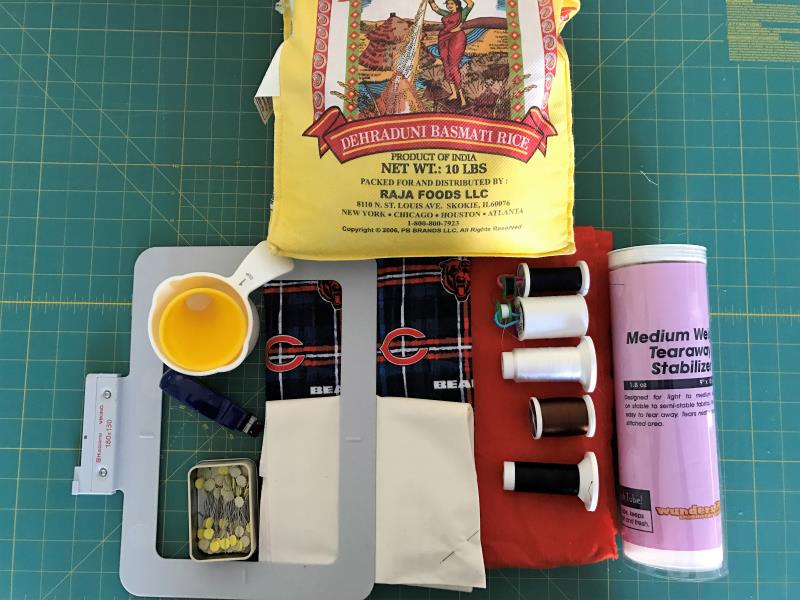
  • 2 pieces of muslin – 19” x 7”
  • 2 pieces of flannel of your favorite sports team – 11 1/2” x 8”
  • 1 piece of flannel of a coordinating plain color – 20” x 8”
  • Medium weight tear away stabilizer
  • Sewing thread for muslin and slipcover
  • Needle for hand sewing
  • Straight pins
  • Embroidery and bobbin thread to match the design
  • 5” x 7”, 5” x 5” or 130mm x 180mm hoop
  • 5 cups rice
  • Funnel
  • Measuring cup
  • Measuring tape
  • Design is in the 4.19” x 2.53” size

  • Designs used in this project

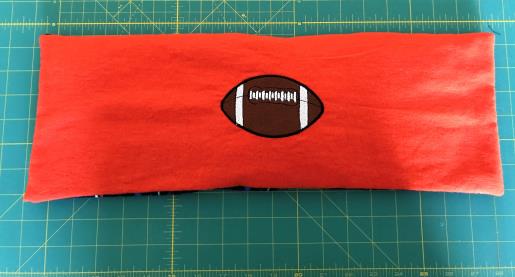
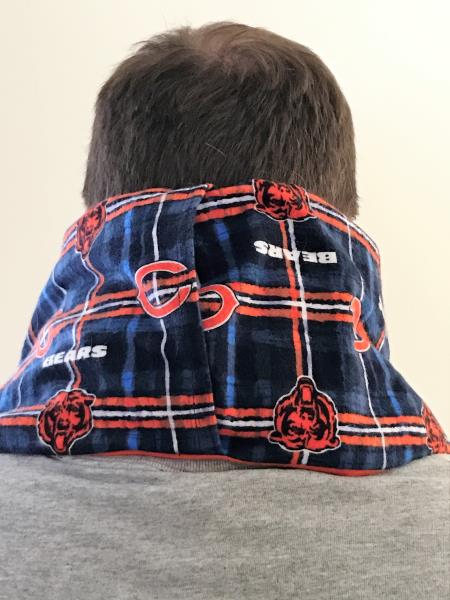
    Final Product: What You Will Create


    Step 1:
    Gather your materials.

    (Click Image to Enlarge)


    Step 2:
    Sew the lining bag to hold the rice.

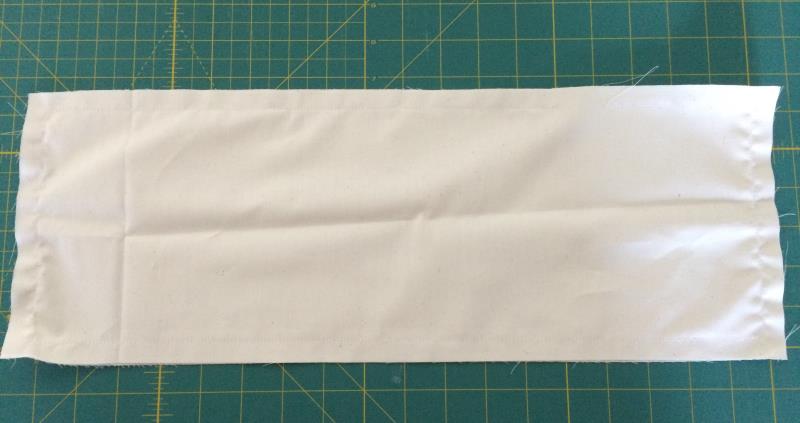
    With right sides together, sew the 2 pieces of muslin together, using a ½” seam. Leave a 1” – 2” opening on one of the long sides of the muslin to turn bag inside out.

    (Click Image to Enlarge)


    Step 3:
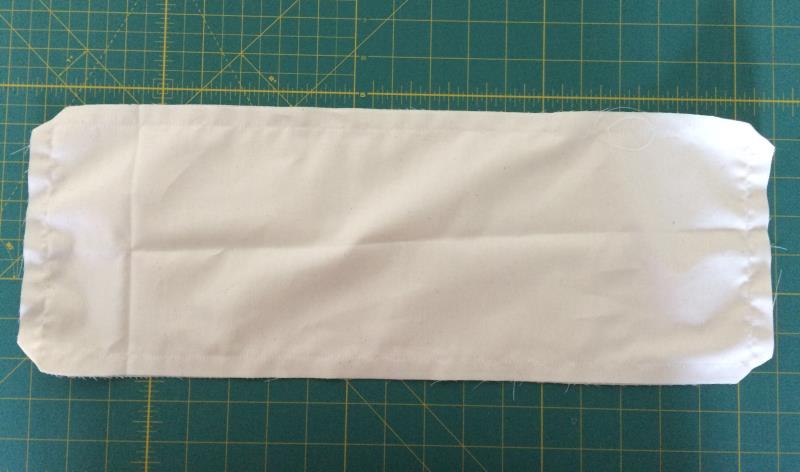
    Clip corners and reinforce the outsize edges with a zigzag stitch or your favorite edge stitch.

    (Click Image to Enlarge)


    Step 4:
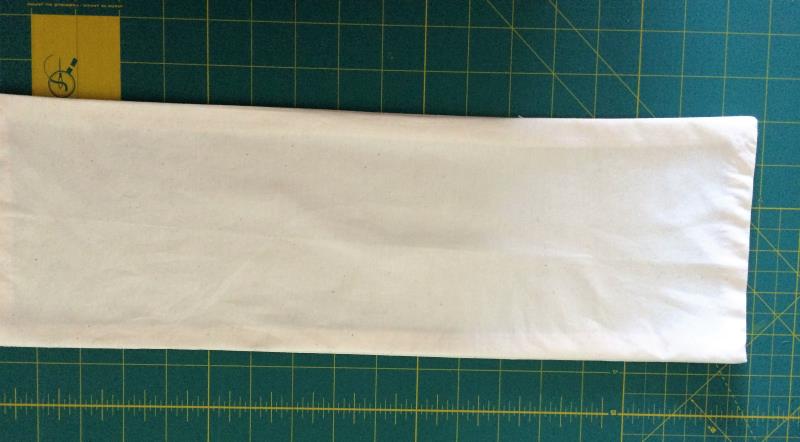
    Turn the muslin inside out. Using a straight pin, pull out each corner and press. You should have a lining that is approximately 18” x 6” now.

    (Click Image to Enlarge)


    Step 5:
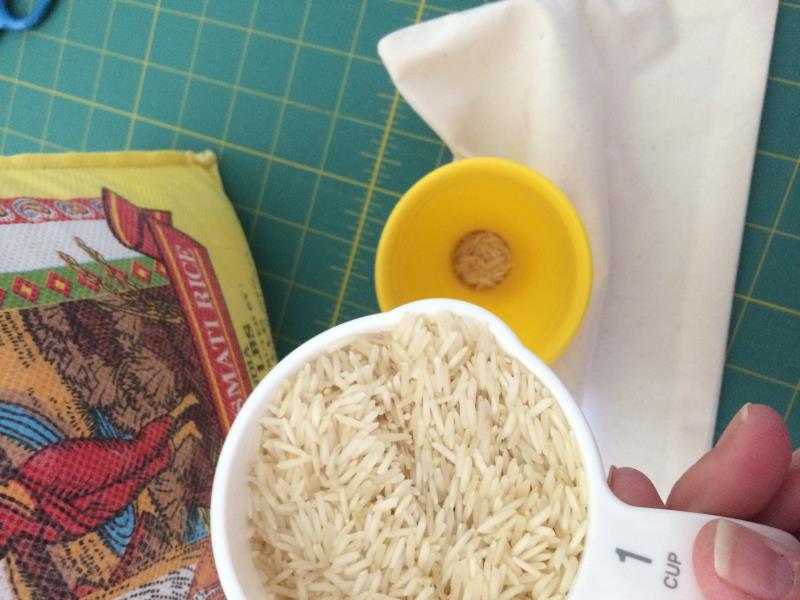
    Using the hole that you made to turn the fabric inside out, fill the bag with rice. I used the cup and the funnel to fill the bag.

    (Click Image to Enlarge)


    Step 6:
    Once the bag has been filled, stitch the hole closed. I used a hand slip-stitch, but you should be able to close it by stitching it on your machine.


    Step 7:
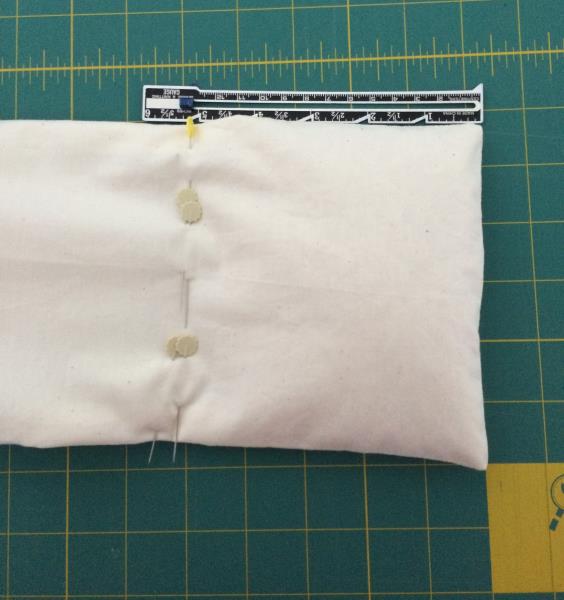
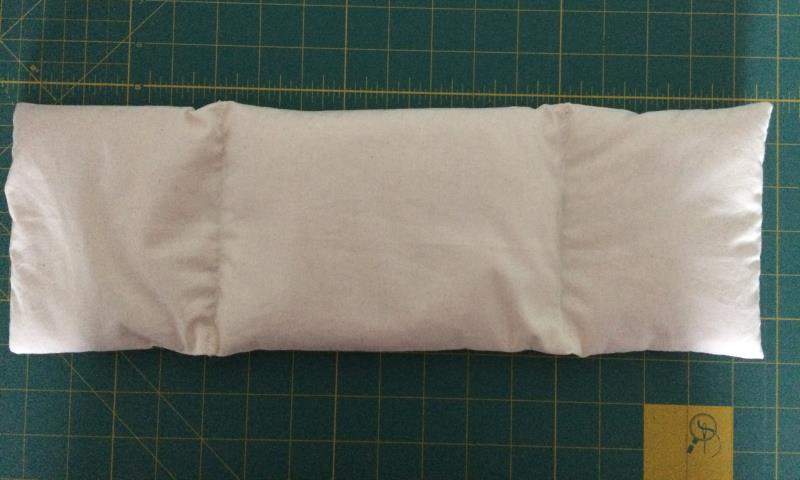
    Lay the bag on a flat surface so that the rice is evenly distributed and measure a vertical line 5” from one end of the bag. Using the straight pins, mark the vertical line. Once it is pinned you can pick up the bag and move the remainder of the rice to the other end of the bag.  

    (Click Image to Enlarge)


    Step 8:
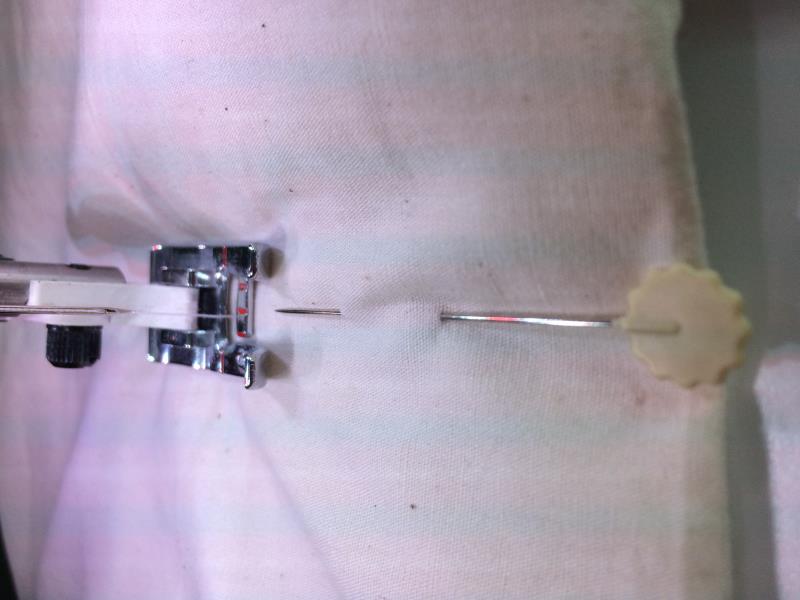
    Carefully and slowly stitch a straight line where you marked the 5” line. I stitched it again to reinforce it.

    (Click Image to Enlarge)


    Step 9:
    Repeat step 7 for the other end of the bag and it should now look like this. You are now ready to embroider the design and make a slip cover for the bag.

    (Click Image to Enlarge)


    Step 10:
    Make the slip cover:

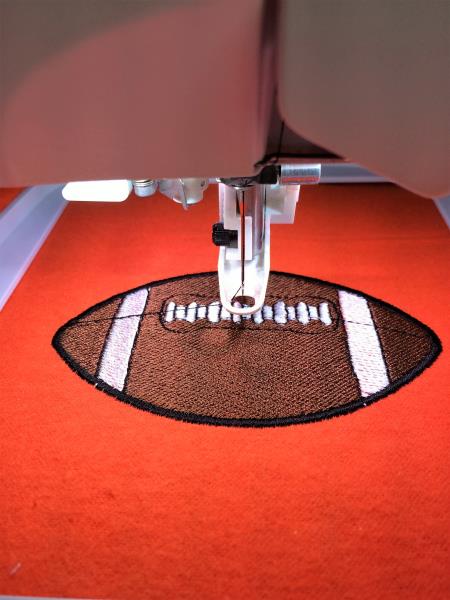
    Cut one piece of the plain fabric 20” x 8” and 2 pieces of the sports fabric 13” x 8”. Mark the center of the plain fabric with a pin and hoop the flannel using the tear away stabilizer. Stitch out the design. Remove from hoop and tear away the stabilizer from the back.

    (Click Image to Enlarge)


    Step 11:
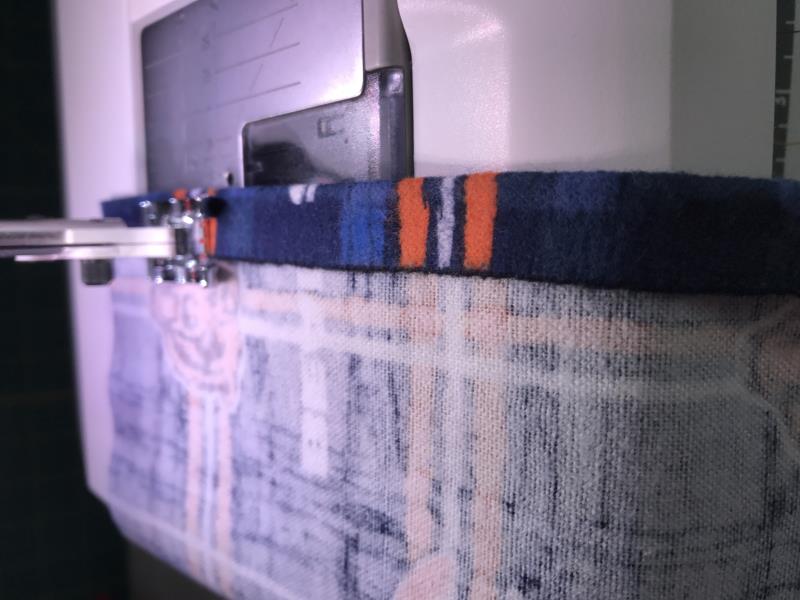
    Turn under the one end of each of the sports fabric ½” on the 8" side. Press and sew a hem 3/8” from the end.

    (Click Image to Enlarge)


    Step 12:
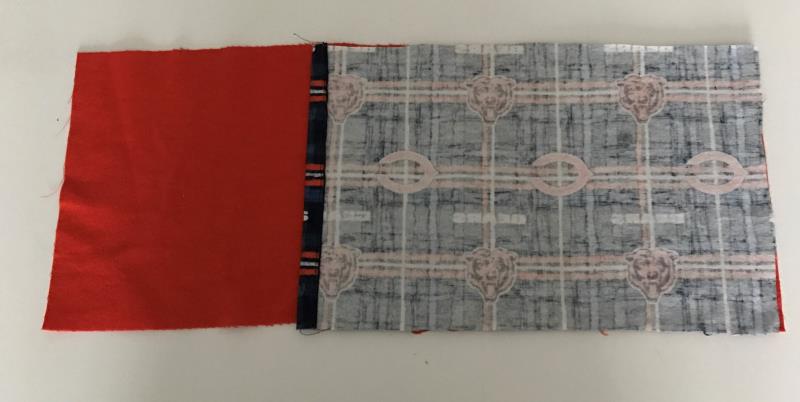
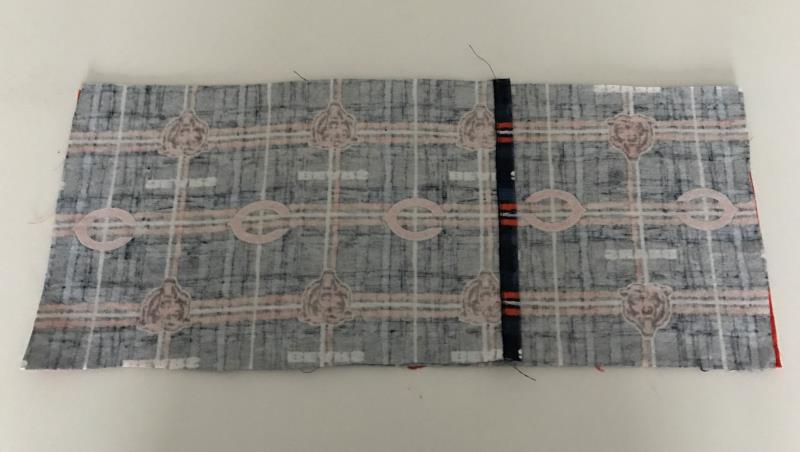
    Place one piece of the sports fabric on top of the embroidered fabric right sides together, making sure the hem is placed towards the middle.

    (Click Image to Enlarge)


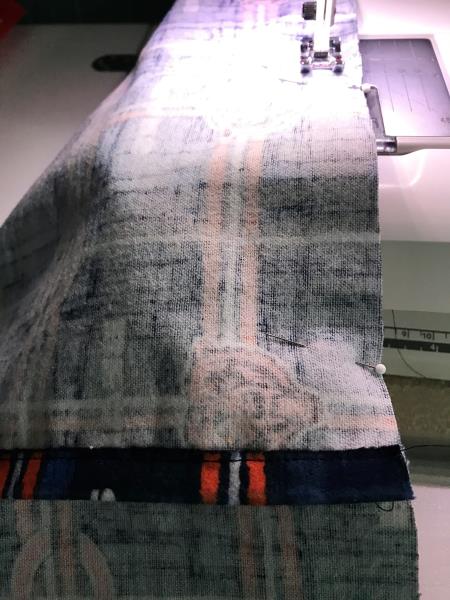
    Step 13:
    Place the other piece of fabric right side down on top of the other piece of sports fabric with the hem facing toward the middle. Pin along the outside of the fabric on all sides.

    (Click Image to Enlarge)


    Step 14:
    Stitch around the entire outside using a ½” seam.  

    (Click Image to Enlarge)


    Step 15:
    Clip corners and turn the slip cover inside out. Heat the lining in your microwave 4 minutes or more to heat it to your desired temperature and slip it inside the cover. Relax and enjoy! 

    (Click Image to Enlarge)

    Meet the Author: Sue Gerhardt
    Sue Gerhardt
    I've been sewing and making clothes from the age of 16 and started machine embroidering 8 years ago. I try to keep up with the latest embroidery trends by attending many classes at my local embroidery shop and just started learning how to quilt. I love to embroider on everything!
    More From This Author
    Link is Broken, Please check the URL
    Exclusive Embroidery Offers!
    Copyright © {{ currentDate | date:'yyyy'}} - EmbroideryDesigns.com
    GET 50% OFF! ×