Striped Travel Shoe Bag

Striped Travel Shoe Bag Embroidery Project

By   Ruth Vangrowski   on   December 15, 2016
  • SKILL LEVELSome Experience
  • TIME REQUIRED02:30
  • FINISHED SIZE12 x 15 inches
Description

This stylish striped shoe bag is perfect for travelers who want to keep their footwear organized. Crafted with a drawstring closure, it offers convenience and portability. Ideal for gifting to friends who love to travel. Step-by-step instructions are included.

Step of

Materials

Project Preview Video

Materials
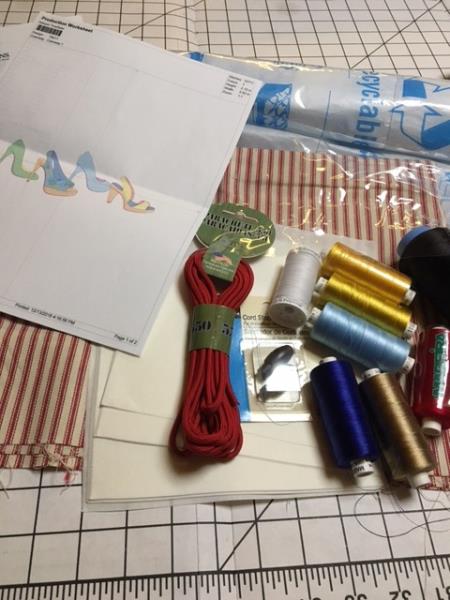
  • 1/2 yard 54" wide pillow ticking
  • 1/2 yard 54" wide clear vinyl 4 gauge
  • 2 sheets of cut away stabilizer
  • 1 package Cord Stops
  • 44" of 4.8m cording to match or contrast
  • Sewing thread to match fabric
  • Serger thread to match fabric if you have a serger
  • Embroidery thread per design color chart, thread used by Robinson-Anton
  • Design used by Great Notions 76211

  • Designs used in this project

    Final Product: What You Will Create

    Preface:
    This project also will make a great way to carry an extra pair of shoes to change into if you have an after work party to attend. With the vinyl lining it will protect you packed clothing from getting dirty. You can just wipe the lining with a damp cloth or paper towel.


    Step 1:
    Gather all supplies needed and read through instructions.

    (Click Image to Enlarge)


    Step 2:
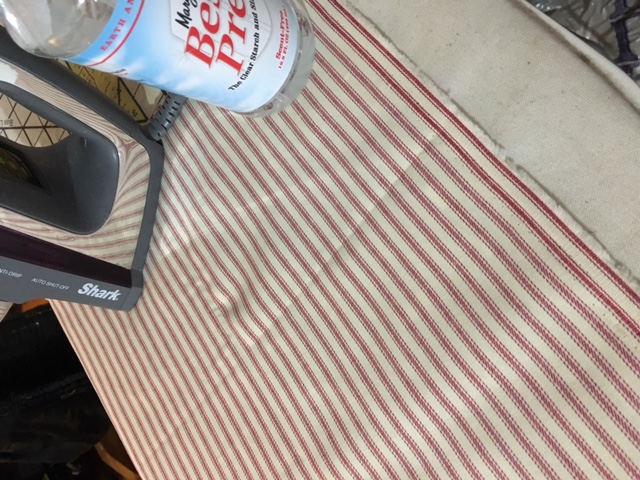
    Print out template of design. Press fabric with a sizing product.

    (Click Image to Enlarge)


    Step 3:
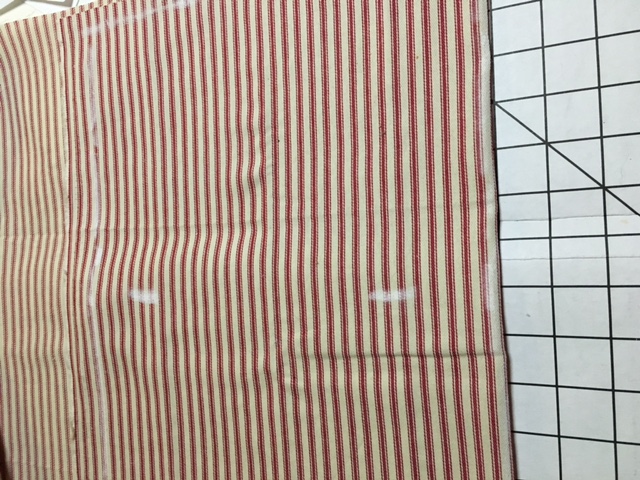
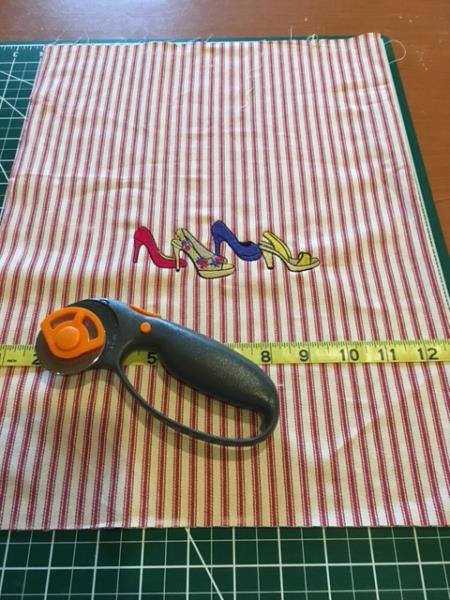
    With chalk, do a rough outline the shape and size of the bag. Allow 1 1/4" to turn in for the casing at the top for the drawstring, add 5/8" seam allowance for the one side and the bottom of the bag. Please note that there is only 1 side seam. So my fabric is 26" wide by 18" tall. The top of the embroidery is 7" down from the finished top.

    (Click Image to Enlarge)


    Step 4:
    Mark the approximate area you want the embroidery to be.


    Step 5:
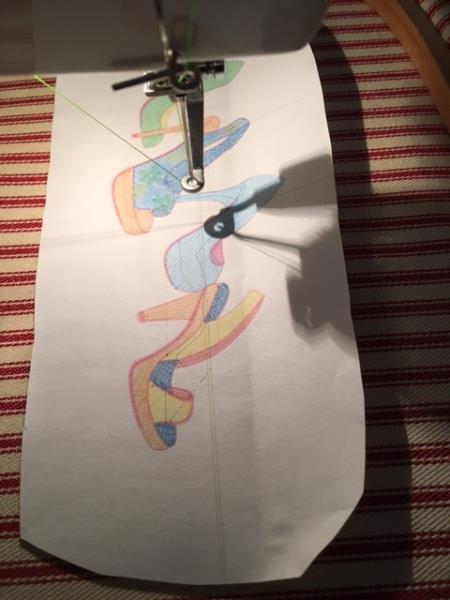
    Hoop the fabric with two sheets of cutaway stabilizer. Place template inside hoop, mark center.

    (Click Image to Enlarge)


    Step 6:
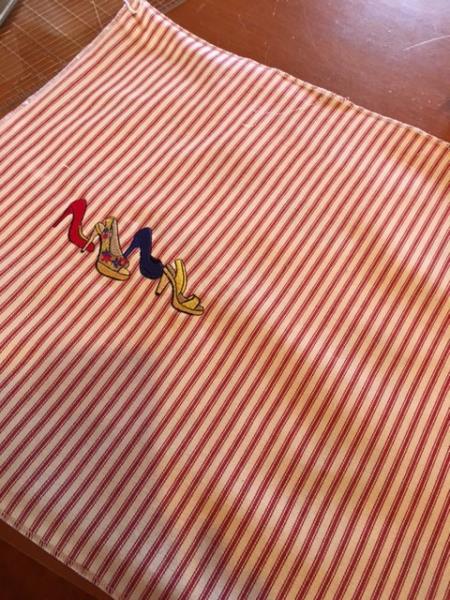
    Stitch out design.

    (Click Image to Enlarge)


    Step 7:
    Trim the stabilizer one layer at a time close to the design, being careful not to cut into the fabric or design. Now press fabric with a sizing product on the wrong side.


    Step 8:
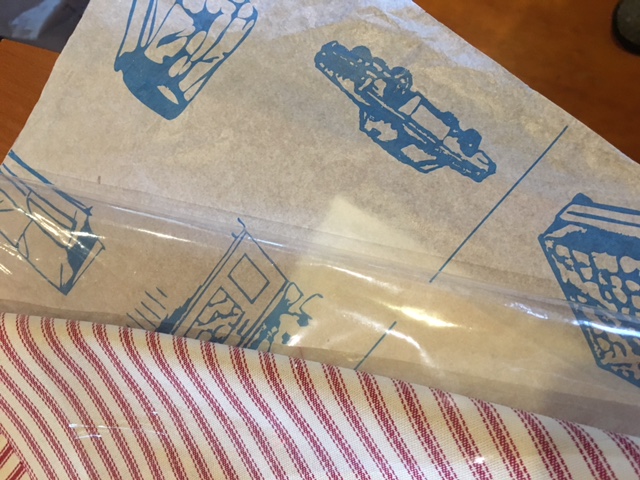
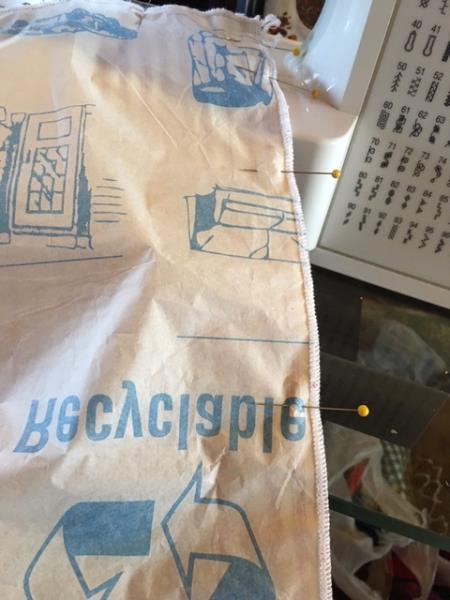
    With wrong side of the embroidered fabric facing up, lay the clear vinyl over the top keeping the tissue paper that came with the vinyl on. Trim the vinyl to the size of the fabric. You will have a sandwich of bottom fabric, vinyl middle of sandwich, and the top layer is the tissue. By leaving the tissue paper on it keeps the vinyl from sticking to your machine, making it easier to sew. If you have a "walking foot" for your machine you can use it instead of the paper. Pin layers together, keeping the pins within the seam allowance.

    (Click Image to Enlarge)


    Step 9:
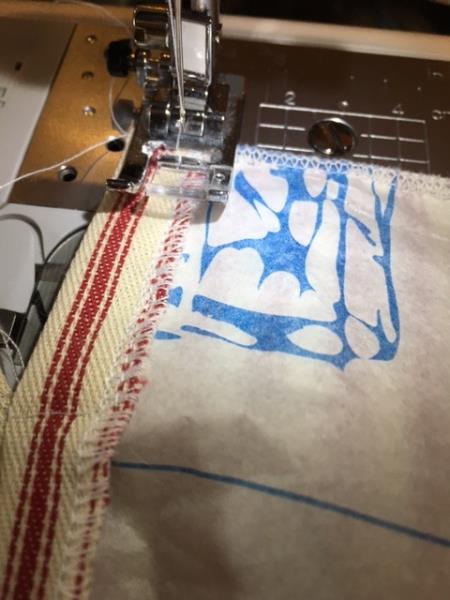
    Measure down at top and mark 1 1/4" down from edge of fabric. Stitch on that mark the width of the fabric. Next you can trim the vinyl from the top to the stitching line.

    (Click Image to Enlarge)


    Step 10:
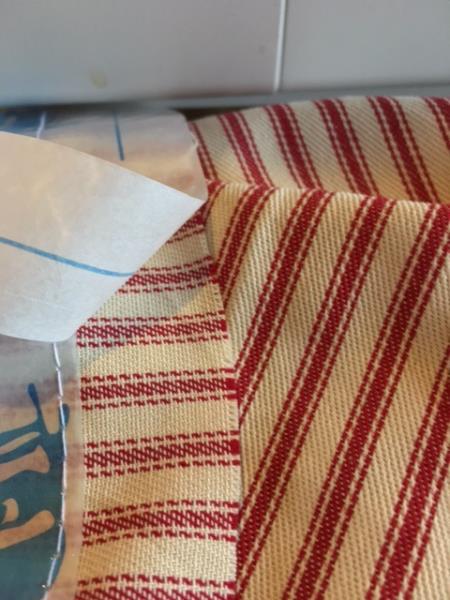
    Using your serger, serge all around the sandwich, being careful to remove your pins as you come to them. If you do not have a serger, set your machine to a zigzag and stitch around the sandwich.

    (Click Image to Enlarge)


    Step 11:
    Fold the sides of the fabric width wise with right sides together and stitch across bottom and up the side seam, using a 5/8" seam allowance, stopping 2 1/2" from the top.

    (Click Image to Enlarge)


    Step 12:
    Finger press the side seam open all the way to the top. Next turn the top edge to the inside 1 1/4" and pin in place. Stitch to form the casing for the drawstring.

    (Click Image to Enlarge)


    Step 13:
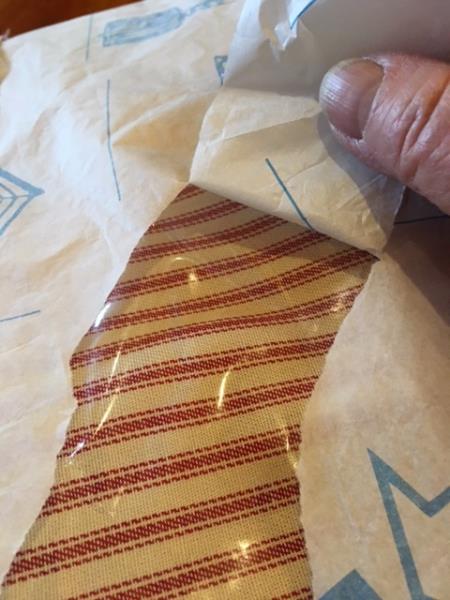
    Remove the tissue paper, then turn the bag right side out.

    (Click Image to Enlarge)


    Step 14:
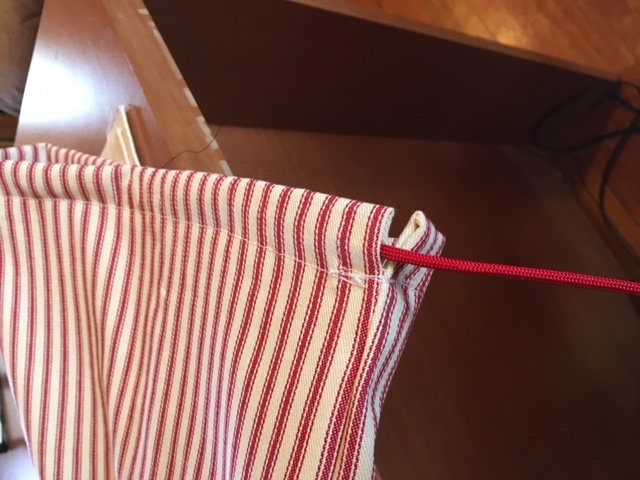
    Cut the cording for the drawstring (44" for mine) and using a safety pin insert the cord through the casing.

    (Click Image to Enlarge)


    Step 15:
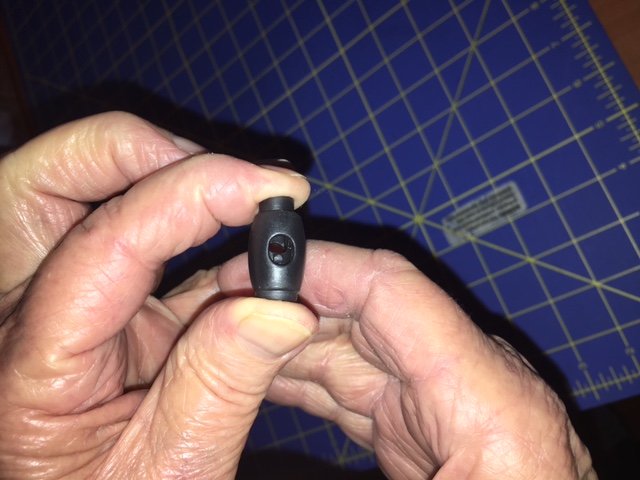
    You will need to insert the cord ends into the Cord Stops by squeezing stop ends together.

    (Click Image to Enlarge)


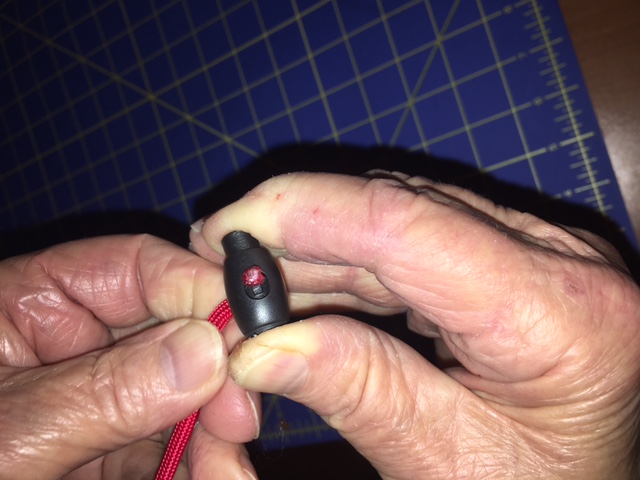
    Step 16:
    Once you have the Cord Stop open insert the cord into the stop.

    (Click Image to Enlarge)


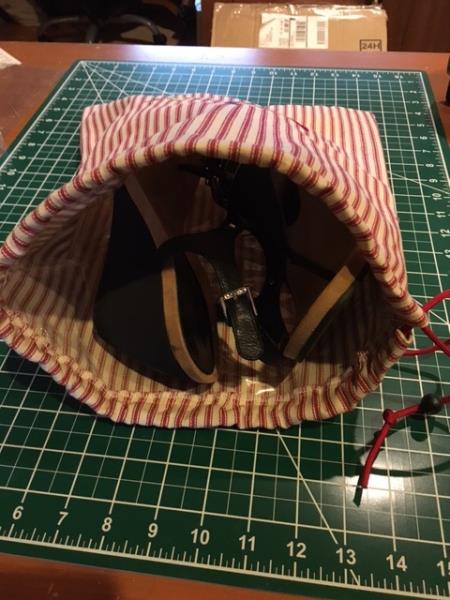
    Step 17:
    Once you have the cord stops on each end of the cording, tie a knot in the end of each drawstring. Slip a pair of shoes into the bag.

    (Click Image to Enlarge)


    These would also make a good gift for a man in your family or friend. Just increase the size and choose a design that the man has an interest in. I hope you have fun making some of these Travel Shoe Bags!!
    Meet the Author: Ruth Vangrowski
    Ruth Vangrowski
    Ruth works for Great Notions. Has been sewing for over 50 years and embroidering for more than 30 years.
    More From This Author
    Link is Broken, Please check the URL
    Exclusive Embroidery Offers!
    Copyright © {{ currentDate | date:'yyyy'}} - EmbroideryDesigns.com
    GET 50% OFF! ×