Border OptionsHugging border, circle, square, or rectangle — with a 3mm satin stitch.
Backing OptionsAvailable with iron-on, sew-on, or velcro backing.
Fast ShippingShipped quickly from the USA.
Free Online Tools
Powerful embroidery utilities that save time and prevent costly mistakes.
Stitch AssistantRECOMMENDED
Get the exact stabilizer, machine settings, needle, and thread color sequence for every embroidery design you purchase — based on that design's stitch density, dimensions, and color count.
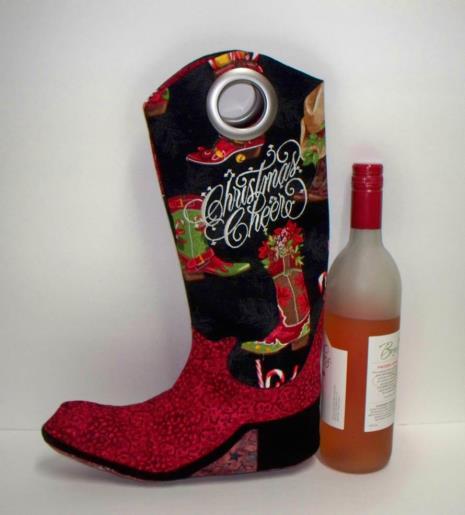
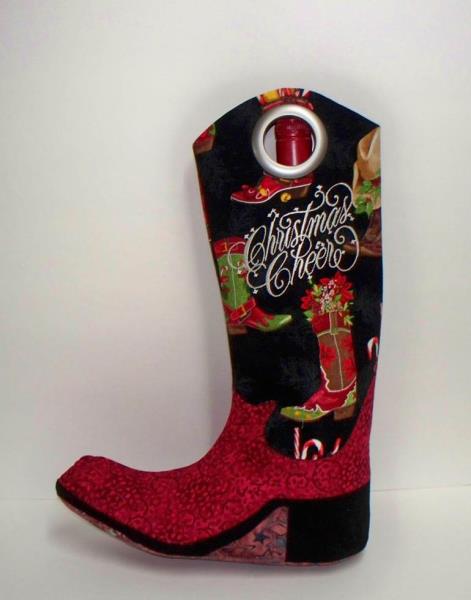
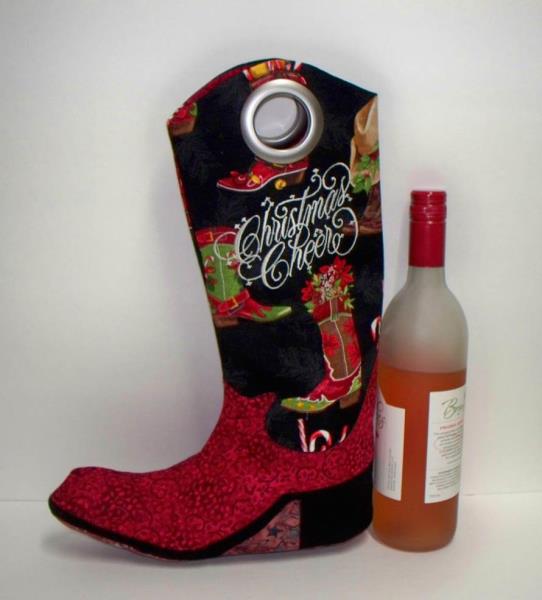
Present your wine gift in style with this cowboy boot-shaped wine tote. Designed for cowboy or cowgirl enthusiasts, it adds a unique flair to any holiday or special occasion. Step-by-step instructions are included.
Start with a purchased commercial pattern, add the embroidery, and assemble the boot for a beautiful presentation of a wonderful wine or other libation. This boot could also be used for cookie treats or in place of a Christmas stocking with the person’s name embroidered on the boot.
Step 1:
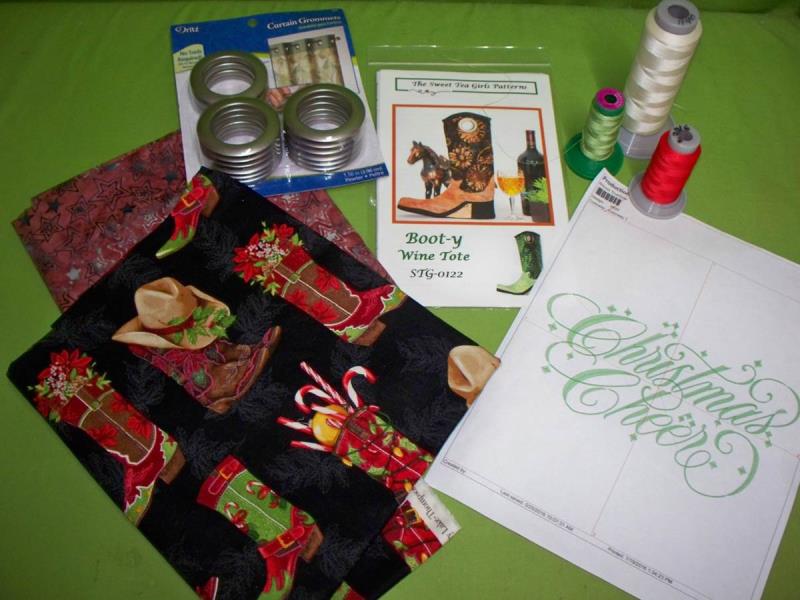
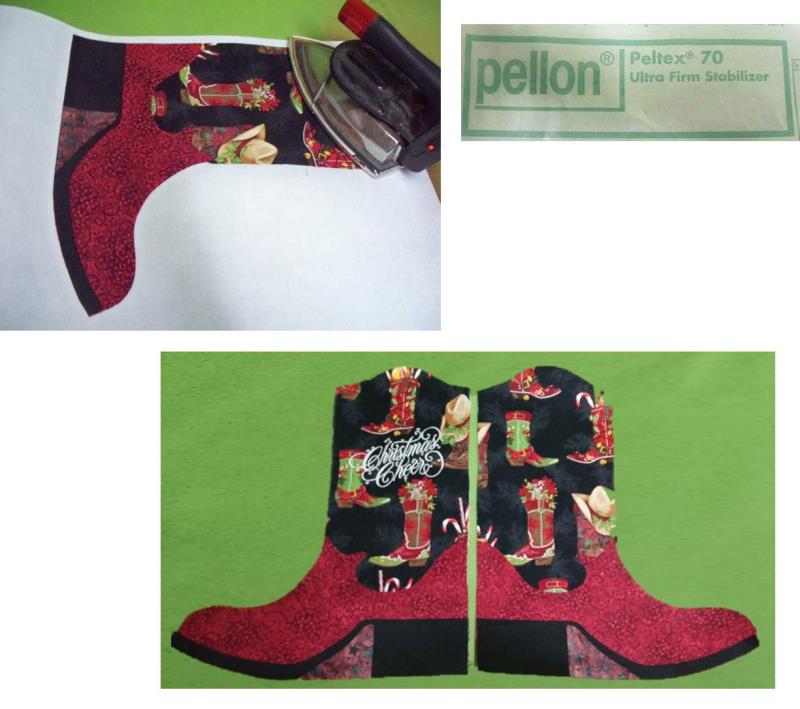
Gather the materials and read through the instructions before beginning. Print out a paper template of the design and color sequence. Though not shown in the pattern instructions, I wanted a firmer boot so I backed the assembled boot parts and sole with Pellon 70 Ultra Firm Stabilizer. This is very stiff and made it a bit difficult to sew the sole onto the boot and turn the boot but in the end I was very happy with the results. If you have trouble working with your hands you will not want to do this. While working with this pattern and doing the project, I thought another way to add some stability would be to quilt the boot pieces after assembly and also quilt the sole. I have not tried this but it was another thought. Follow the pattern instructions for purchasing the fabrics and assembly of the tote. Measure the pattern area (upper boot) for the embroidery and re-size the embroidery design if needed. The design used for the project was re-sized to 5” in width.
(Click Image to Enlarge)
Step 2:
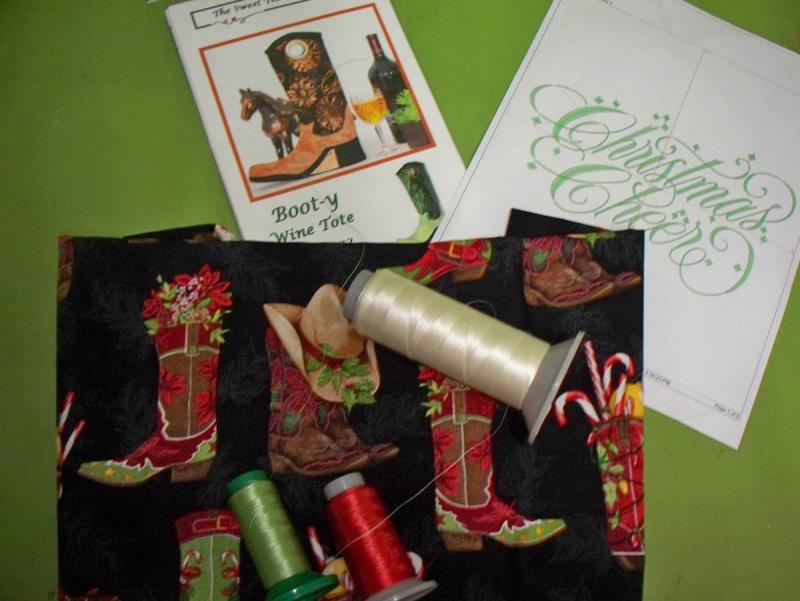
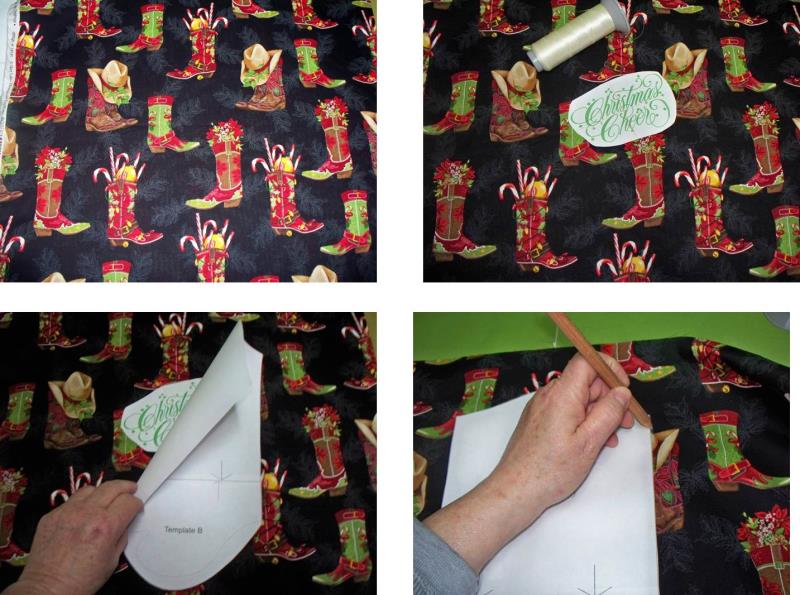
When using a fabric with a printed pattern, audition and choose an embroidery thread that will stand out when embroidered.
(Click Image to Enlarge)
Step 3:
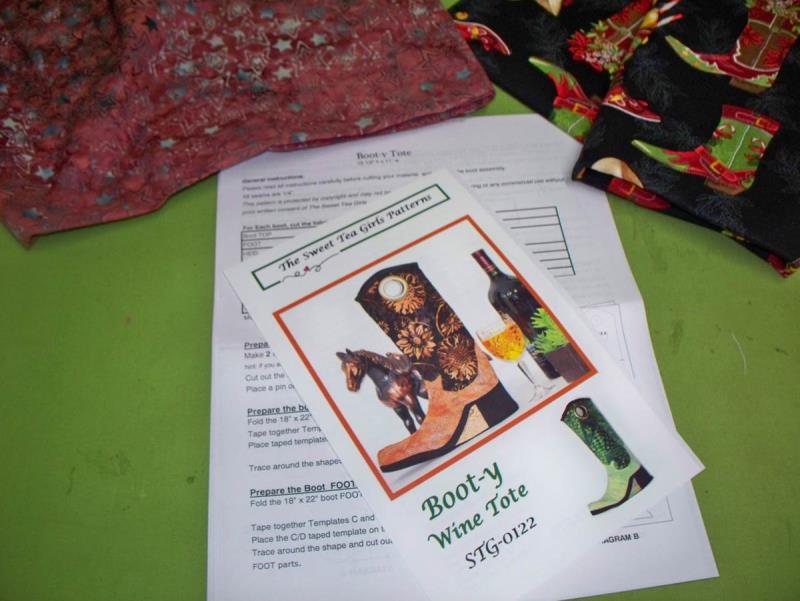
Read through the pattern instructions thoroughly before beginning and choose which fabrics will be used for which parts of the tote. Note: if I do this pattern again, I will use black fabric for the sole. The printed fabric I used tended to show a little bit after the toe was stuffed.
(Click Image to Enlarge)
Step 4:
Analyze the print of the fabric and determine where the embroidery will show up the best. Cut out the paper template and pin it in place on the fabric. Assemble the upper boot pattern pieces, center and lay it over the design template and grace around the fabric with a chalk pencil onto the fabric.
(Click Image to Enlarge)
Step 5:
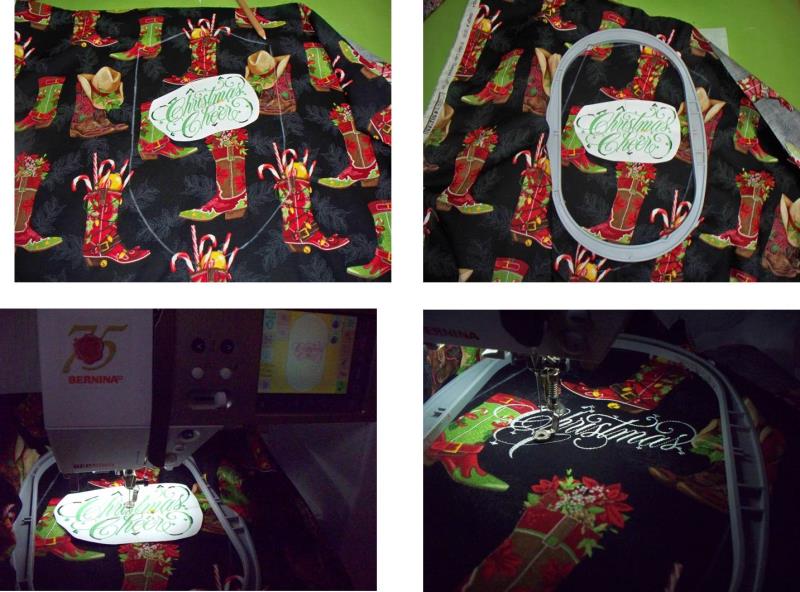
Hoop the fabric with one layer of tearaway stabilizer. Load the design on the machine, center the needle over the center of the template, and stitch the design.
(Click Image to Enlarge)
Step 6:
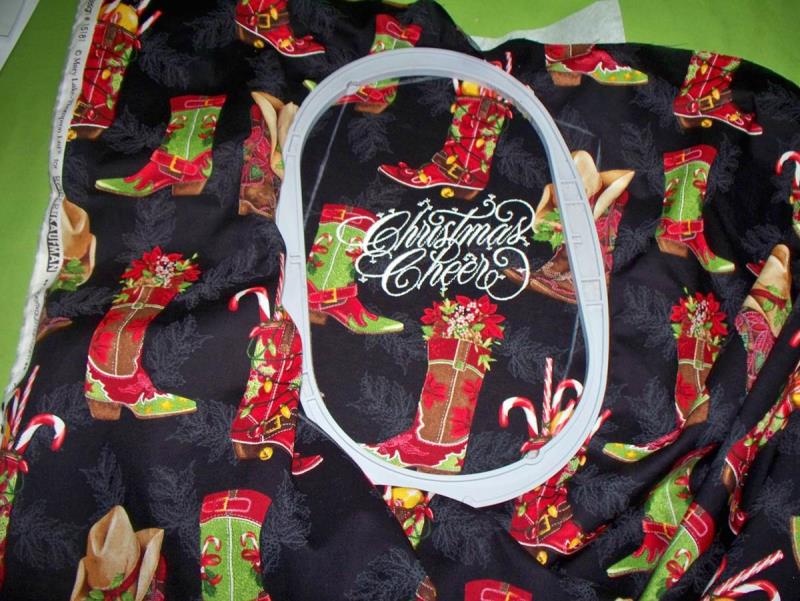
After the design has finished stitching, remove the fabric from the hoop and remove the excess stabilizer.
(Click Image to Enlarge)
Step 7:
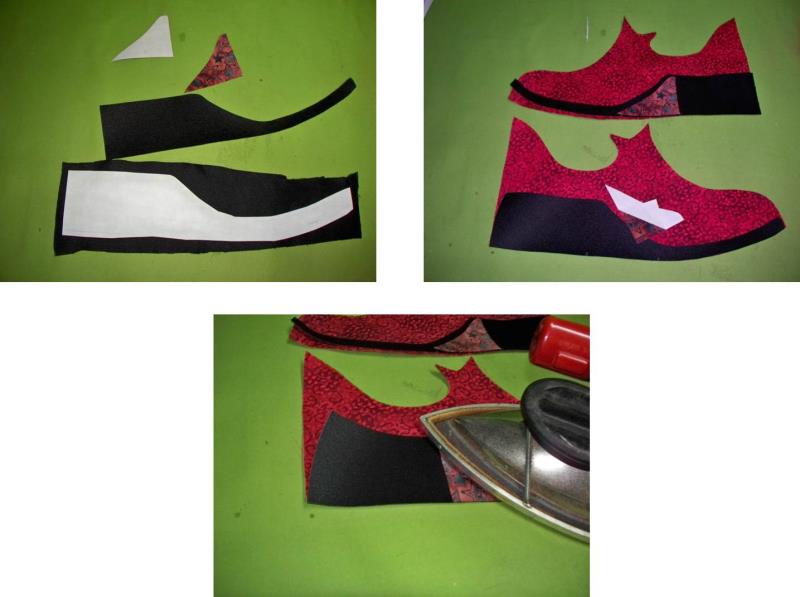
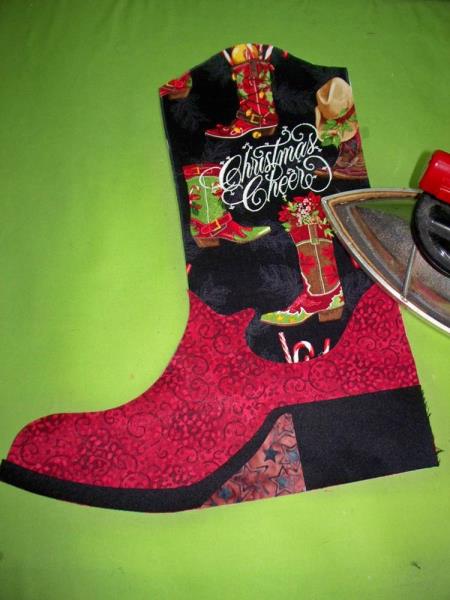
Follow the pattern instructions for tracing the pattern pieces onto the fusible product (I used Heat ‘n Bond Lite for this project). Press the fusible to the wrong side of the appropriate fabric and cut out the pattern pieces. Assemble and press the fabrics together according to the pattern instructions.
(Click Image to Enlarge)
Step 8:
Align the boot bottom over the top and press into place as noted in the pattern instructions.
(Click Image to Enlarge)
Step 9:
This is where I varied the instructions. I fused the Heat ‘n Bond Lite to the back each full boot piece and then pressed it on to the Pellon 70 and then cut each boot piece out of the Pellon. I also did fused the sole fabric piece to the Pellon 70 and cut it out.
(Click Image to Enlarge)
Step 10:
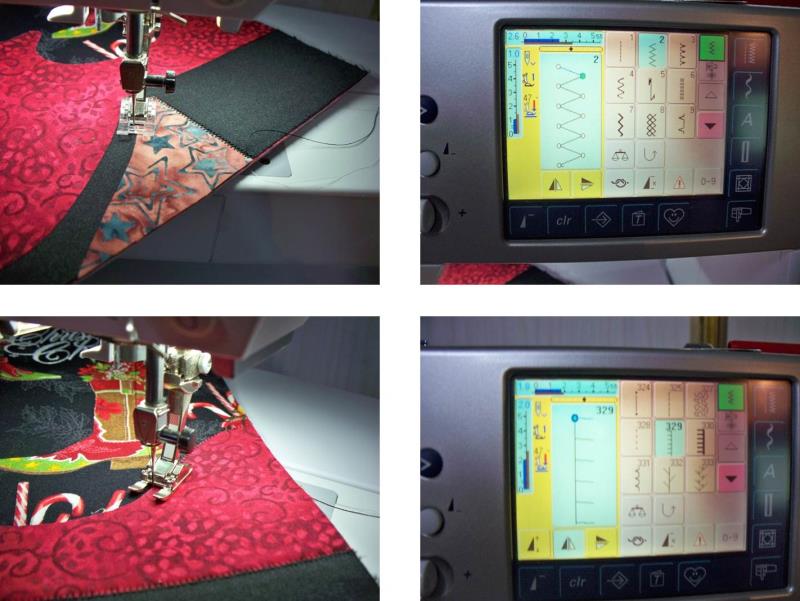
The pattern instructions say to stitch around certain areas of the boot bottom. I used a satin stitch for the heel/sole area and a blanket stitch for the upper foot section in red. I used black embroidery thread to do the stitching.
(Click Image to Enlarge)
Step 11:
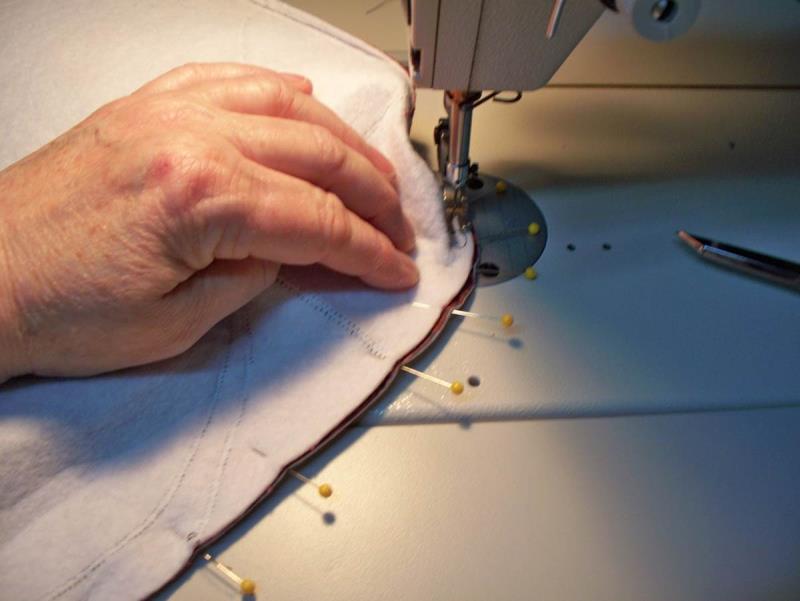
I was able to ease the sole onto the boot bottom even though it was backed with the Pellon 70. I used a 2.5mm stitch length and stitched twice around the sole. The heavy stabilizer did make it more difficult to work with, but it made the boot stiffer.
(Click Image to Enlarge)
Step 12:
Instead of binding the top edge I just cut the lining piece as instructed and lined the top of the boot and then added the grommets as stated in the pattern instructions. Purchase a good wine and insert into the boot for the perfect holiday gift.
(Click Image to Enlarge)
Step 13:
Congratulations on completing the Wine Boot Tote…Cheers!
Ramona Baird has been in the embroidery industry for over 23 years. She and her husband owned a commercial and retail embroidery store in Arizona for many years. She is an experienced digitizer having been mentored by award-winners Pat Williams and Lindee Goodall. Ramona is a contributor to “Creative Machine Embroidery” magazine having 5 covers to her credit. Ramona has worked for Wilcom America and served many years as Education Director for the American Sewing Guild. With a degree in fashion design, she is able to design and execute patterns which Pat Williams says are “out of the box” in creativity and application. Ramona likes to challenge the boundaries of embroidery and bring new and exciting designs, ideas, and projects to EmbroideryDesigns.com. She wants embroiderers of all levels to increase their skills and enjoyment in using their embroidery machine for gift-making and personal pleasure.