














































PROJECT INSTRUCTIONS


PROJECT INSTRUCTIONS

Doggie Diaper Embroidery Project
By
Ruth Vangrowski
on
November 30, 2016
Description
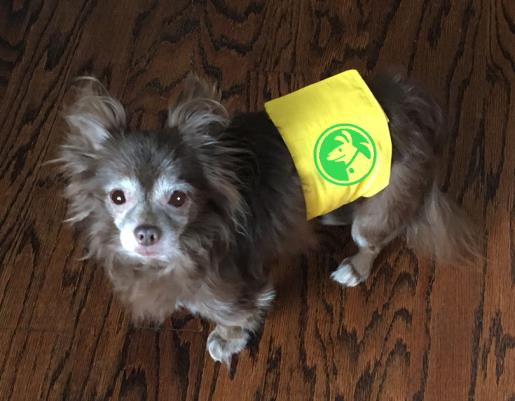
Do you have a male dog that just cannot be trained not to mark objects or puddles if he gets too excited? This is for you if you answered yes!
Step
of
Materials
Project Preview Video

CHORKIE LOVE
$4.89
$2.45
Circle Price: $2.30

DOG EMBLEM
$3.89
$1.95
Circle Price: $1.80

DOG GONE CUTE LETTERS
$3.89
$1.95
Circle Price: $1.80

SWEET DREAMS
$3.89
$1.95
Circle Price: $1.80

Cut Away Stabilizer - 2.5 Oz wt.
$8.94
Circle Price: $8.05

Cut Away Stabilizer - 2 oz wt.
$8.52
Circle Price: $7.67

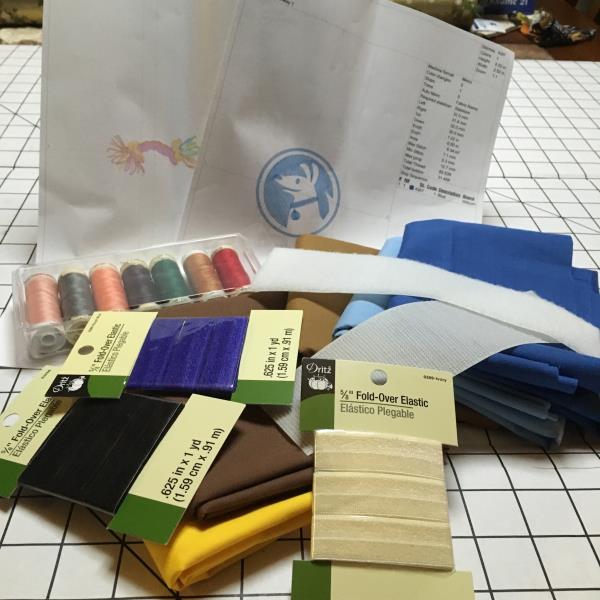
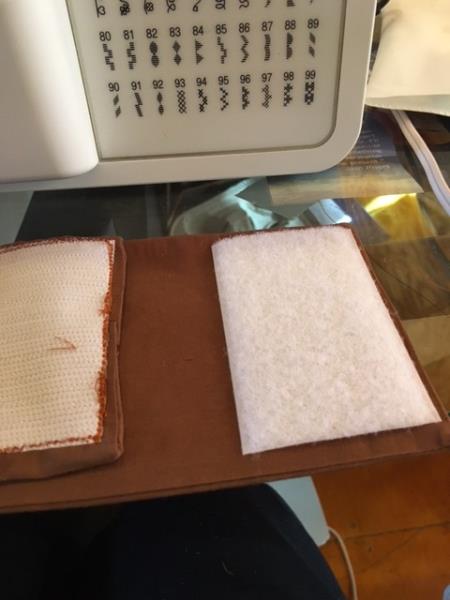
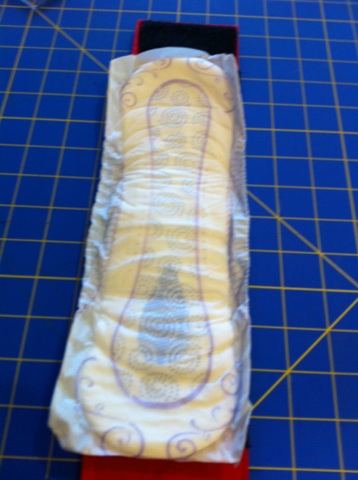
| Materials 1/2 yard of 44/45" wide fabric, 100% cotton or poly/cotton blend or 1 fat quarter 2 sheets of tear away backing per design Velcro 7" of 2" wide sew on, DO NOT use self-adhesive or commercial strength, per diaper Package of 5/8" foldover elastic to contrast or match fabric Poise pad Sewing thread to match fabric Embroidery thread per design color chart, thread used by Robinson-Anton Designs by Great Notions |
| Designs used in this project |
| Final Product: What You Will Create |
 |
|
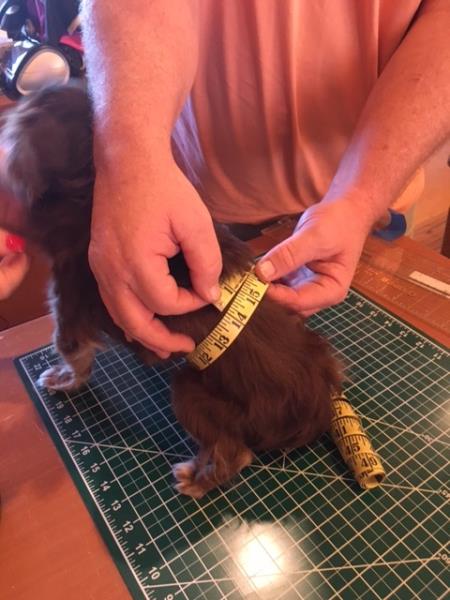
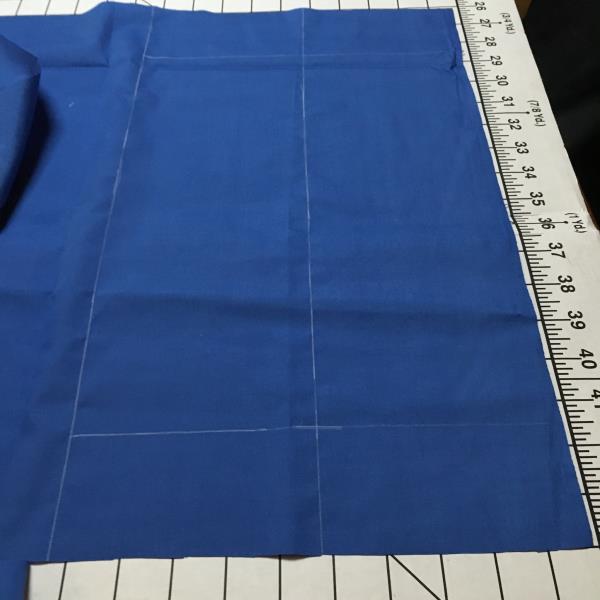
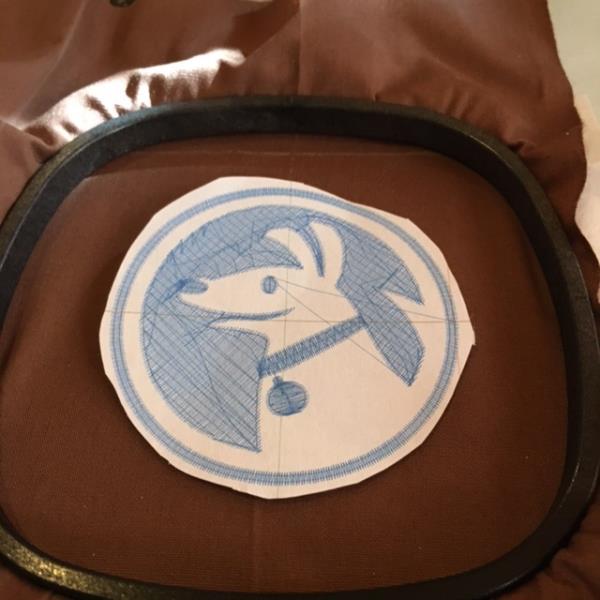
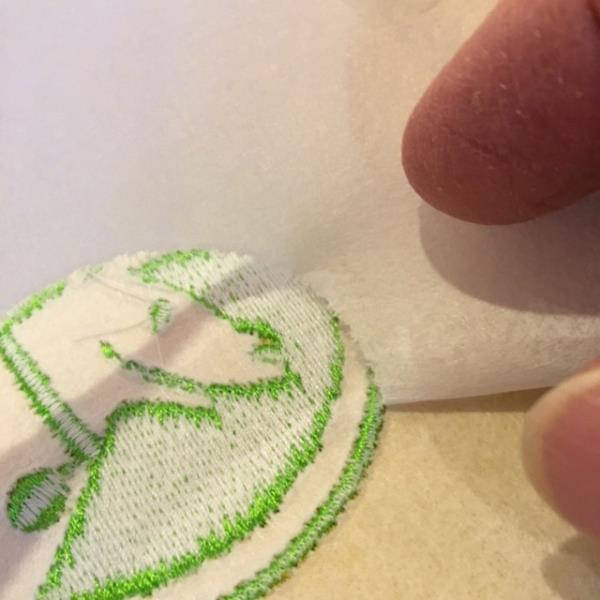
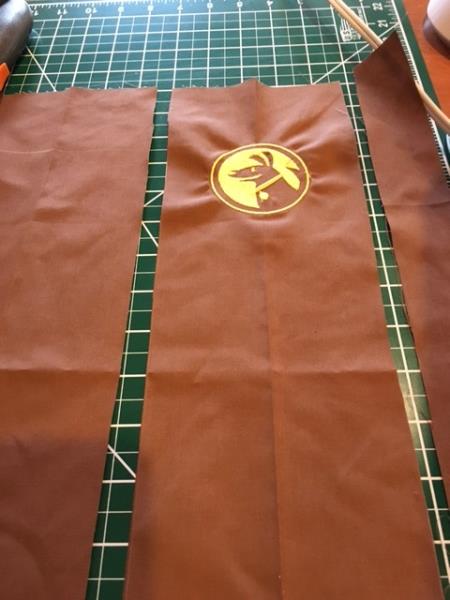
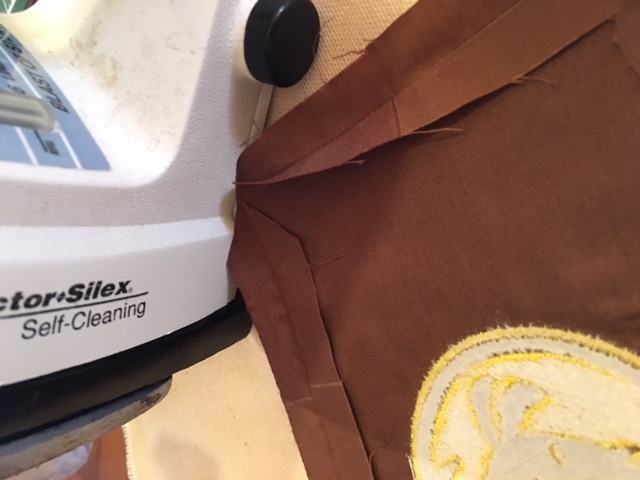
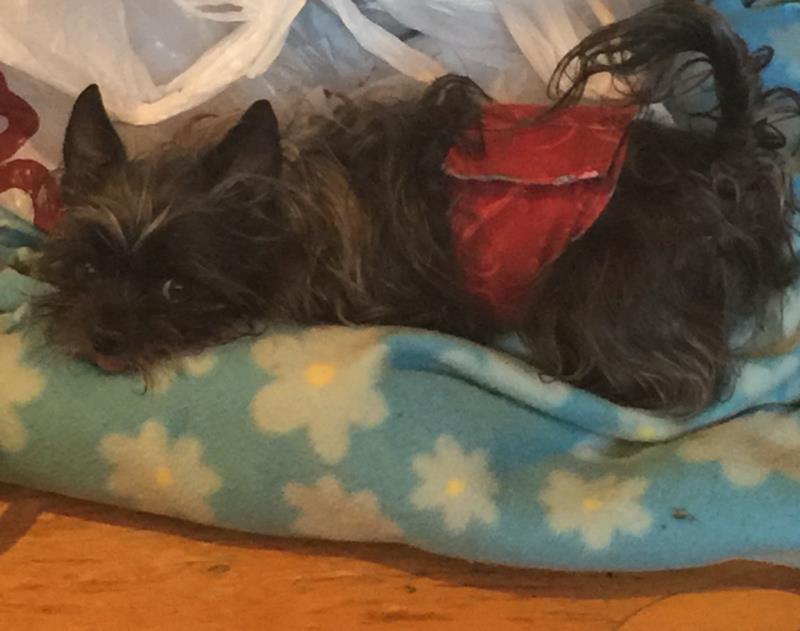
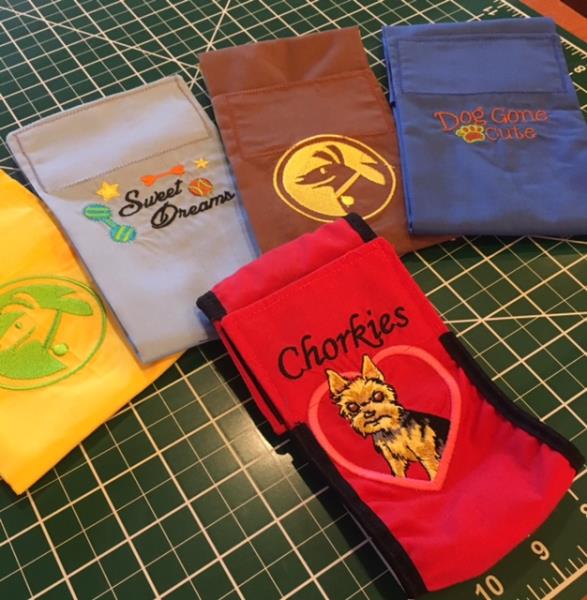
| I hope you have fun selecting fabric and designs to make these. Maybe you do not have a male dog that needs one, but they would make a nice gift to give to a friend that has a small dog that can not control it's self. |
Projects You May Like
Meet the Author:
Ruth Vangrowski

Ruth works for Great Notions. Has been sewing for over 50 years and embroidering for more than 30 years.
Feedback
Characters Remaining
Please Login to Submit a Feedback
Invalid Characters, Please enter a valid Comment
Please enter a valid Comment
Reviewed On
Link is Broken, Please check the URL