Labor Day 10 Off 30
Live Chat
Embroidery Designs
Welcome, Embroiderer
Login
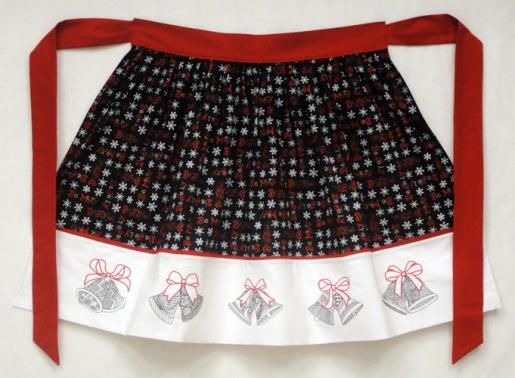
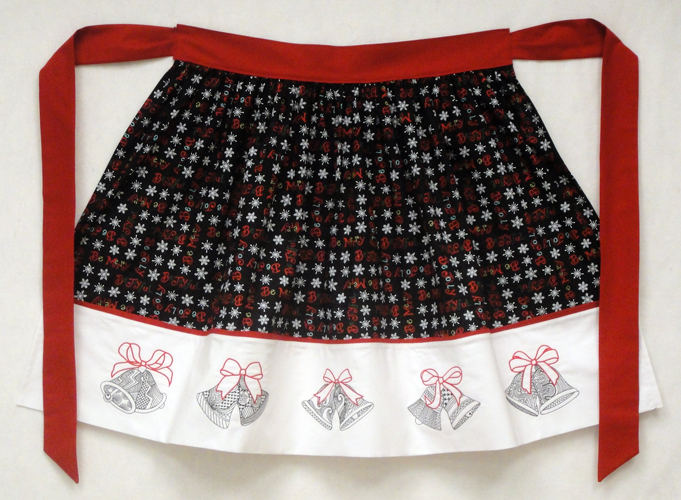
Bells are Ringing Christmas Apron

Bells are Ringing Christmas Apron Embroidery Project

By   Pat Williams   on   November 28, 2016
  • SKILL LEVELIntermediate
  • TIME REQUIRED04:00
  • FINISHED SIZE40.5 x 22 inches
Description

A simple but lovely Christmas apron to stitch or for yourself or as a great hostess gift.

Step of

Materials

Project Preview Video

Materials
  • 12 ½” x 42” white quilting cotton
  • 15” x 42” black, red and white Christmas print quilting cotton
  • ½ yard red quilting cotton
  • Red, white and black sewing thread
  • Red and black embroidery thread
  • 5 Christmas Bell designs from the Tangle Bells collection
  • Frixion® marking pen
  • Poly mesh stabilizer for 5 hoopings in a 5” x 7” hoop
  • 5” x 7” embroidery hoop

  • Designs used in this project

    Final Product: What You Will Create

    Preface:
    The length of this apron is perfect for someone who is about 5’ 5”. If you or the person you are making this for is shorter you might want to cut the Christmas print to 13” by the width of the fabric.


    Step 1:
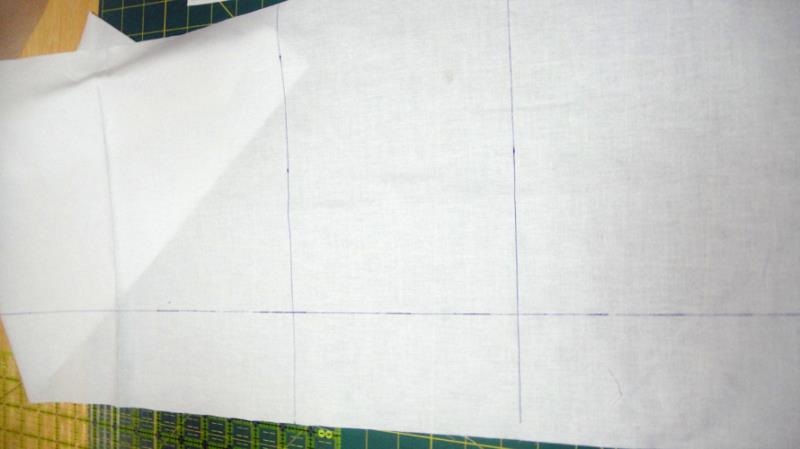
    On the 12 ½ x 42” white fabric with a Frixion® or other fabric marking pen; measure down and draw a line 3 ¼” horizontally across the width of the fabric; draw a vertical line down the center of the fabric; draw a vertical line 7” and 14” from the center line on each side of the center line. You will have 5 vertical lines. Trim the selvages from the fabric.

    (Click Image to Enlarge)


    Step 2:
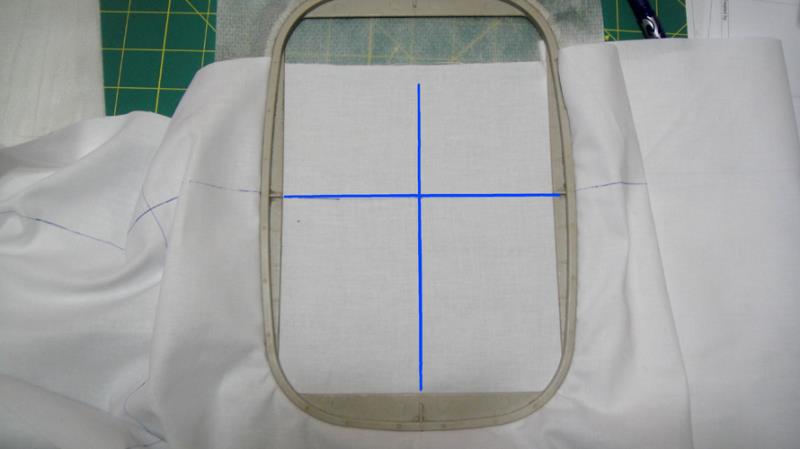
    Hoop the fabric so that the stabilizer fills the hoop, and the fabric is placed so that the horizontal and vertical lines are aligned with the marks on your hoop. The top of the fabric will not be enclosed within the hoop rings, but due to the nature of these lightly stitched designs it will be fine.

    (Click Image to Enlarge)


    Step 3:
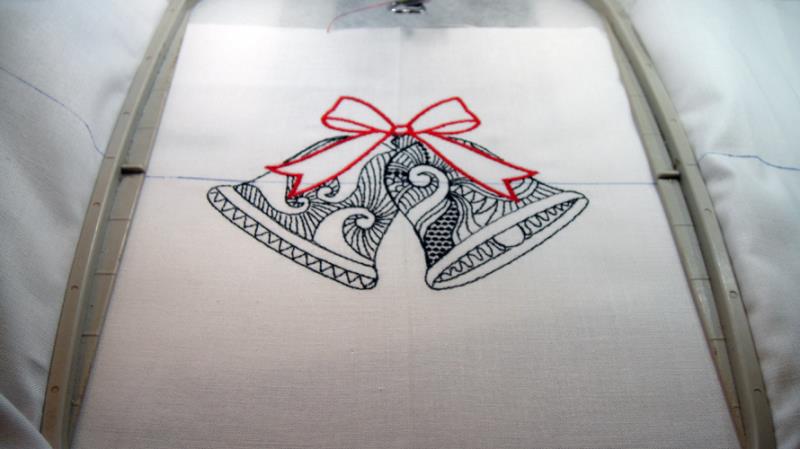
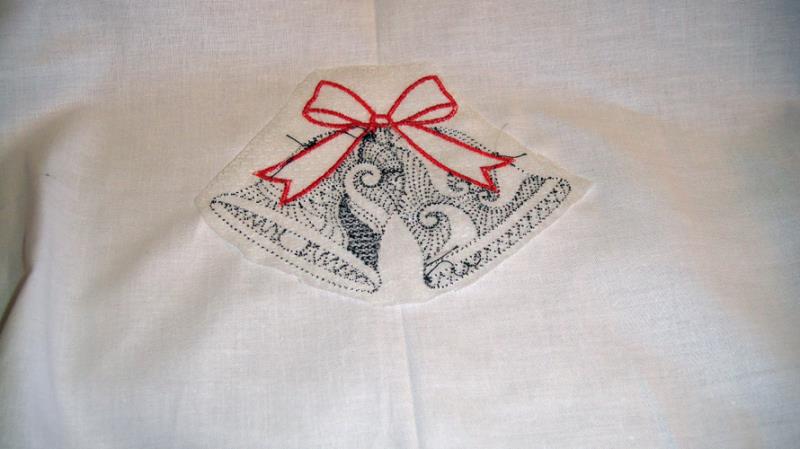
    Stitch your chosen bell design; the color sequence for all of the bell designs is Emerald Black (1001) and then Christmas Red (1147)

    (Click Image to Enlarge)


    Step 4:
    As each bell design is sewn remove the fabric from the hoop and trim the stabilizer about ¼” around each design; repeat Steps 2, 3 and 4 four more times to embroidery a bell on each vertical line.

    (Click Image to Enlarge)


    Step 5:
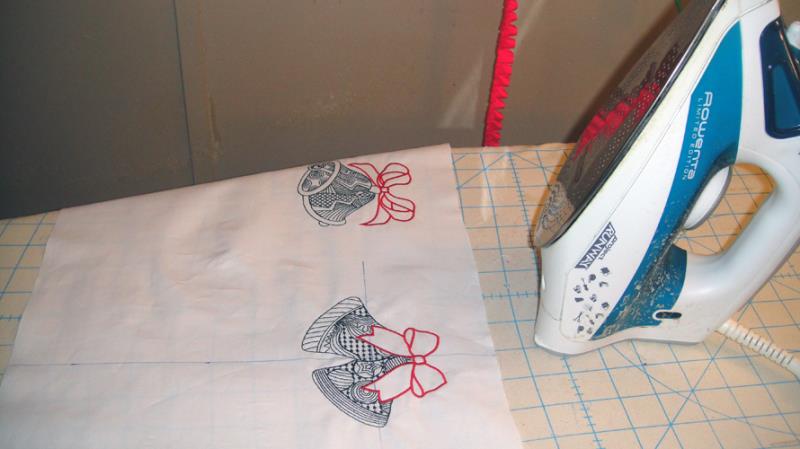
    Iron the Frixion® marking pen lines to remove them; do not have the iron too hot as it will tend to shrink the stabilizer.

    (Click Image to Enlarge)


    Step 6:
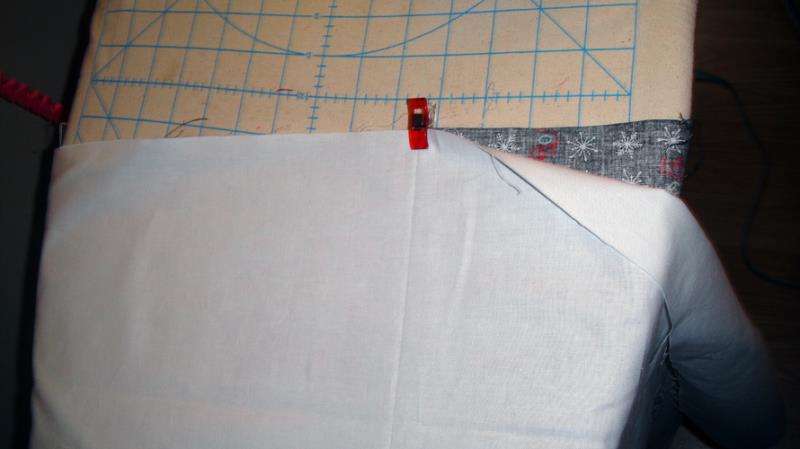
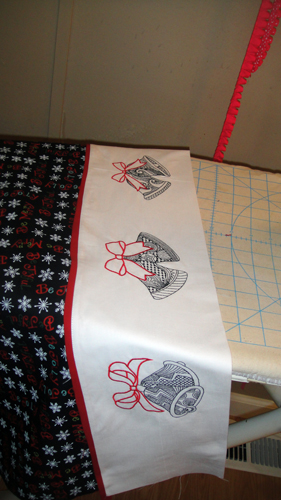
    The band will now look like this. It is folded in this picture to see how it looks, but you will be working with it unfolded in the next few steps.


    Step 7:
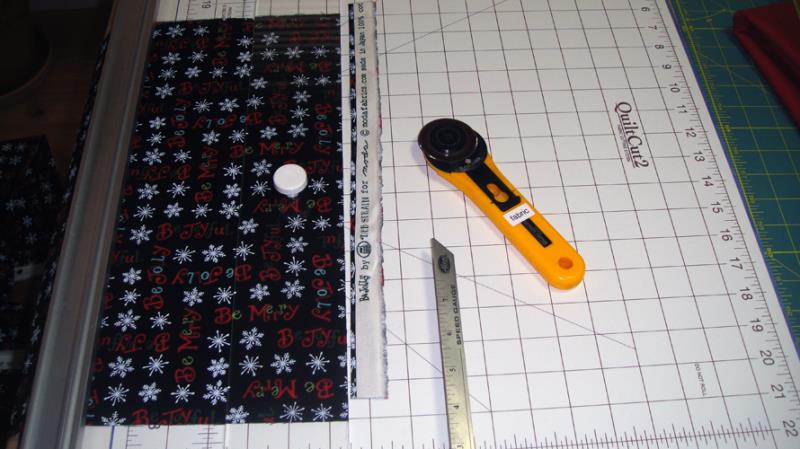
    Trim the selvages from the 15” x 42” Christmas print and from the red fabric.

    (Click Image to Enlarge)


    Step 8:
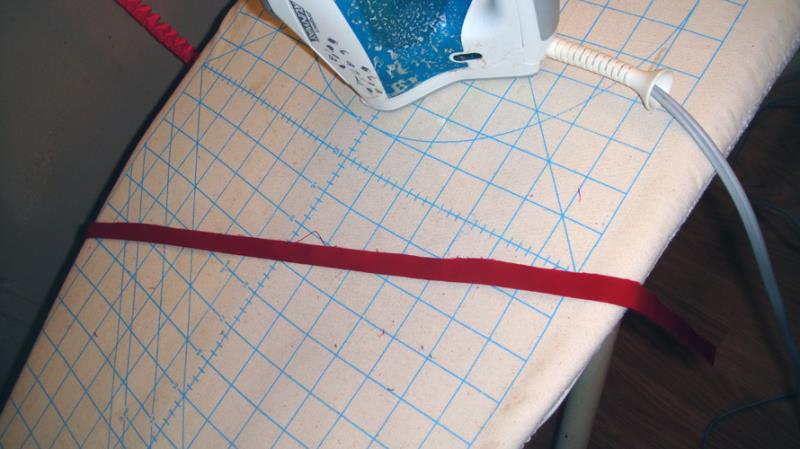
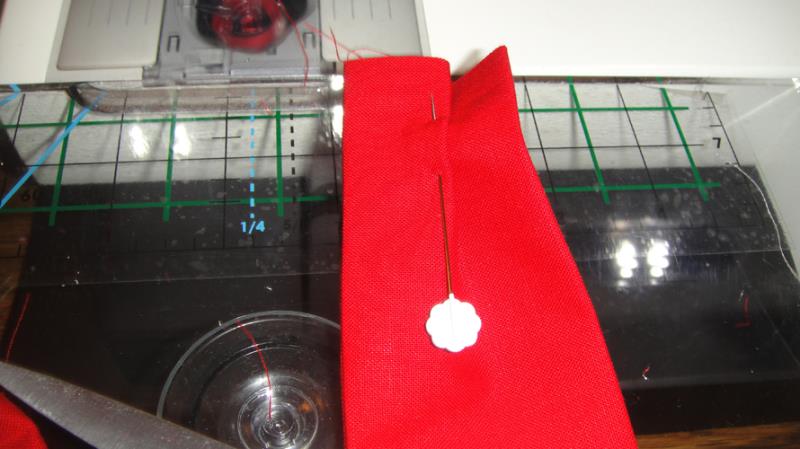
    Cut a 1” strip of the red fabric across the width of the fabric; press in half lengthwise to create a ½” flange.

    (Click Image to Enlarge)


    Step 9:
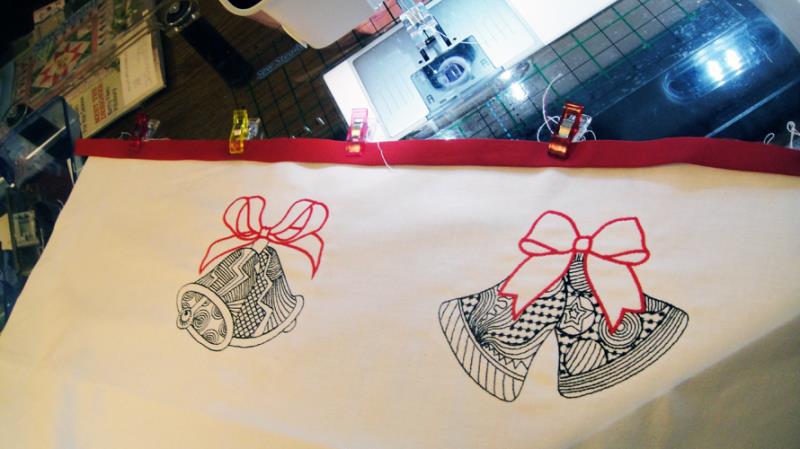
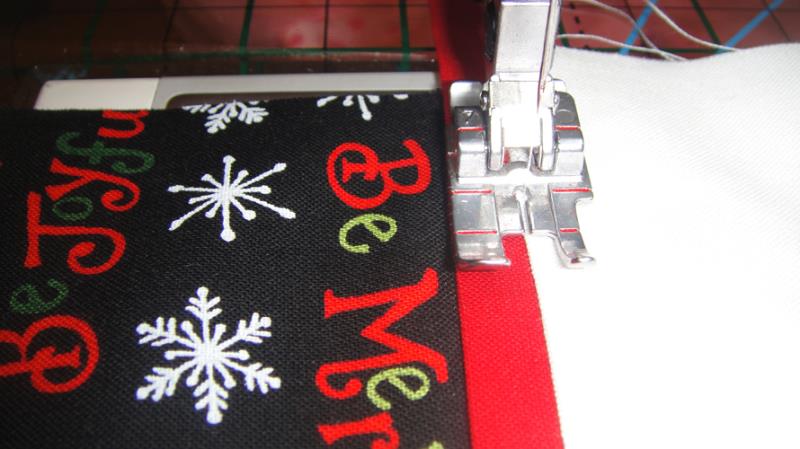
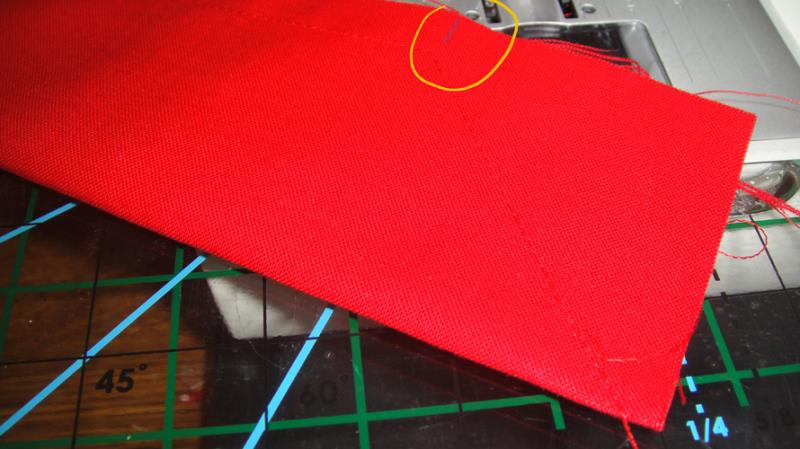
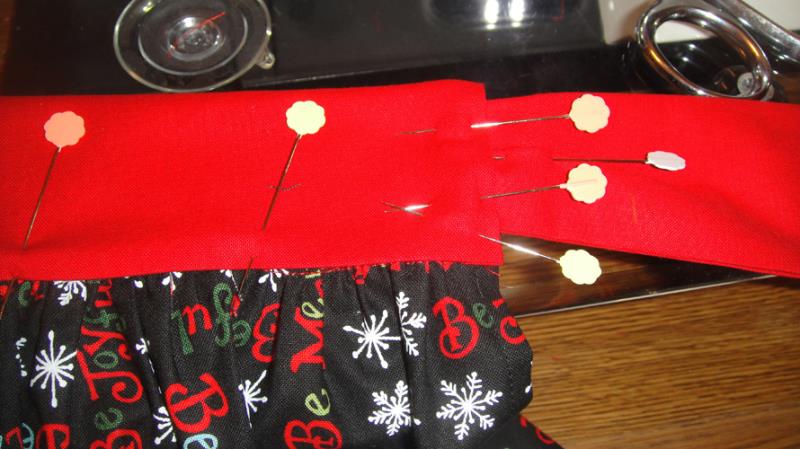
    Starting at the center of both, clip or pin the flange to the top edge only of the band raw edges together. In this case the flange was slightly longer than the band, just let the extra fabric extend beyond the band as we will trim all of this up in a few more steps.

    (Click Image to Enlarge)


    Step 10:
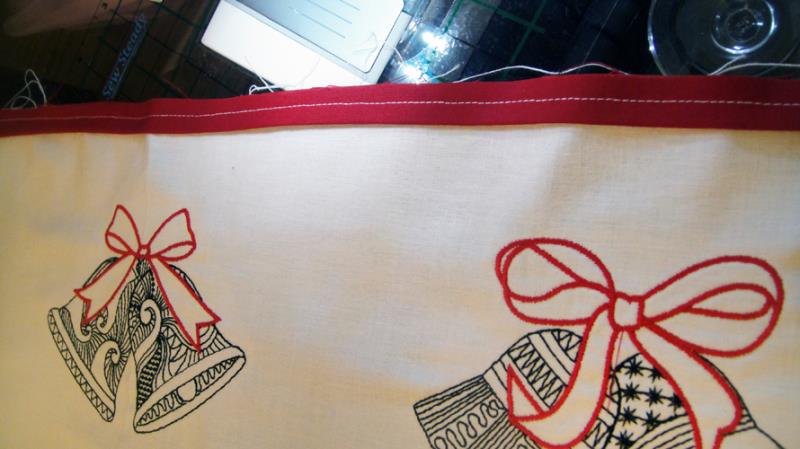
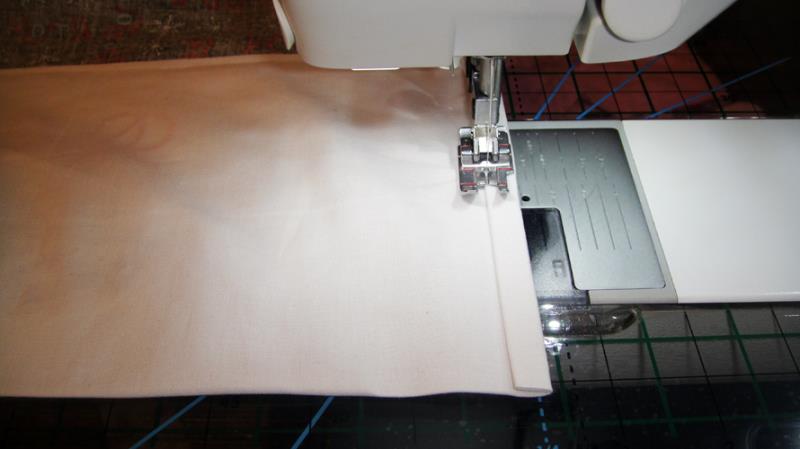
    Stitch the flange to the band with a ¼” seam, use white thread in the top and bobbin of your sewing machine.

    (Click Image to Enlarge)


    Step 11:
    Place your Christmas print right side down, place the bottom edge of the band right side down, and pin or clip to the bottom edge of the Christmas print. Stitch the band to the apron skirt with a ¼” seam allowance. Press the seam allowance towards the band. Note: Pin from the center so out so that if the fabrics are slightly different widths they will all be centered and we will straighten the outside edges in a few steps.

    (Click Image to Enlarge)


    Step 12:
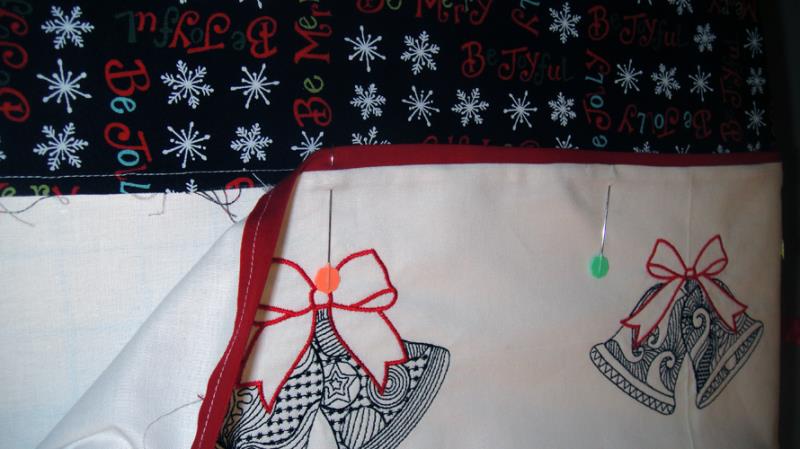
    Fold the band to the right side of the skirt, align the stitching lines of the flange and the skirt/ band and pin together.

    (Click Image to Enlarge)


    Step 13:
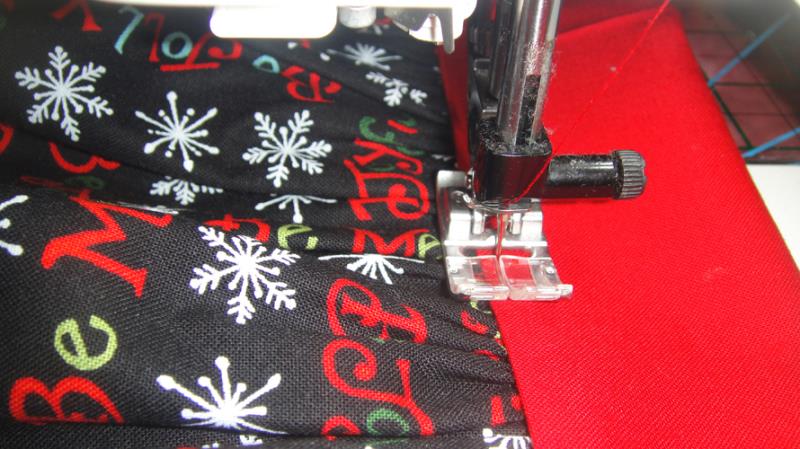
    Top stitch the band to the skirt about 1/8” below the flange.

    (Click Image to Enlarge)


    Step 14:
    (Click Image to Enlarge)
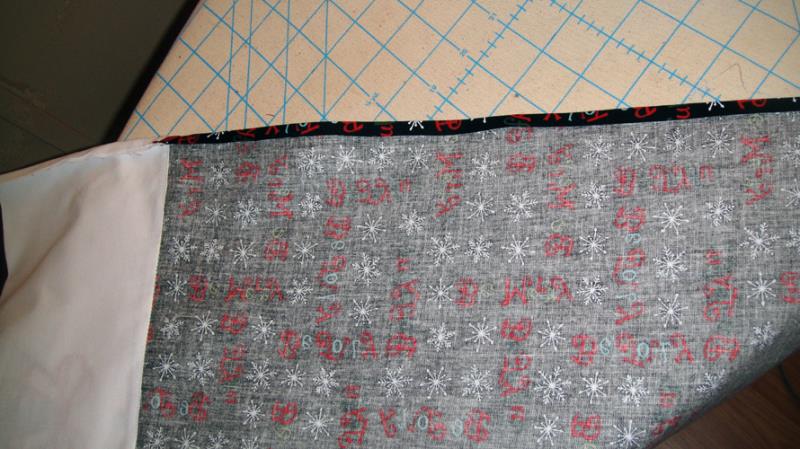
    Press the bottom crease in the band.


    Step 15:
    (Click Image to Enlarge)
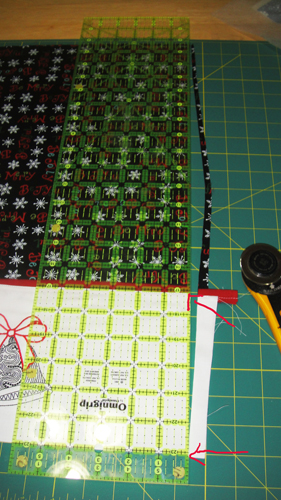
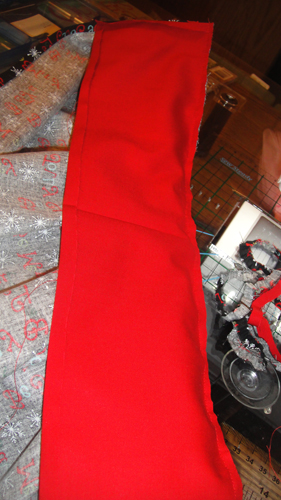
    Align the horizontal lines on your ruler with the bottom of the band and at the flange to be sure you are square and trim the edges on both sides of the apron.


    Step 16:
    Turn the fabric under 3/8” twice on both sides of the apron and press to form hems.

    (Click Image to Enlarge)


    Step 17:
    Stitch the hems close to the folded edges. I did stitch the white band hem with white thread and changed to black thread for stitching down the hems on the skirt.

    (Click Image to Enlarge)


    Step 18:
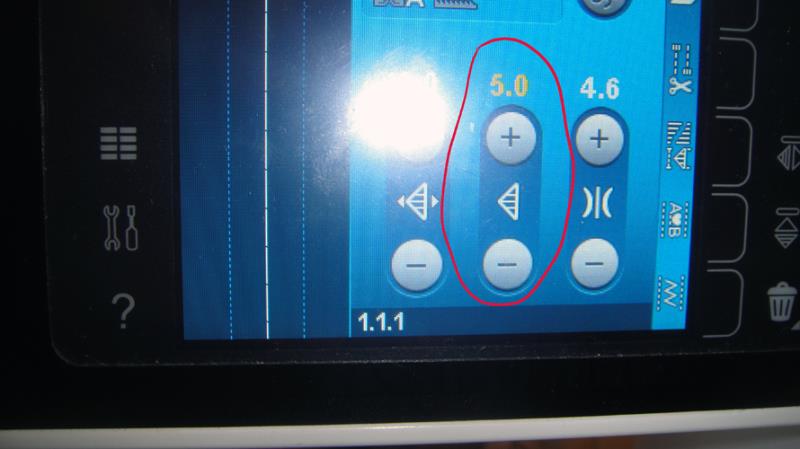
    Switch to a thread that matches your waist band and ties, change your stitch length to 4mm or longer to gather the skirt.

    (Click Image to Enlarge)


    Step 19:
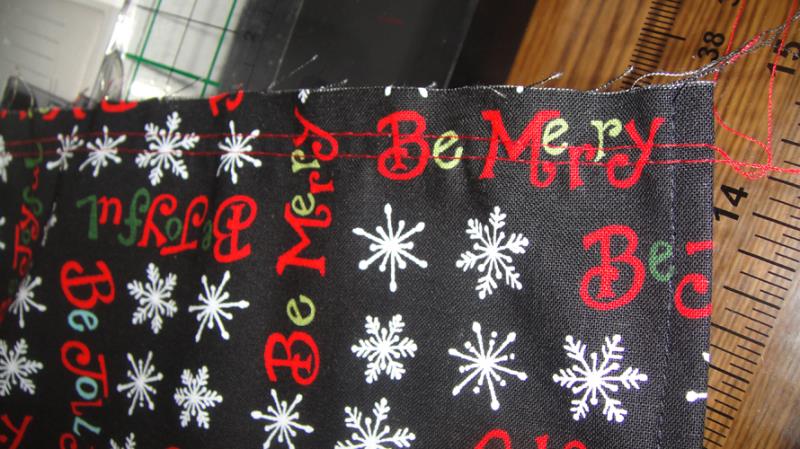
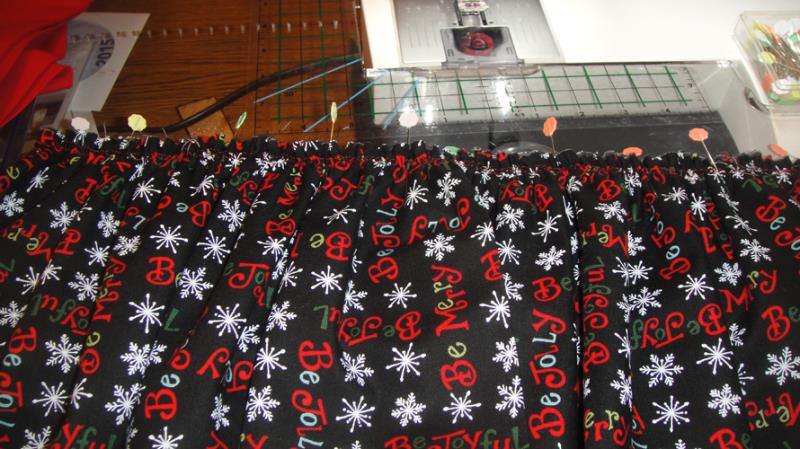
    Stitch across the top of the skirt at ¼” and ½” backstitching at only the start of the stitching.

    (Click Image to Enlarge)


    Step 20:
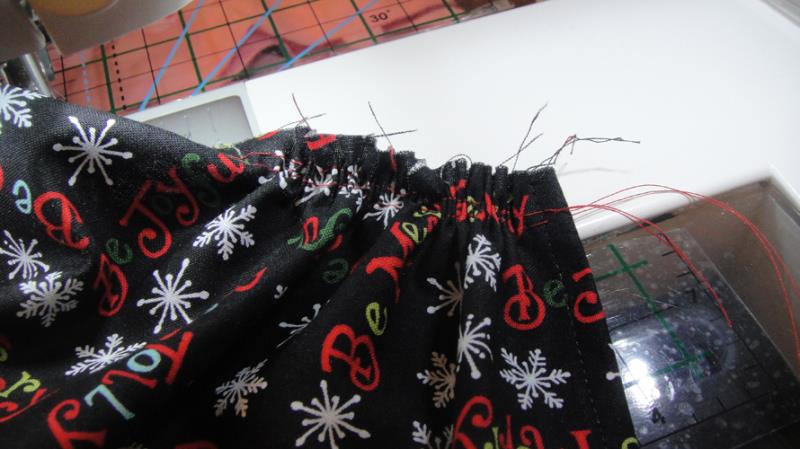
    Holding on to the bobbin thread from both lines of stitching, gently glide the fabric across the threads to gather the top of the apron to 18”.

    (Click Image to Enlarge)


    Step 21:
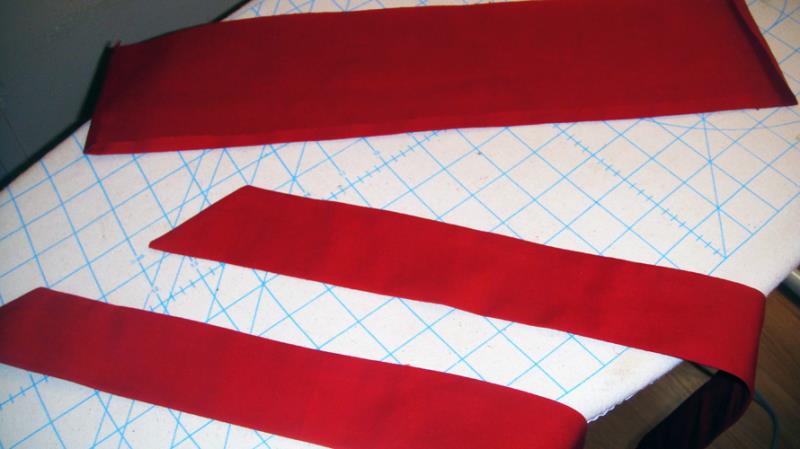
    Cut a 5” x 18 1/2” waist band and two 5” x 30” ties from the red fabric.


    Step 22:
    Fold the ties in half lengthwise and make a mark 2” above the end of each tie.

    (Click Image to Enlarge)


    Step 23:
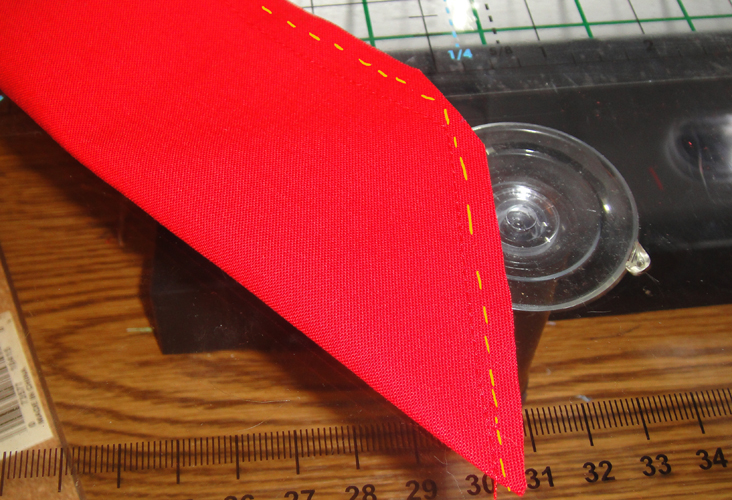
    Fold the ties in half lengthwise and make a mark 2” above the end of each tie. Change your stitch length back to your normal stitch length of 2.5mm, stitch down the side of the tie to the mark you made, pivot and sew diagonally to the opposite end of the tie, repeat for the second tie. Trim the diagonal line seam allowance to ¼”. Turn the ties right side out.

    (Click Image to Enlarge)


    Step 24:
    Carefully press the ties so that the seam is straight down the sides; press in a ¼” seam allowance on one long edge of the waist band and its two sides.

    (Click Image to Enlarge)


    Step 25:
    Starting at the center of the waist band and the center of the skirt pin the skirt to the waist band adjusting the gathers as you pin. The wrong side of the skirt is pinned to the right side of the waist band. Stitch with a 5/8” seam allowance.

    (Click Image to Enlarge)


    Step 26:
    (Click Image to Enlarge)
    Trim the seam allowance to ¼”. Press the seam allowance towards the band.


    Step 27:
    Make a ½” pleat in the straight end of the ties and pin in place.

    (Click Image to Enlarge)


    Step 28:
    Fold the waistband forward over the gathering stitch lines and pin; tuck the raw edges on the ties into the waistband sides about 3/8” and pin in place.

    (Click Image to Enlarge)


    Step 29:
    Top stitch 1/8th” all the way around the waistband to stitch the waist band and ties in place.

    (Click Image to Enlarge)


    Step 30:
    Congratulations your Bells are Ringing Christmas Apron is complete!

    (Click Image to Enlarge)


    For the love of embroidery…
    Pat Williams
    Meet the Author: Pat Williams
    Pat Williams
    Award winning Digitizer, Embroidery Educator, Author and a Consultant to the Industry, Pat Williams has 30 years of experience in the embroidery industry. Pat has won multiple awards for her digitizing expertise including the 2007 Impressions Awards Grand Championship, Best of Show as well as the 1st and 2nd Place Awards. Pat’s love of digitizing has afforded her the opportunity to write numerous articles for Impressions magazine in the United States and Images Magazine in Europe. In 2001 Pat was named “Embroidery Educator of the Year.” For many years Pat taught digitizing seminars at the ISS Shows in Long Beach, CA and for Compucon software. She now resides in Tucson, AZ.
    More From This Author
    Link is Broken, Please check the URL
    Exclusive Embroidery Offers!
    Copyright © {{ currentDate | date:'yyyy'}} - EmbroideryDesigns.com
    GET 50% OFF! ×