














































PROJECT INSTRUCTIONS


PROJECT INSTRUCTIONS
Festive Christmas Napkins Embroidery Project
By
Ruth Vangrowski
on
October 13, 2016
Description
Decorate your holiday table with these festive Christmas napkins, featuring elegant embroidery and colorful trim. Perfect for adding a touch of holiday spirit to your Christmas Day dinner. Step-by-step instructions are included.
Step
of
Materials
Project Preview Video

QUICK VIEW
Christmas Themed Embroidery Designs Bundle – Santa, Reindeer, Candy Cane, Hot Cocoa Mug & More (24 Designs)
$39.00
$23.40
Circle Price: $23.40

SELECT COLORS
Robison Anton Moonglow Thread - 40 wt -500 Yds
$26.99
Circle Price: $26.99

Cut Away Stabilizer - 2.5 Oz wt.
$8.94
Circle Price: $8.05

Cut Away Stabilizer - 2 oz wt.
$8.52
Circle Price: $7.67


| Materials Tear away backing (2) per napkin 1 package of napkins by Aunt Martha, they are pre-finished 20" x 20". Four napkins come in one package. Find them at most crafts and hobby shops. 1/2" wide bias tape, you will need approximately 90" for each napkin. You can use purchased tape or trim of your choice. Sewing thread to match napkins and trim Embroidery thread as listed in color chart by Robinson-Anton rayon Designs by Great Notions Merry Christmas Christmas Blessings |
| Designs used in this project |
| Final Product: What You Will Create |
 |
|
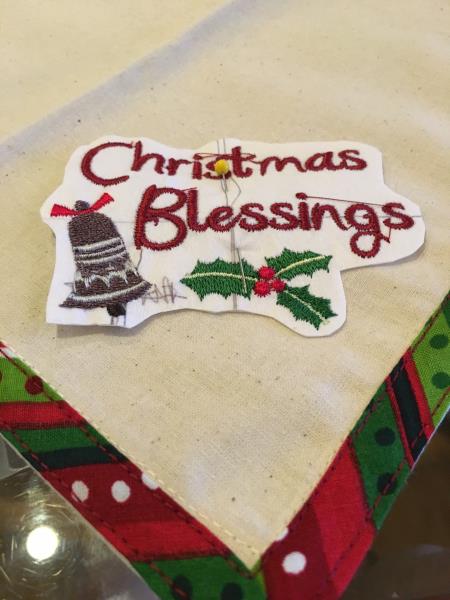
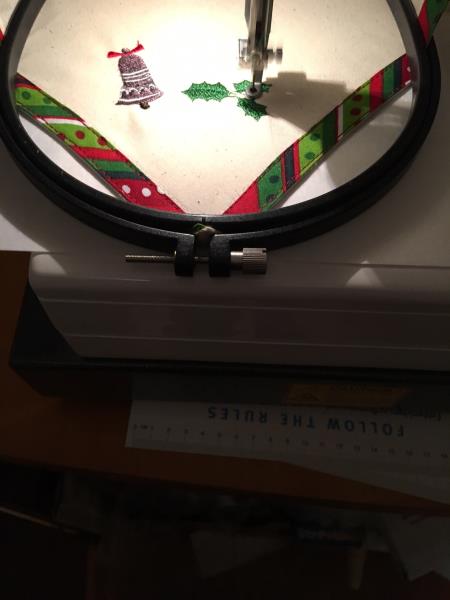
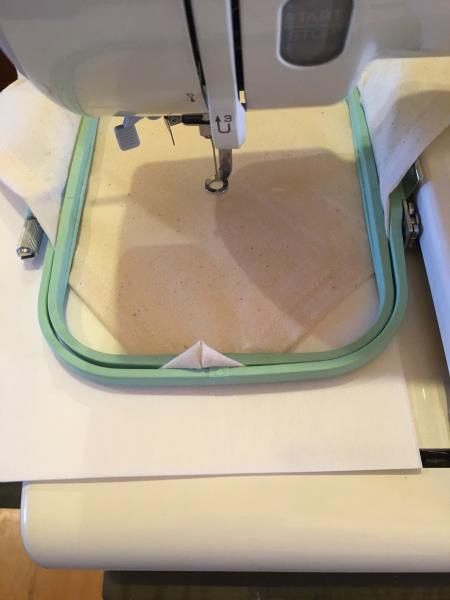
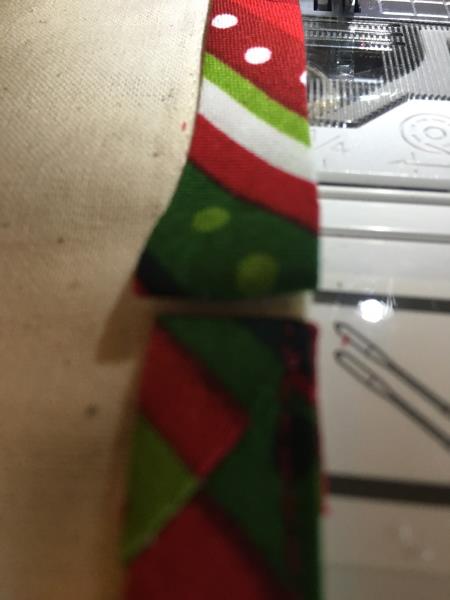
| Set your table for your Christmas dinner and enjoy the compliments. I know that I will be making sets for other holidays. |
Projects You May Like
Meet the Author:
Ruth Vangrowski

Ruth works for Great Notions. Has been sewing for over 50 years and embroidering for more than 30 years.
Feedback
Characters Remaining
Please Login to Submit a Feedback
Invalid Characters, Please enter a valid Comment
Please enter a valid Comment
Reviewed On
Link is Broken, Please check the URL