















































PROJECT INSTRUCTIONS


PROJECT INSTRUCTIONS
Christmas Wall Hanging Embroidery Project
By
Ruth Vangrowski
on
October 11, 2016
Description
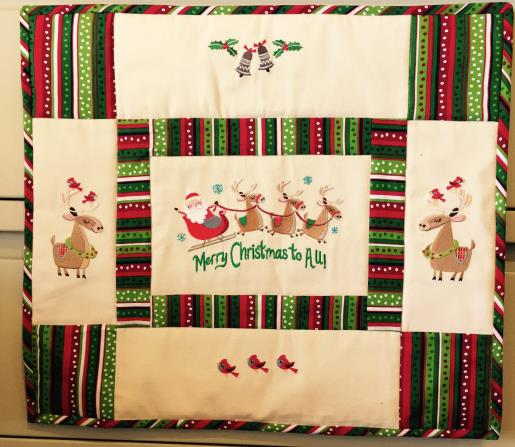
Christmas Wall Hanging with embroidery and quilting.
Step
of
Materials
Project Preview Video

QUICK VIEW
Christmas Themed Embroidery Designs Bundle – Santa, Reindeer, Candy Cane, Hot Cocoa Mug & More (24 Designs)
$39.00
$21.45
Circle Price: $21.45

QUICK VIEW
MERRY CHRISTMAS TO ALL
$9.44
$4.72
Circle Price: $4.57

SMALL CARDINAL
$3.89
Circle Price: $1.34

QUICK VIEW
CHRISTMAS REINDEER.
$6.44
$3.22
Circle Price: $3.07

QUICK VIEW
Bells Christmas
$3.89
$1.95
Circle Price: $1.80

Cut Away Stabilizer - 2.5 Oz wt.
$8.94
Circle Price: $8.05

Cut Away Stabilizer - 2 oz wt.
$8.52
Circle Price: $7.67

| Materials 2 yds off white 44/45" fabric for designs to be embroidered on + back of hanging 1 yd Christmas print fabric 44/45" 1/2 yd of same print if you are making your own bias tape Thin quilt batting to fit the measurement of the hanging Sewing thread to match fabric Embroidery thread as listed in color chart by Robinson-Anton rayon Designs by Great Notions |
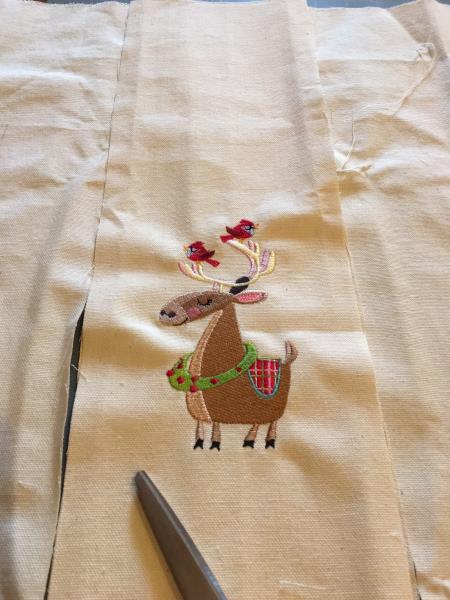
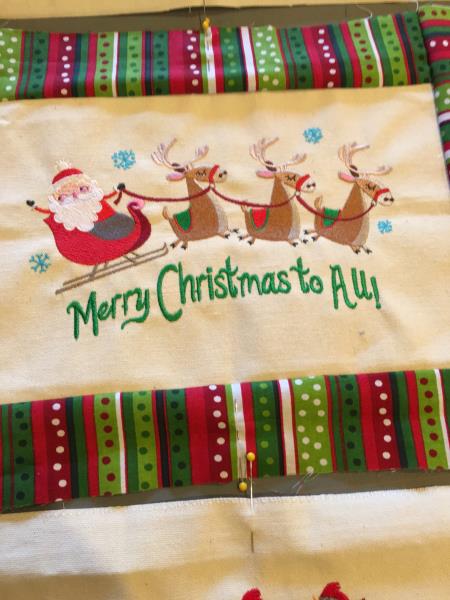
| Designs used in this project |
| Final Product: What You Will Create |
 |
|
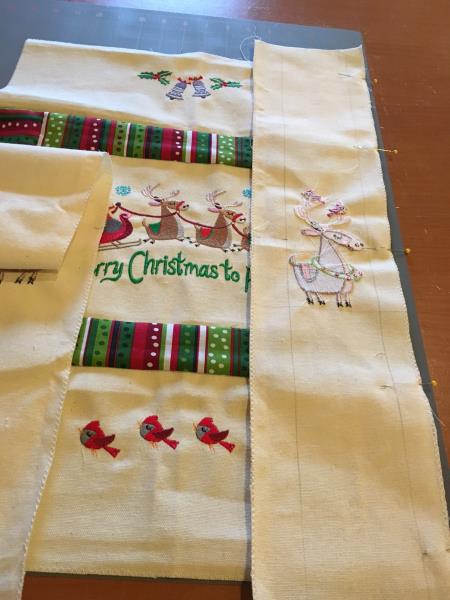
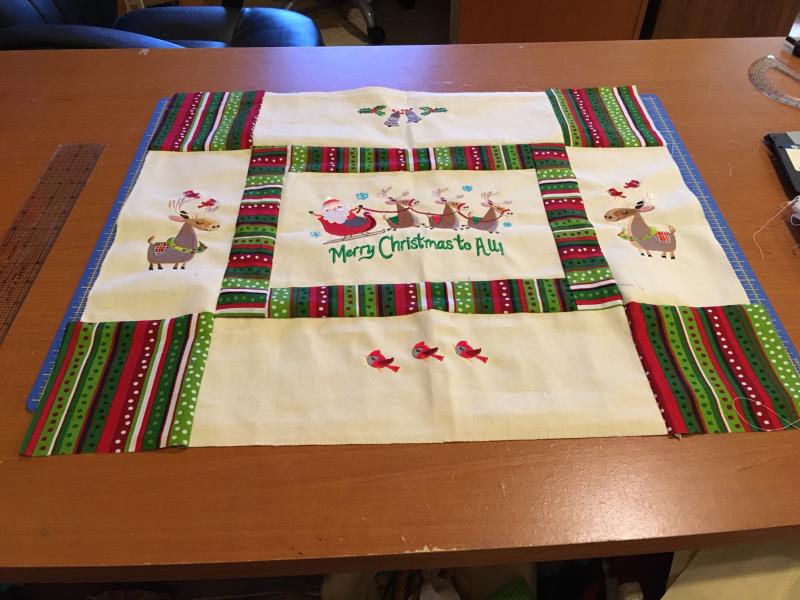
| I hope you enjoy making and displaying this hanging in your home. |
Projects You May Like
Meet the Author:
Ruth Vangrowski

Ruth works for Great Notions. Has been sewing for over 50 years and embroidering for more than 30 years.
Feedback
Characters Remaining
Please Login to Submit a Feedback
Invalid Characters, Please enter a valid Comment
Please enter a valid Comment
Reviewed On
Link is Broken, Please check the URL