Border OptionsHugging border, circle, square, or rectangle — with a 3mm satin stitch.
Backing OptionsAvailable with iron-on, sew-on, or velcro backing.
Fast ShippingShipped quickly from the USA.
Free Online Tools
Powerful embroidery utilities that save time and prevent costly mistakes.
Stitch AssistantRECOMMENDED
Get the exact stabilizer, machine settings, needle, and thread color sequence for every embroidery design you purchase — based on that design's stitch density, dimensions, and color count.
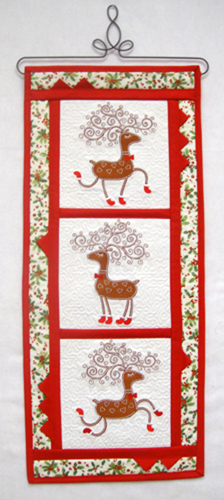
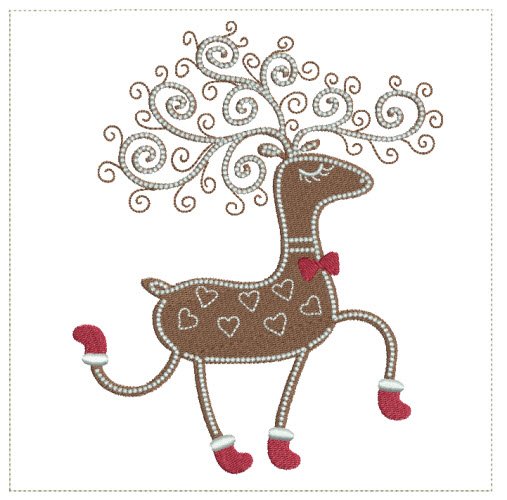
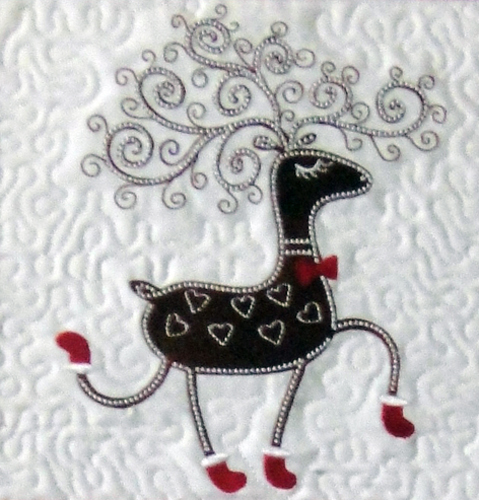
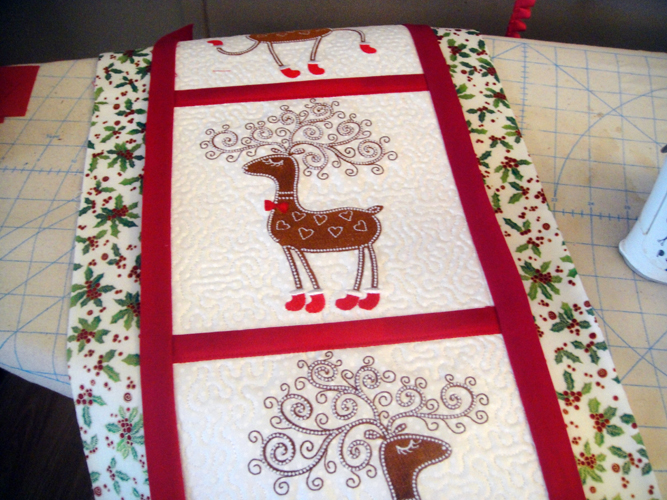
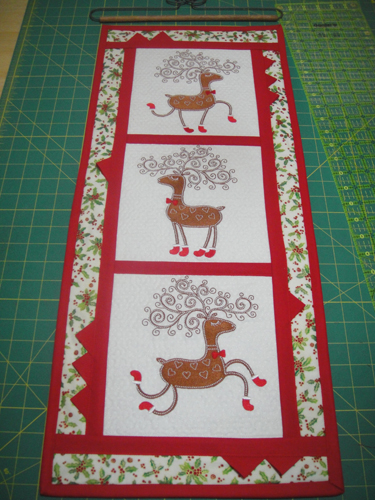
All of the little colonial knots that decorate the reindeer and their antlers give this wall hanging amazing texture and the look of frosted cookies. Make it as a wall hanging or as a table runner. A delightful Christmas gift.
Step
of
Quilt Frosted Reindeer Wall Hanging
By Pat Williams
The number of stitches in these designs sewn on a block front of one layer of quilting cotton can cause a lot of pull in the design. In order to minimize this use a strong 2.5 ounce cut away stabilizer. Make certain that your stabilizer will remain taut in the hoop. If you are running in 12” x 8” hoop that just doesn’t tighten enough consider wrapping the inner hoop with sports tape to keep the stabilizer from pulling loose. The lovely little white chenille dots can cause a lot of wear on the thread, so treat your machine to a new size 11 sewing machine needle before starting. As these are all embroidery designs without applique they are simple to stitch out.
Step 1:
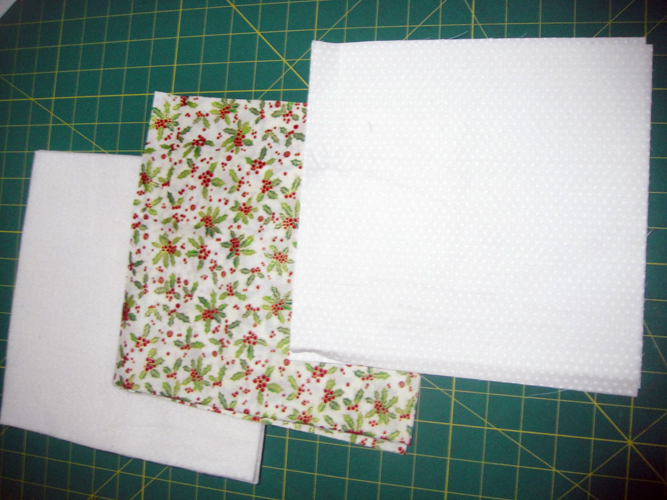
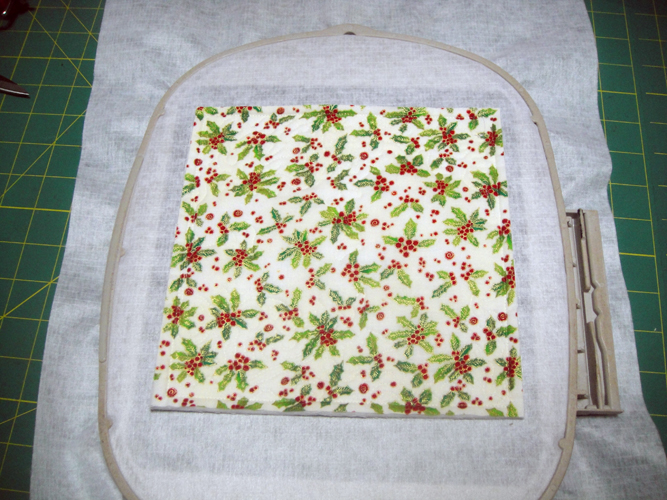
For each of the three blocks you will need stabilizer to fit the hoop, a 10” square of the front and back fabrics as well as a 10” square of Battilizer®.
(Click Image to Enlarge)
Step 2:
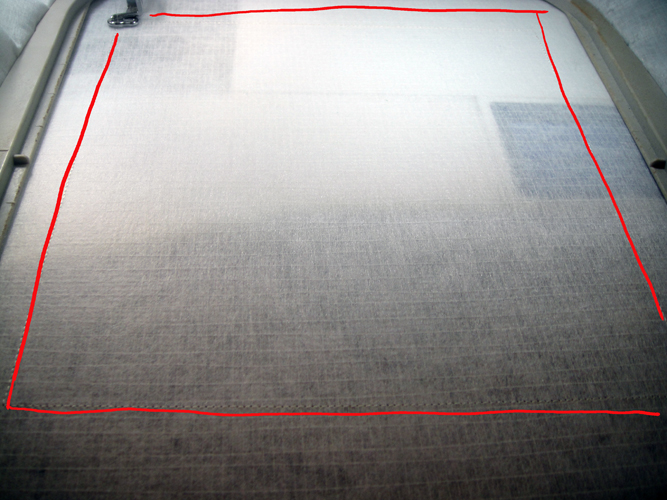
Run the 1st color stop (CS) in white thread as a placement line.
(Click Image to Enlarge)
Step 3:
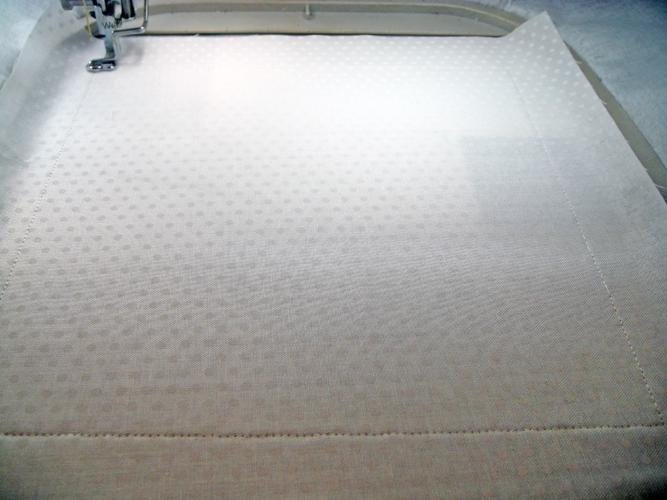
Spray adhesive on the back of the white dots on white block front fabric and smooth over the placement line having the fabric exceed the placement line by at least ½” on all sides. Run CS 2 in water soluble thread to tack down the front fabric.
(Click Image to Enlarge)
Step 4:
Follow the color charts - CS 3 in Grizzly Bear (1258); CS 4 in Christmas Red (1147); CS 5 in Super White (1001) to embroider the reindeer.
Step 5:
I forgot to take a picture of this step, so this is a mock-up of what you need to do next, but the block is already trimmed in this photo. Remove the hoop from the machine; do not unhoop; lay it upside down on a flat surface to prevent loosening the stabilizer; spray adhesive on the Battilizer® and place it on the back side of the hoop aligning it with the front fabric; spray the wrong side of the back fabric with adhesive and place it over the Battilizer®; return the hoop to the machine.
(Click Image to Enlarge)
Step 6:
Run CS 6 in Water Soluble Thread to tack down the Battilizer and back fabric; Run CS 7 in white to quilt the block.
Step 7:
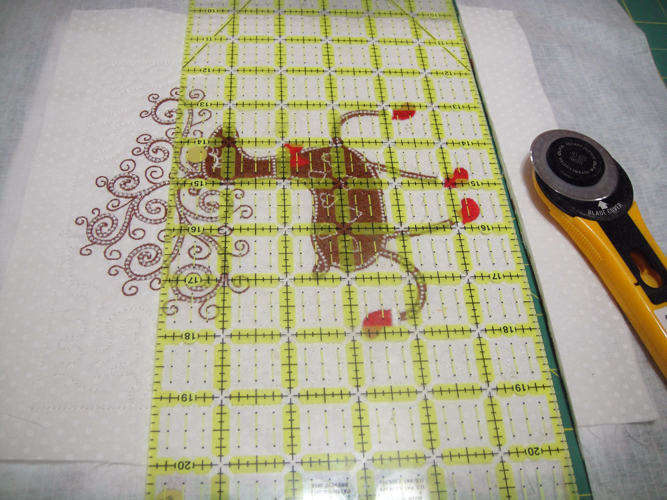
Remove the quilt block from the machine; lay the ¼” markof a quilting ruler along the outside water soluble thread stitching line and trim all four edges to ¼”. Repeat steps 1 through 7 to complete the other two reindeer blocks.
(Click Image to Enlarge)
Step 8:
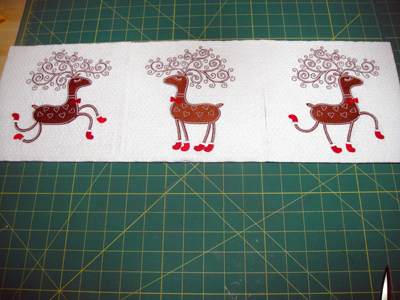
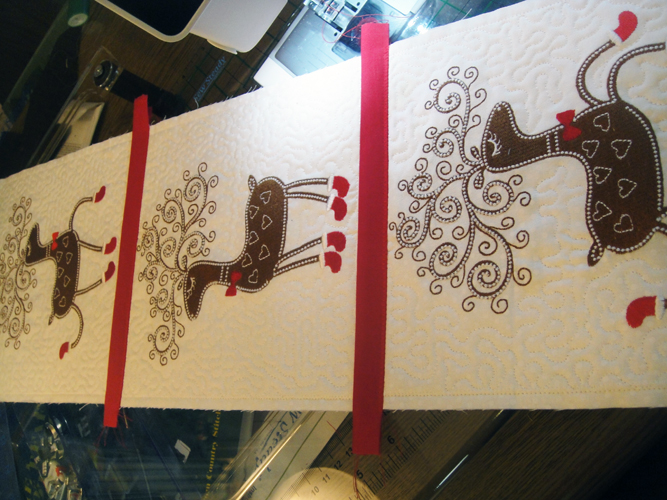
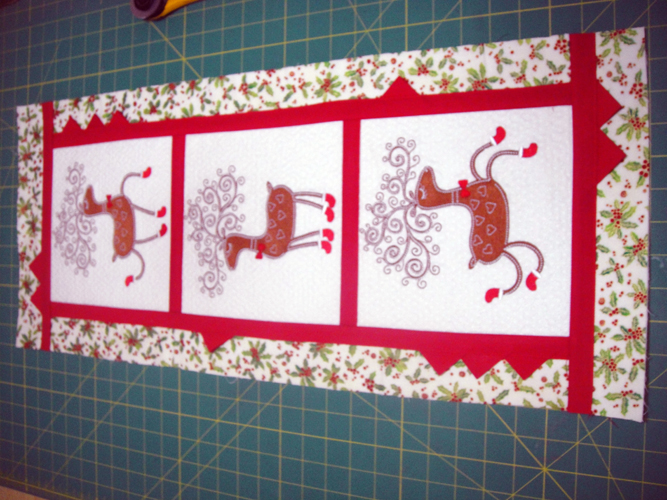
You may want to consider laying the blocks side by side if you would like to make a table runner.
Step 9:
(Click Image to Enlarge)
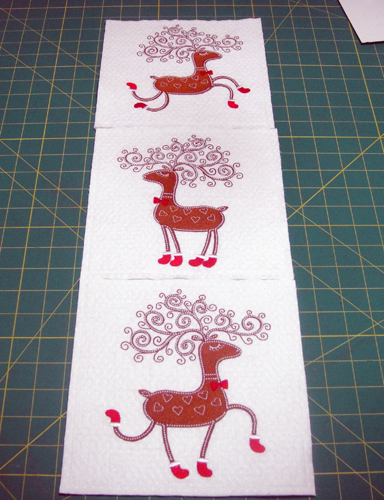
Lay the blocks out in a vertical manner to make the wall hanging.
Step 10:
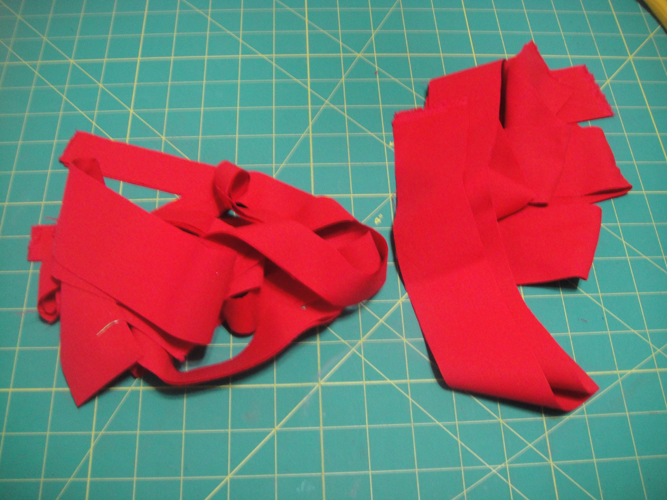
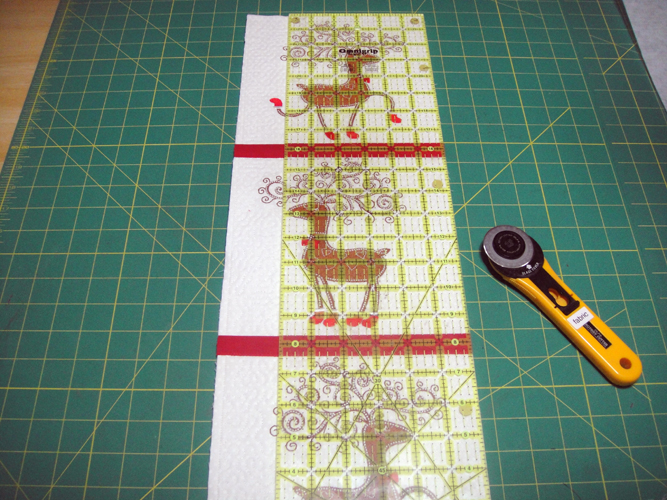
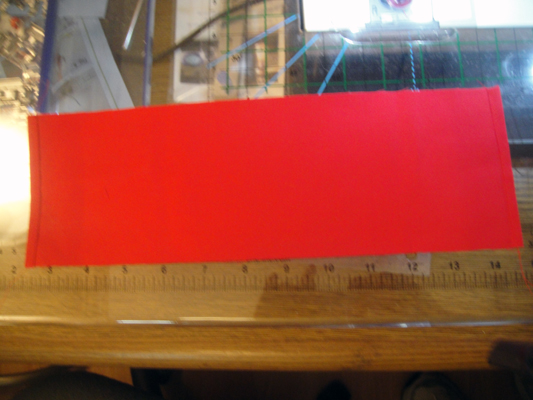
Cut 3 strips of red sashing 1” x the width of the material; Cut 3 strips of top sashing 2” x the width of the material.
(Click Image to Enlarge)
Step 11:
(Click Image to Enlarge)
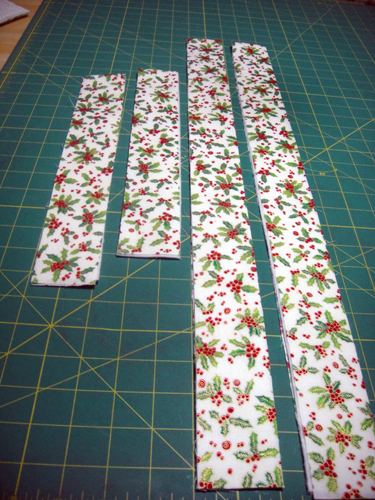
Cut 4 2” strips of the print fabric the width of the fabric and then sub-cut to 4 26” strips and 4 13” strips; cut 2 strips of Battilizer® 2” x 26” and 2 strips 2” x 13”; layer the border strips with the Battilizer®, one strip of the print face down, the Battilizer® and another strip of the print face up to make the border pieces. You can use spray adhesive to hold the layers together.
Step 12:
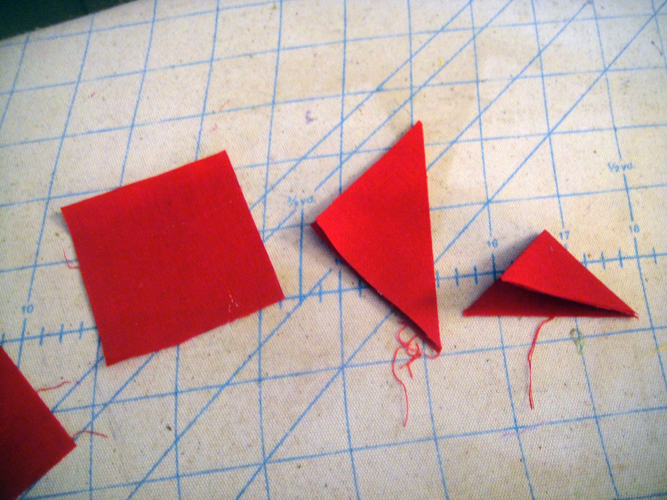
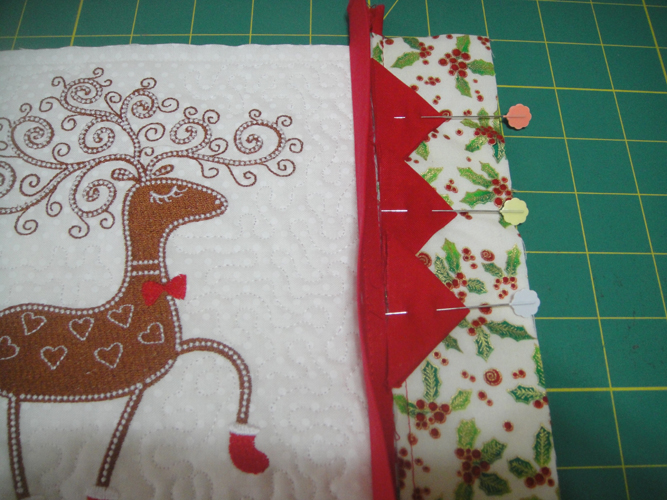
Cut 12 2 ¼” squares to make the prairie points; press with Magic Sizing®; fold in half on the diagonal twice to form the prairie points.
(Click Image to Enlarge)
Step 13:
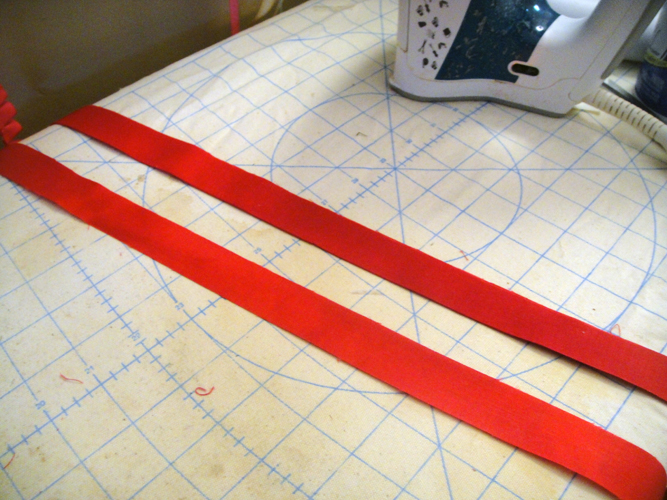
Press the 1” red strips with Magic Sizing®, fold the 2” red strips in half lengthwise; press with Magic Sizing”.
(Click Image to Enlarge)
Step 14:
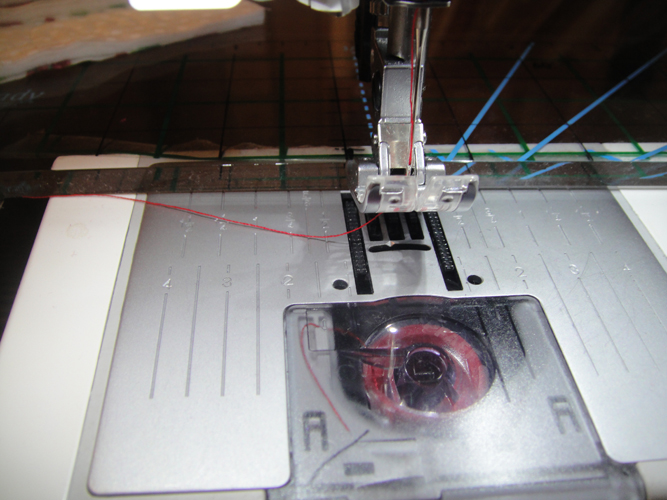
Set up your sewing machine by loading thread in the machine and bobbin to match the sashing strips; set your machine straight stitch length to 3mm, use a ¼” foot if available and a walking foot if available; accurate ¼” seam allowances are important when applying sashing in the following manner:
(Click Image to Enlarge)
Step 15:
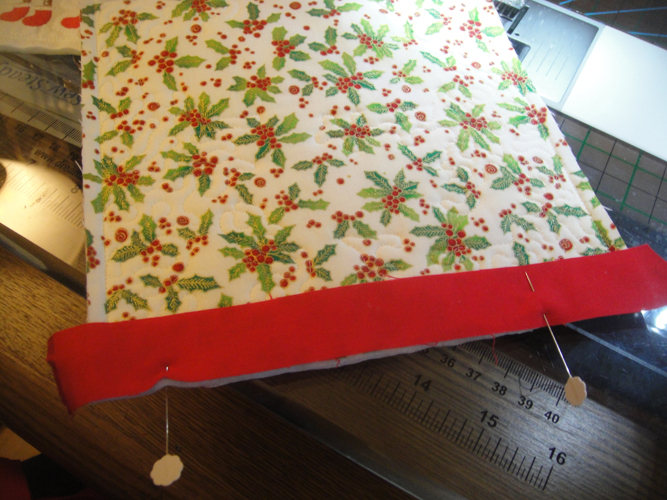
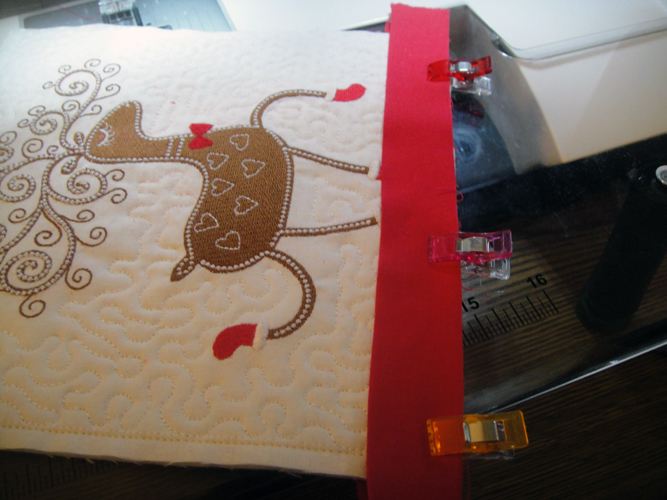
Pin the 1” strip of sashing to the back and bottom of the 1st quilt block.
(Click Image to Enlarge)
Step 16:
Turn the bock over and attach the 2” strip of sashing to the front of the block; the raw edges of the top sashing, the quilt block and the 1” strip are aligned; remove the pins from the back sashing before sewing.
(Click Image to Enlarge)
Step 17:
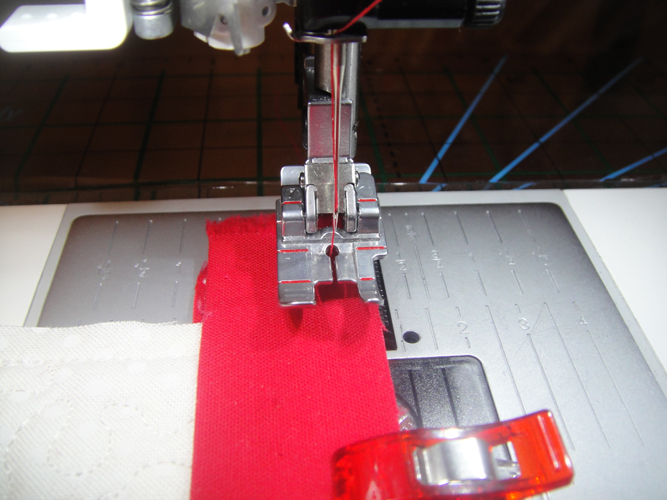
With an accurate ¼” seam stitch all three layers together.
(Click Image to Enlarge)
Step 18:
Press the sashings away from the block.
(Click Image to Enlarge)
Step 19:
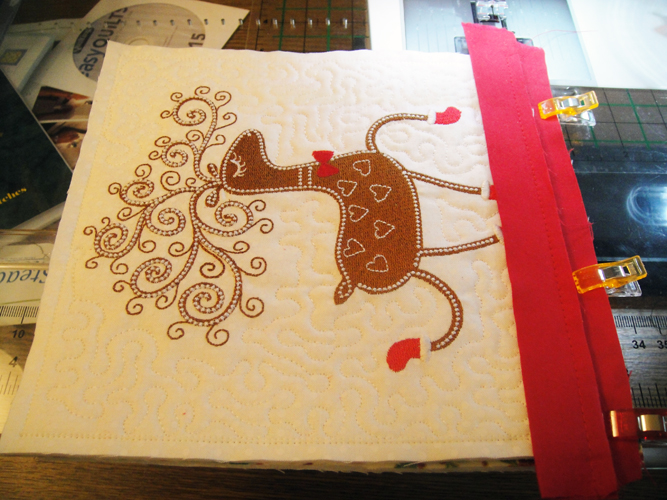
Clip or pin the top of the second quilt block to the back of the 1” back sashing strip only; align the 1st a second block edges as you do this so that they will be in a straight line after they are joined with the back sashing strip.
(Click Image to Enlarge)
Step 20:
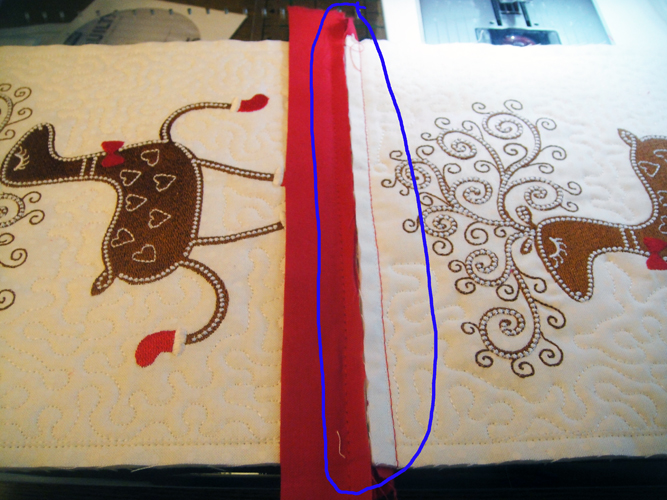
When you open out the two blocks now joined by the back sashing the seam allowances should just butt together without overlaps or gaps as shown in this picture. Press the seam allowances just to flatten them a little before proceeding to the next step.
(Click Image to Enlarge)
Step 21:
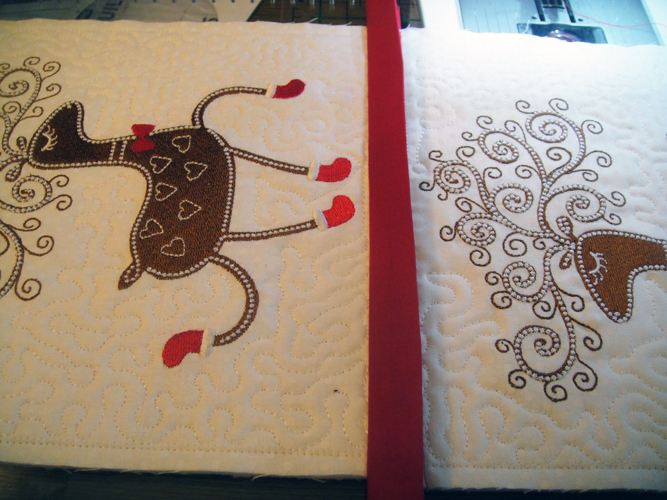
Press the front sashing strip over the seam allowances.
(Click Image to Enlarge)
Step 22:
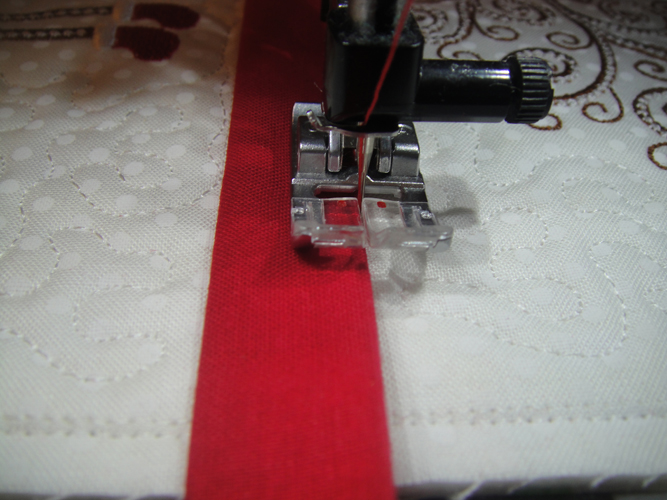
Edge stitch down the top sashing through all layers. An E stitch or blanket stitch was used in the sample so the presser foot was changed to one to accommodate that stitch; or you can use a straight stitch if you do not want to change presser feet.
(Click Image to Enlarge)
Step 23:
Join the third block to the wall hanging using the same instructions as in Steps 15 through 22.
(Click Image to Enlarge)
Step 24:
Trim the excess sashing from the edges of the wall hanging making sure that all the blocks are aligned.
(Click Image to Enlarge)
Step 25:
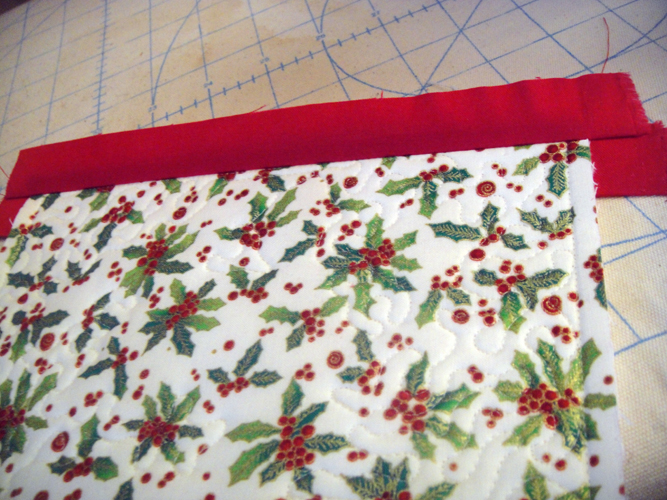
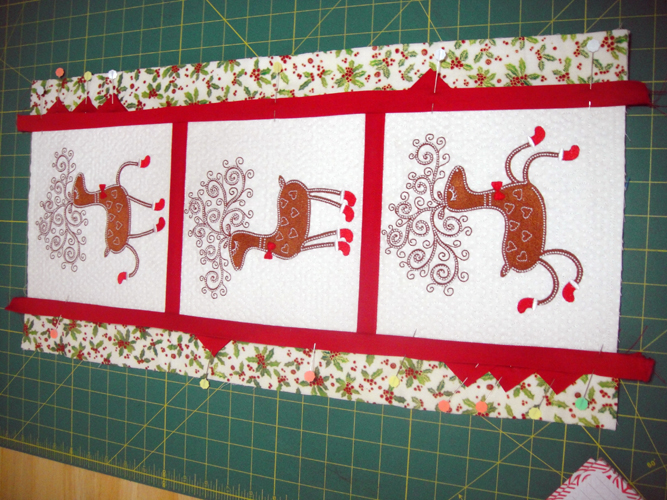
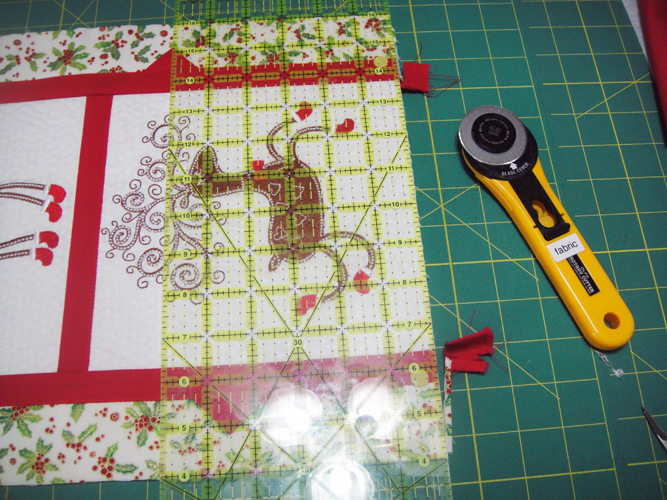
You will use the same techniques to add sashing to the long sides of the wall hanging, add both strips and borders before you stitch down the top sashing. Have both the sashing strips and borders extend a little beyond both the top and bottom of the wall hanging.
(Click Image to Enlarge)
Step 26:
Pin your prairie points into place as shown in the finished pictures of the wall hanging, points were overlapped about ½” when more than one was being applied. You may position them anywhere you like.
(Click Image to Enlarge)
Step 27:
Edge stitch down the top sashing strips along both sides.
(Click Image to Enlarge)
Step 28:
Trim the excess sashing and border strips even with the top and bottom blocks of the wall hanging.
(Click Image to Enlarge)
Step 29:
Apply the top and bottom sashing strips and borders using the same techniques slipping in a couple of extra prairie points as desired; trim the top and bottom borders and sashing even with the wall hanging.
(Click Image to Enlarge)
Step 30:
(Click Image to Enlarge)
Bind the wall hanging using your favorite method. In the sample 3 2 1/4 “strips of red were used to bind the quilt with mitered corners.
Step 31:
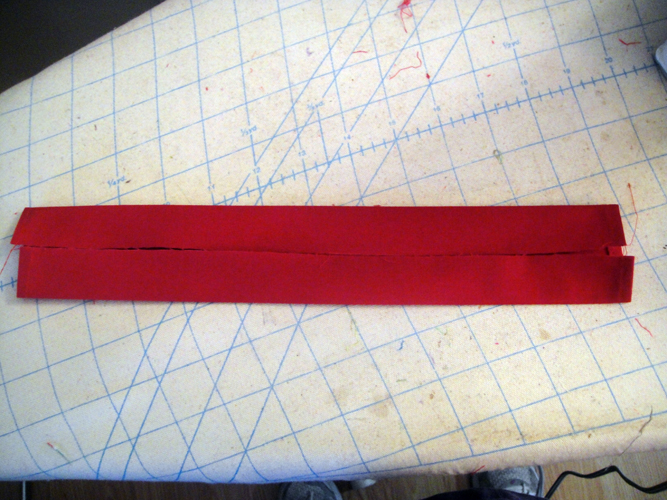
To make a hanging sleeve cut a 4’ strip the width of the wall hanging. Turn in both ends ¼” twice and stitch down to hem each end
(Click Image to Enlarge)
Step 32:
Fold the long ends wrong sides together and press and crease to mark the center of the strip; then open up the strip and fold both long edges to meet that center crease and press again. These creases will be what you stitch to the back of the wall hanging.
(Click Image to Enlarge)
Step 33:
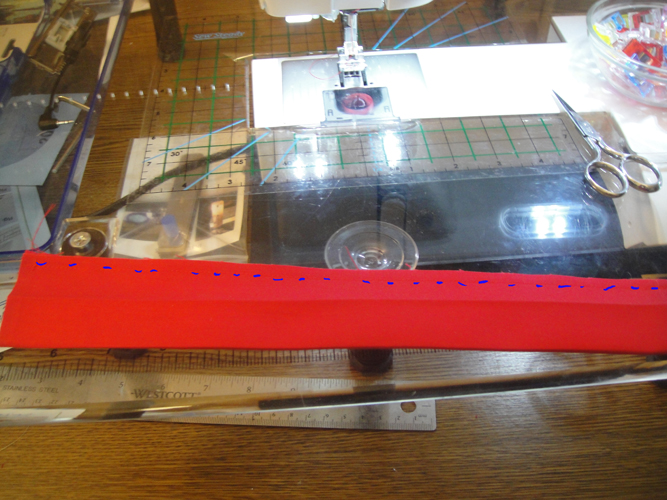
Open the hanging sleeve and with wrong sides together align the raw edges and stitch with a ¼” to ½” seam allowance.
(Click Image to Enlarge)
Step 34:
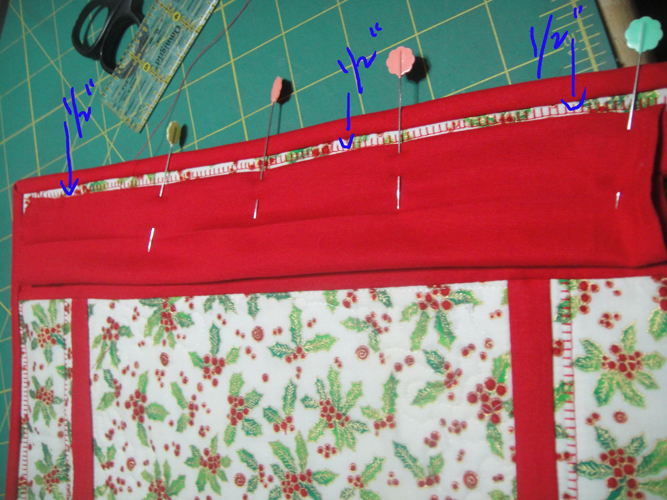
Adjust the hanging sleeve so that one of the side creases is at the top of the sleeve; pin this crease to the wall hanging ½” from the top edge of the wall hanging; Slip stitch it into place.
(Click Image to Enlarge)
Step 35:
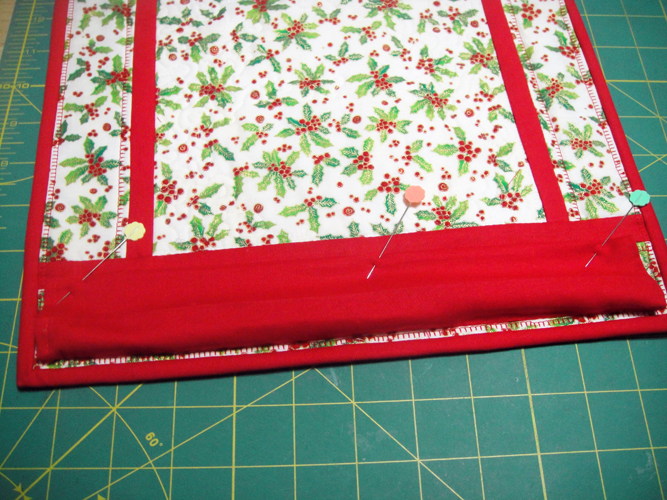
Find the second side crease and pin it to the wall hanging, this will create a little ease in the sleeve for your quilt hanger to go through. Slip stitch this edge and the side of the bottom of the sleeve to the wall hanging.
(Click Image to Enlarge)
Step 36:
(Click Image to Enlarge)
Insert the rod from the hanger through the sleeve. Congratulations your Frosted Reindeer wall hanging is complete!
Award winning Digitizer, Embroidery Educator, Author and a Consultant to the Industry, Pat Williams has 30 years of experience in the embroidery industry. Pat has won multiple awards for her digitizing expertise including the 2007 Impressions Awards Grand Championship, Best of Show as well as the 1st and 2nd Place Awards. Pat’s love of digitizing has afforded her the opportunity to write numerous articles for Impressions magazine in the United States and Images Magazine in Europe. In 2001 Pat was named “Embroidery Educator of the Year.” For many years Pat taught digitizing seminars at the ISS Shows in Long Beach, CA and for Compucon software. She now resides in Tucson, AZ.