Border OptionsHugging border, circle, square, or rectangle — with a 3mm satin stitch.
Backing OptionsAvailable with iron-on, sew-on, or velcro backing.
Fast ShippingShipped quickly from the USA.
Free Online Tools
Powerful embroidery utilities that save time and prevent costly mistakes.
Stitch AssistantRECOMMENDED
Get the exact stabilizer, machine settings, needle, and thread color sequence for every embroidery design you purchase — based on that design's stitch density, dimensions, and color count.
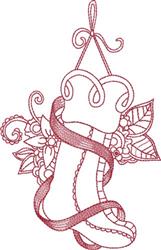
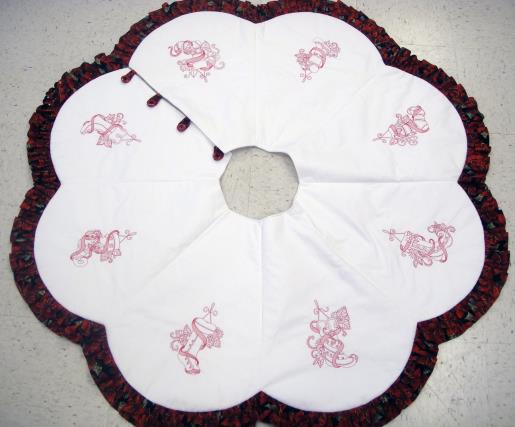
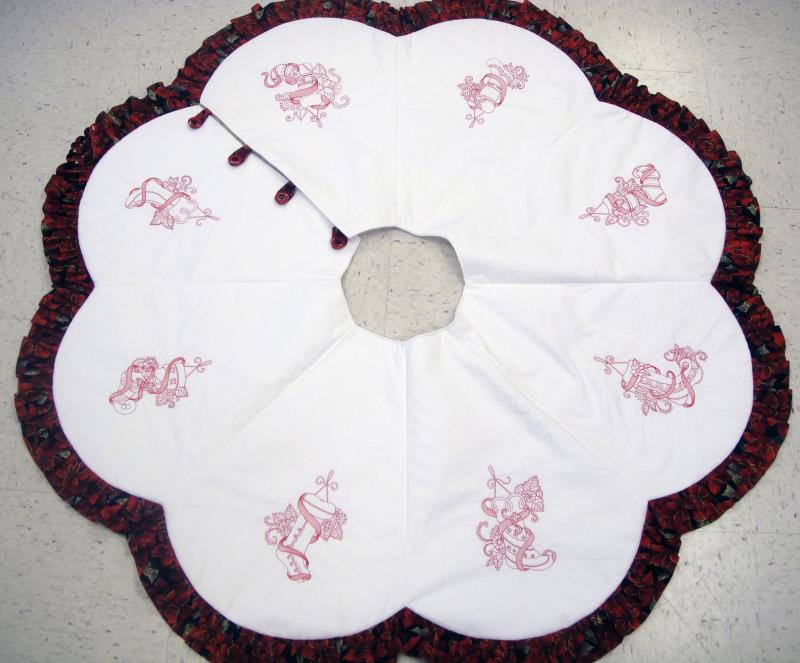
Create a timeless Christmas tree skirt featuring elegant redwork designs. This piece can become a cherished family heirloom, with an optional ruffle for added flair. Step-by-step instructions are included.
This project is made with McCall’s® craft pattern M6453. There are no instructions for adding the ruffles included in that pattern, I just thought it would look great with it. You, of course, can add the ruffle or not. The time shown above, eleven hours, includes making and adding the ruffle. If you choose not to make the ruffle the time should be closer to 8 hours to make the Christmas tree skirt. Another option would be to add a purchased trim.
Step 1:
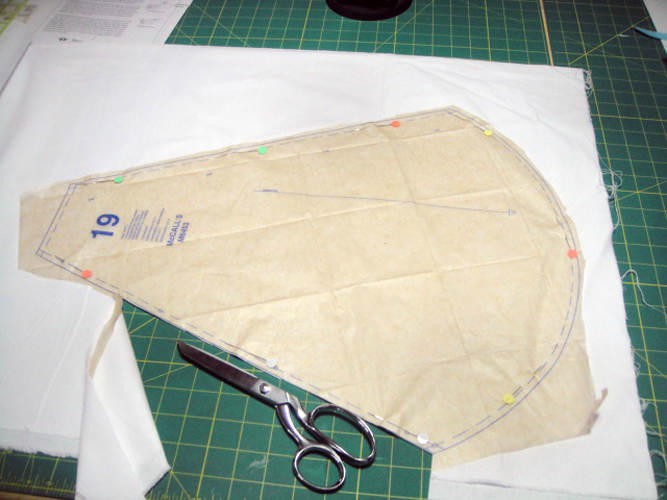
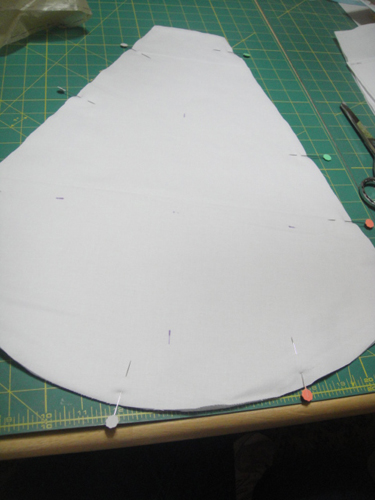
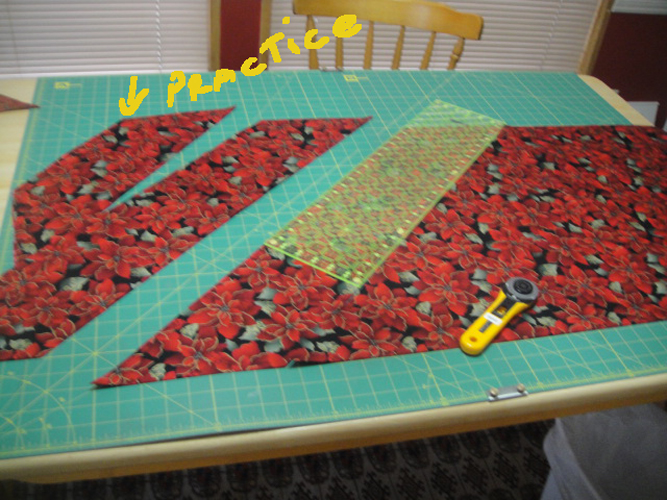
Cut 16 pieces from pattern piece 19; 8 of the top fabric and 8 of the lining; also cut 8 from the batting. Be sure that the straight of grain arrow on the pattern piece follows the straight of grain on your fabric.
(Click Image to Enlarge)
Step 2:
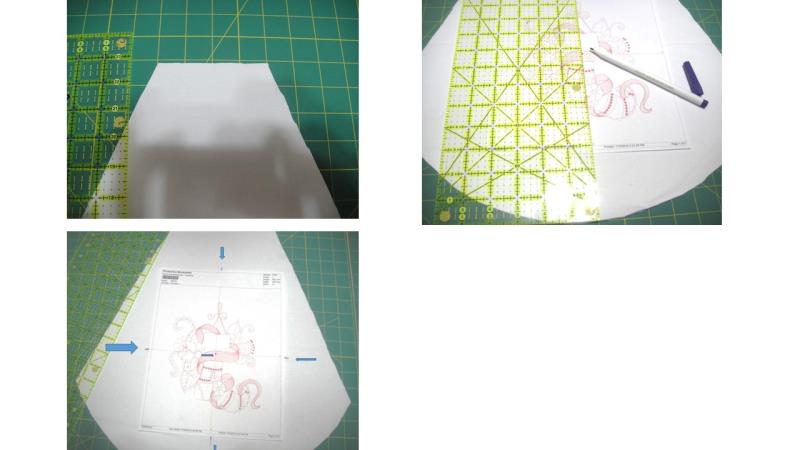
To compute placement for the embroidery designs place a print out of one of the stocking designs to use as a guide with crosshairs for the vertical and horizontal centers. Align the top of the cut fabric piece centered on a horizontal line of your cutting mat; place the print out so that center of the embroidery design is 7 ¾” from the bottom of the fabric; mark the center of the design, the top and bottom of the vertical crosshairs and the sides of the horizontal cross hairs with a fabric marking pen; remove the paper and connect the horizontal and vertical; crosshairs with the fabric marking pen.
(Click Image to Enlarge)
Step 3:
(Click Image to Enlarge)
Pin each of the 8 top fabric pieces to a batting piece, baste all around the edges with a slightly less than ¼” seam allowance.
Step 4:
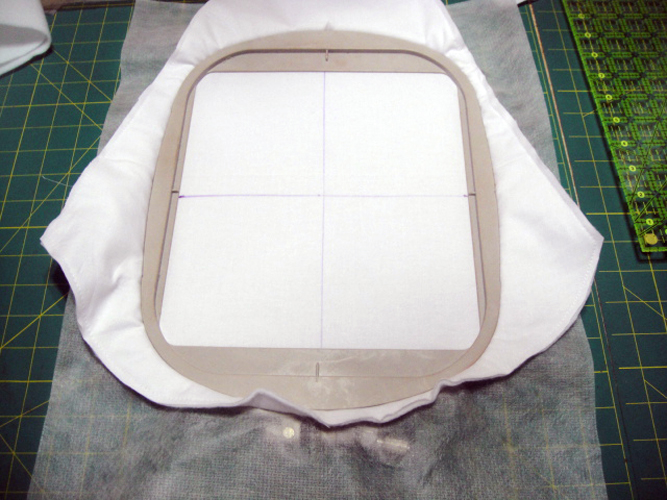
These designs were made for a 6” x 10” hoop, but as my machine does not have one of that size I have use an 8” x 8” hoop in these pictures. With a layer of poly-mesh stabilizer on the bottom, hoop the tree skirt section aligning the horizontal and vertical crosshairs.
(Click Image to Enlarge)
Step 5:
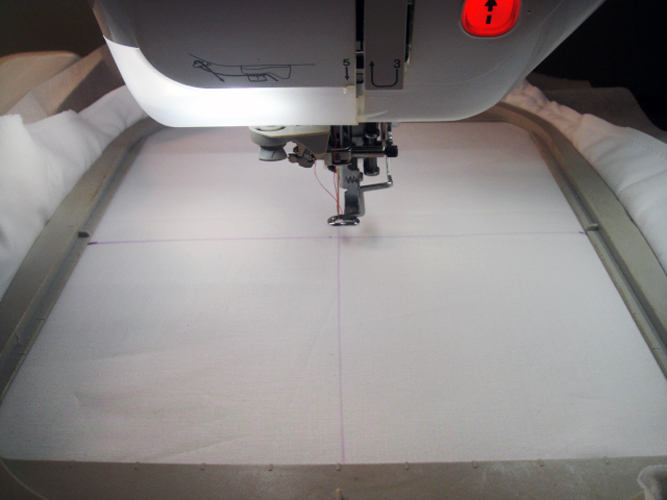
Align the crosshairs on the fabric with the needle and stitch the stocking design.
(Click Image to Enlarge)
Step 6:
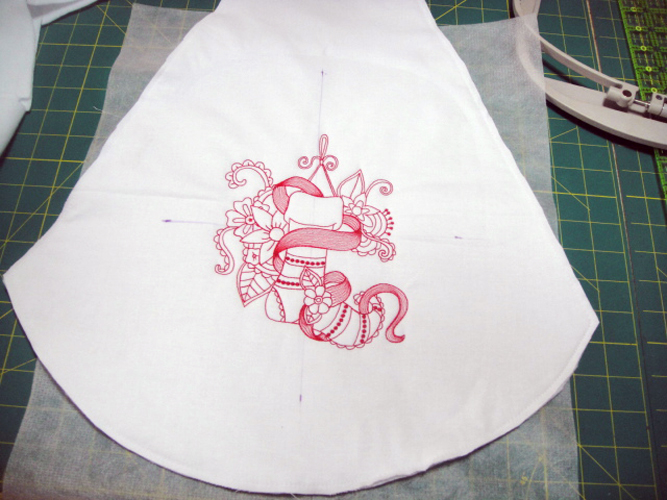
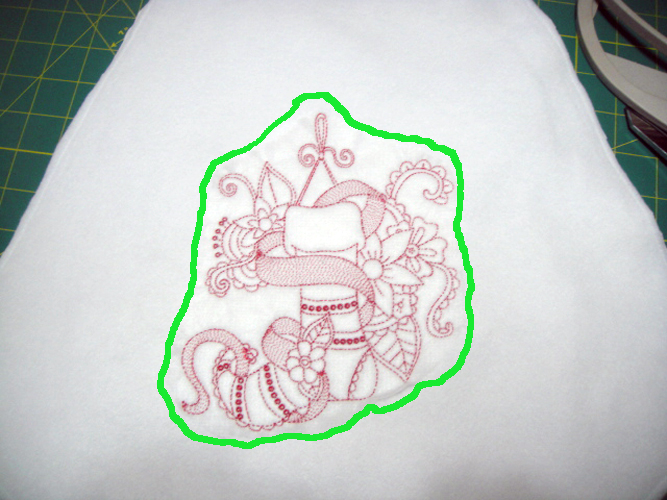
Your stocking will look like this when the stitching is complete; remove the fabric from the hoop.
(Click Image to Enlarge)
Step 7:
Turn the fabric over and trim the stabilizer around the outside edges of the design; repeat 7 times with the other stocking designs. Note I used the 7 ¾” measurement from the bottom of the fabric for the center of the various stocking designs.
(Click Image to Enlarge)
Step 8:
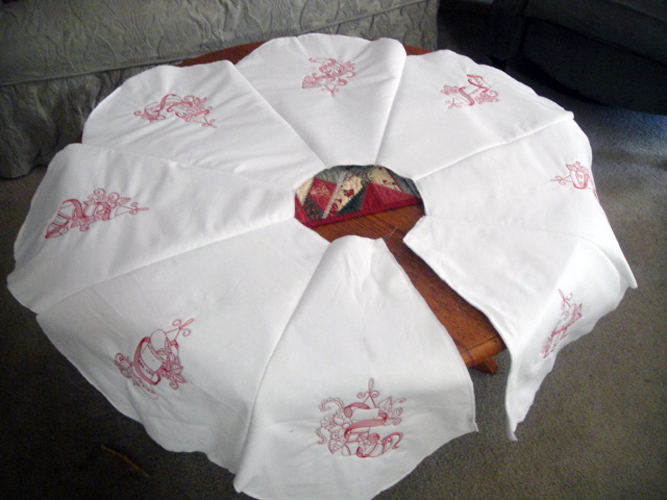
Stitch all 8 sections together with a ¼” seam leaving two sections unstitched for the back of the tree skirt, following the patterns instructions to stop the stitching ¼” above the bottom of the sections.
(Click Image to Enlarge)
Step 9:
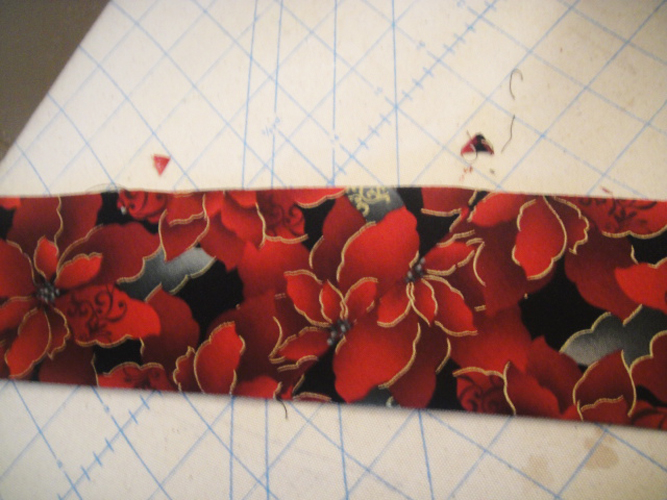
There are many variables in which your machine ruffle can be set, so I can’t tell you exactly how many bias strips of fabric to cut, you just want to make sure you have a lot extra. I cut 2.5” yards of the Christmas print into 6” strips cut on the bias of the fabric. Approximately 165” of ruffle are needed to go around the tree skirt. To estimate how many inches of fabric you will need you can use the short pieces of cut bias to help set up your ruffle. Fold the long edges if the shorter piece of bias together and baste together, make sure it is longer than 10”. Gather the 10” and see how much ruffle you have. If the 10” or fabric gives you 5” of ruffle you will need 330” of fabric. If it gives you 4” of ruffle you will need 412” of fabric. The difference is determined by how deep you set the ruffles to form and whether or not you have the ruffler set to pleat every stitch or every 6 stitches. I set my ruffle to make very deep pleats every 6th stitch.
(Click Image to Enlarge)
Step 10:
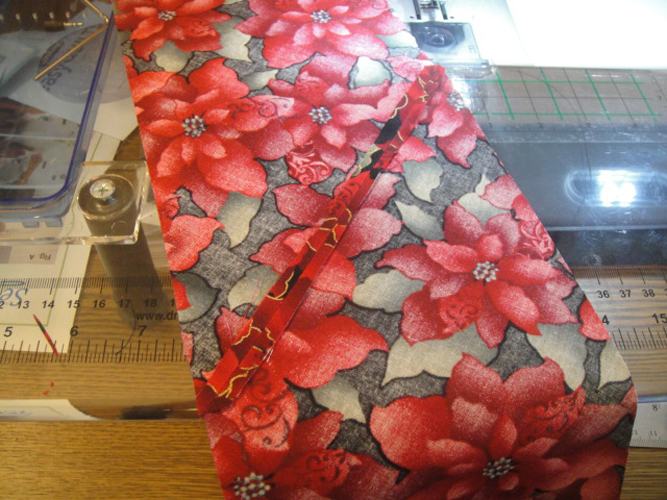
Open the ends of the bias that was cut on the fold; stitch the ends together of the cut bias with a 1/4” seam; press all seams open.
(Click Image to Enlarge)
Step 11:
Fold the bias ruffle in half lengthwise; baste the raw edges together the length of the ruffle; trim off the dog ears from the seaming. Gather the ruffle with your preferred settings, make sure you have more than 165”of completed ruffle.
(Click Image to Enlarge)
Step 12:
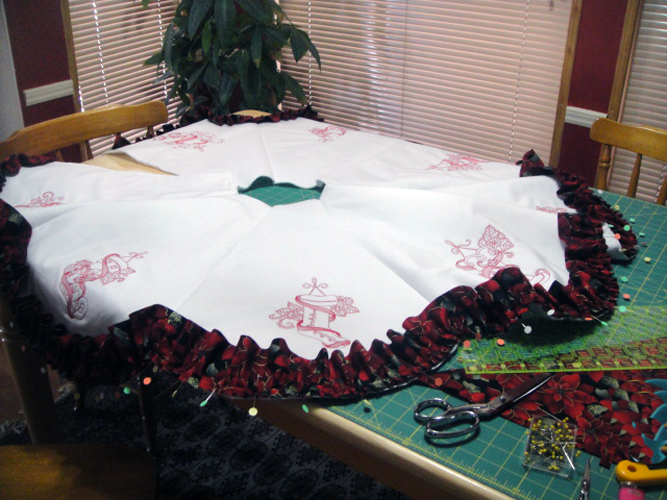
Pin the ruffle to the skirt, with the ruffle facing into the skirt; pay attention to the curves of the scallops and where the seams meet. Baste the ruffle to the skirt with a 1/4” seam allowance.
(Click Image to Enlarge)
Step 13:
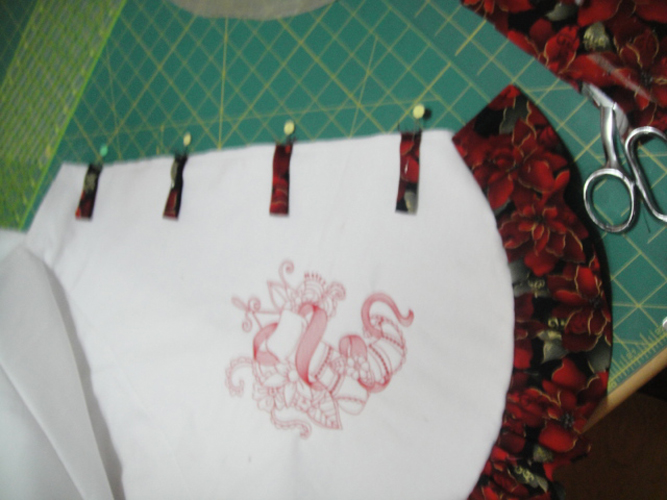
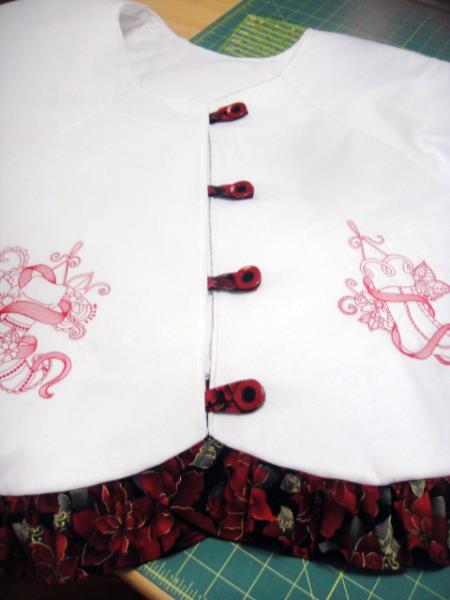
Make the button loops following the pattern instructions; baste into position from the marks on the main pattern piece; baste into position.
(Click Image to Enlarge)
Step 14:
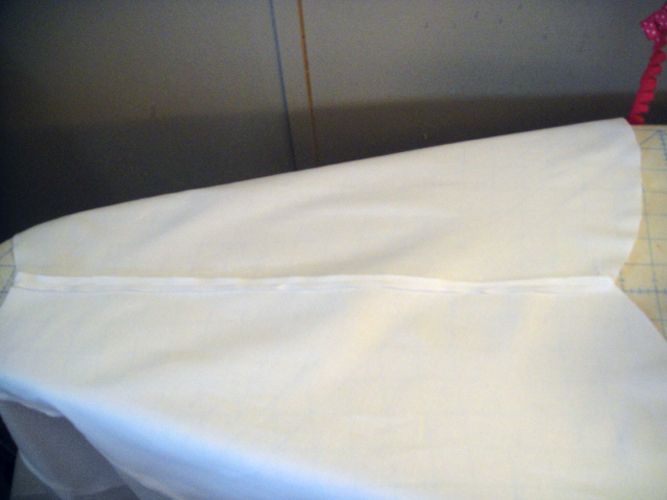
Stitch the lining sections together following the pattern instructions, press all seams open.
(Click Image to Enlarge)
Step 15:
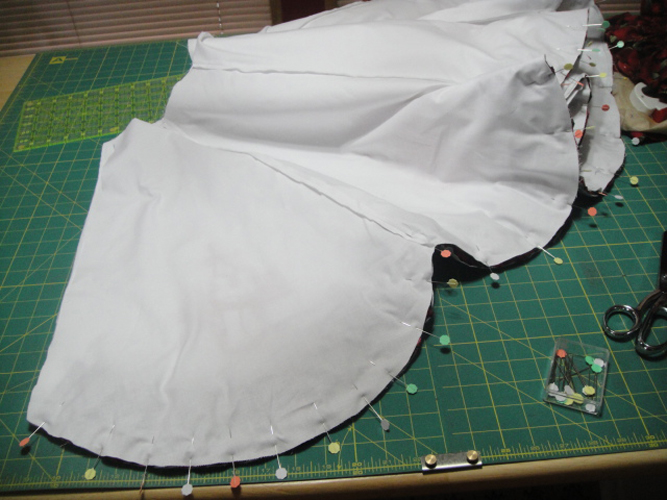
Pin the lining to the tree skirt along the bottom, right sides together, stitch together with a ¼” seam allowance pivoting at the seams at the top of the scallops. Do not stitch the sides and top yet.
(Click Image to Enlarge)
Step 16:
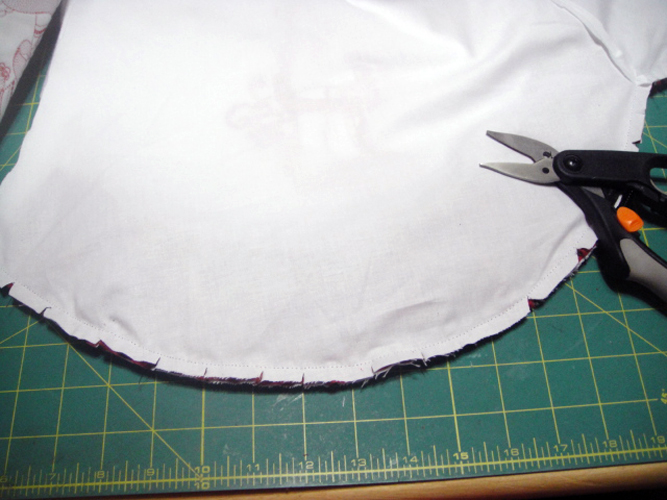
Clip the curves seams and points to facilitate turning of the project.
(Click Image to Enlarge)
Step 17:
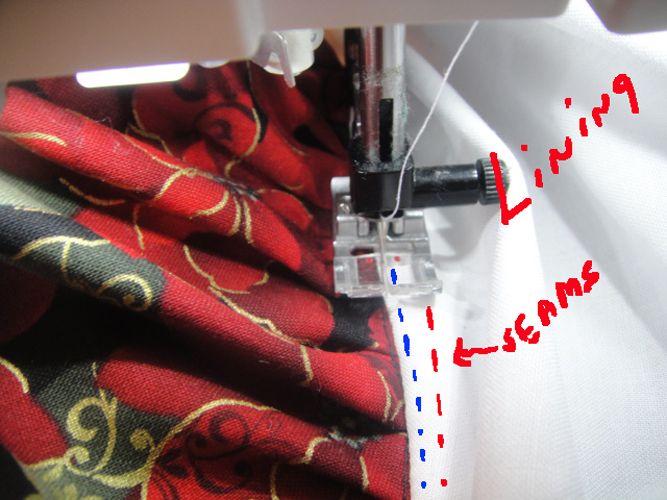
Though this takes a little bit of handling, the ruffle and the bottom of the tree skirt will lay a lot nicer if you understitch the seams to the lining. To do so pull the lining away from the project to expose the ruffle, have the seam allowance underneath the lining side of the project, edge stitch (blue lines) right next to the seam line through the lining and the seam allowances; start this under stitching seam ¼” from the beginning of the project and end ¼” from the end of the project.
(Click Image to Enlarge)
Step 18:
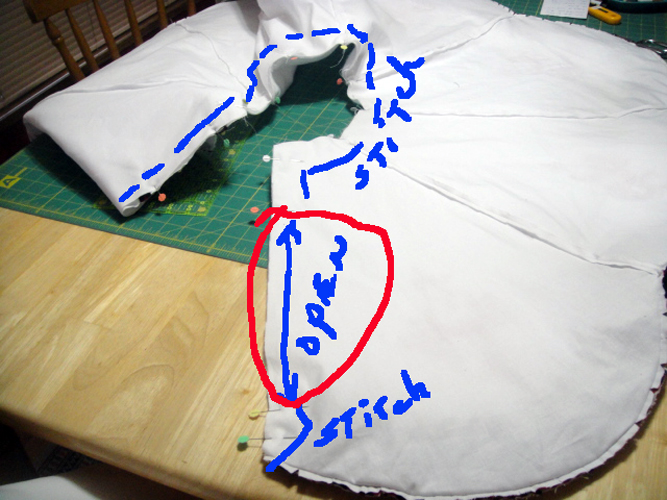
Pin the sides and top of the tree skirt together leaving a long opening on the side without the loops for turning; stitch these seam with a ¼” seam allowance; clip seams at the corners and curves. Turn the tree skirt right sides out.
(Click Image to Enlarge)
Step 19:
Turn under the seam allowances of the opening and pin the opening together; Top stitch 1/8” from the bottom edge, across the top and down the other side to close the opening. Stitch the buttons in their appropriate positions.
(Click Image to Enlarge)
Step 20:
Congratulations your Red Ink Stockings Christmas Tree Skirt is complete!
Award winning Digitizer, Embroidery Educator, Author and a Consultant to the Industry, Pat Williams has 30 years of experience in the embroidery industry. Pat has won multiple awards for her digitizing expertise including the 2007 Impressions Awards Grand Championship, Best of Show as well as the 1st and 2nd Place Awards. Pat’s love of digitizing has afforded her the opportunity to write numerous articles for Impressions magazine in the United States and Images Magazine in Europe. In 2001 Pat was named “Embroidery Educator of the Year.” For many years Pat taught digitizing seminars at the ISS Shows in Long Beach, CA and for Compucon software. She now resides in Tucson, AZ.