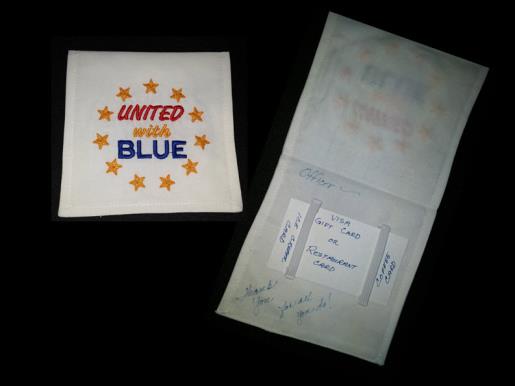
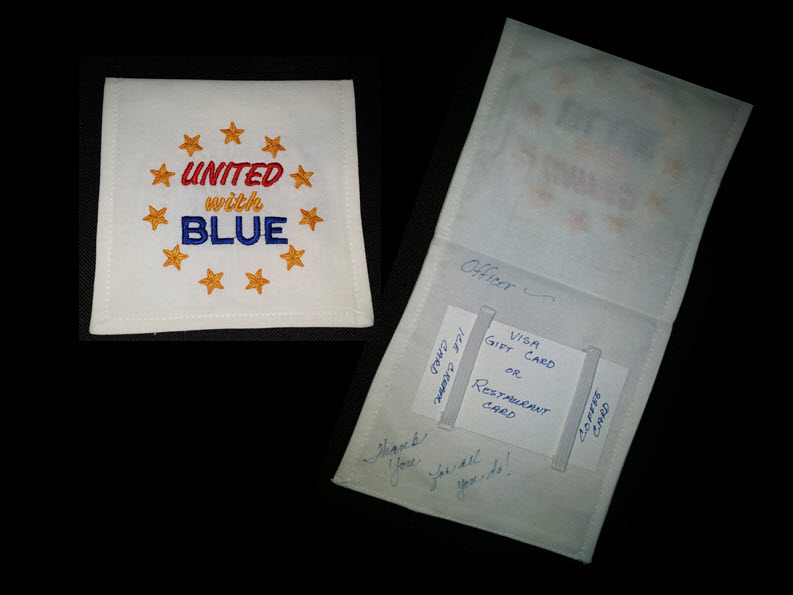
There is nothing more satisfying than giving a anonymous surprise to a deserving person. Use any of the “Support the Blue” designs to stitch up a quick gift holder. Get a gift card, slip it in an embroidered holder, write a short personal note inside and leave it with a cashier to give to the next officer that they receive at the counter. This is a simple and thoughtful gift to thank someone who serves the community daily. Remember, the gift need not be large - even $5 or $10 will make their day.
Step 1:
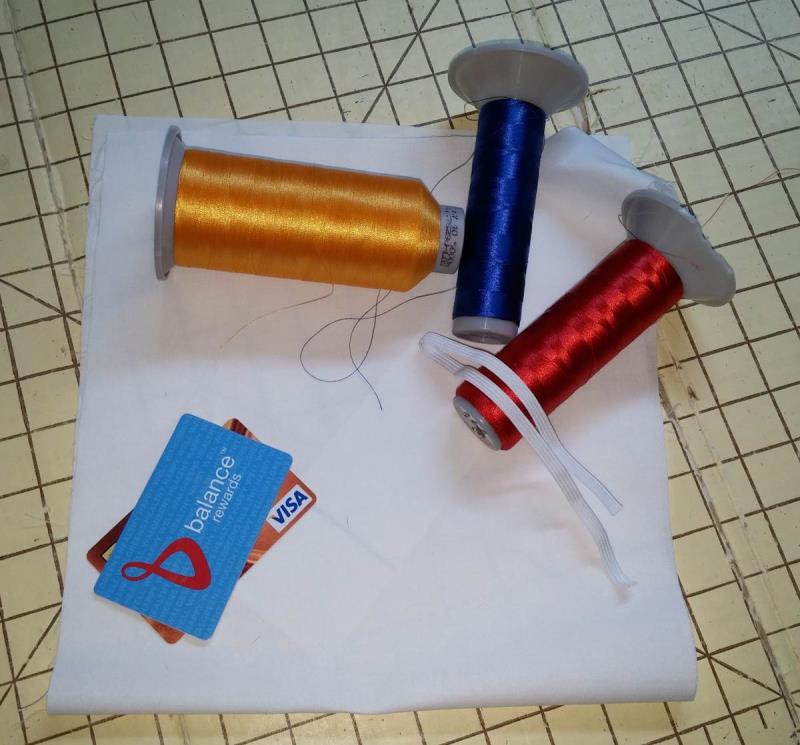
Gather the materials and read through the instructions before beginning. Print out a paper template of the design and color sequence. Note: ¼” seam allowances are used throughout.
(Click Image to Enlarge)
Step 2:
The design chosen for the project did not use applique - it was direct embroidery. If using any designs that are applique, be sure to include fabric for the applique (4” x 4”) in the list of materials.
(Click Image to Enlarge)
Step 3:
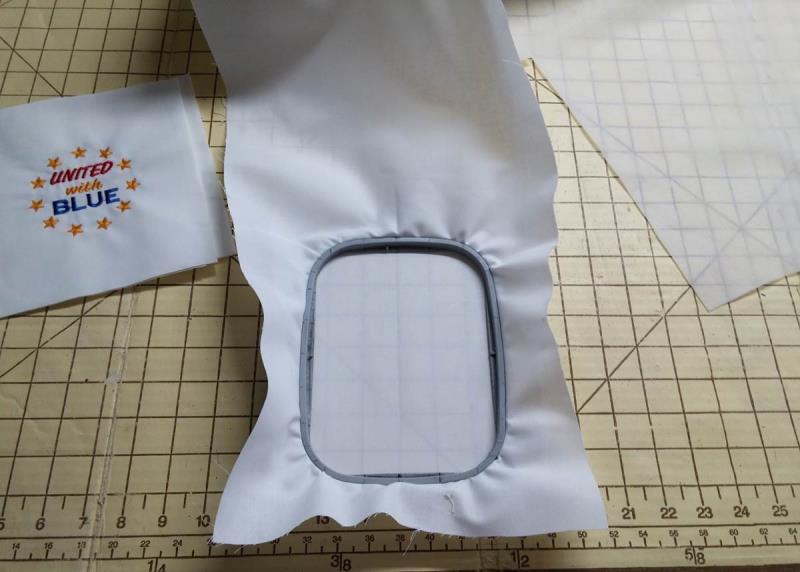
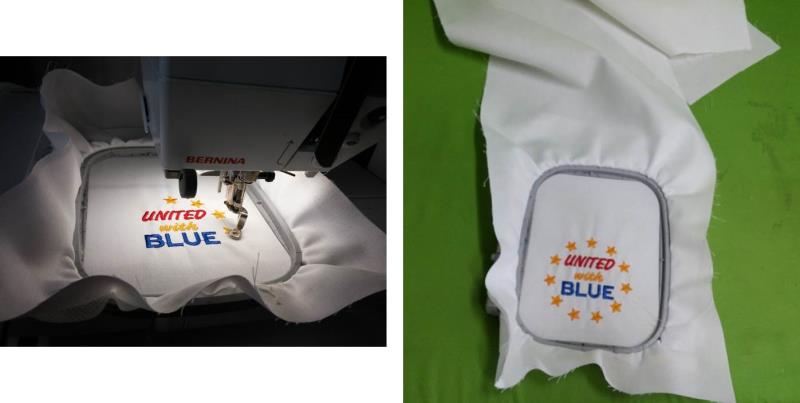
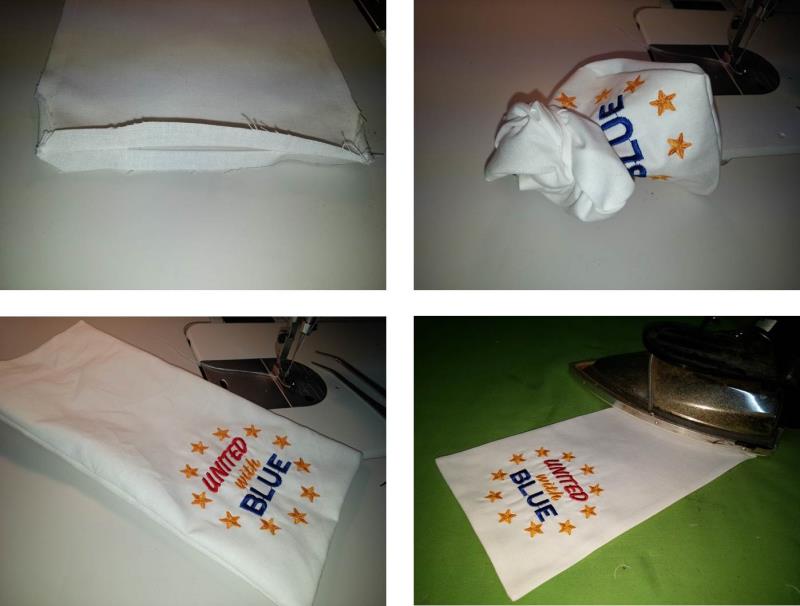
Cut one piece of white fabric larger than needed so it will fit in the hoop. Hoop the fabric with stabilizer. The design will be moved to the lower portion of the hoop for stitching and then the fabric cut to size as you will see.
(Click Image to Enlarge)
Step 4:
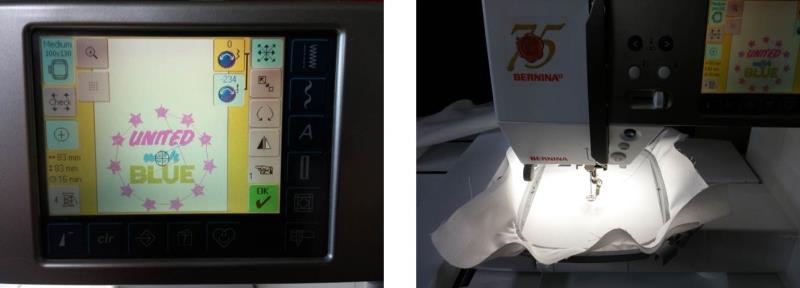
Load the embroidery design “United with Blue” on the machine. Place the hoop on the machine and move the design to the lower part of the hoop.
(Click Image to Enlarge)
Step 5:
Stitch the design following the color sequence. Remove the fabric from the hoop and cut away the excess stabilizer.
(Click Image to Enlarge)
Step 6:
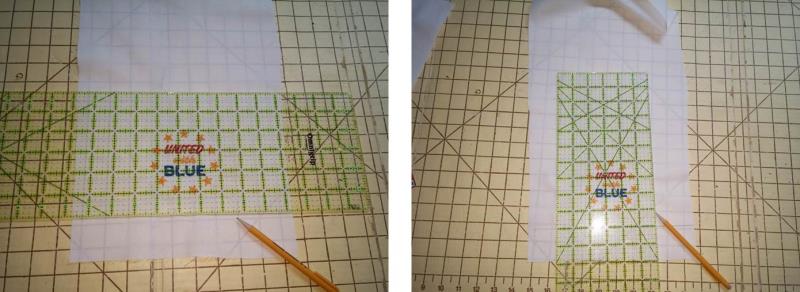
Using a ruler with grid lines, align one line on the ruler along the bottom of the word “BLUE” with the bottom of the ruler about an inch below the point of the lowest star and draw a line. This allows for a seam allowance and space below the design. Now use the same ruler to square up the rest of the fabric leaving the same inch on each side for space and seam allowance. Make the top line 10” from the first line.
(Click Image to Enlarge)
Step 7:
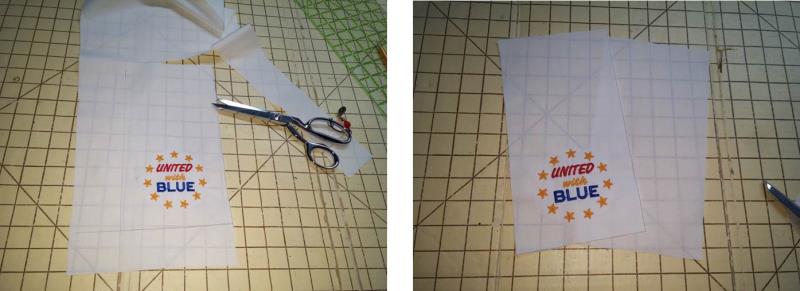
Cut along the line. Cut the second piece of white fabric the same size.
(Click Image to Enlarge)
Step 8:
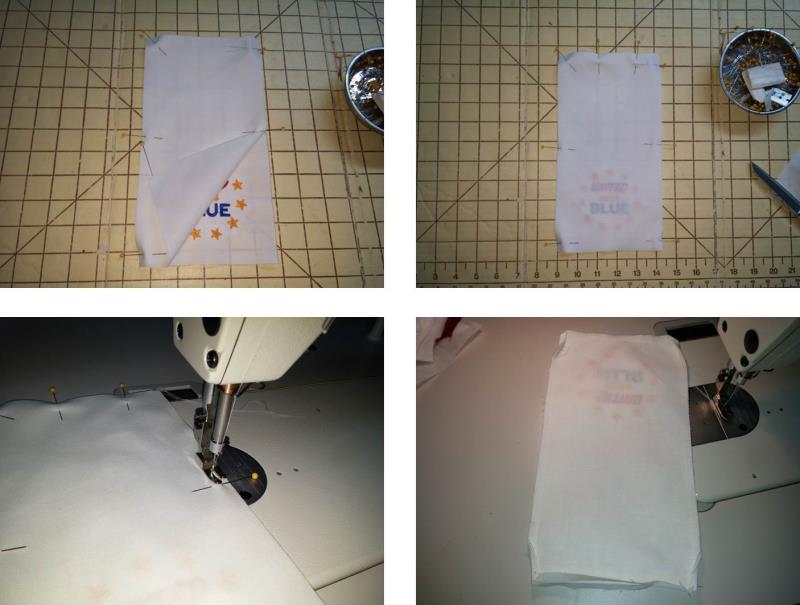
Place the two pieces of fabric right sides together and pin. Sew around all sides leaving an opening for turning at the non-embroidered end.
(Click Image to Enlarge)
Step 9:
Fold back and press the seam allowances around the opening as shown. Turn the project right side out and smooth the seams and form the corners; press.
(Click Image to Enlarge)
Step 10:
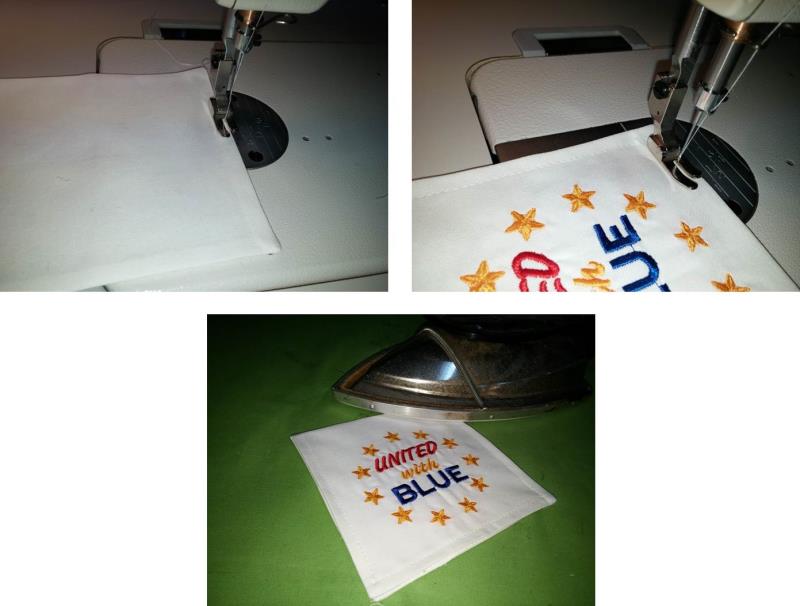
Edgestitch along the opening side and then top stitch around the outside of all edges. Fold the piece in half and press the fold well.
(Click Image to Enlarge)
Step 11:
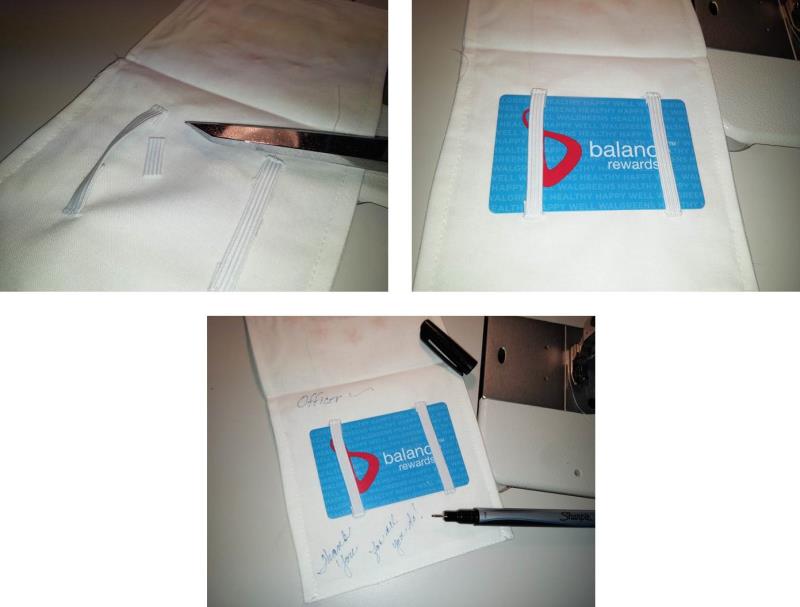
Use the purchased gift card (or another card like shown here if the gift card has not yet been purchased) to determine the placement and size of the elastic needed. Open the folded fabric and place and center the card in the lower section. Slide the ends of the elastic under the card and pin the elastic in place (do not pull the elastic tight or it will bunch the fabric). Edge stitch the ends of the elastic in place.
(Click Image to Enlarge)
Step 12:
Trim the ends of the elastic to about ¼”. Slide the card in place. Use the fine Sharpie pen to write a nice thank you note for an officer.
(Click Image to Enlarge)
Step 13:
This is a very nice way to thank an officer and pay it forward. Several of these could be made and dropped off at the police headquarters or substation. Be mindful that many departments have rules regarding gift acceptance so dropping them off at a station will allow them to be handed out by supervisors according to policy. The card shown in this photos contains only a few of many ideas for different types of gift cards that would be greatly appreciated.
Ramona Baird has been in the embroidery industry for over 23 years. She and her husband owned a commercial and retail embroidery store in Arizona for many years. She is an experienced digitizer having been mentored by award-winners Pat Williams and Lindee Goodall. Ramona is a contributor to “Creative Machine Embroidery” magazine having 5 covers to her credit. Ramona has worked for Wilcom America and served many years as Education Director for the American Sewing Guild. With a degree in fashion design, she is able to design and execute patterns which Pat Williams says are “out of the box” in creativity and application. Ramona likes to challenge the boundaries of embroidery and bring new and exciting designs, ideas, and projects to EmbroideryDesigns.com. She wants embroiderers of all levels to increase their skills and enjoyment in using their embroidery machine for gift-making and personal pleasure.