Border OptionsHugging border, circle, square, or rectangle — with a 3mm satin stitch.
Backing OptionsAvailable with iron-on, sew-on, or velcro backing.
Fast ShippingShipped quickly from the USA.
Free Online Tools
Powerful embroidery utilities that save time and prevent costly mistakes.
Stitch AssistantRECOMMENDED
Get the exact stabilizer, machine settings, needle, and thread color sequence for every embroidery design you purchase — based on that design's stitch density, dimensions, and color count.
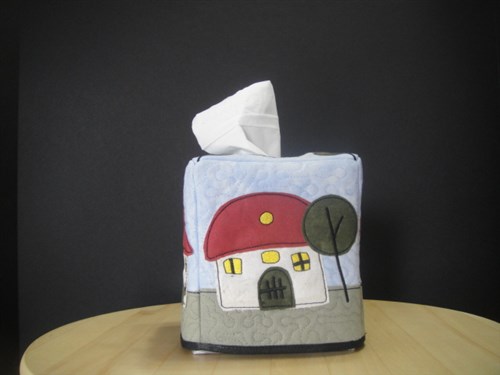
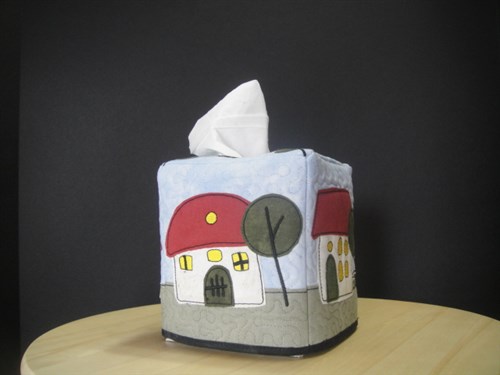
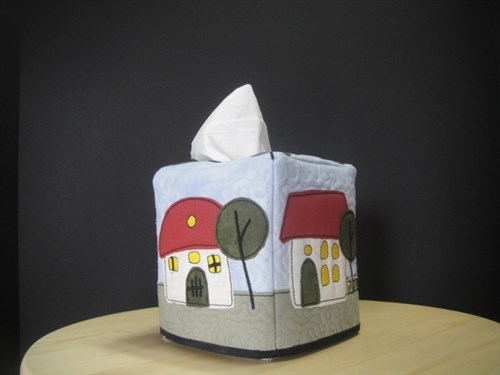
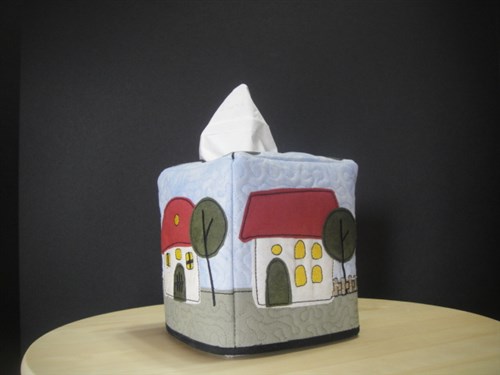
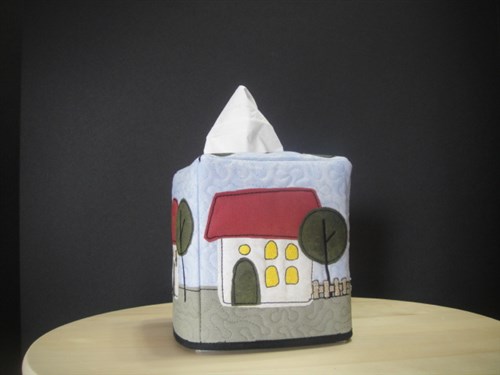
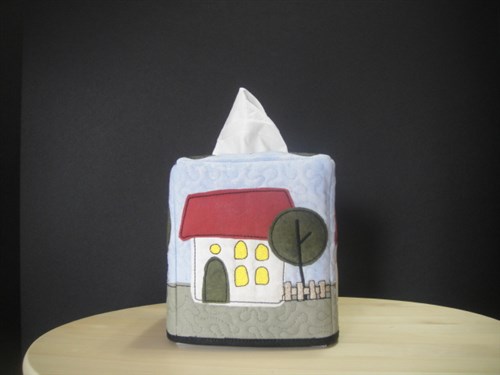
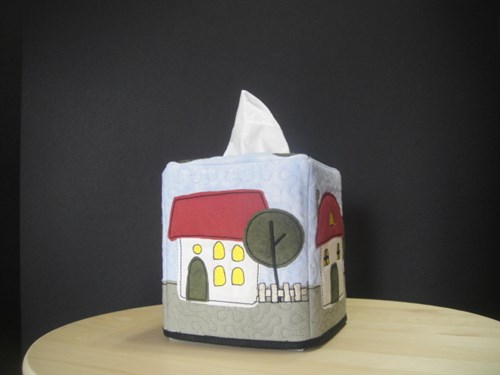
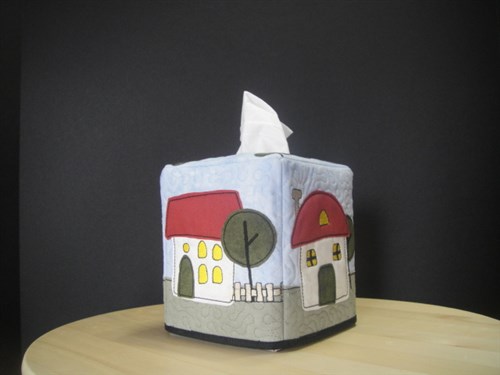
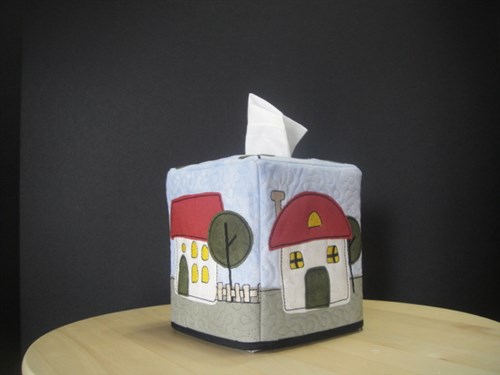
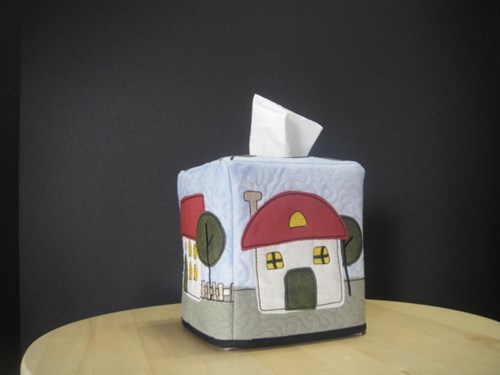
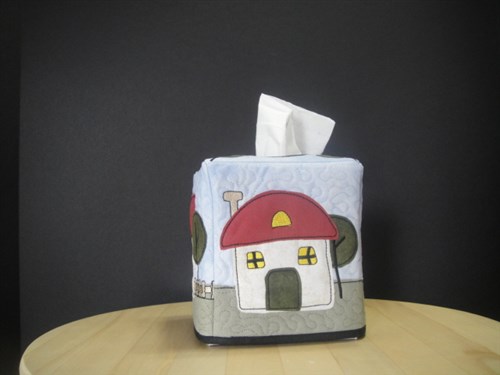
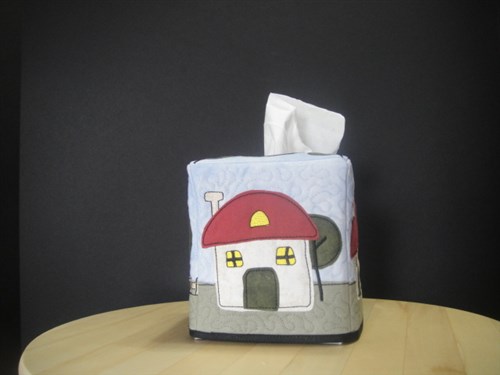
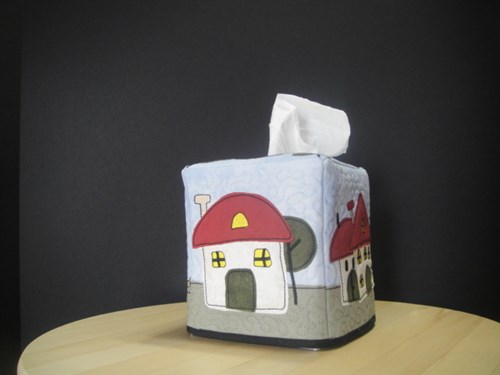
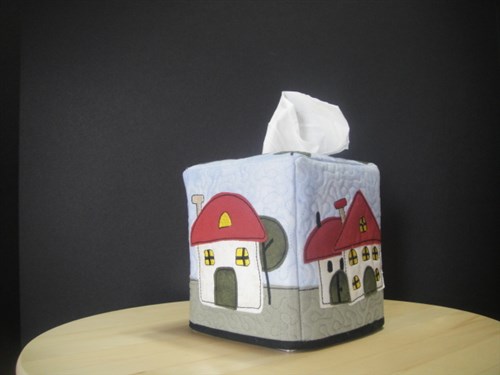
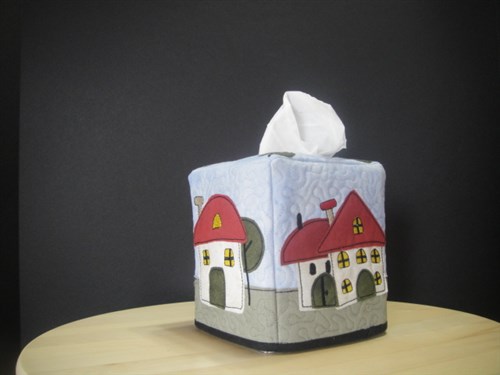
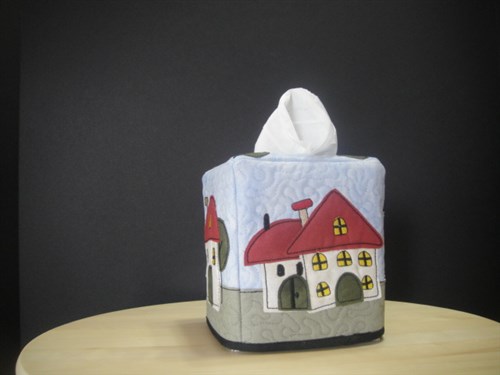
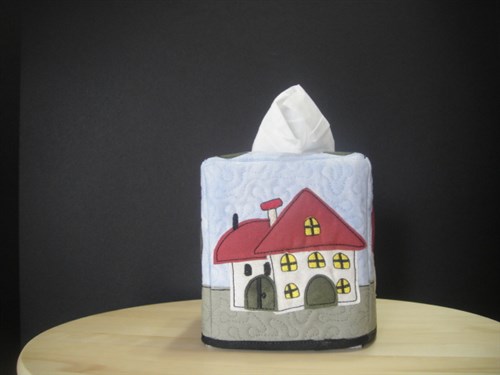
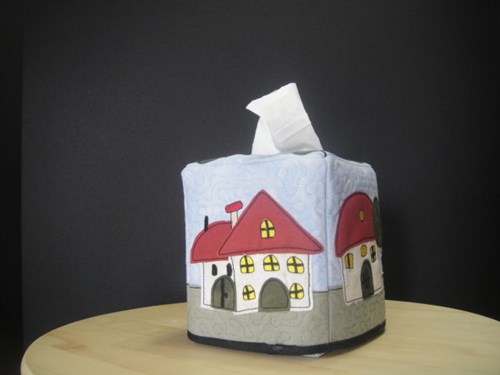
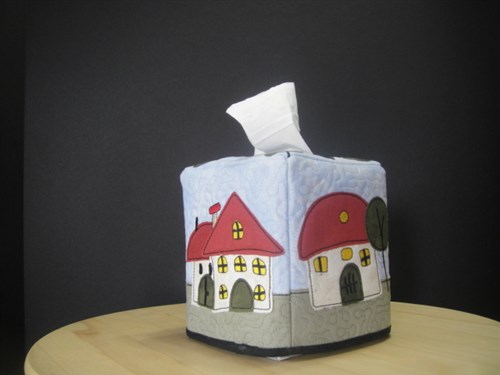
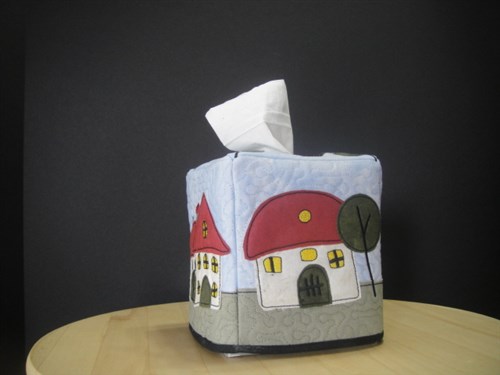
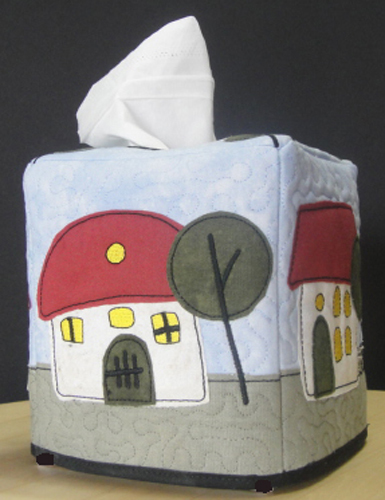
Create a charming tissue box cover featuring raw edge applique with a cozy house design. Perfect for adding a touch of warmth to your home décor or gifting to a new homeowner. Step-by-step instructions are included.
This project is rated for advanced sewers due to the Y seam construction of the
box cover itself as well as the techniques used to reduce bulk in the seam allowances.
However, all of the required techniques are explained in the following instructions.
Do use the ultra-thin batting and an inexpensive thin muslin for the back of the
blocks, they do minimize the bulk of the blocks. There are a lot of color changes
listed for each embroidery file, but many of them are sewn in black thread and are
just broken into all the color stops (CS) so that the machine will stop for you
to trim or place an applique. Do watch your color charts are there are a couple
of steps that require real color changes. All of the applique work is raw
edge.
Step 1:
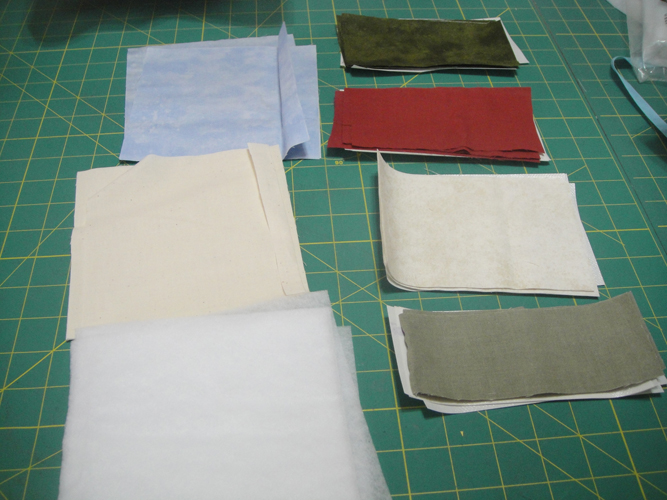
Assemble the fabrics per the Material list above.
(Click Image to Enlarge)
Step 2:
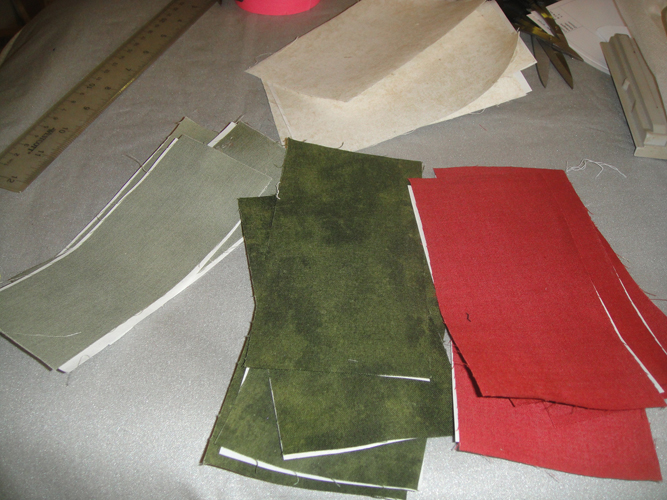
Press each fabric applique piece twice with Magic Sizing and following the manufacturer’s
instructions adhere a piece of Heat n bond Lite to the back of each applique strip.
(Click Image to Enlarge)
Step 3:
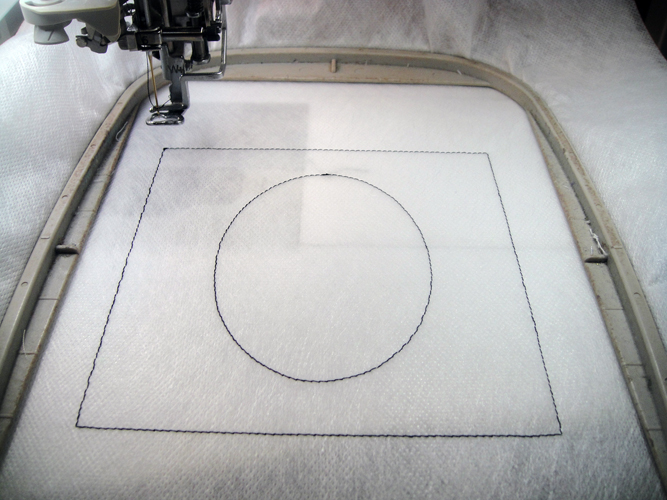
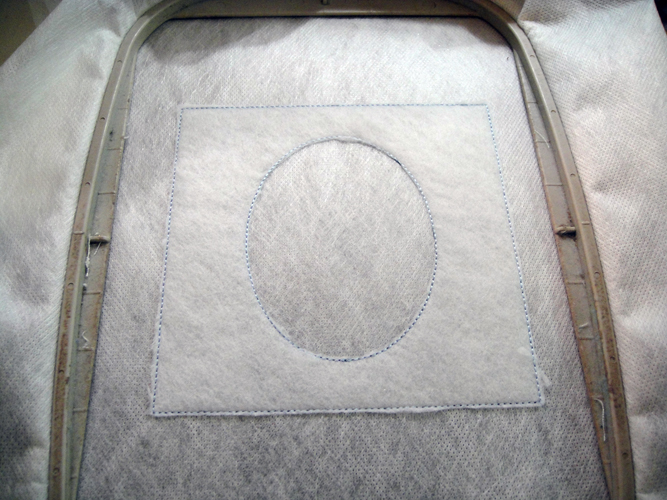
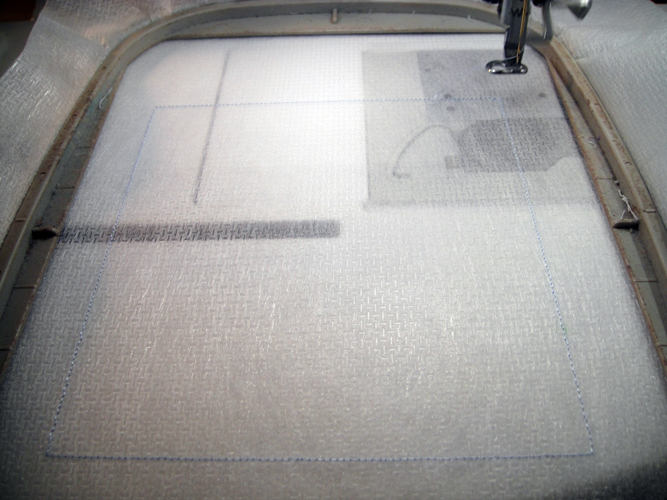
Load design KLXB01 for the top of the box cover; hoop two layers of fibrous water
soluble stabilizer in a 5” x 7” hoop; run CS 1 in a neutral thread as
a placement line for the batting. Note – I ran CS 1 in black to ensure a clear
picture, normally I would have run this CS in the blue thread.
(Click Image to Enlarge)
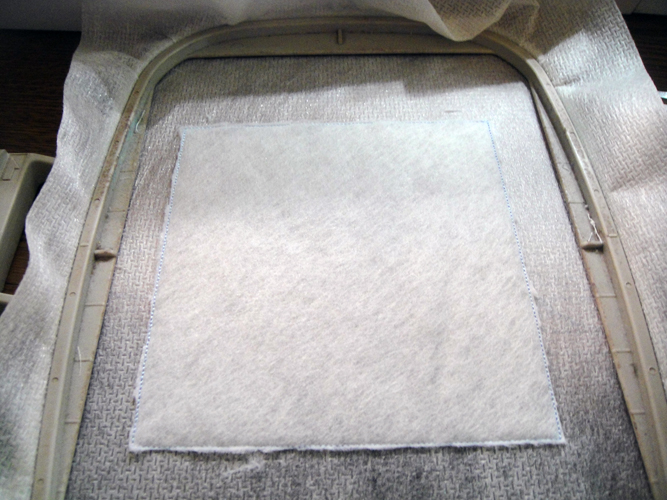
Step 4:
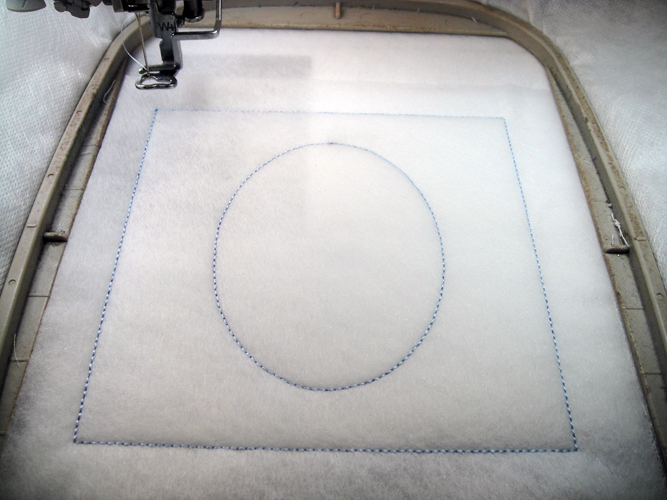
Spray adhesive on the batting and position over the outlines, run CS 2 to tack it
down on the inside and outside edges.
(Click Image to Enlarge)
Step 5:
With small sharp “In the Hoop” scissors trim away the batting next to
the tack down stitches around the outside edges of the block; lift the batting with
the tip of scissors and cut away the batting inside the oval leaving the stabilizer
intact.
(Click Image to Enlarge)
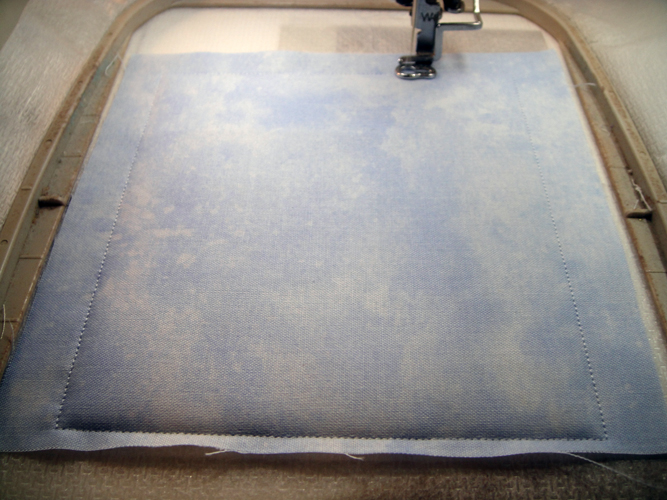
Step 6:
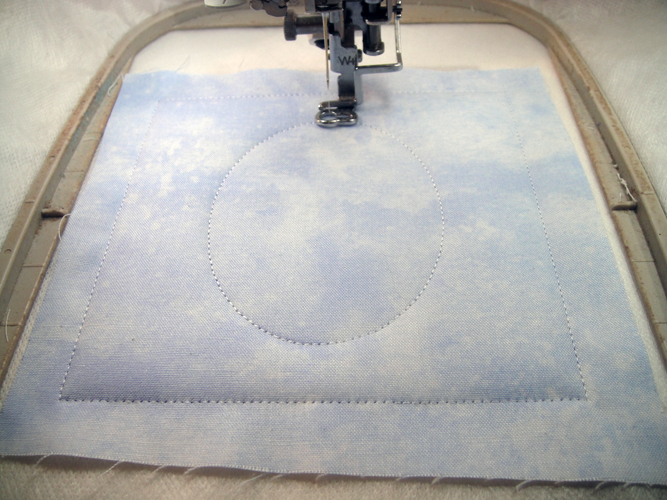
Spray adhesive on a square of sky blue fabric and place over the batting; spray
adhesive on a muslin square and place over the placement lines on the back of the
hoop; change your top thread to water soluble thread; run CS 3 to tack down the
sky blue fabric and the muslin.
(Click Image to Enlarge)
Step 7:
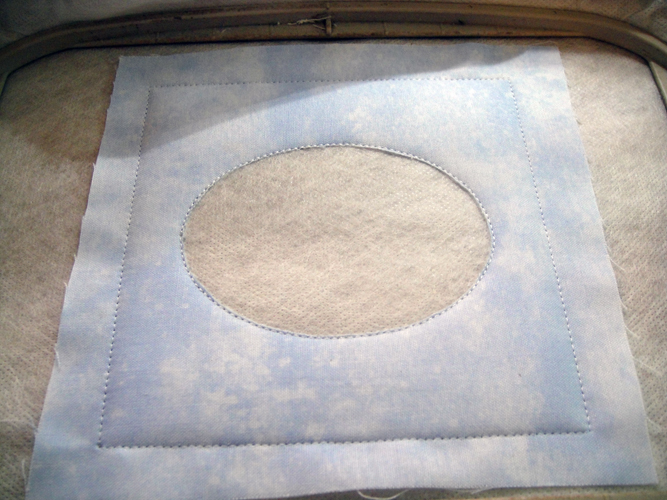
With the tip of the scissors lift and trim out the sky blue fabric oval leaving
the stabilizer intact; turn the hoop over and remove the muslin from the oval of
the back leaving the stabilizer intact.
(Click Image to Enlarge)
Step 8:
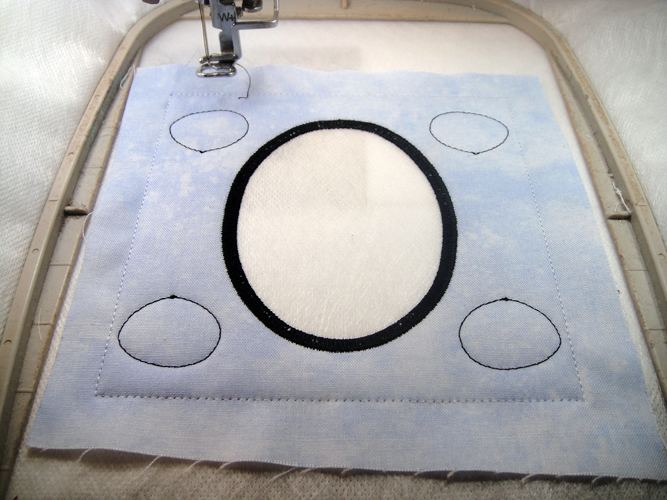
Run CS 4 in black to edge the center oval; run CS 5 in black for placement lines
for the tree tops.
(Click Image to Enlarge)
Step 9:
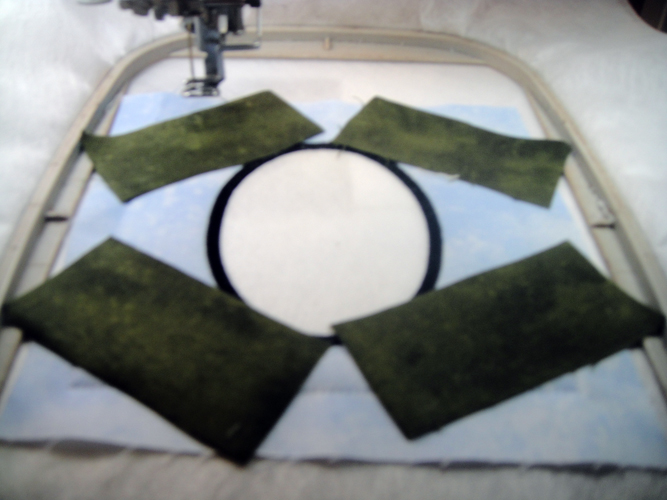
Cut a dark green strip into 4 pieces; remove the paper backing; spray with adhesive
and position over the placement lines.
(Click Image to Enlarge)
Step 10:
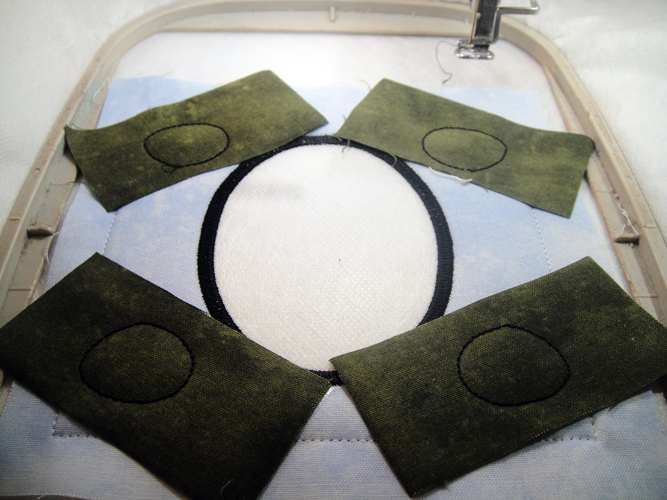
Run CS 6 in black to tack down the tree tops.
(Click Image to Enlarge)
Step 11:
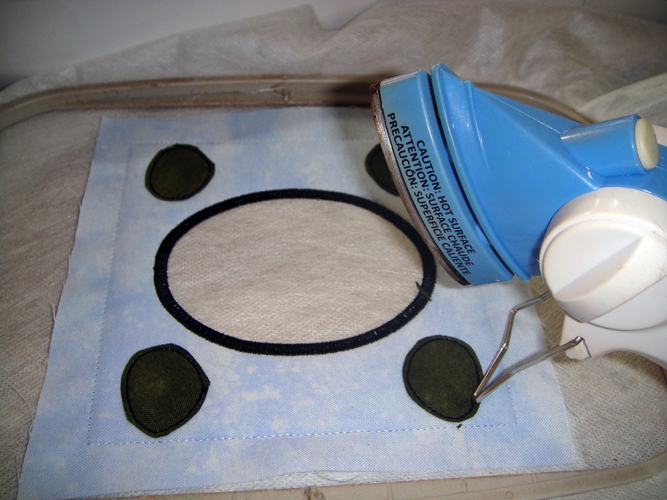
Remove the hoop from the machine; do not unhoop; trim away the excess fabric about
1/8” away from the tack down stitches; press the tree tops with an applique
iron.
(Click Image to Enlarge)
Step 12:
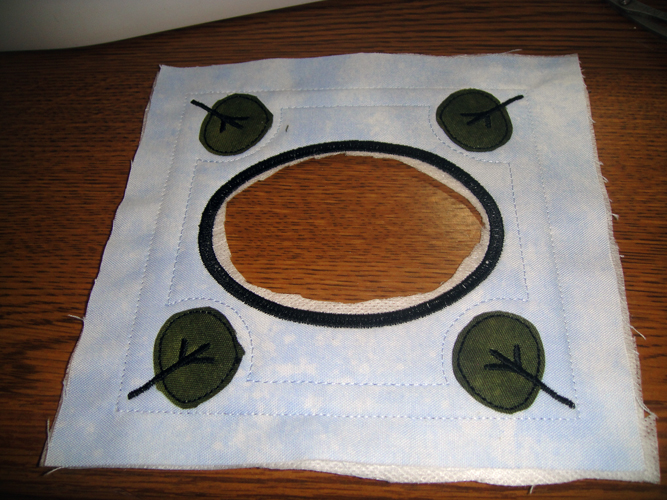
Run CS 7 in black to complete the trees; run CS 8 in light blue to complete the
quilting; remove from the hoop; trim away the excess stabilizer around the block
and inside the oval.
(Click Image to Enlarge)
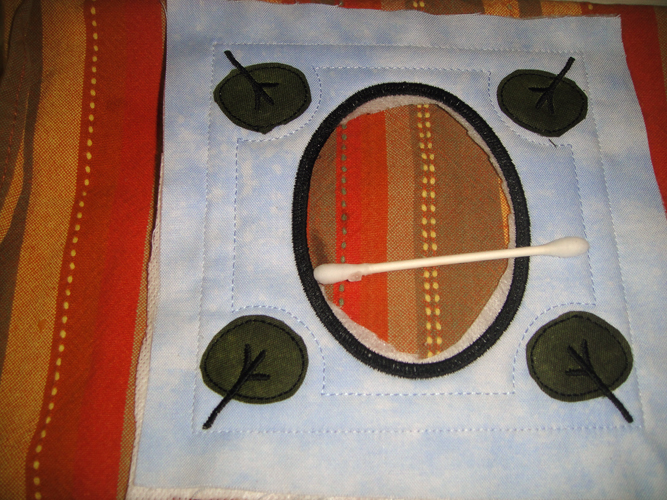
Step 13:
Run around the inside of the oval with a cotton swab or the corner of a sponge dipped
in hot water to remove the remaining water soluble stabilizer from inside the oval;
lay aside this block to dry.
(Click Image to Enlarge)
Step 14:
The steps for making the 4 side panels are all the same; first hoop poly mesh stabilizer
in your hoop; run CS 1 in light blue as a placement line for the batting.
(Click Image to Enlarge)
Step 15:
Spray the batting with adhesive and position the batting over the placement lines;
run CS 2 to tack down the batting; trim around all sides next to the tack down stitches.
(Click Image to Enlarge)
Step 16:
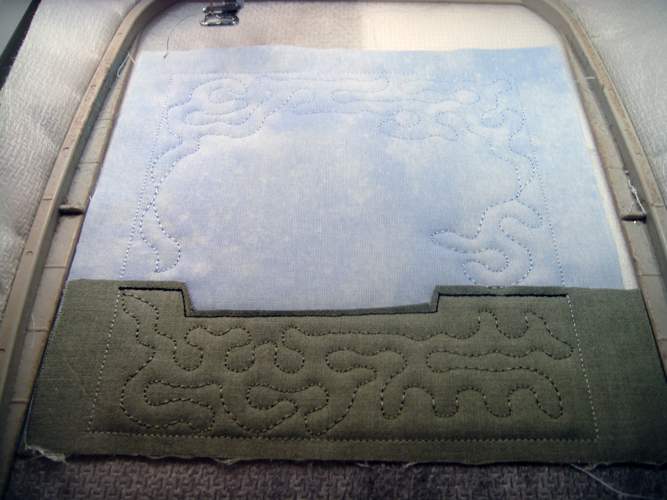
Spray adhesive on a square of sky blue fabric; instead of centering this fabric
when placing it over the outlines place the bottom edge of the fabric just ¼”
below the bottom of the batting, which will leave approximately ½” of
fabric above the batting at the top; center the fabric over the batting from side
to side; spray adhesive on a muslin square; turn the hoop over and place the muslin
in the same position on the back of the hooped stabilizer; run CS 3 in water soluble
thread to tack down the block.
(Click Image to Enlarge)
Step 17:
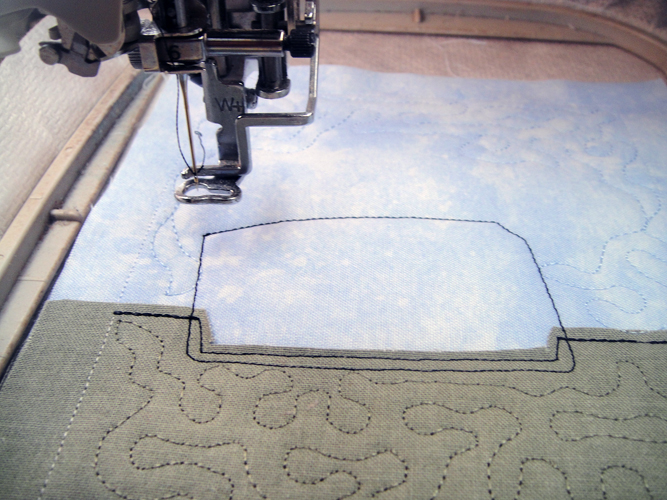
You may leave the water soluble thread in to stitch CS 4 which is a placement line
for the grass.
(Click Image to Enlarge)
Step 18:
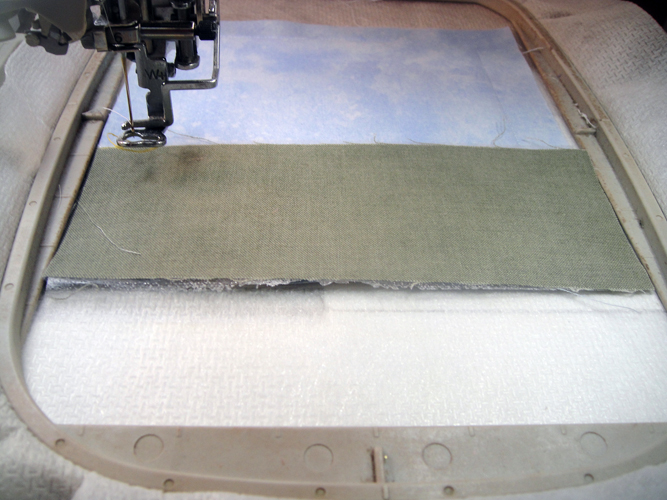
Remove the paper from a strip of the light sage fabric; spray with adhesive; align
the bottom edge with the bottom of the blue fabric.
(Click Image to Enlarge)
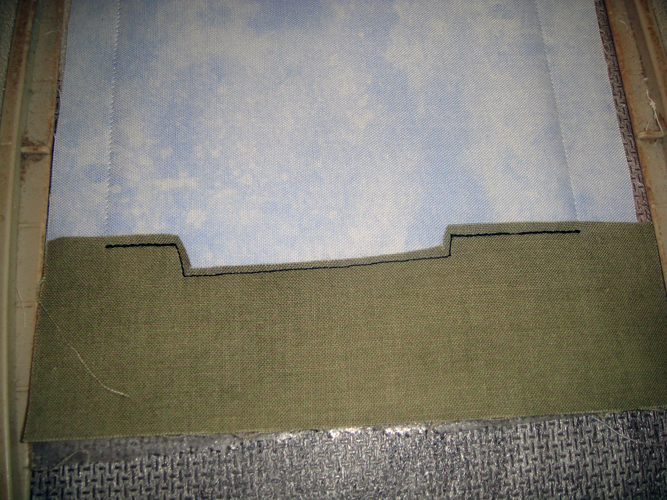
Step 19:
Run CS 5 in black to tack down the sage fabric; trim about 1/8" of an edge
above the tack down stitches.
(Click Image to Enlarge)
Step 20:
Change to water soluble thread in the top of your machine and run CS to tack down
the sides and bottom of the light sage fabric.
(Click Image to Enlarge)
Step 21:
Run CS 7 in light blue and CS 8 in army green to quilt the block. Steps 14 through
21 are repeated for each of the four side panels except as noted in Step 22.
(Click Image to Enlarge)
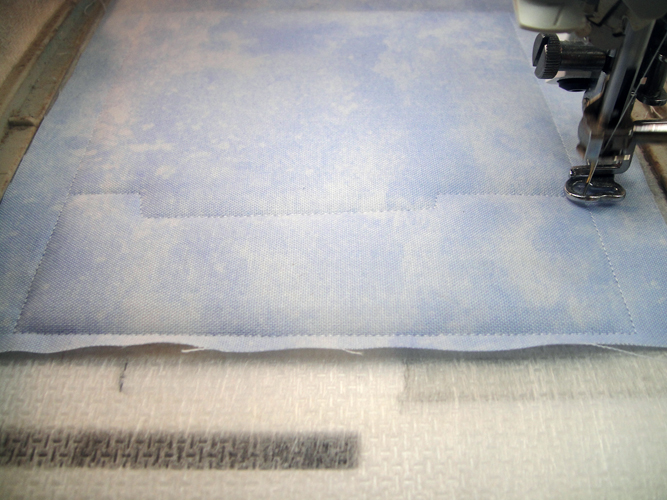
Step 22:
Follow the color chart for each of the side panels; the placement lines and the
tack down stitches can all be sewn in black; trim each applique 1/8" and press after
trimming; be sure to follow along on the color chart as on some panels a chimney,
the fence, and the windows will require an actual thread color change.
(Click Image to Enlarge)
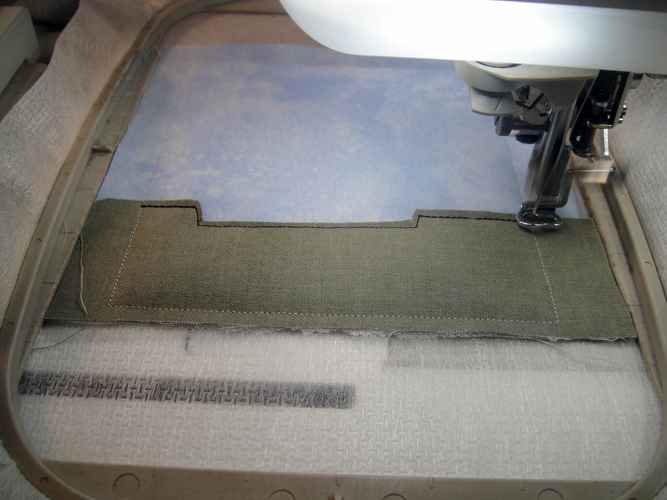
Step 23:
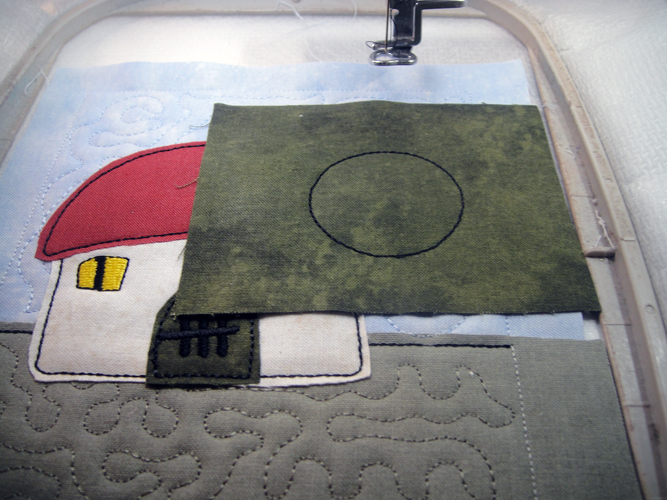
Cut the applique strips into pieces that will fit comfortable over the placement
lines; stitch the tack downs; trim and iron all appliques as you go to complete
all four sides.
(Click Image to Enlarge)
Step 24:
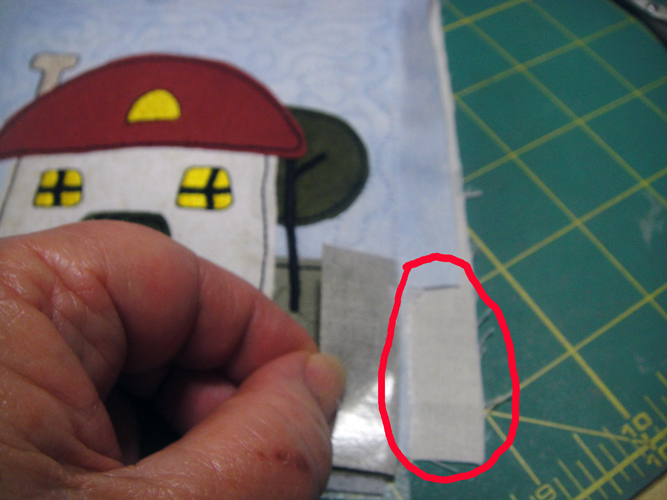
In order to reduce bulk in the seams lift the sage green seam allowance on the sides
of the block and cut away the blue fabric only from the bottom of the block to about
¼” below the top of the sage green; do this on both sides of all the
side panels.
(Click Image to Enlarge)
Step 25:
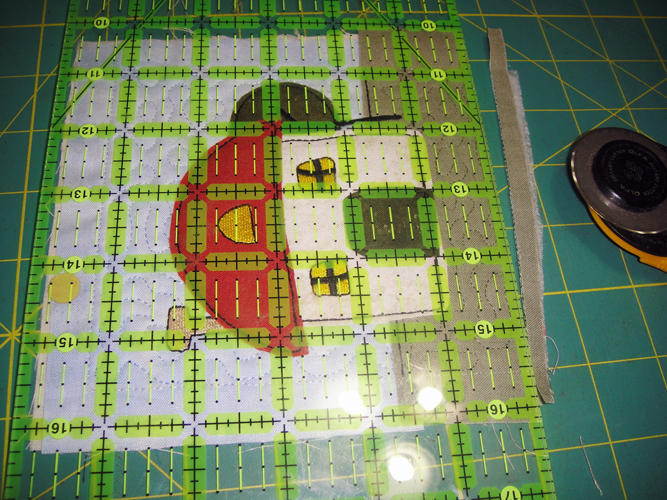
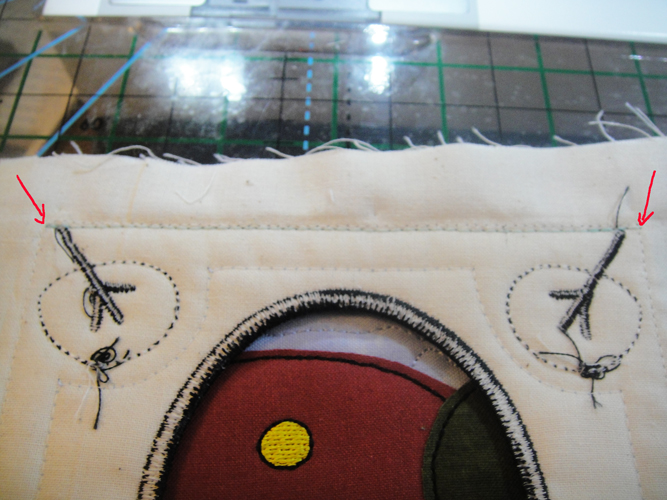
Align the edge of a see through ruler on the water soluble thread tack down line
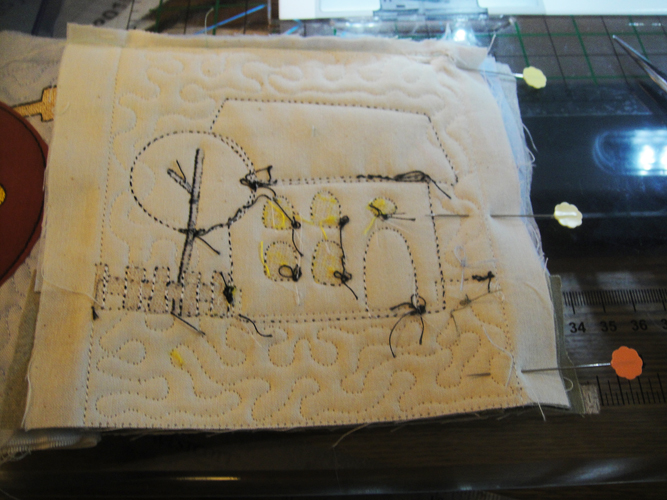
at the bottom of all 4 side panels and trim right next to the tack down line through
all layers of fabric.
(Click Image to Enlarge)
Step 26:
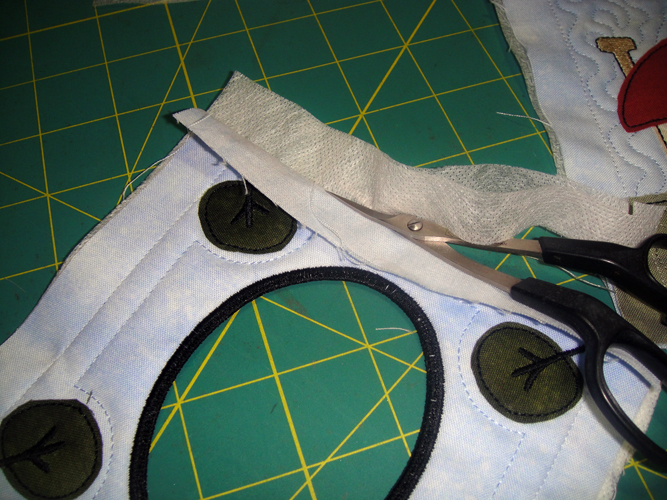
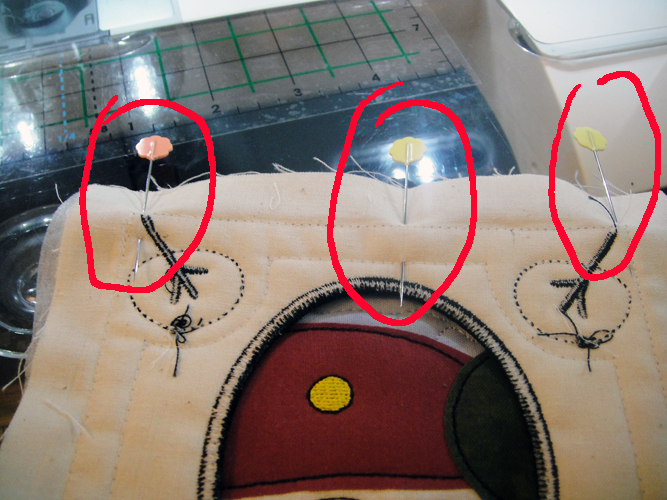
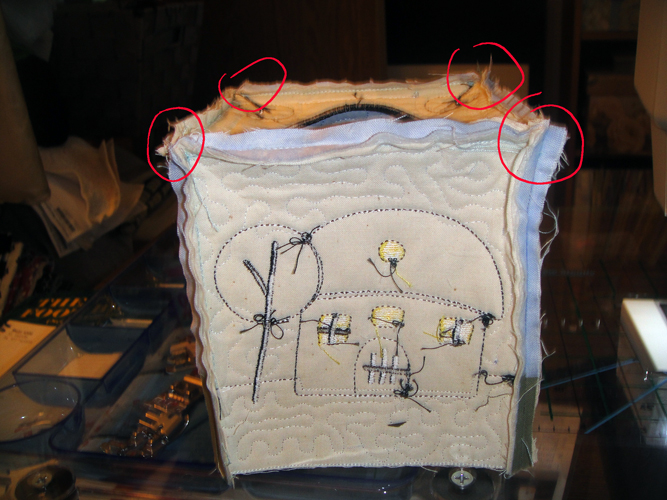
On all 4 sides of the top panel and at the top and sides of the side panels fold
back the seam allowances of the top and fabric and muslin backing; with sharp scissors
trim away the stabilizer between the fabrics.
(Click Image to Enlarge)
Step 27:
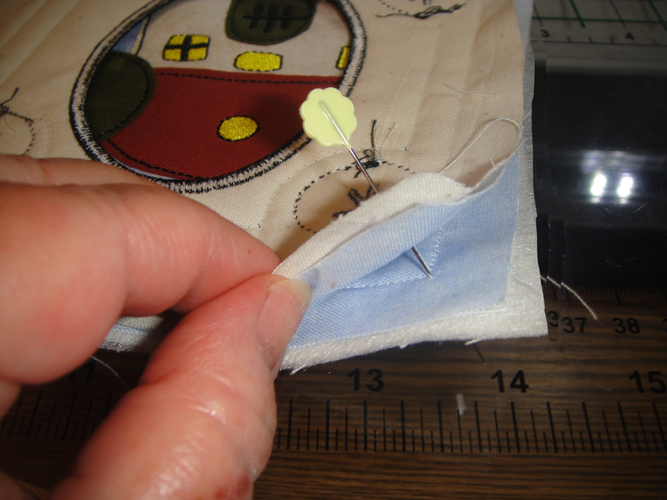
Careful double pinning of the top to the side panels is required to keep the box
cover aligned. To do this place a side panel and the top of the cover right sides
together; place a pin vertically through the absolute corner of the water soluble
thread stitching; place the pin vertically through the absolute corner of the water
soluble thread outline on the side panel.
(Click Image to Enlarge)
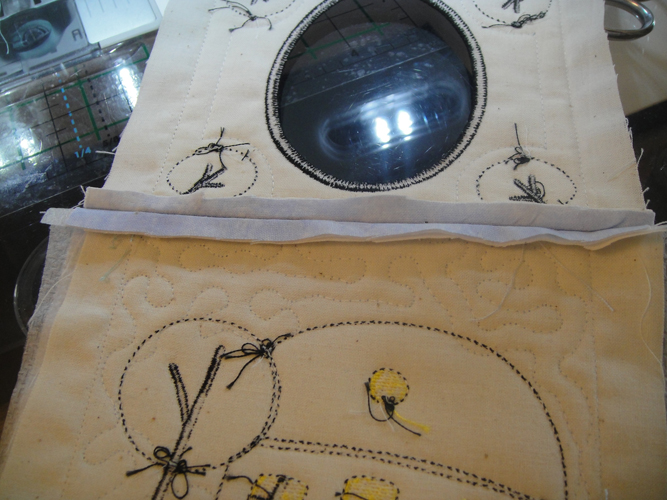
Step 28:
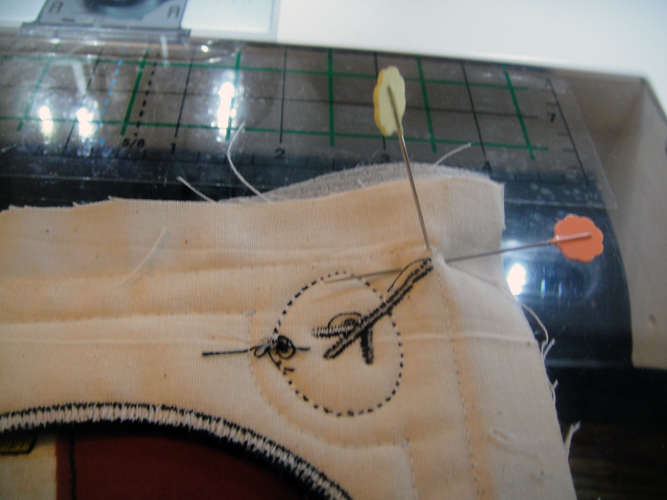
Holding the panels so that you are sure the corners are aligned place a second pin
horizontally through all layers.
(Click Image to Enlarge)
Step 29:
Using this double pin method, align the second corner and the center of the panels,
remove the vertical pins.
(Click Image to Enlarge)
Step 30:
This is where the advanced sewing skills come into play; stitch from one corner
stitch to the other leaving the side seam allowance free; using a 3mm length stitch
will make stitching through all of those layers easier as will engaging a walking
foot if available.
(Click Image to Enlarge)
Step 31:
Trim the seam to ¼” and press open with a dry iron; a steam iron would
start to melt the water soluble stabilizer in the top of the cover.
(Click Image to Enlarge)
Step 32:
Repeat Steps 27 through 31 three times to attach the remaining side panels.
(Click Image to Enlarge)
Step 33:
Fold the cover so that two side panels meet; use the double pin method to align
the sides; stitch with a 3mm stitch from the top of the corner all the way to the
end of the panel; trim the seam and press open; repeat to join all the side panels
together.
(Click Image to Enlarge)
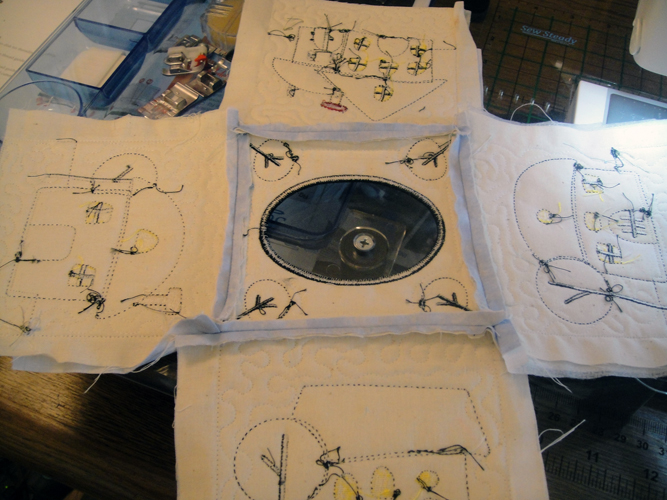
Step 34:
Your cover will now look like this; trim diagonally across the 4 square corners
of the top fabrics.
(Click Image to Enlarge)
Step 35:
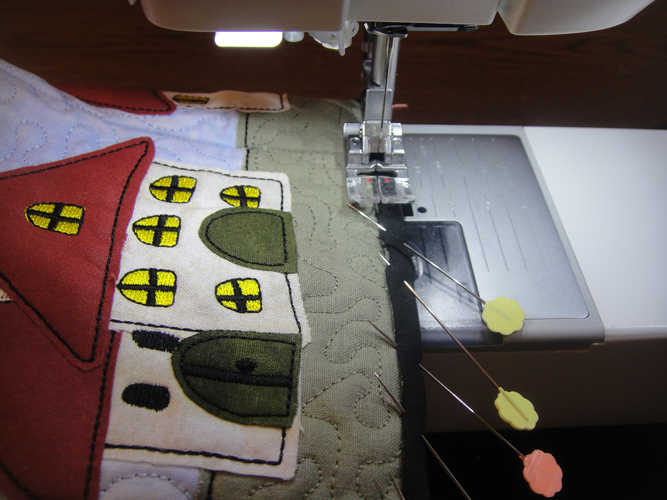
Turn you Kleenex® Box Cover right side out using blunt object to turn out the
corners; apply binding to the inside first using a ¼” seam allowance.
Note I used packaged single fold bias tape on this sample, it was admittedly a tight
fit to get it to fold over the corner seams properly, so I suggest that you use
a 1 ¼” strip of black fabric and create your own bias tape or use extra-wide
packaged bias tape.
(Click Image to Enlarge)
Step 36:
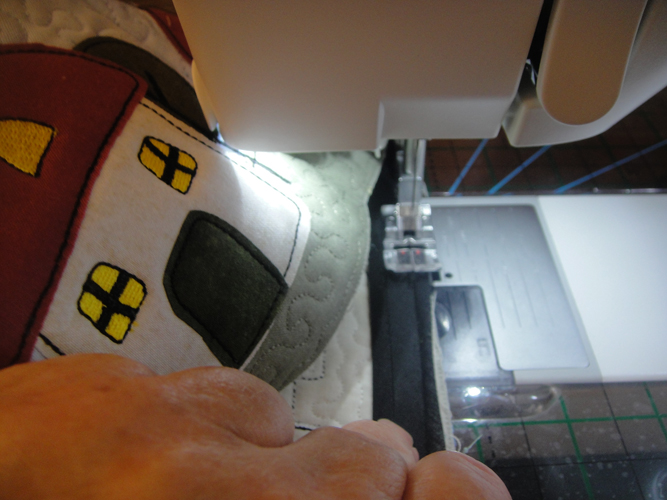
Fold the binding to the front and stitch with an edge stitch to complete the project;
using the free arm feature of your machine, if available, makes this easiest to
do.
(Click Image to Enlarge)
Step 37:
(Click Image to Enlarge)
Congratulations your Home Sweet Home Kleenex® Box Cover is complete!
Award winning Digitizer, Embroidery Educator, Author and a Consultant to the Industry, Pat Williams has 30 years of experience in the embroidery industry. Pat has won multiple awards for her digitizing expertise including the 2007 Impressions Awards Grand Championship, Best of Show as well as the 1st and 2nd Place Awards. Pat’s love of digitizing has afforded her the opportunity to write numerous articles for Impressions magazine in the United States and Images Magazine in Europe. In 2001 Pat was named “Embroidery Educator of the Year.” For many years Pat taught digitizing seminars at the ISS Shows in Long Beach, CA and for Compucon software. She now resides in Tucson, AZ.