2026 Flash Sale
Live Chat
Embroidery Designs
Welcome, Embroiderer
Login
Redwork Baby Quilt
{{mainImageAlt || (productInfo._source && productInfo._source.name) || ''}}

Redwork Baby Quilt Embroidery Project

By   Barbara Geer   on   June 29, 2016
  • SKILL LEVELSome Experience
  • TIME REQUIRED12:00
Description

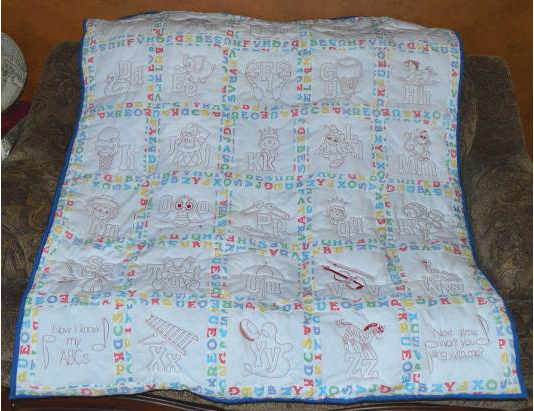
Create this beautiful Redwork Baby Quilt project for the special one.

Step of

Materials

Project Preview Video

Materials
  • 2 yards of 44" white fabric
  • 3 yards of 44" fabric for trim and back. This can be the same fabric, or the trim and back can contrast.
  • 2 yards of quilt batting
  • Embroidery designs from the Redwork Baby Quilt package
  • Embroidery thread in colors of choice
  • Embroidery machine
  • Sewing machine
  • Sewing thread to match trim
  • Cutting mat, rotary cutter, scissors, iron

  • Designs used in this project

    Final Product: What You Will Create

    Preface:
    Redwork baby designs are used to quilt the finished project. Though the designs are not totally continuous from beginning to end, there are very few trims involved. Redwork outlines are ideal for quilting! There is no need for embroidery backing in this project. The finished quilt is more than sturdy enough to support the redwork designs.


    Step 1:
    (Click Image to Enlarge)
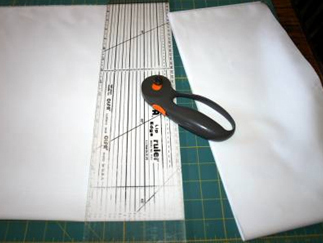
    The project uses 8” blocks, so cut the length of the main fabric in 8” widths.


    Step 2:
    (Click Image to Enlarge)
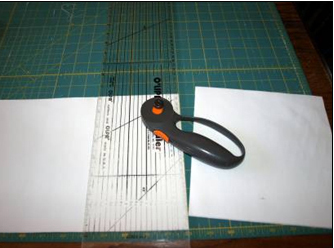
    Position each of the 8” strips on the cutting mat and cut at 8” again. You will now have 8” blocks.


    Step 3:
    (Click Image to Enlarge)
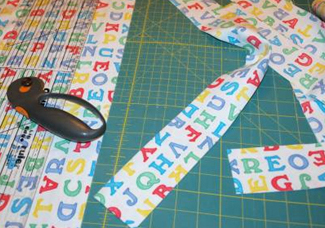
    Place the trim fabric on the cutting mat and cut into 3” strips.


    Step 4:
    (Click Image to Enlarge)
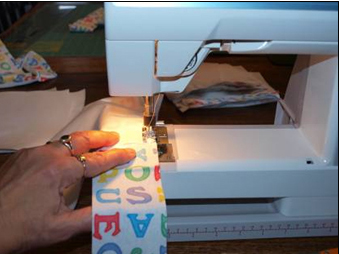
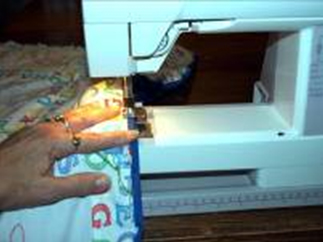
    With right sides together, stitch the strips to the squares. Place five squares across for each row. When the rows are completed (six rows), stitch the strips between each row as well. Last, use the strips to make a border around the entire quilt. When the top is complete, add the batting and backing and complete the stitching of the quilt, all the way through the binding. Before stitching the binding, secure all corners of the squares, either by tying the corners or, if you prefer no ties, with quilting pins. The redwork embroidery will serve as the quilting in this project.


    Step 5:
    (Click Image to Enlarge)
    The last step in the process of the quilt construction is the addition of the binding to finish the edge of the quilt.


    Step 6:
    (Click Image to Enlarge)
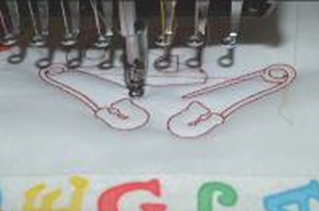
    The four quilt corner designs use the text for the A-B-C Song. Place those designs in the appropriate corners. Then, beginning at the second square in the first row, embroider the alphabet, one letter per square. Notice that when you embroider through all the layers of the quilt, that the designs are puffy. This gives the quilt a very cuddly look.


    Step 7:
    The Finished Project!

    (Click Image to Enlarge)

    Meet the Author: Barbara Geer
    Barbara Geer
    Barbara Geer, Creative Director/Digitizer, Grand Slam Designs, an embroidery stock design and contract digitizing operation, has been in the decorated apparel industry since 1990. She is a popular speaker at commercial decorated apparel and home embroidery events. She also is a frequent contributor to commercial and home embroidery publications such as EMB, Stitches, and Printwear. You may reach Barbara at 218-222-3501; e-mail [email protected] or visit her Web site at www.grandslamdesigns.com.
    More From This Author
    Link is Broken, Please check the URL
    Exclusive Embroidery Offers!
    Copyright © {{ currentDate | date:'yyyy'}} - EmbroideryDesigns.com
    GET 50% OFF! ×