Live Chat
Embroidery Designs
Welcome, Embroiderer
Login
ITH Holiday Utensil Holders
{{mainImageAlt || (productInfo._source && productInfo._source.name) || ''}}

ITH Holiday Utensil Holders Embroidery Project

By   Starbird Inc.   on   May 06, 2016
  • SKILL LEVELSome Experience
  • TIME REQUIRED02:00
Description

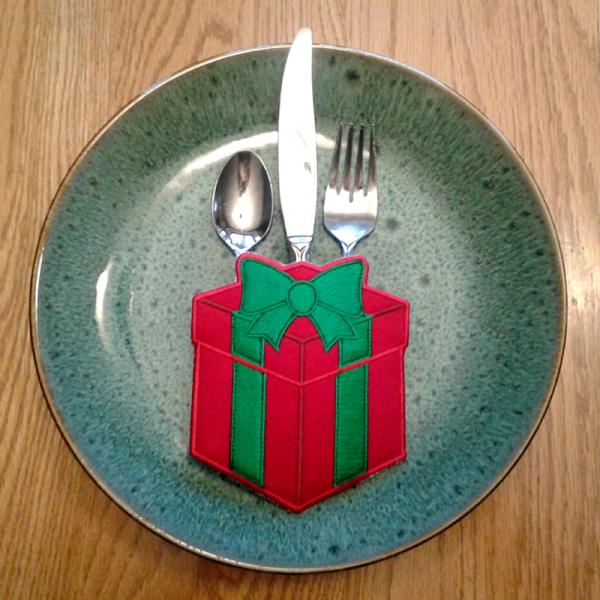
This festive Holiday utensil holder design is created "In The Hoop" using craft felt applique pieces. They can be used year after year and they also make wonderful gifts.

Step of

Materials

Project Preview Video

Materials
  • ITH Holiday Utensil Holder Design
  • 3 Pieces of craft felt applique fabric
  • 2 Pieces of tear away stabilizer
  • 3 Pieces of paper for the dieline template printouts
  • Spray adhesive
  • Scissors

  • Designs used in this project

    Final Product: What You Will Create


    Step 1:
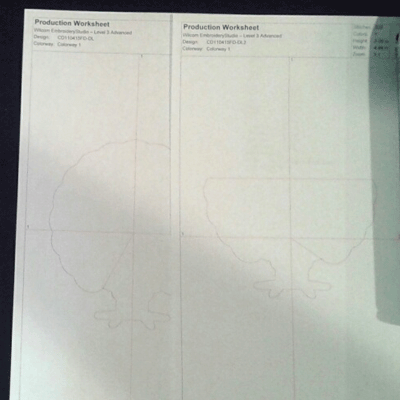
    Print the dieline files. Locate the files with the -a & -b at the end of them except for the SEW & PCS files. The SEW & PCS dieline files are -c & -d. Print 2 of the -a/-c files and 1 of the -b/-d files with your embroidery software and a printer. If you do not have embroidery software, a great program to use is Wilcom TrueSizer which is a free download online. 


    Step 2:
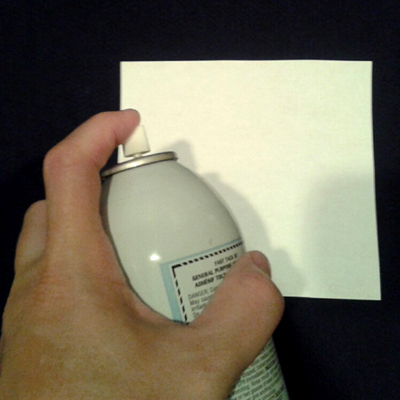
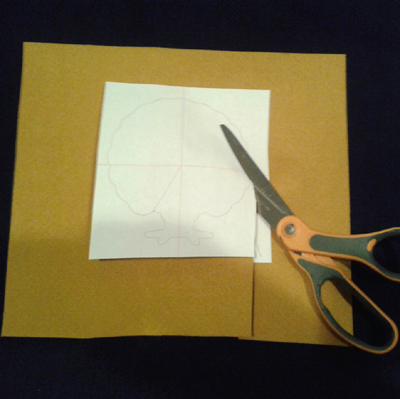
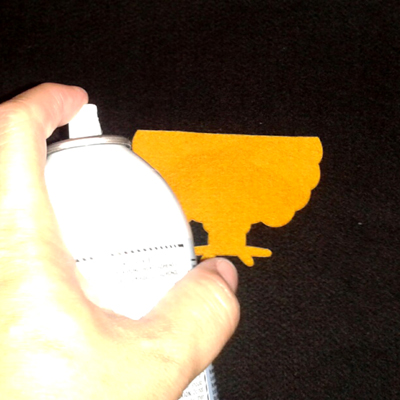
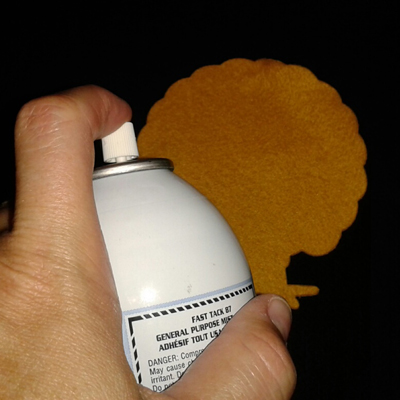
    Cut the paper down close to the template of each of the designs. Use a light temporary spray adhesive and spray on the back of your paper templates. Place each paper template onto your applique fabric pieces.


    Step 3:
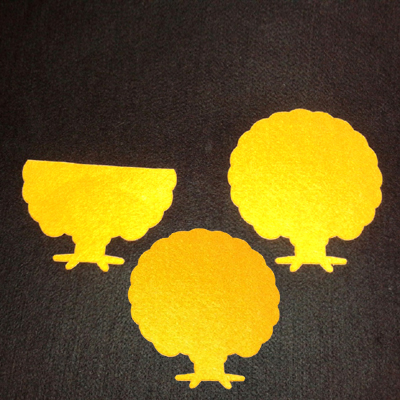
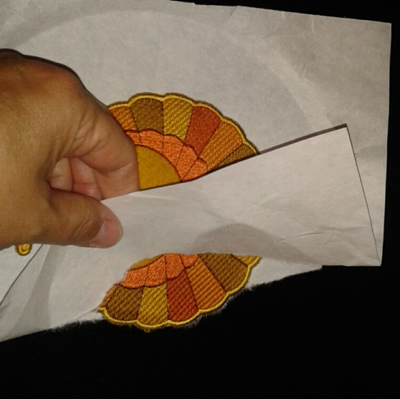
    Cut applique fabric and paper along the template dieline for each of the applique pieces. Remove the paper template.


    Step 4:
    Set the applique pieces aside. 


    Step 5:
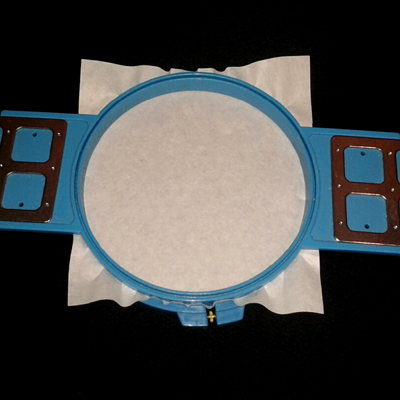
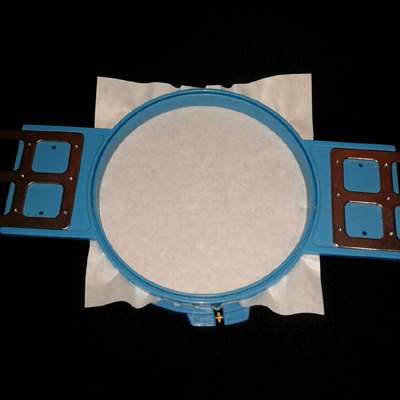
    Hoop a piece of tearaway stabilizer. Place the hoop on the machine and embroider the first color stop which is the pocket dieline. Go to the next step.  


    Step 6:
    Lightly spray the pocket applique with the adhesive.


    Step 7:
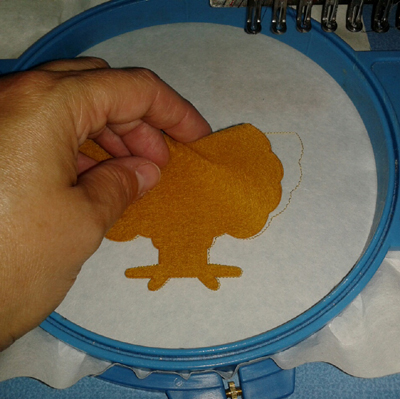
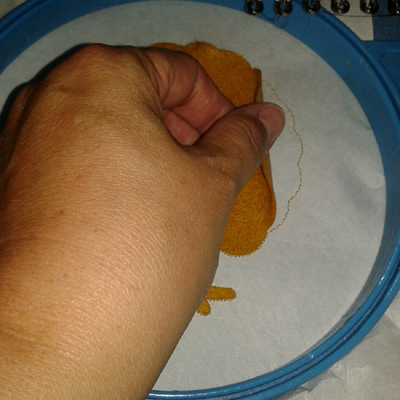
    Place the applique inside the dieline. Start the machine again and embroider thru color stop 4, then stop the machine and remove the hoop. 


    Step 8:
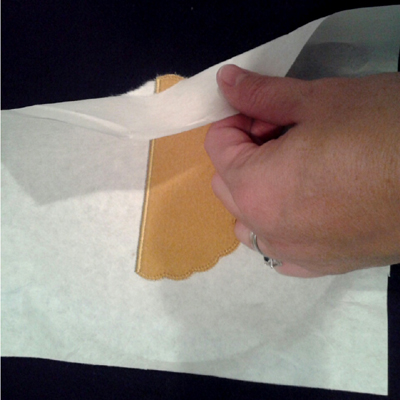
    Remove the fabric from the hoop and gently tearaway the stabilizer from around the pocket and from the back of the pocket. Set the pocket aside.


    Step 9:
    Hoop a piece of tearaway stabilizer and embroider the next color stop which is the dieline for the front applique.


    Step 10:
    Lightly spray the backside of the front applique piece with a spray adhesive. 


    Step 11:
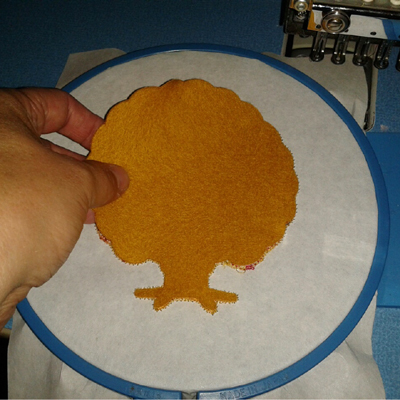
    Place the applique piece within the dielines and continue sewing to the next dieline. 


    Step 12:
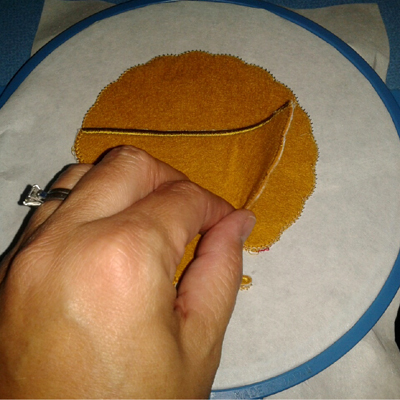
    This dieline is for the back applique piece. Remove hoop from machine and flip hoop over to back side. (DO NOT REMOVE design from hoop.) Lightly Spray the back applique with adhesive and place inside the dielines. Gently re-hoop and it will tackdown the backside to the front.


    Step 13:
    The next dieline will be the pocket. Remove the hoop from the machine and flip the hoop over to the back side. (DO NOT REMOVE the design from the hoop.) Lightly spray the sides of the pocket piece with adhesive place inside the dielines. Gently re-hoop and it will tackdown the pocket to the front piece.    


    Step 14:
    Continue sewing until the final color stop. Remove the design from the hoop then gently tearaway the stabilizer from your new ITH Holiday Utensil Holder!


    Step 15:
    Completed ITH Holiday Utensil Holders

    (Click Image to Enlarge)

    Meet the Author: Starbird Inc.
    Starbird Inc.
    Starbird Inc. has been digitizing custom embroidery designs for over 25 years. They have seen so many wonderful and creative designs over the years that Starbird decided to create some of their own embroidery stock designs. Starbird Inc. is having a great time creating new and imaginative ideas and would like you to be able to enjoy them also.
    More From This Author
    Link is Broken, Please check the URL
    Exclusive Embroidery Offers!
    Copyright © {{ currentDate | date:'yyyy'}} - EmbroideryDesigns.com
    GET 50% OFF! ×