Border OptionsHugging border, circle, square, or rectangle — with a 3mm satin stitch.
Backing OptionsAvailable with iron-on, sew-on, or velcro backing.
Fast ShippingShipped quickly from the USA.
Free Online Tools
Powerful embroidery utilities that save time and prevent costly mistakes.
Stitch AssistantRECOMMENDED
Get the exact stabilizer, machine settings, needle, and thread color sequence for every embroidery design you purchase — based on that design's stitch density, dimensions, and color count.
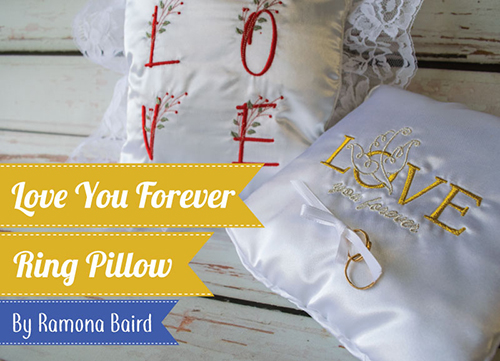
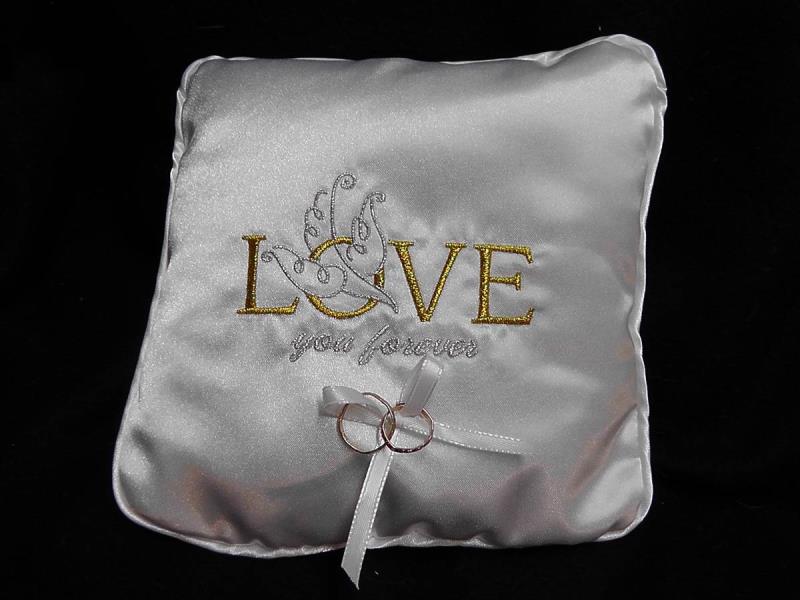
This elegant ring pillow features beautiful satin fabric with metallic thread quilting, perfect for a wedding ceremony. Its intricate design adds a touch of sophistication, making it ideal for the ring bearer. Step-by-step instructions are included.
Step
of
Quilt Quilted Love You Forever Ring Pillow
By Ramona Baird
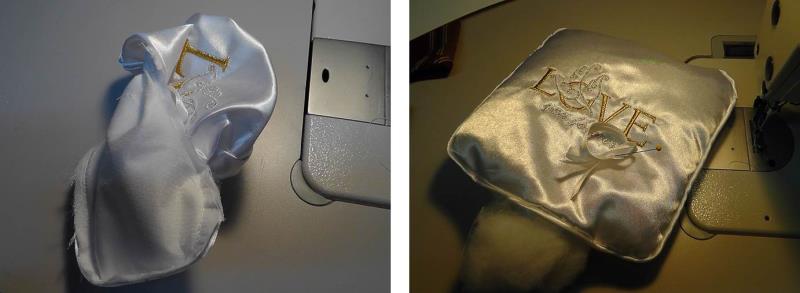
White satin fabric is stitched with the design in metallic thread. The fabric is then cut to size for the pillow front and another piece of satin is cut for the pillow back. The pillow front is piped using the same satin fabric, a ribbon attached and then the pillow is stuffed and finished with a few hand stitches. The pillow can be used by the ring bearer at a wedding.
Step 1:
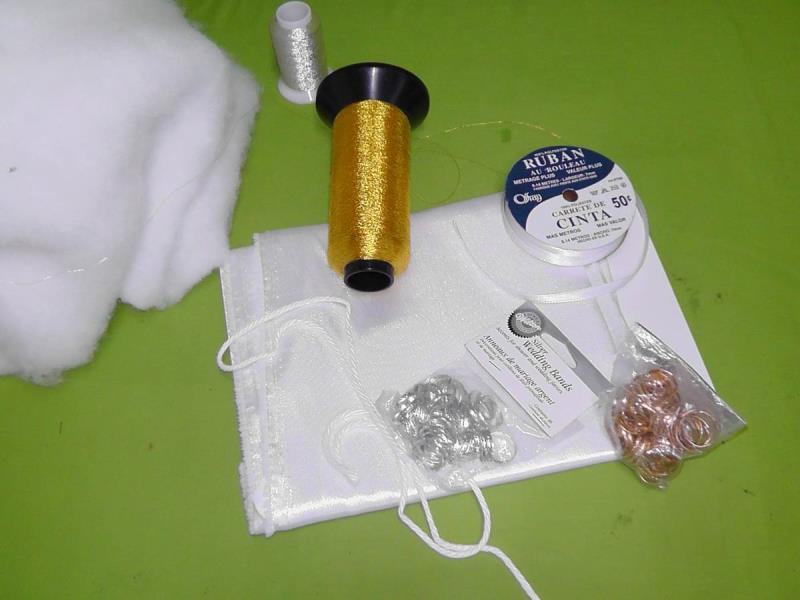
Gather the materials and read through the instructions before beginning. Use a heavy, quality satin and the thread colors could coordinate with the wedding colors or be done in metallic like was done for the project. Cut the first piece of satin large enough to hoop - it will be cut to size after stitching. Cut the second piece of satin 8 ½” square. The remaining satin will be cut into strips to create the cording. For this project about ½ yard of satin fabric scraps were used.
(Click Image to Enlarge)
Step 2:
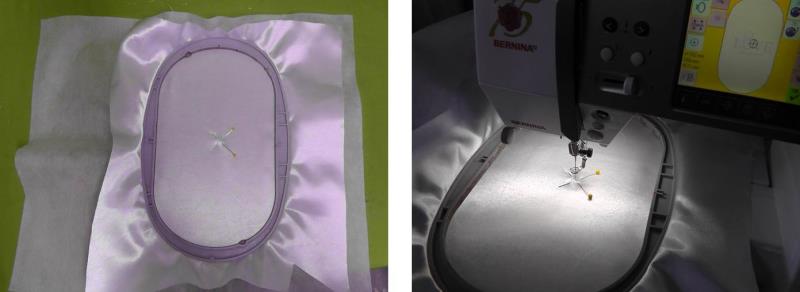
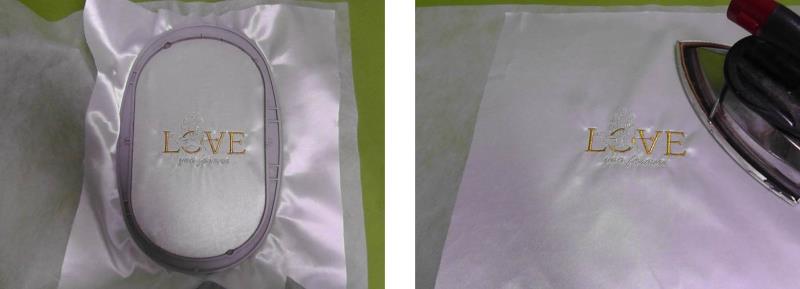
Hoop the satin with one piece of poly mesh stabilizer (the stabilizer will remain a permanent part of the pillow). Mark the center alignment point of the fabric. Load the “Love You Forever" embroidery design on the machine and align the needle to the center of the fabric.
(Click Image to Enlarge)
Step 3:
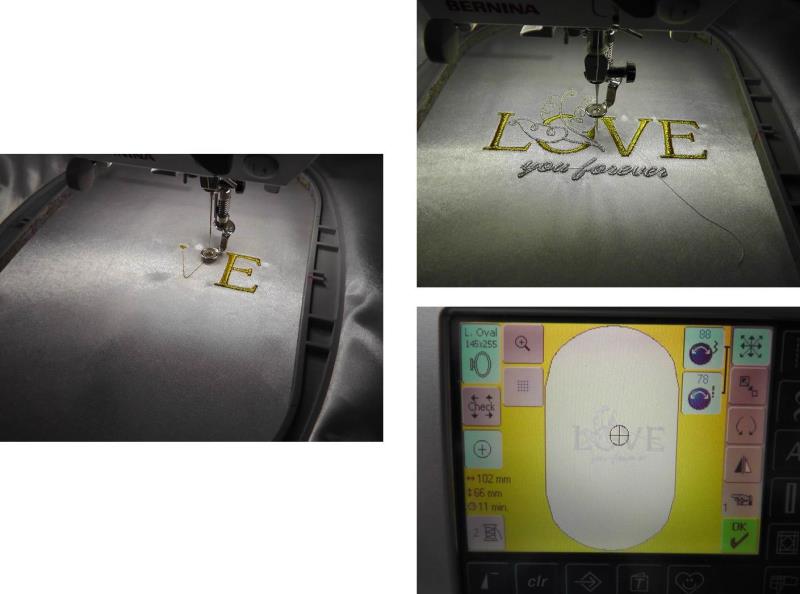
Stitch the fabric with the chosen thread colors. After the design finishes stitching, bring the needle over the center position of the fabric once again and then place a pin at that center point to aid in aligning and cutting the pillow front to size.
(Click Image to Enlarge)
Step 4:
Carefully remove the embroidered satin from the hoop and with a slightly warm iron, press out any hoop marks (using a too hot iron will shrink the stabilizer).
(Click Image to Enlarge)
Step 5:
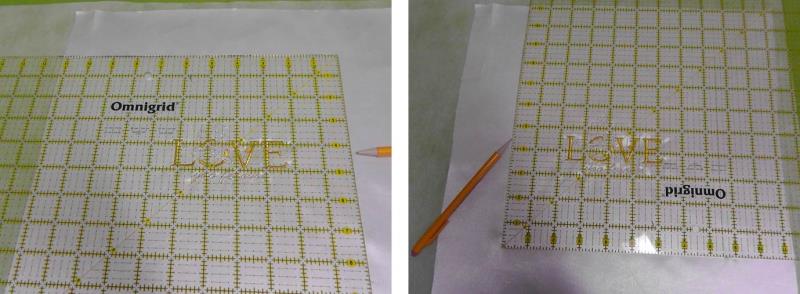
Using a gridded ruler, align the center of the design at the 4 ¼” mark and then mark two sides of the pillow. Move the ruler and mark the other two sides so the embroidered fabric measures 8 ½” square, with the embroidery centered.
(Click Image to Enlarge)
Step 6:
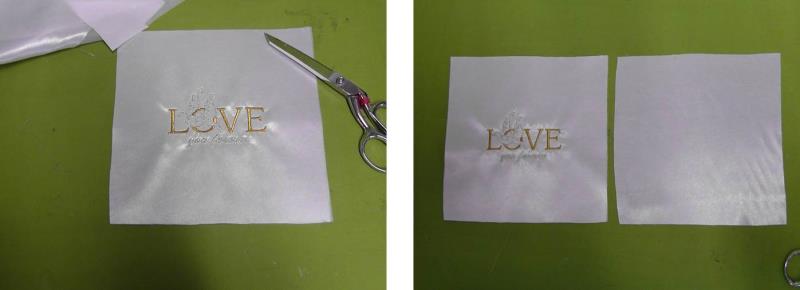
Cut out the fabric and stabilizer along the drawn lines. Be sure the back and front pieces match in size.
(Click Image to Enlarge)
Step 7:
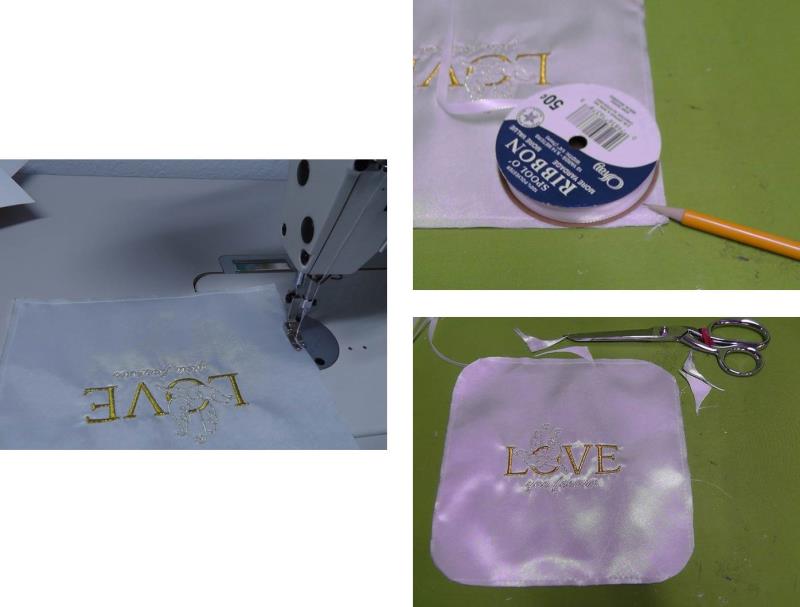
Baste the pillow front and stabilizer together. Round the corners of the pillow front by tracing around something like a plate or ribbon spool and then cut the corners along the drawn lines.
(Click Image to Enlarge)
Step 8:
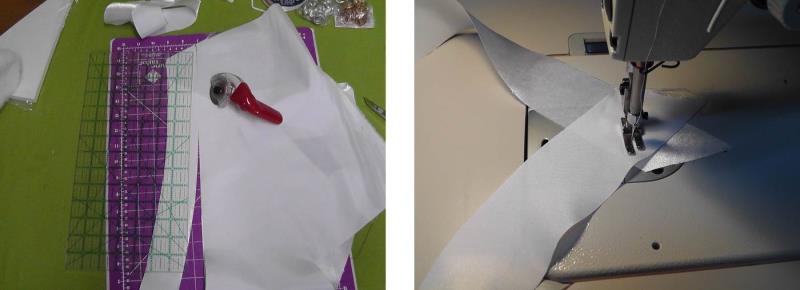
Cut 2” bias satin pieces for the piping to equal one yard, sewing the sections together as needed to create one long piece.
(Click Image to Enlarge)
Step 9:
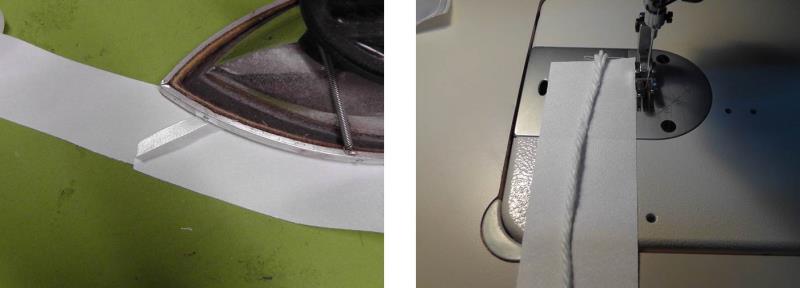
Press open any seams. At the machine, place the cording in the middle of the satin strip.
(Click Image to Enlarge)
Step 10:
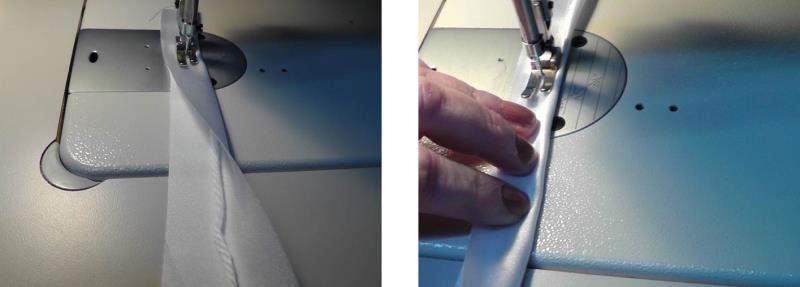
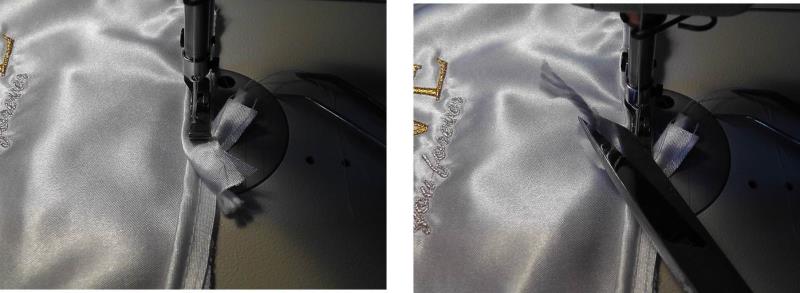
Fold the satin over the cord and stitch using the presser foot to cinch the cording to the fold of the fabric. This will keep the cord inside until it is stitched to the pillow front and also give a line for trimming the excess bias fabric.
(Click Image to Enlarge)
Step 11:
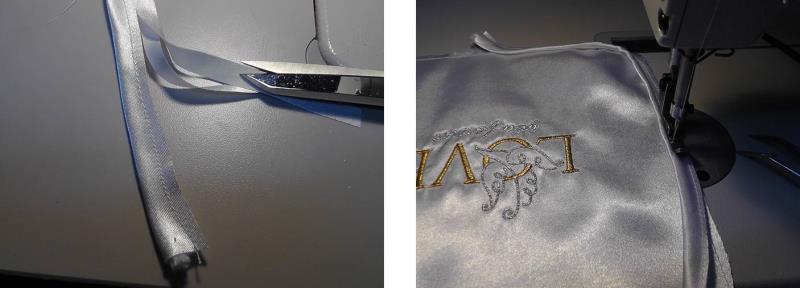
Trim the fabric about 1/8” from the stitched edge. With the cut edges meeting and the folded edge of the trim to the inside, use a cording foot or zipper foot to stitch the piping to the pillow top. Begin stitching at the lower edge forming the end toward the cut edge of the pillow as shown.
(Click Image to Enlarge)
Step 12:
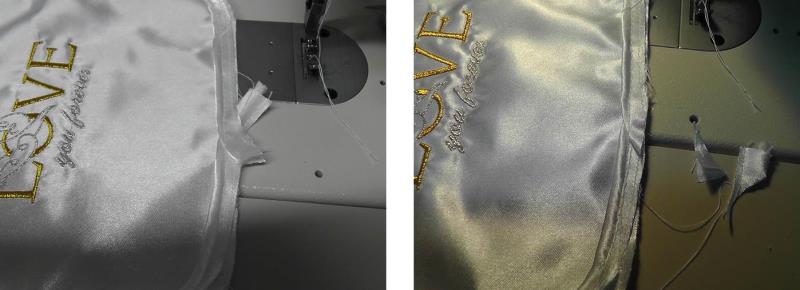
Sew the piping all the way around the pillow and at the other end, remove about 1” of cord (reduces bulk) at the end section.
(Click Image to Enlarge)
Step 13:
Stitch the end as shown and then trim the excess fabric.
(Click Image to Enlarge)
Step 14:
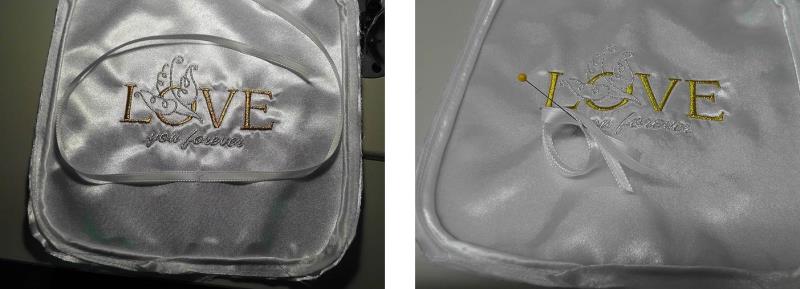
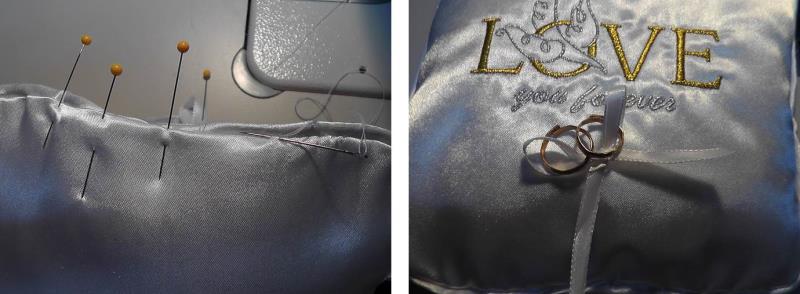
Determine the placement for the ribbon to hold the rings. Fold the satin ribbon in half and then use a few stitches to secure the ribbon in place. Coil the ribbon up and pin it so it won’t get caught when the pillow is finished.
(Click Image to Enlarge)
Step 15:
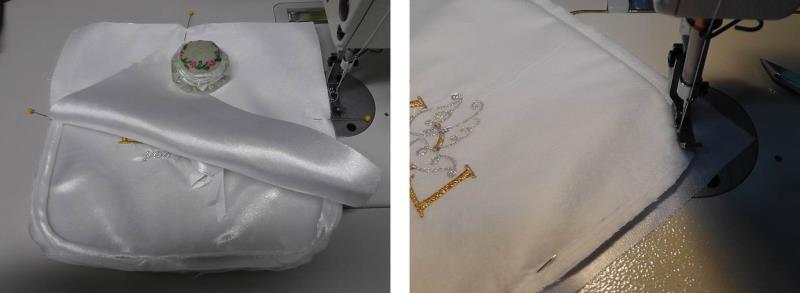
Place the pillow back, right sides together, over the pillow top and pin in place. Using the stitching lines from sewing the piping on, stitch just to the inside of those lines sewing the pillow back and front together and leaving an opening at the bottom for stuffing the pillow.
(Click Image to Enlarge)
Step 16:
Turn the pillow right side out through the opening. Lightly stuff the pillow with the thick batting.
(Click Image to Enlarge)
Step 17:
Turn back the backing seam allowance ¼” at the opening and pin to the piping. Hand stitch the opening closed. Secure the faux rings with a bow and trim the tail ends of the ribbon at an angle.
(Click Image to Enlarge)
Step 18:
Congratulations! The pillow is completed and ready for a walk down the aisle.
Ramona Baird has been in the embroidery industry for over 23 years. She and her husband owned a commercial and retail embroidery store in Arizona for many years. She is an experienced digitizer having been mentored by award-winners Pat Williams and Lindee Goodall. Ramona is a contributor to “Creative Machine Embroidery” magazine having 5 covers to her credit. Ramona has worked for Wilcom America and served many years as Education Director for the American Sewing Guild. With a degree in fashion design, she is able to design and execute patterns which Pat Williams says are “out of the box” in creativity and application. Ramona likes to challenge the boundaries of embroidery and bring new and exciting designs, ideas, and projects to EmbroideryDesigns.com. She wants embroiderers of all levels to increase their skills and enjoyment in using their embroidery machine for gift-making and personal pleasure.