Border OptionsHugging border, circle, square, or rectangle — with a 3mm satin stitch.
Backing OptionsAvailable with iron-on, sew-on, or velcro backing.
Fast ShippingShipped quickly from the USA.
Free Online Tools
Powerful embroidery utilities that save time and prevent costly mistakes.
Stitch AssistantRECOMMENDED
Get the exact stabilizer, machine settings, needle, and thread color sequence for every embroidery design you purchase — based on that design's stitch density, dimensions, and color count.
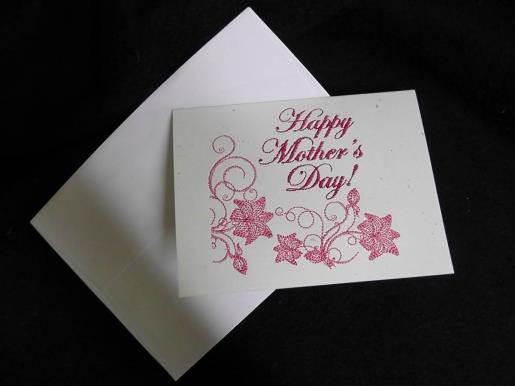
Create a charming Mother's Day card with quilted details that convey heartfelt sentiments. This fast-stitching card is perfect for expressing your love and appreciation. Step-by-step instructions are included.
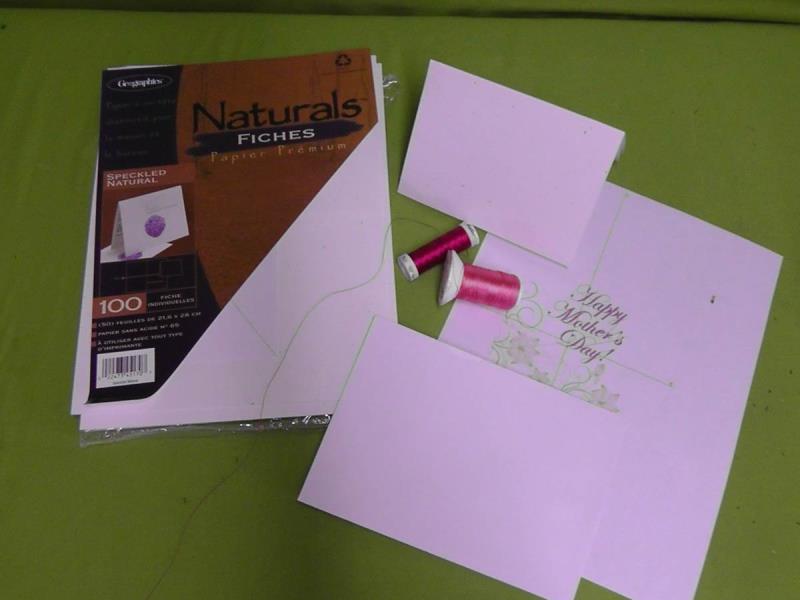
Stitching embroidery designs on card stock is fun. The secret is to choose a design with a light stitch count and running stitches. Find the center on the card front, align the embroidery design, and stitch the card. After the design stitches trim away the excess stabilizer and glue the second card to the inside to hide the underside of the stitching.
Step 1:
Gather the materials and read through the instructions before beginning. Find card stock that has perforations to separate each sheet into two sections and also scored lines for folding each half. Look in stationary or office supply stores to find the card stock.
(Click Image to Enlarge)
Step 2:
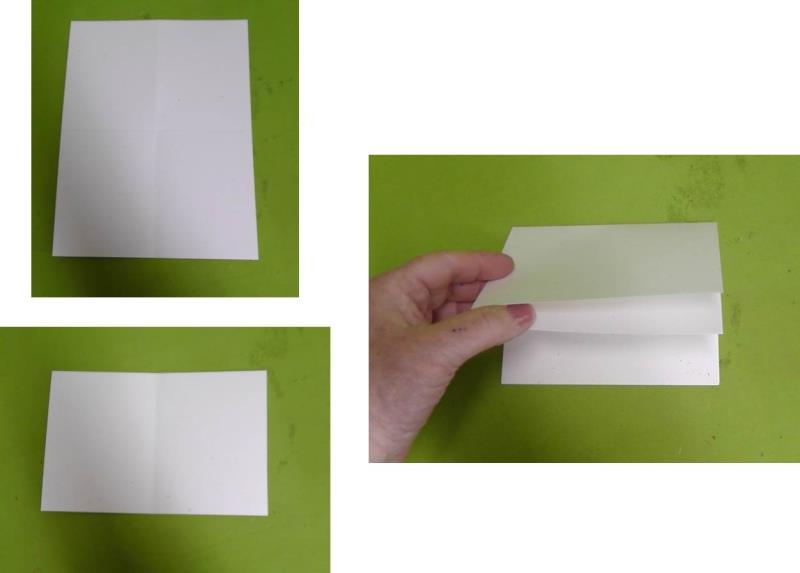
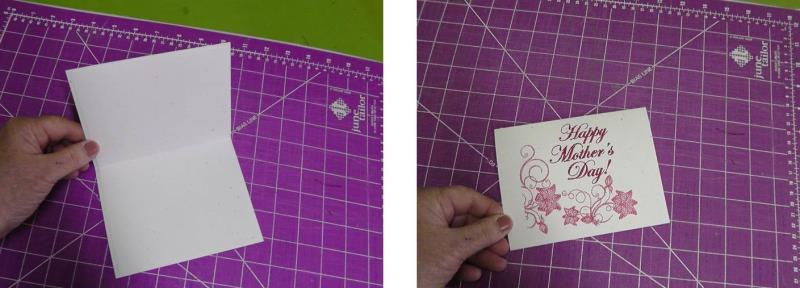
To make the card, one sheet of card stock is needed. Fold the sheet along the perforation and then along the scored lines.
(Click Image to Enlarge)
Step 3:
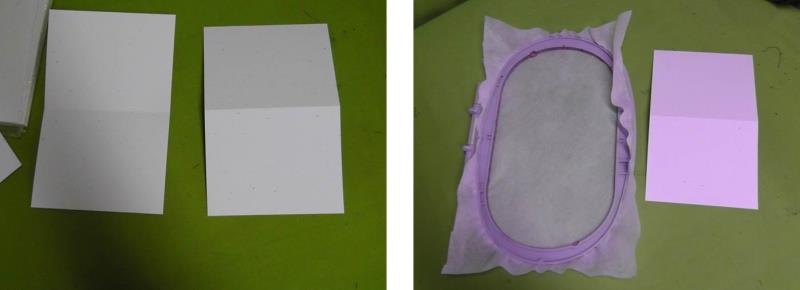
After folding, the sheet should separate easily into two separate cards. Hoop the piece of stabilizer.
(Click Image to Enlarge)
Step 4:
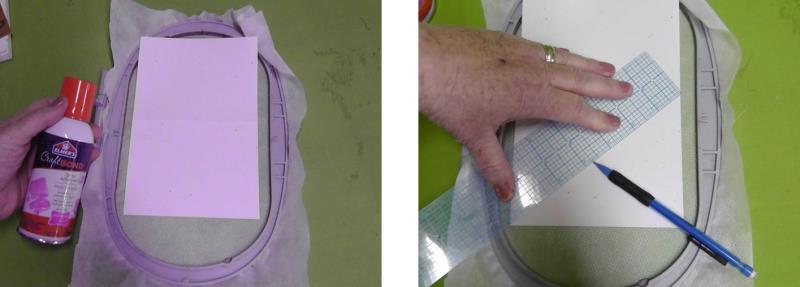
Spray the back of the card front to be embroidered with temporary spray adhesive and align the card on the hoop. With a ruler, find the center of the card front and mark the center lightly with a pencil.
(Click Image to Enlarge)
Step 5:
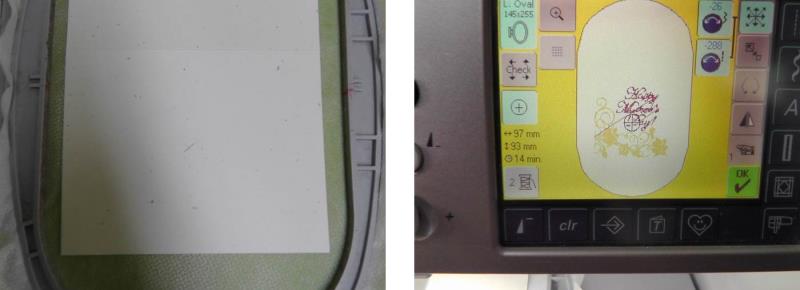
Load the design “Mother’s Day Florals” on the machine.
(Click Image to Enlarge)
Step 6:
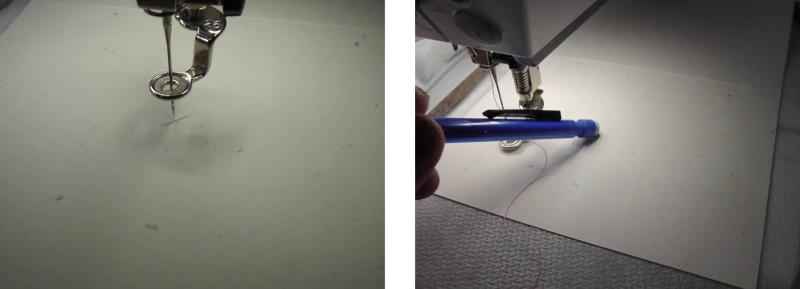
Center the needle over the center mark on the card. Advance to the first stitch of the design and then carefully erase the light pencil mark.
(Click Image to Enlarge)
Step 7:
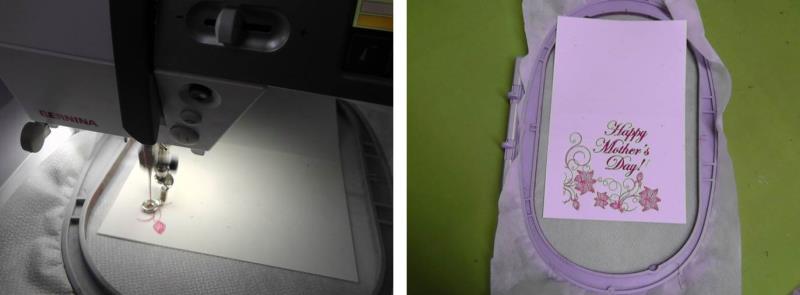
Slow down the machine and then stitch the design with the chosen thread colors.
(Click Image to Enlarge)
Step 8:
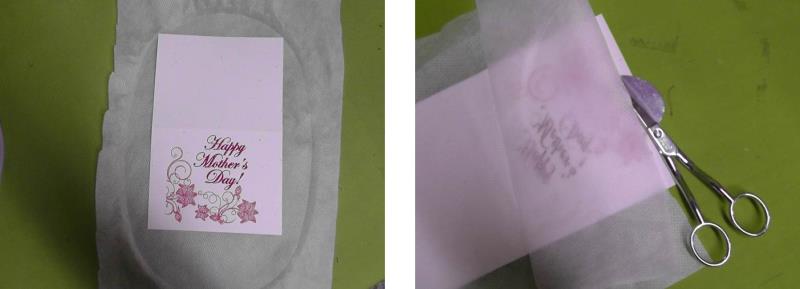
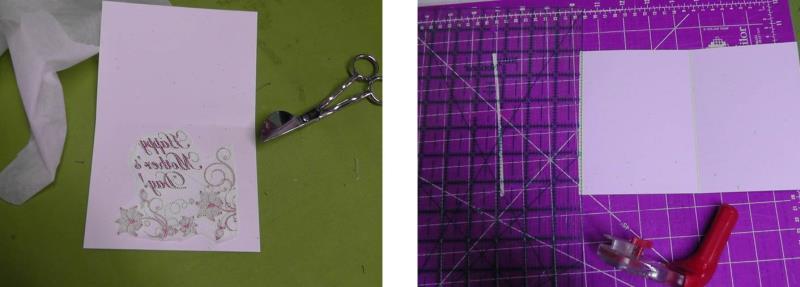
After the stitching has been completed, very carefully remove the stabilizer and stitched card from the hoop. Turn the card over and use an applique scissors to trim away the excess stabilizer close to the stitching.
(Click Image to Enlarge)
Step 9:
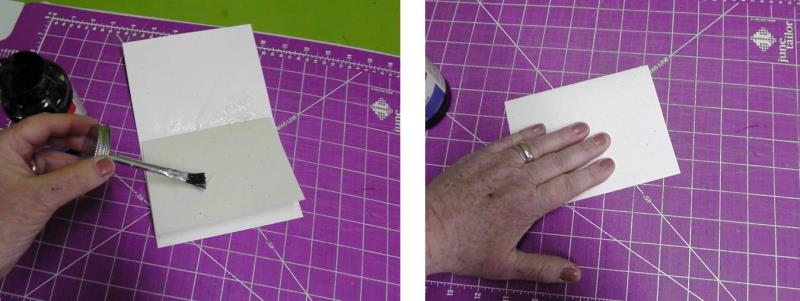
On the second card trim away 1/8” away from all the edges.
(Click Image to Enlarge)
Step 10:
Place the second card inside the first. Beginning with the back inside card, lightly and evenly spread rubber cement on the inside card. Fold the card over and press the two cards together.
(Click Image to Enlarge)
Step 11:
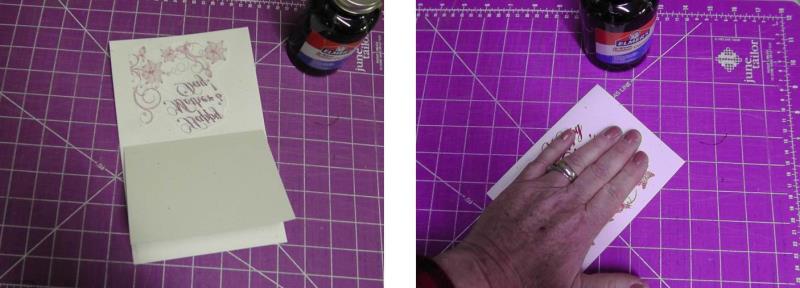
Repeat spreading glue on the back of the inside front card and press it together. Place a book or other heavy item on the card until the glue dries.
(Click Image to Enlarge)
Step 12:
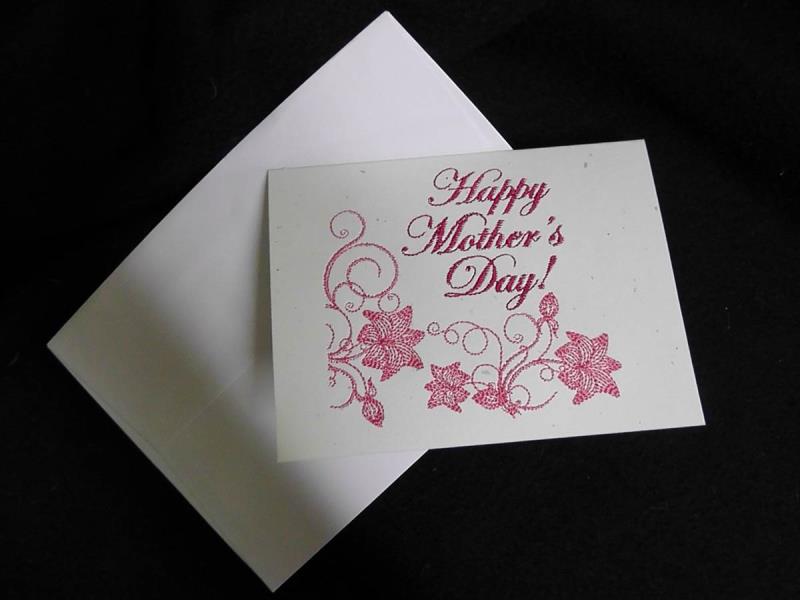
The inside of the card looks pretty (the back side of the embroidery is covered up) and is ready for a hand written note.
(Click Image to Enlarge)
Step 13:
A beautifully stitched card sure to warm Mother’s heart.
Ramona Baird has been in the embroidery industry for over 23 years. She and her husband owned a commercial and retail embroidery store in Arizona for many years. She is an experienced digitizer having been mentored by award-winners Pat Williams and Lindee Goodall. Ramona is a contributor to “Creative Machine Embroidery” magazine having 5 covers to her credit. Ramona has worked for Wilcom America and served many years as Education Director for the American Sewing Guild. With a degree in fashion design, she is able to design and execute patterns which Pat Williams says are “out of the box” in creativity and application. Ramona likes to challenge the boundaries of embroidery and bring new and exciting designs, ideas, and projects to EmbroideryDesigns.com. She wants embroiderers of all levels to increase their skills and enjoyment in using their embroidery machine for gift-making and personal pleasure.