Border OptionsHugging border, circle, square, or rectangle — with a 3mm satin stitch.
Backing OptionsAvailable with iron-on, sew-on, or velcro backing.
Fast ShippingShipped quickly from the USA.
Free Online Tools
Powerful embroidery utilities that save time and prevent costly mistakes.
Stitch AssistantRECOMMENDED
Get the exact stabilizer, machine settings, needle, and thread color sequence for every embroidery design you purchase — based on that design's stitch density, dimensions, and color count.
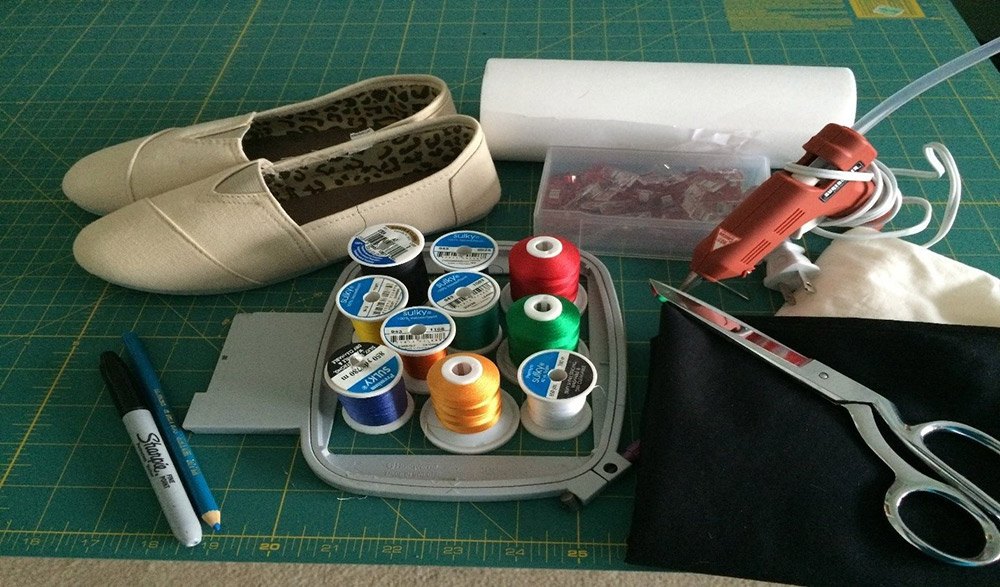
A pair of canvas shoes. I got mine from Hobby Lobby, but you can also use an old pair of TOMS or similar type of shoes.
1/2 yard scrap fabric to make the pattern. I used muslin.
½ yard of black pre-washed fabric. I used a really good quality polyester/cotton blend, but a lightweight denim would work just as well. You don’t want to use anything as heavy as a duck cloth because it needs to be flexible.
Paper clips or mini fabric clips by Clover
A glue gun with glue sticks
Embroidery thread for the design and black sewing thread
Please read through the entire instructions before you start the project.
Step 2:
Gather your materials.
(Click Image to Enlarge)
Step 3:
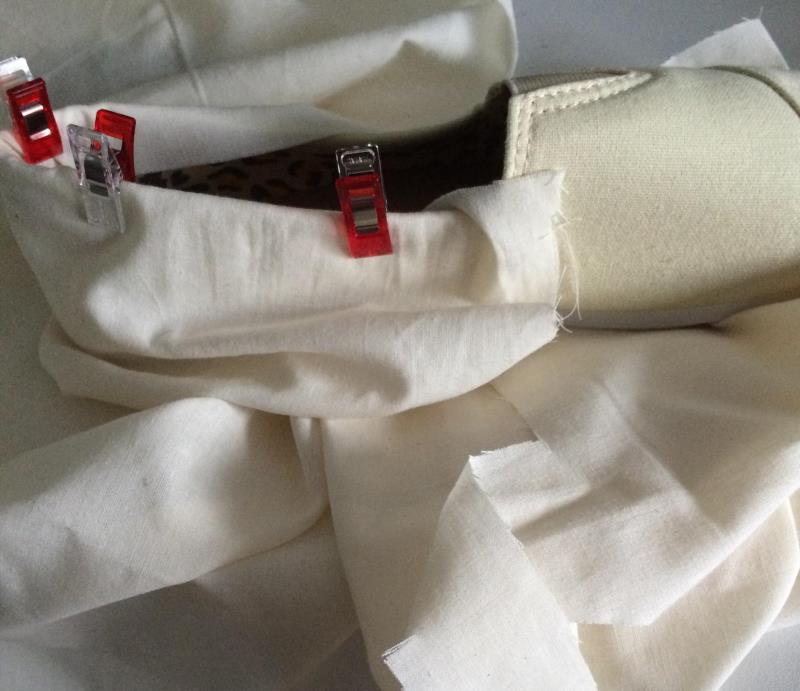
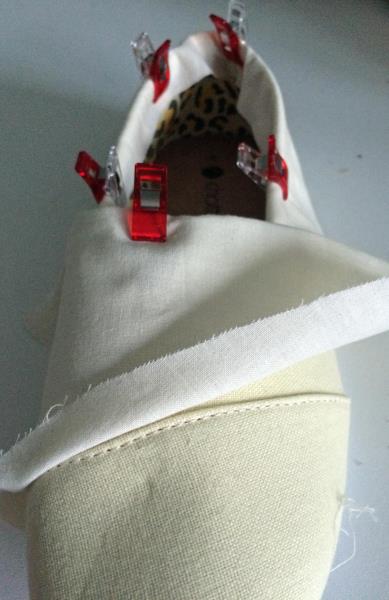
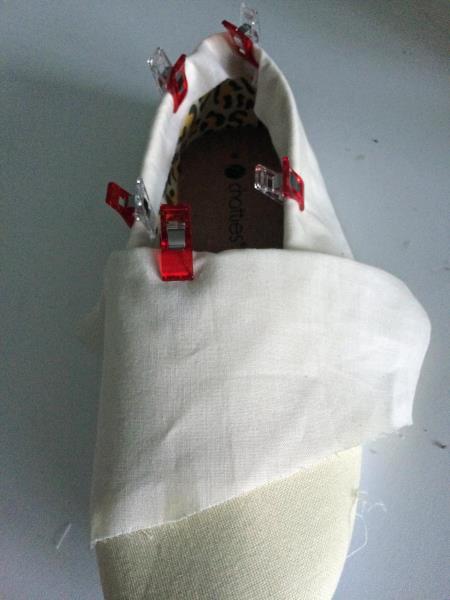
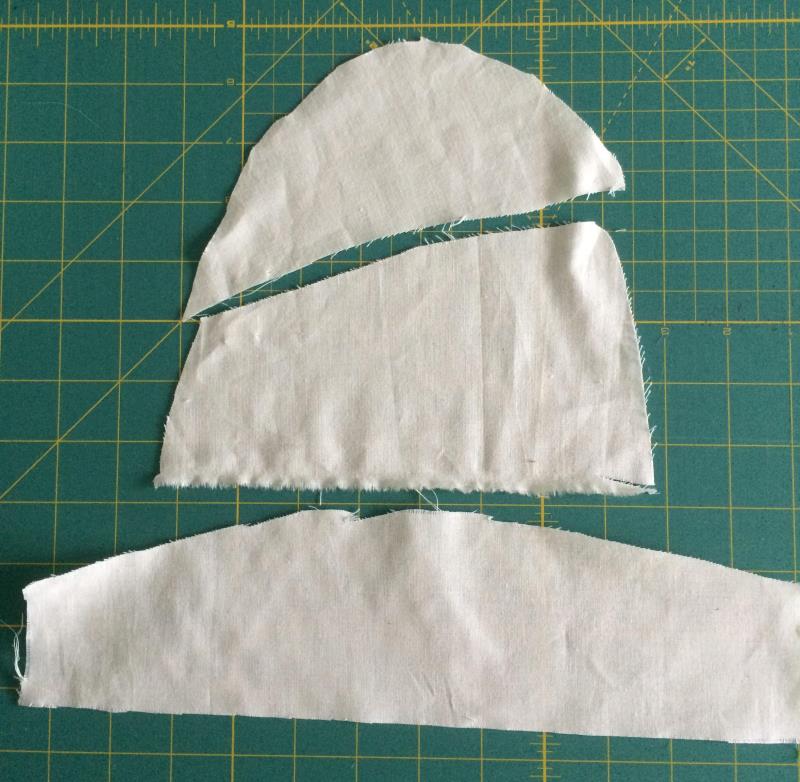
Make your patterns. Using the Muslin material and fabric clips or paper clips, cut 3 pieces of fabric (one that wraps around the back of the shoe, one that covers the top middle part of the shoe and one that covers the toe). Make sure that all pieces overlap at least ½” where they meet (sides and top because we will be stitching a seam at all 3 intersections). Here are a few pictures of how I cut the fabric around the back of the shoe.
(Click Image to Enlarge)
Step 4:
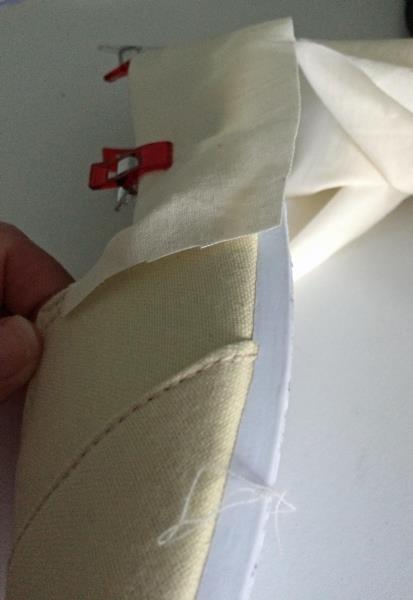
Make sure that you add an extra ½” at the bottom because we will be turning it under to glue in the final steps.
(Click Image to Enlarge)
Step 5:
(Click Image to Enlarge)
You will also need to wrap the fabric toward the inside of the shoe leaving at least ½” on the inside. We will be attaching parts of the extra inside fabric with glue and we will be stitching the rest of it to the shoe with the sewing machine.
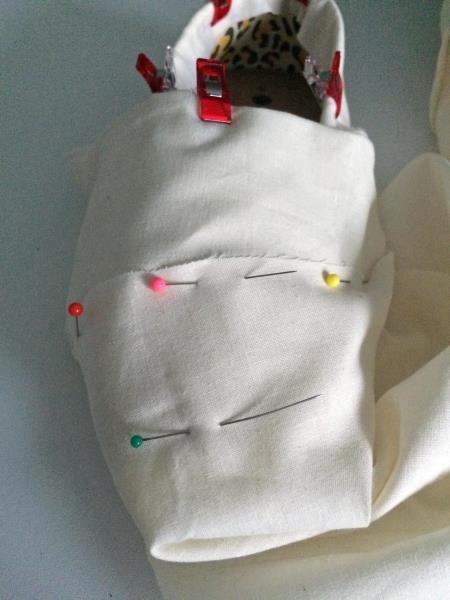
The next piece to cut will be the top of the shoe. The first picture shows the ½” overlap that you need to add to attach the fabric to the toe fabric. You also need to turn under 1/2" where the 'V' is on the top of the shoe (tongue of the shoe) and clip it to the shoe before you cut out the last piece.
Step 6:
The second picture shows how it looks when you have finished cutting it. Again you will need to add ½” extra material at the bottom sides so that we can turn them under and glue them to the shoe later.
(Click Image to Enlarge)
Step 7:
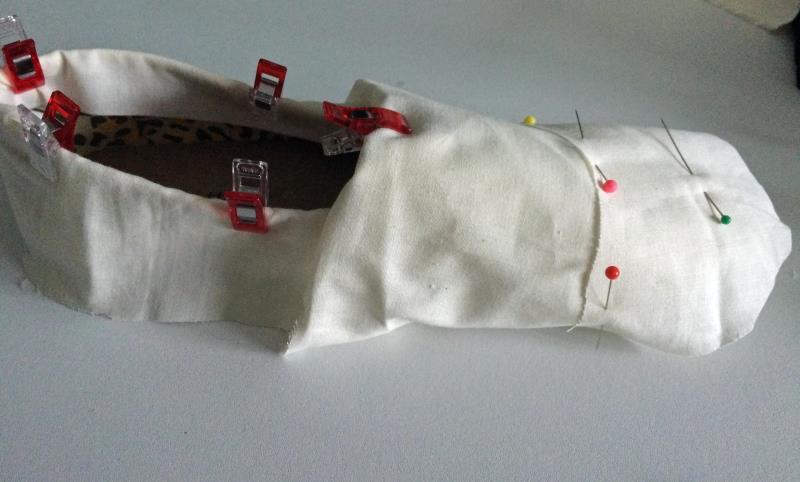
The last piece you will cut is the toe of the shoe. Make sure you overlap ½” for the seam with the top of the shoe. I also pinned the pieces together at the top before I started cutting the bottom of the toe. This will give you a more accurate cut.
(Click Image to Enlarge)
Step 8:
This is what it should look like when you are finished cutting all 3 pieces.
(Click Image to Enlarge)
Step 9:
The three pattern pieces should look similar to this picture.
(Click Image to Enlarge)
Step 10:
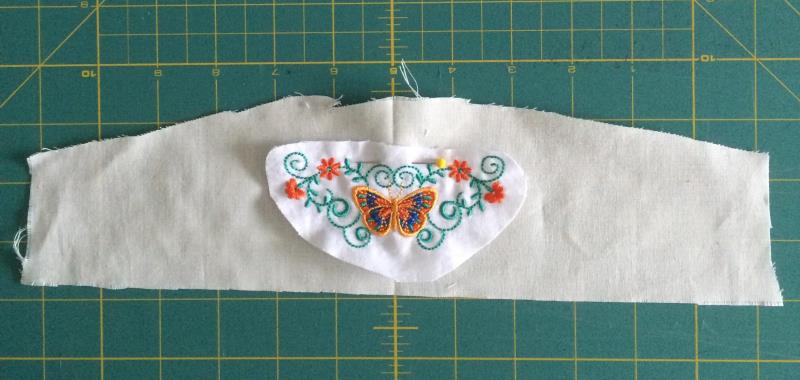
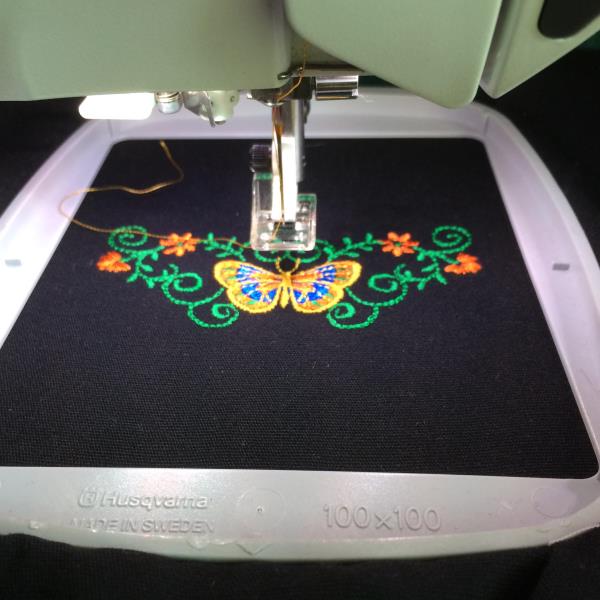
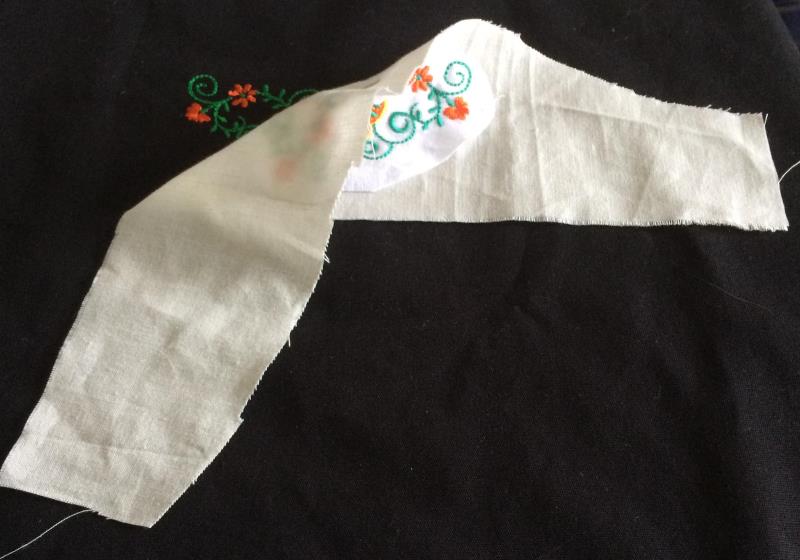
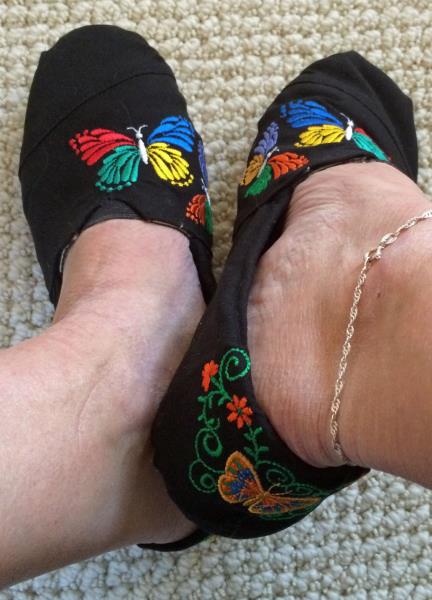
To make it easier for me to position the design in the correct place on the shoe, I stitched out the designs on the same muslin fabric and cut them out. For the back of the shoe, position the design "Elegant Butterfly Borders" from Wind Bell Embroidery in the middle of the pattern lengthwise and pin it to the fabric.
(Click Image to Enlarge)
Step 11:
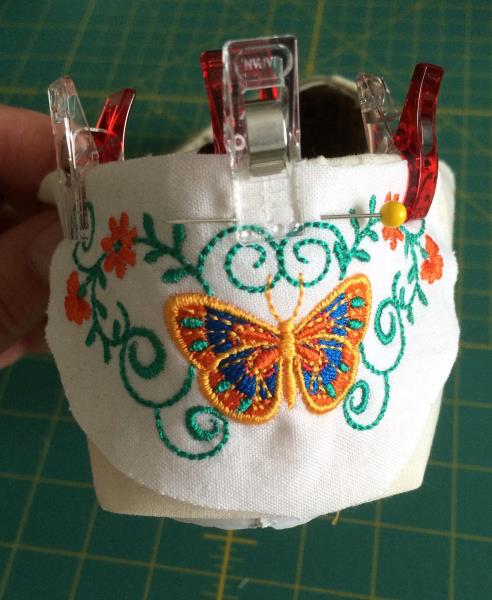
Re-clip it to the shoe to make sure it is aligned correctly widthwise. There should be enough fabric on the top to turn it inside at least ½” and enough fabric on the bottom to turn it under ½”.
(Click Image to Enlarge)
Step 12:
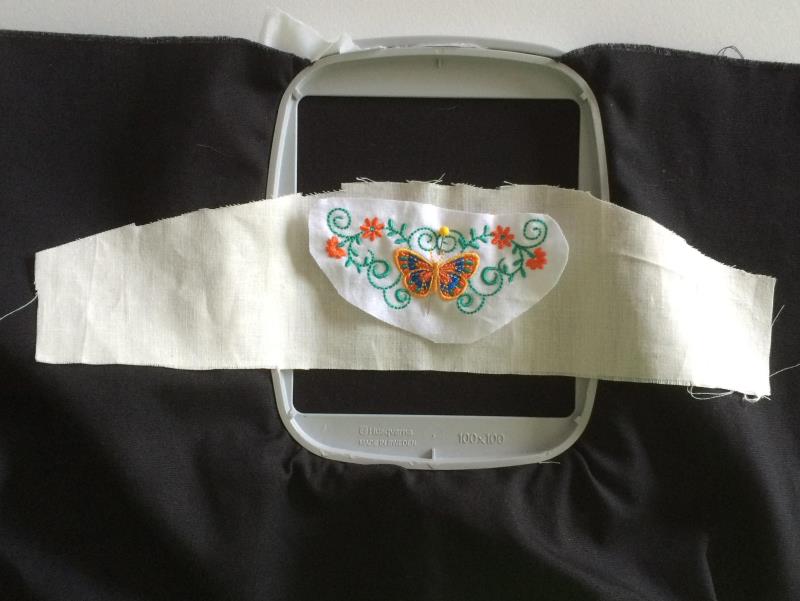
Once you are happy with the placement of the design on the pattern, hoop your black fabric using 1 piece of tear away stabilizer leaving enough fabric on the sides to cut your pattern after you stitch it out.
NOTE: I used different thread colors than the original color chart. Take it out of the hoop when it is finished stitching out. Hoop another piece of fabric the same way and stitch it out again for the other shoe. Remove from hoop.
(Click Image to Enlarge)
Step 14:
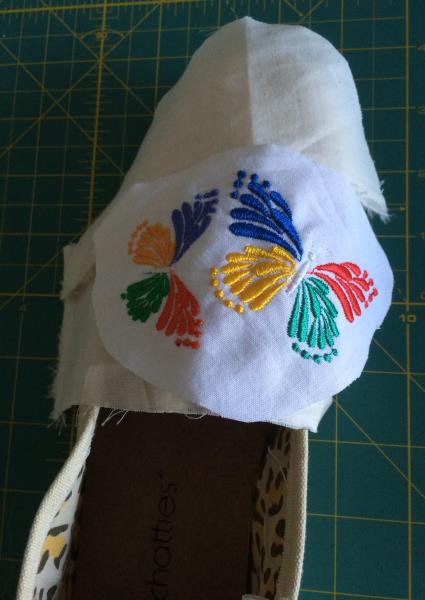
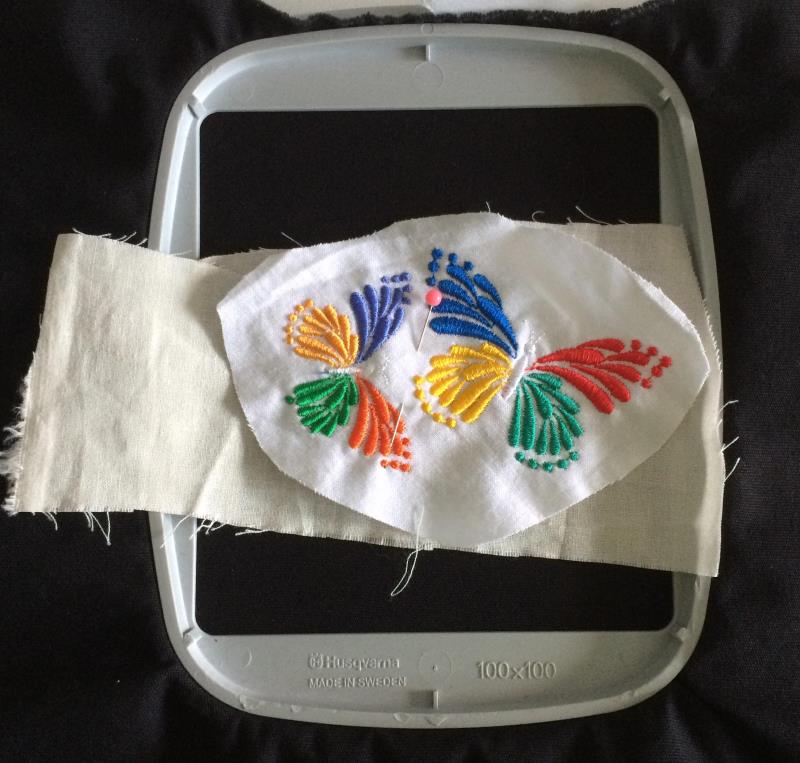
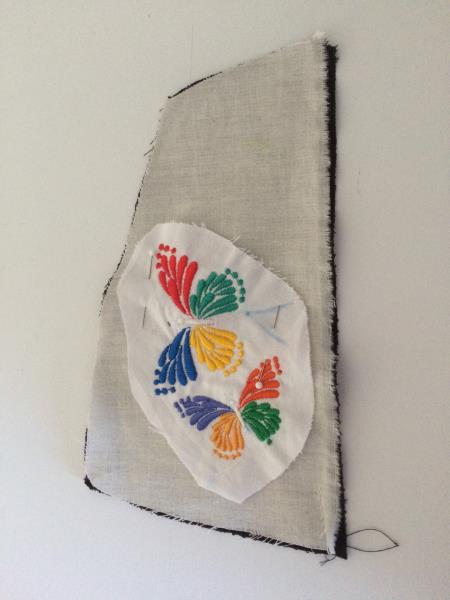
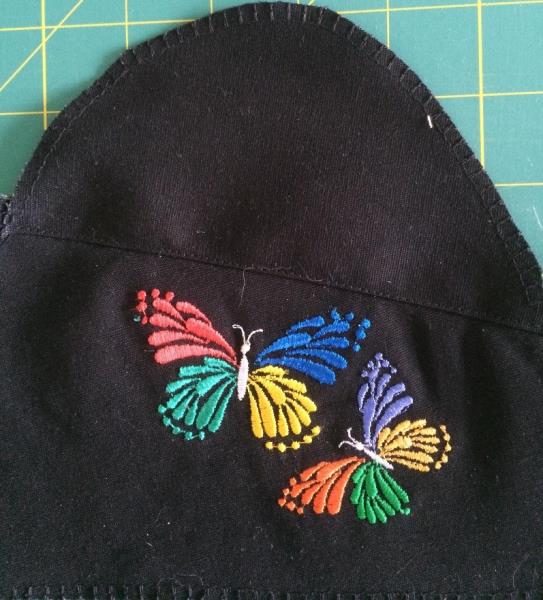
We will now be positioning the other design "Two Butterflies" from Windmill Designs on the top of the shoe pattern we cut out earlier. You will want to position it at least ½” from the top and ½” from the bottom (for the seam and for turning under the top of the shoe). You also want to make sure to leave enough room for the ‘V’ shaped elastic on the top of the shoe. You should also mark the 'V' on the pattern with your fabric chalk.
(Click Image to Enlarge)
Step 15:
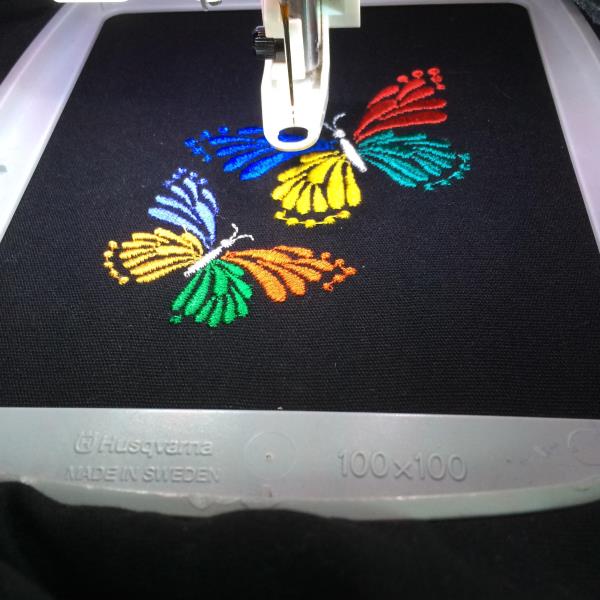
Once you are happy with the position, pin the design onto the pattern. Hoop your black fabric using 2 pieces of tear away stabilizer leaving enough fabric on the sides to cut your pattern after you stitch it out.
NOTE: I used different thread colors than the original color chart. Take it out of the hoop when it is finished stitching out. IMPORTANT: You need to flip the design on your machine or software before you stitch out the design for the other shoe. You also need to flip the pattern as well. Stitch out the flipped design and remove from hoop when finished.
(Click Image to Enlarge)
Step 17:
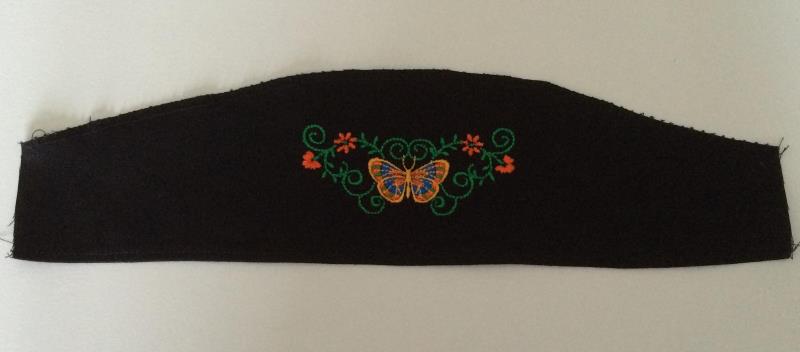
Once you are finished stitching out all 4 designs, it’s time to cut out the patterns on the black fabric for the back of the shoe. Pin the back of the shoe pattern directly on top of the design that you stitched out and then cut out the patterns.
(Click Image to Enlarge)
Step 18:
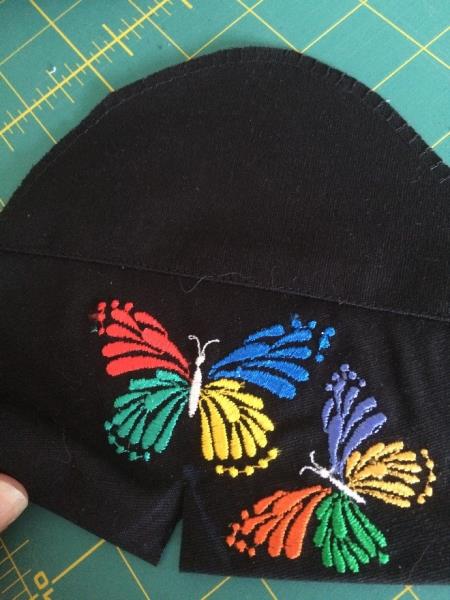
Finish all of the edges using a zig-zag or overlock stitch on your sewing machine. The 2 pieces should look like this now.
(Click Image to Enlarge)
Step 19:
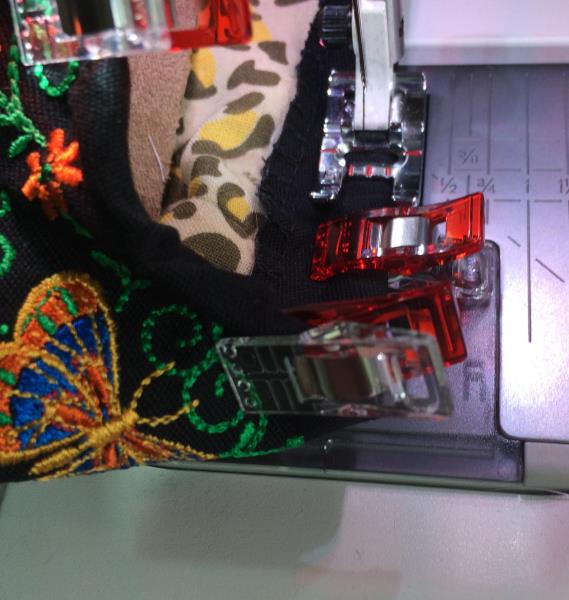
Attach one of the back pieces to the shoe using fabric clips or paper clips making sure you leave at least ½” of fabric folded onto the inside of the shoe. You also want to make sure the center of the design is placed on the center of the back of the shoe. Using your sewing machine and your black thread, sew the fabric to the shoe 1/8” from the top edge of the shoe. I could only sew about 2 inches on both sides and not on the back. It will be just enough to keep the fabric attached to the shoe so that you can glue it on later.
(Click Image to Enlarge)
Step 20:
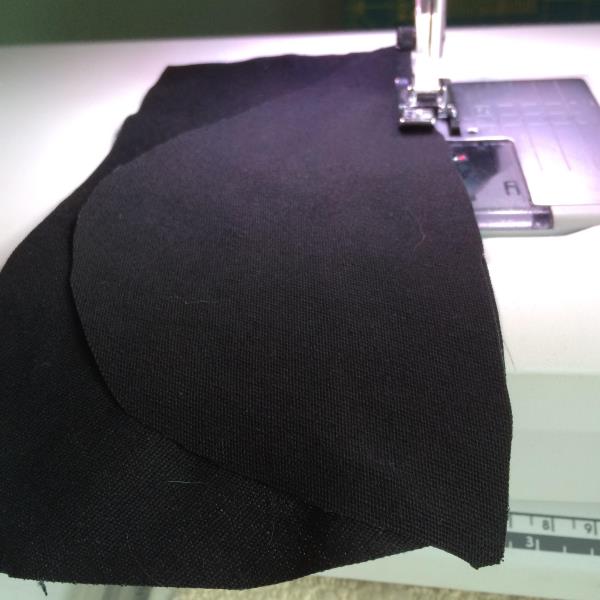
Set the top of shoe pattern on top of the black fabric, making sure you place the butterfly designs directly on top of each other. Cut the black fabric for the top of the left and right shoe and for the toes of the shoe. Make sure that you flip the fabric over before you cut out the second toe of the shoe.
(Click Image to Enlarge)
Step 21:
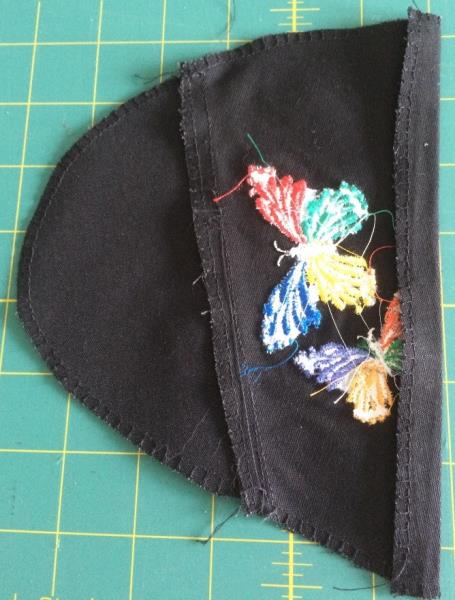
Stitch a 3/8” seam along the bottom of the toe and the embroidered piece right sides together.
(Click Image to Enlarge)
Step 22:
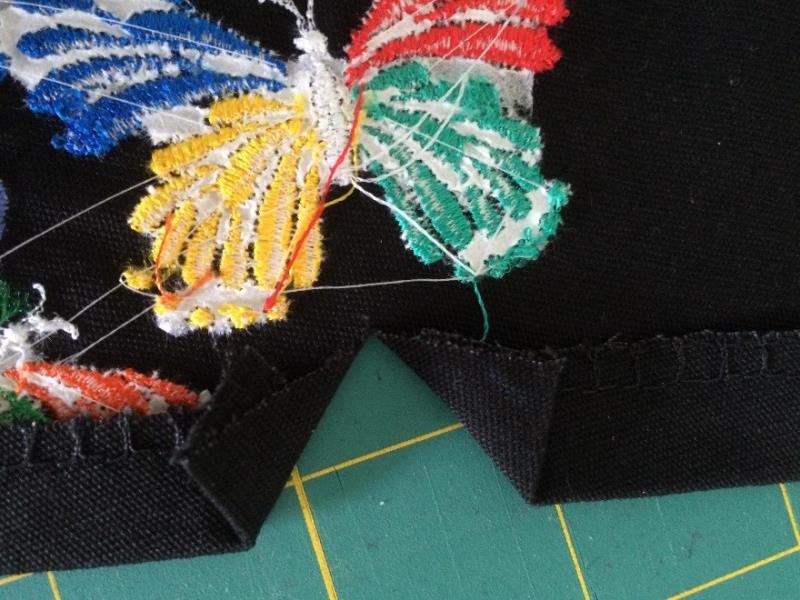
Finish all of the edges using a zig-zag or overlock stitch. Press seam toward the toe of the shoe and top-stitch close to the edge.
(Click Image to Enlarge)
Step 23:
Turn under long edge ½” and press.
(Click Image to Enlarge)
Step 24:
Position the top of the pattern on top of the shoe and clip into place. Mark the ‘V’ where the elastic will show through with the fabric marker.
(Click Image to Enlarge)
Step 25:
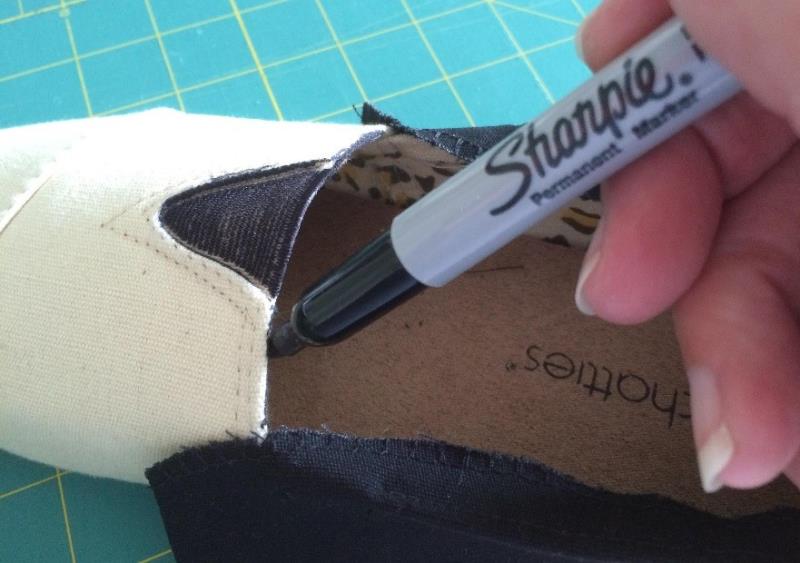
Using a black Sharpie pen, color the elastic and the edges of the shoe.
(Click Image to Enlarge)
Step 26:
Make a clip in the middle of the ‘V’ that you marked earlier..
(Click Image to Enlarge)
Step 27:
Fold under and press.
(Click Image to Enlarge)
Step 28:
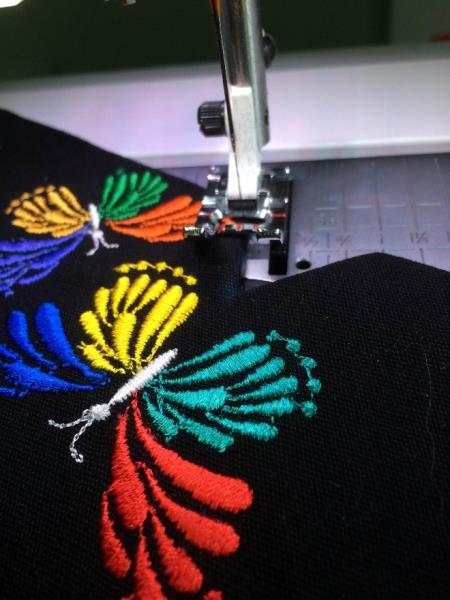
Top stitch close to all bottom edges.
(Click Image to Enlarge)
Step 29:
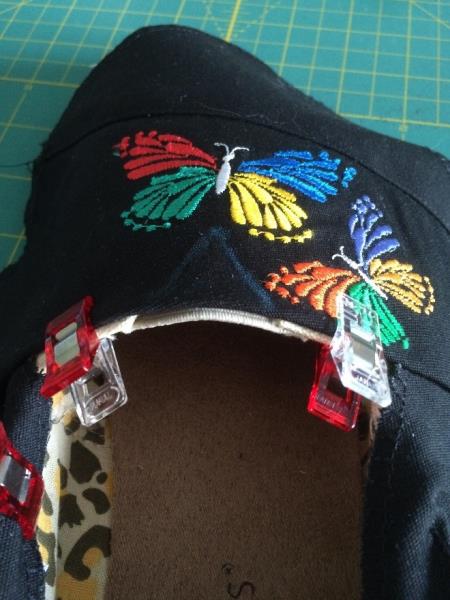
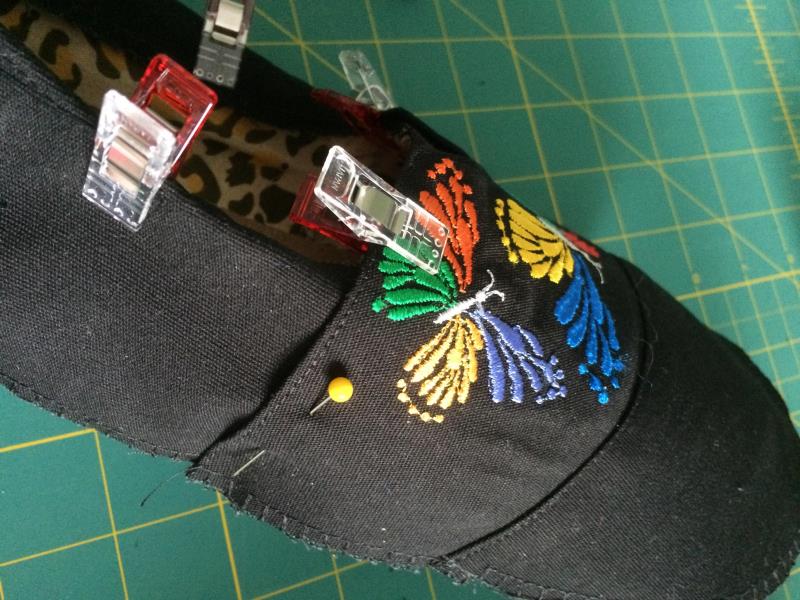
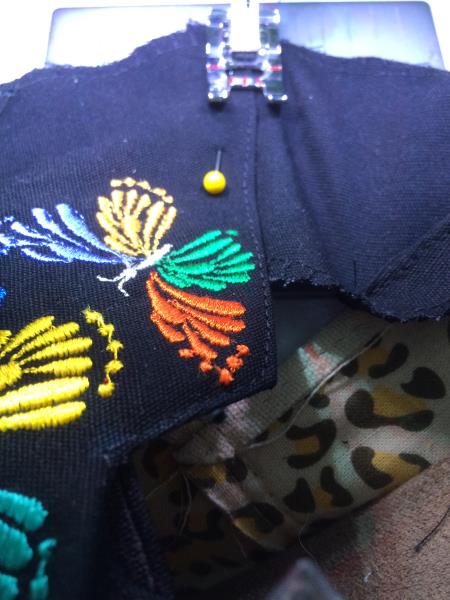
Clip the embroidered fabric onto the top of the shoe, matching the ‘V’ notch. Pin the top of the shoe fabric to the fabric that was already stitched to the back of the shoe on the 2 sides, making sure you do not pin it to the actual shoe.
(Click Image to Enlarge)
Step 30:
Unclip the fabric from the shoe and stitch over the topstitching on both sides where you pinned the material together. This will attach all 3 pieces together to make it easier to glue onto the shoe.
(Click Image to Enlarge)
Step 31:
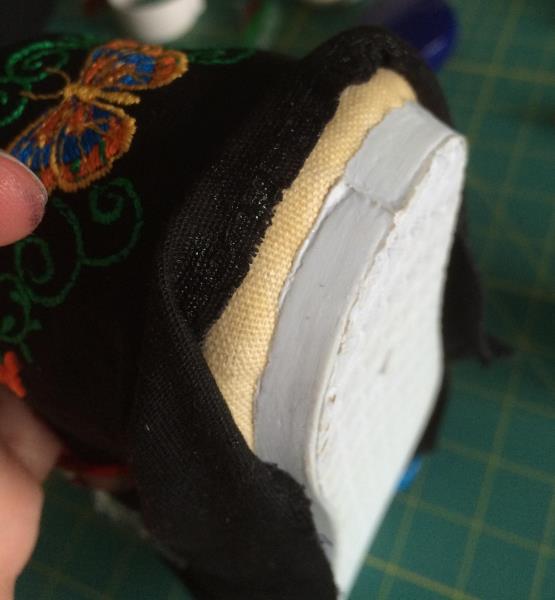
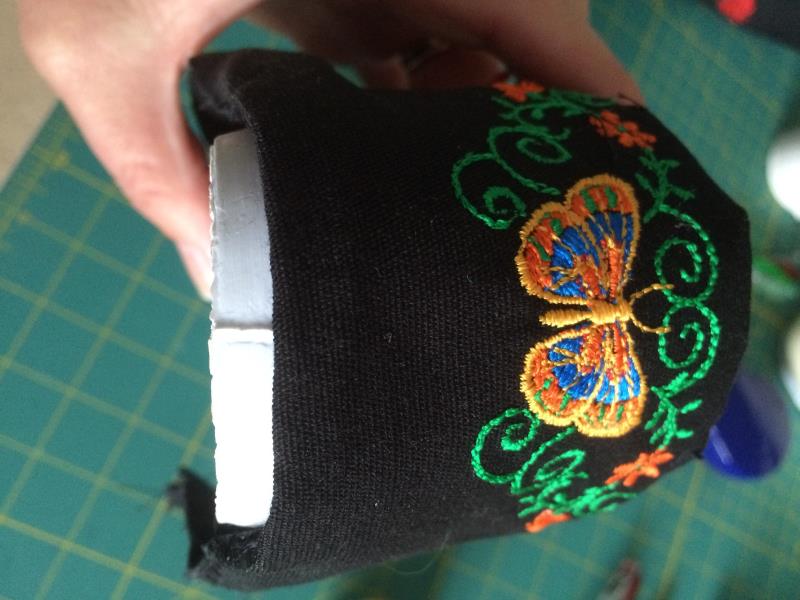
You are now ready to glue the fabric to the shoe. Turn under the fabric on the back of the shoe and using your glue gun, run a line of glue along the bottom edge. I glued it in sections letting the glue dry in between.
(Click Image to Enlarge)
Step 32:
Glue around the bottom, the inside of the shoes and the top of the shoes by the ‘V’. Do not glue the entire piece of fabric to the shoe because it will stiffen the shoe and you will have no flexibility.
(Click Image to Enlarge)
Step 33:
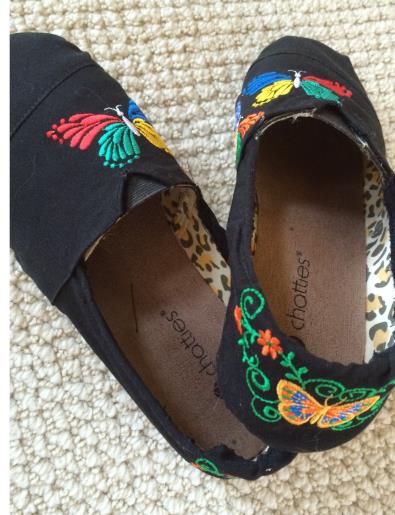
Repeat steps 19-32 for the other shoe. Make sure that you use the flipped side of the fabric for the top of the shoe. Enjoy your re-vamped shoes!
I've been sewing and making clothes from the age of 16 and started machine embroidering 8 years ago. I try to keep up with the latest embroidery trends by attending many classes at my local embroidery shop and just started learning how to quilt. I love to embroider on everything!