Border OptionsHugging border, circle, square, or rectangle — with a 3mm satin stitch.
Backing OptionsAvailable with iron-on, sew-on, or velcro backing.
Fast ShippingShipped quickly from the USA.
Free Online Tools
Powerful embroidery utilities that save time and prevent costly mistakes.
Stitch AssistantRECOMMENDED
Get the exact stabilizer, machine settings, needle, and thread color sequence for every embroidery design you purchase — based on that design's stitch density, dimensions, and color count.
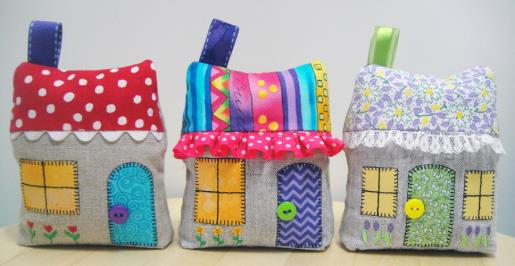
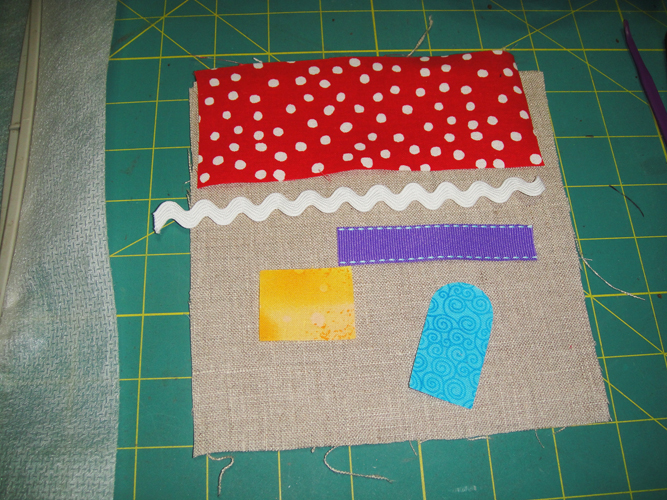
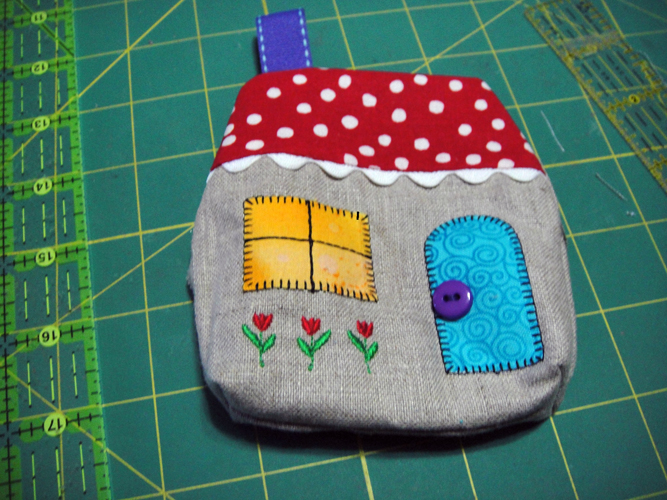
The doors and windows are precut appliques as they are stitched down with a blanket or E-stitch. You can use the PDF files to cut these by hand or SVG and FCM files are downloadable to cut with an electronic cutting machine. If cutting by hand cut on the outside edge of the pattern pieces too get a good fit. The doors and windows are different on each house so use the correct cutting files for each house.
Step 1:
Spray the house and roof with Magic Sizing and press; spray and press the applique door and window pieces with Magic Sizing 4 times and apply Heat N bond Lite following the manufacturer’s instructions; precut the door and window appliques.
(Click Image to Enlarge)
Step 2:
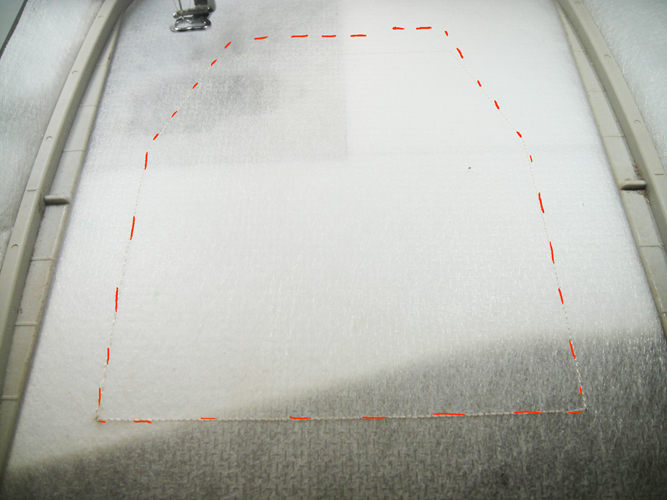
Hoop a single layer of poly mesh stabilizer and run the first color stop for a placement line.
(Click Image to Enlarge)
Step 3:
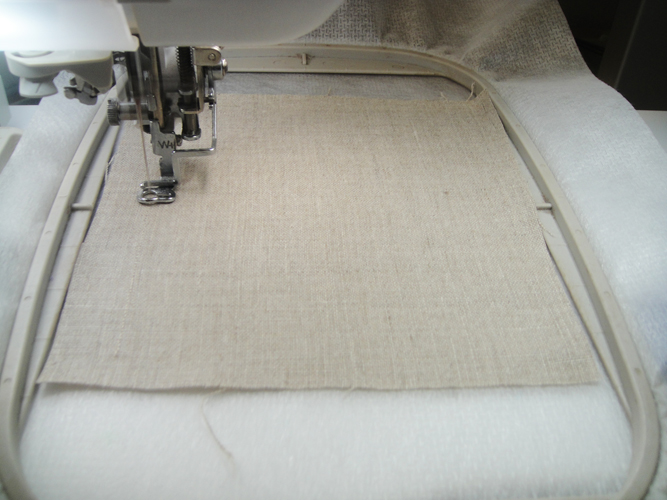
Spray a little adhesive on one of the linen squares, place over the outline making sure your fabric exceeds the outline by ½” on all sides; with a neutral thread stitch run (color stop) CS 2 to tack down the fabric.
(Click Image to Enlarge)
Step 4:
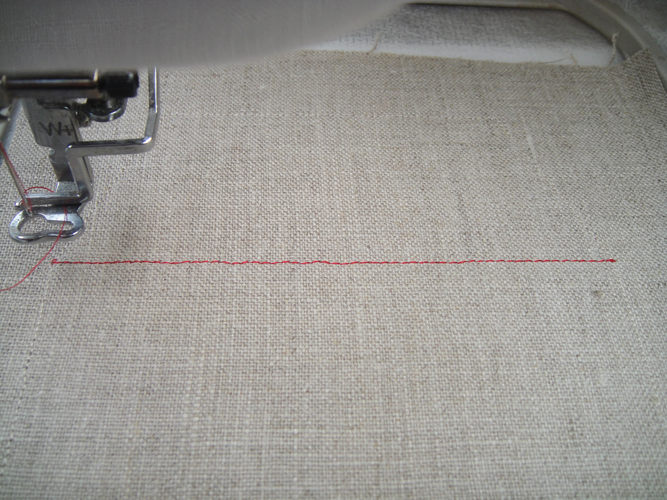
Run CS 3 in neutral thread as a placement line for the trim (a darker thread was used in the sample just for the photo, but you do want your neutral thread to be dark enough for you to see it on the fabric).
(Click Image to Enlarge)
Step 5:
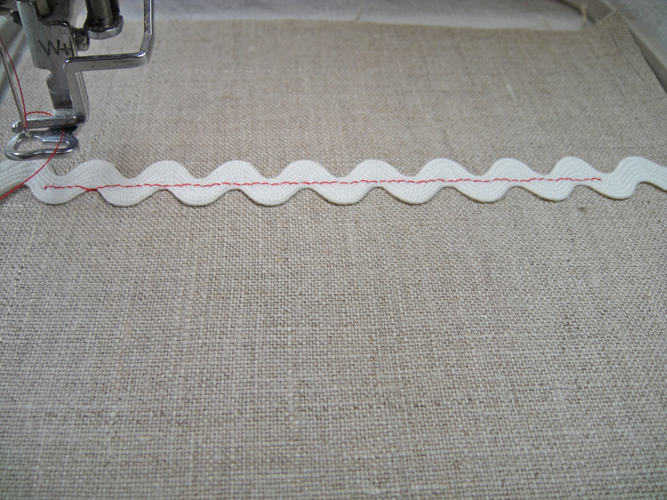
What you use to hold the trim onto the fabric will depend upon what you are using for trim. The rick-rack stays in place when sprayed with adhesive the ribbons and lace trims in the samples were held down with scotch tape. Place the trim over the placement line so that at least 1/8” is over the top of the placement line. Run CS 4 to tack down the trim.
(Click Image to Enlarge)
Step 6:
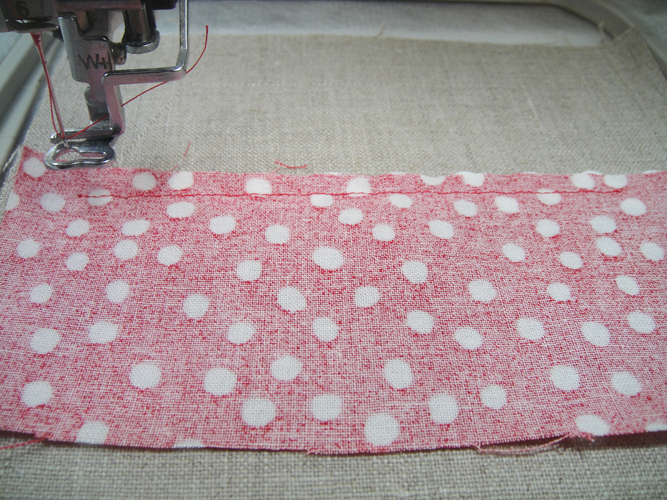
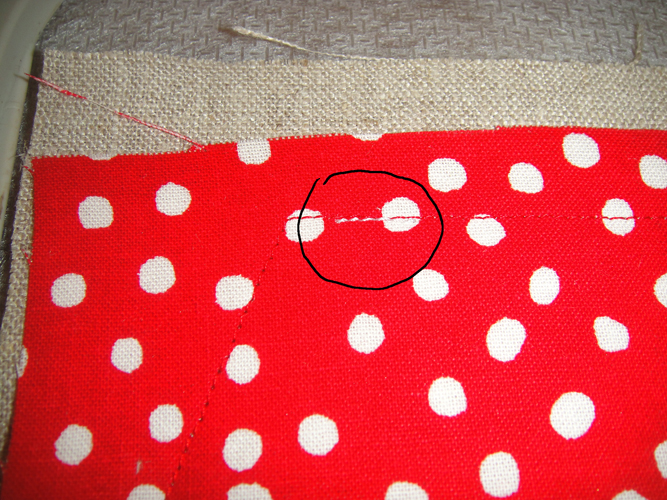
Place the roof fabric right side down over the trim tack down stitching having the edge of the fabric ¼” above the tack down stitch. Run CS 5 to stitch down the roof.
(Click Image to Enlarge)
Step 7:
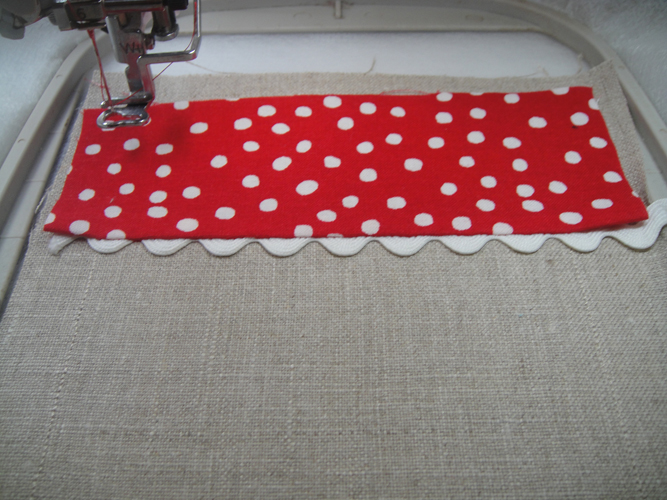
Spray a little adhesive on the linen where the roof will be folded over the top; fold the roof up over the top of the house; press if necessary; run CS 6 to tack down the roof.
(Click Image to Enlarge)
Step 8:
Run CS 7 for a placement line for the chimney ribbon.
(Click Image to Enlarge)
Step 9:
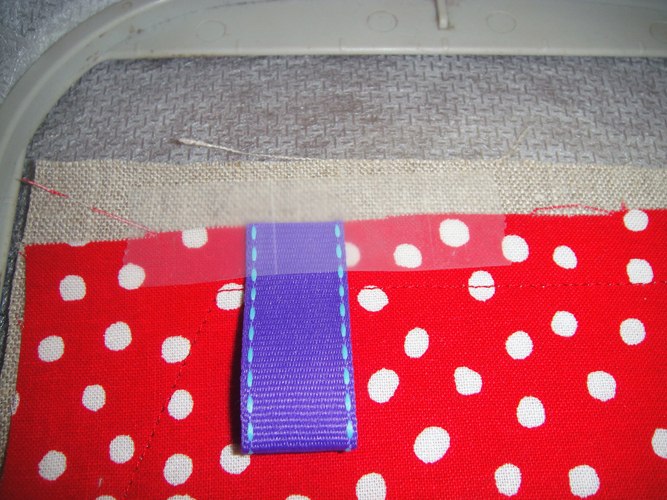
Fold the ribbon in half and place lay the cut ends about ½” over the placement line; scotch tape in place above the placement line; run CS 8 to tack down the ribbon.
(Click Image to Enlarge)
Step 10:
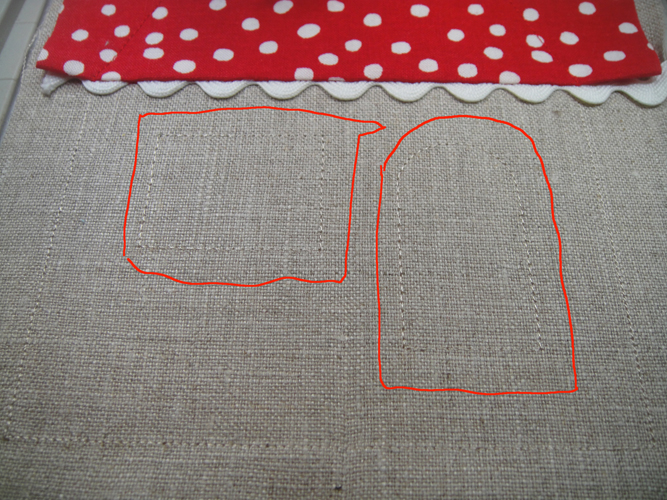
Run CS 9 in a thread that is close in color to the linen but just darker or lighter enough for you to see where to place the door and window appliques.
(Click Image to Enlarge)
Step 11:
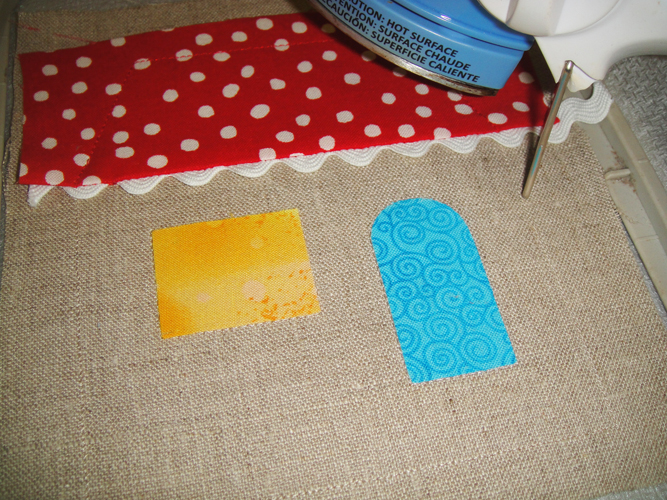
Place the door and window appliques and fuse to the fabric with an applique iron.
(Click Image to Enlarge)
Step 12:
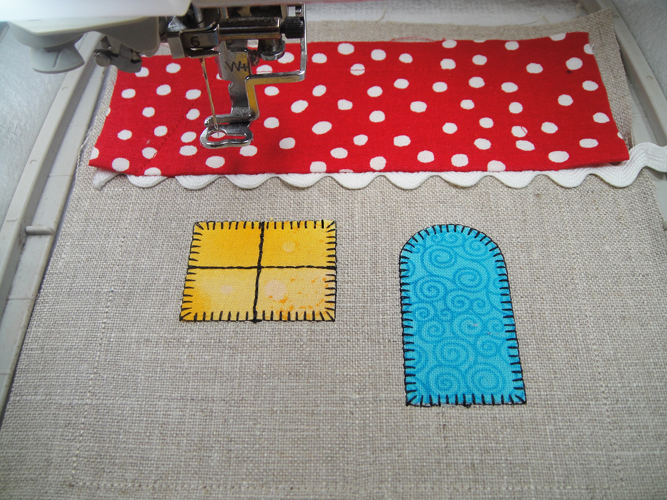
Switch to black thread and run CS 10 to run the E-stitch borders on the door and window.
(Click Image to Enlarge)
Step 13:
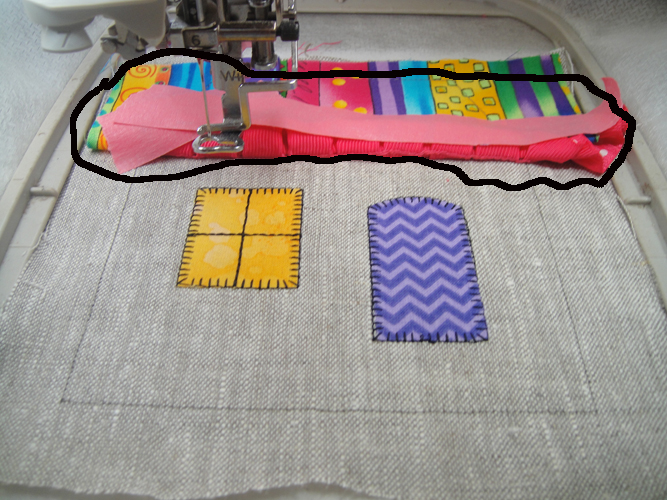
NOTE: If your trim is relatively wide it may be wise to fold it back with some embroidery tape and shown here on the Hacienda House where the window is in a vertical placement and therefore a little closer to the roofline before CS 9 and 10 are run.
(Click Image to Enlarge)
Step 14:
Follow the color chart to stitch the flowers on the house. Sorry I missed getting a picture of these.
Step 15:
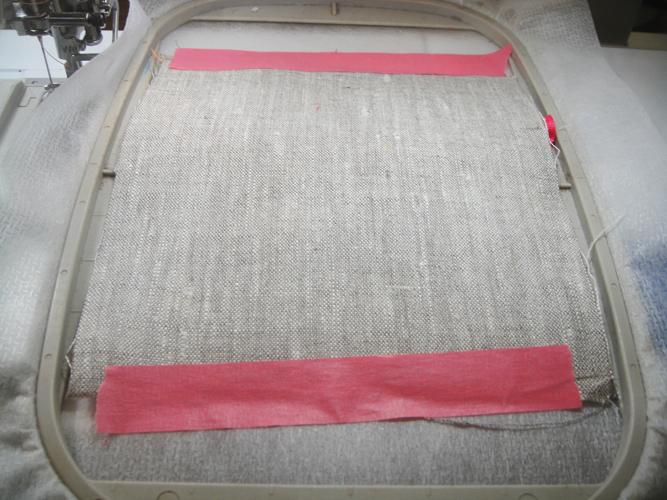
After the flowers are stitched place the second linen square over the house and secure with embroidery tape; Run the last color stop to stitch the back of the house to the front.
(Click Image to Enlarge)
Step 16:
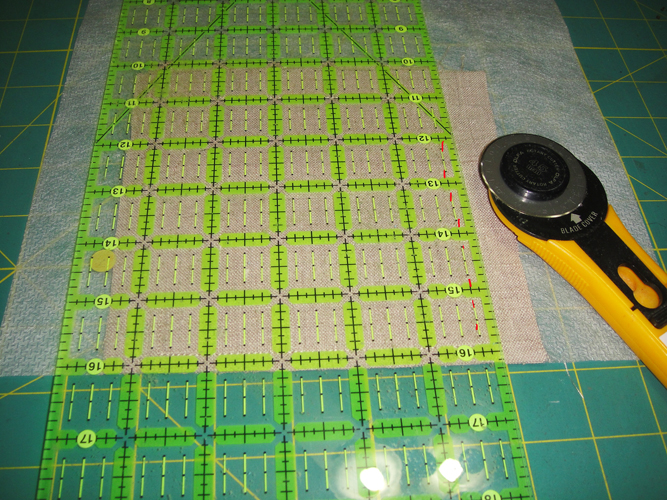
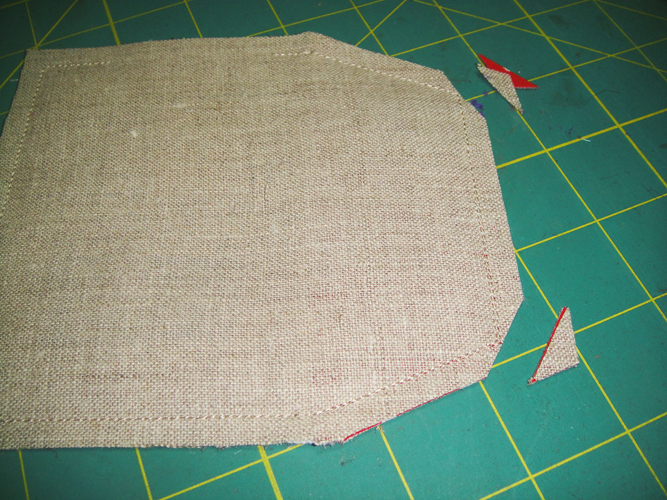
Remove the project from the hoop; lay a ruler along the seam line and trim all seams to ¼”.
(Click Image to Enlarge)
Step 17:
Trim the corners at the top of the roof.
(Click Image to Enlarge)
Step 18:
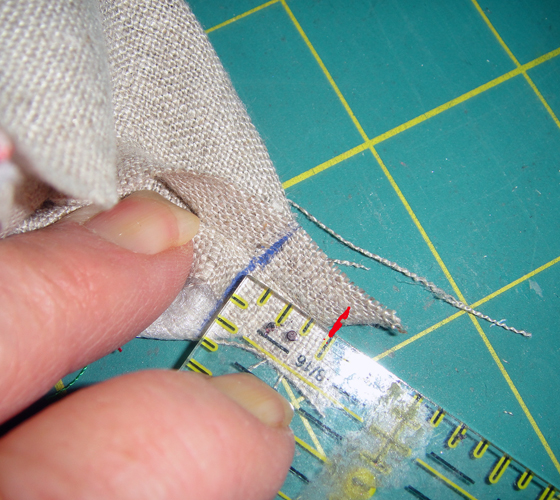
The corners at the bottom of the house will be boxed on your sewing machine. Open the side seams and the bottom seam; pull the front and back fabrics apart so that you can line up a small portion of the bottom of the side seam with the bottom seam; measure up ½” and draw a line across the fabrics.
(Click Image to Enlarge)
Step 19:
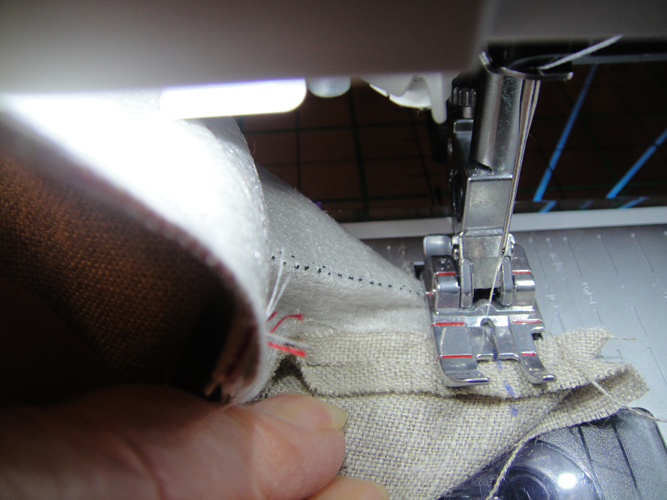
Stitch across the line drawn; repeat for the second bottom corner.
(Click Image to Enlarge)
Step 20:
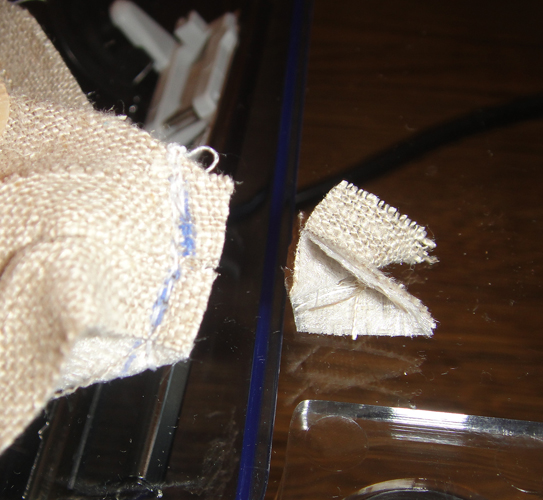
Trim both boxed corners to 1/14”.
(Click Image to Enlarge)
Step 21:
Turn the house right side out and use your applique iron to press out a few of the wrinkles if necessary.
(Click Image to Enlarge)
Step 22:
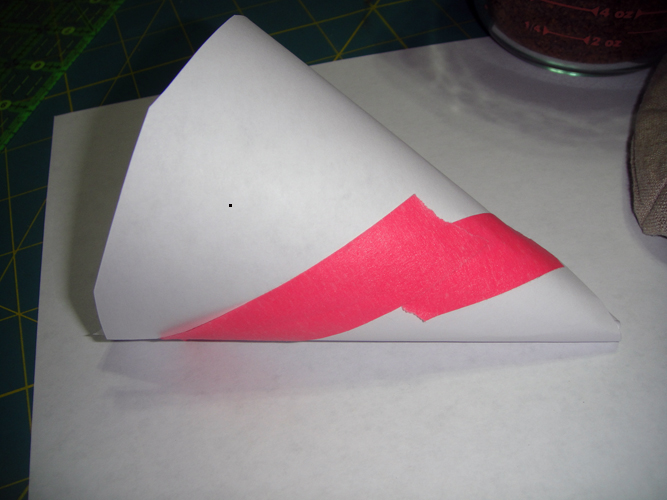
Fashion a cone out of a piece of copy paper to use to help you fill the house. Fill the house firmly with a little more than a cup of the crushed walnut shells.
(Click Image to Enlarge)
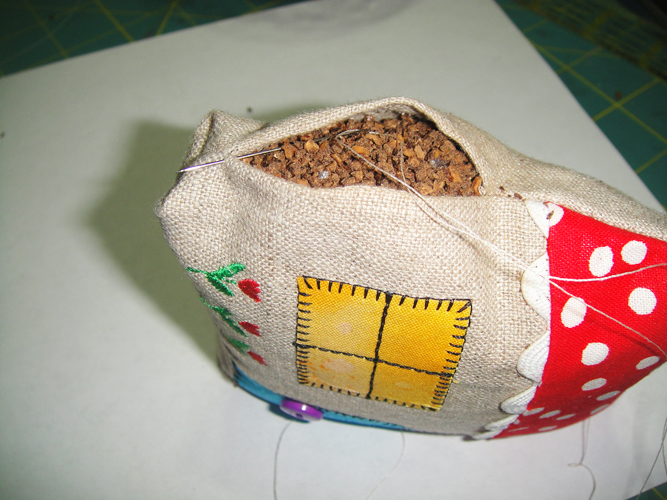
Step 23:
Turn in the remaining seam allowances and whip stitch closed. Note start the stitching at the end of the opening closest to the bottom of the house. After stitching up about ½” press more of the walnut shells into that bottom corner to ensure a good base on the house.
(Click Image to Enlarge)
Step 24:
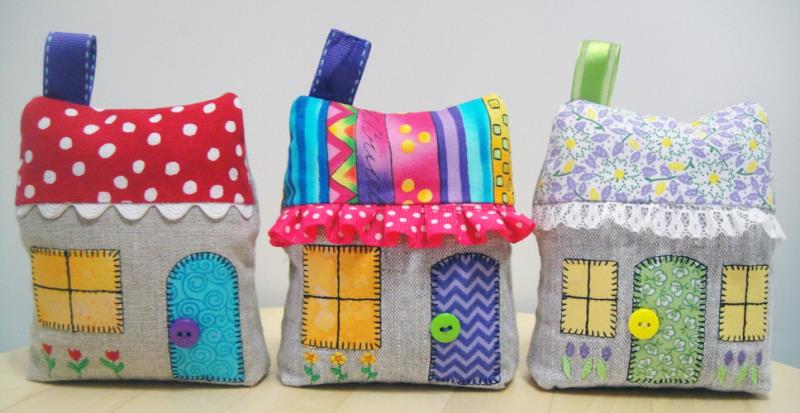
Congratulations your first House Pincushion is complete! Repeat these steps for the other two style of House Pincushions. They will make great gifts and craft fair items.
Award winning Digitizer, Embroidery Educator, Author and a Consultant to the Industry, Pat Williams has 30 years of experience in the embroidery industry. Pat has won multiple awards for her digitizing expertise including the 2007 Impressions Awards Grand Championship, Best of Show as well as the 1st and 2nd Place Awards. Pat’s love of digitizing has afforded her the opportunity to write numerous articles for Impressions magazine in the United States and Images Magazine in Europe. In 2001 Pat was named “Embroidery Educator of the Year.” For many years Pat taught digitizing seminars at the ISS Shows in Long Beach, CA and for Compucon software. She now resides in Tucson, AZ.