Border OptionsHugging border, circle, square, or rectangle — with a 3mm satin stitch.
Backing OptionsAvailable with iron-on, sew-on, or velcro backing.
Fast ShippingShipped quickly from the USA.
Free Online Tools
Powerful embroidery utilities that save time and prevent costly mistakes.
Stitch AssistantRECOMMENDED
Get the exact stabilizer, machine settings, needle, and thread color sequence for every embroidery design you purchase — based on that design's stitch density, dimensions, and color count.
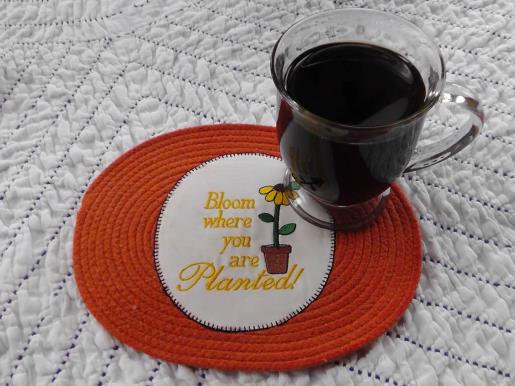
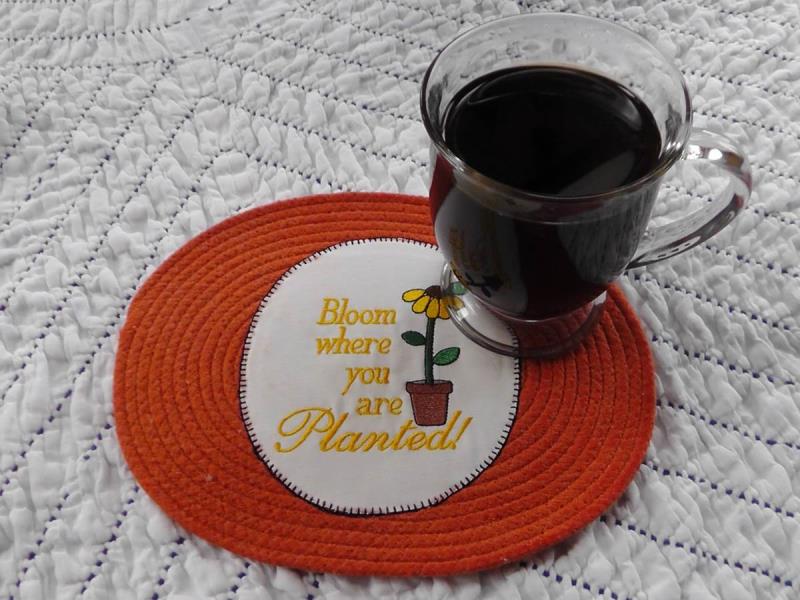
Create a charming table mat featuring a cheerful flower and motivational phrase. Ideal for brightening up your dining space or as a thoughtful handmade gift. Step-by-step instructions are included.
Step
of
Bloom Where You Are Planted Table Mat
By Ramona Baird
Making and dying a rope table mat is such a fun project to do you’ll want to create several using different embroidery designs and dye colors. Make them any size to shape you wish - from coaster size to small table mats like the project, full sized placemats, or even a small rug. It is important to use 100% cotton clothesline and cotton thread only when stitching the rope mat together. Cotton will readily accept the dye, polyester will not. Steps are shown generally for dying the rope after it is coiled and sewn into shape. Follow the directions on the dye packaging for dying the mat, rinsing, and drying. Be sure the mat is perfectly dry before completing the addition of the embroidery.
When sewing the rope together, test using the proper needle on a small amount of clothesline first to make sure your machine will handle sewing the project.
The design comes in three sizes. The smallest size was used for this project.
Step 1:
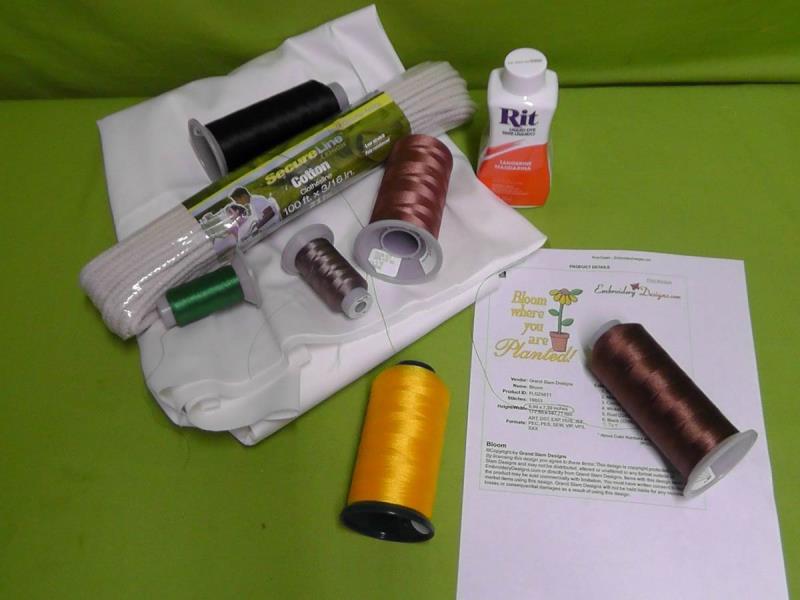
Gather the materials and read through the instructions before beginning. Print out a template of the embroidery design at actual size.
(Click Image to Enlarge)
Step 2:
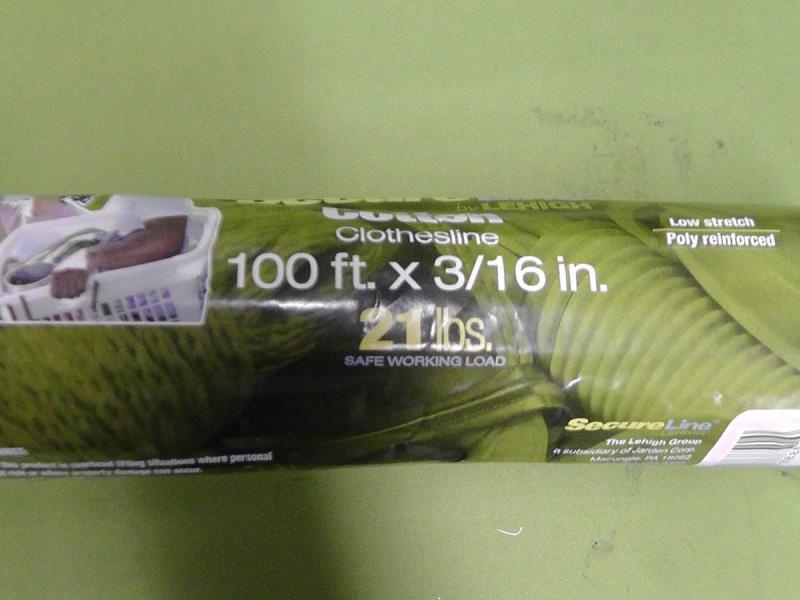
For this project 100% cotton clothesline , 3/16” in diameter, was used. This may be purchased at a store like Wal-Mart, Target, or even some hardware stores.
(Click Image to Enlarge)
Step 3:
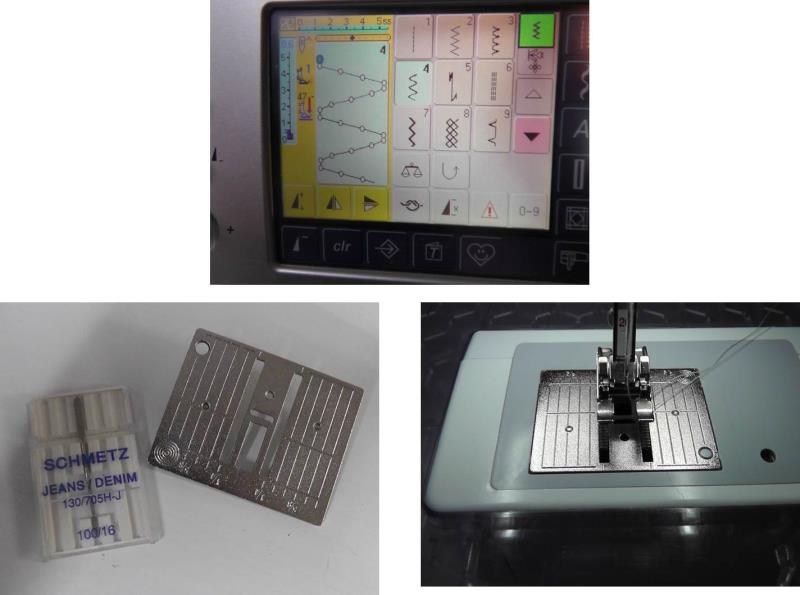
Begin the project by sewing together the clothesline to form the table mat. To do this, use a three-step zig-zag stitch. Be sure the throat plate for the zig-zag stitch is on the machine and insert a size 16 or 18 jeans needle. The sturdier needle will penetrate the clothesline. The feed dogs need to be up and the stitch sewn at least 5mm wide and about 1mm in length. Test the stitch length and width on the clothes line before stitching the entire mat. Use the cotton thread in the bobbin as well as the top thread for stitching.
(Click Image to Enlarge)
Step 4:
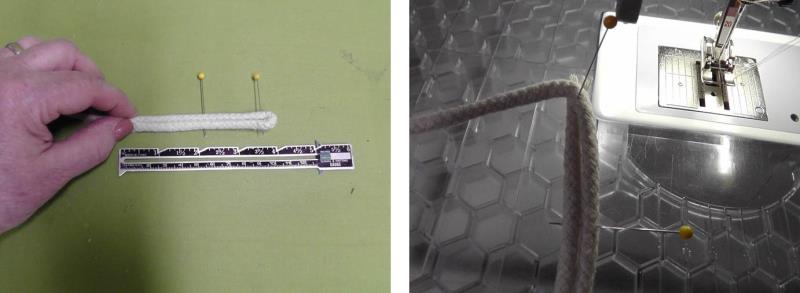
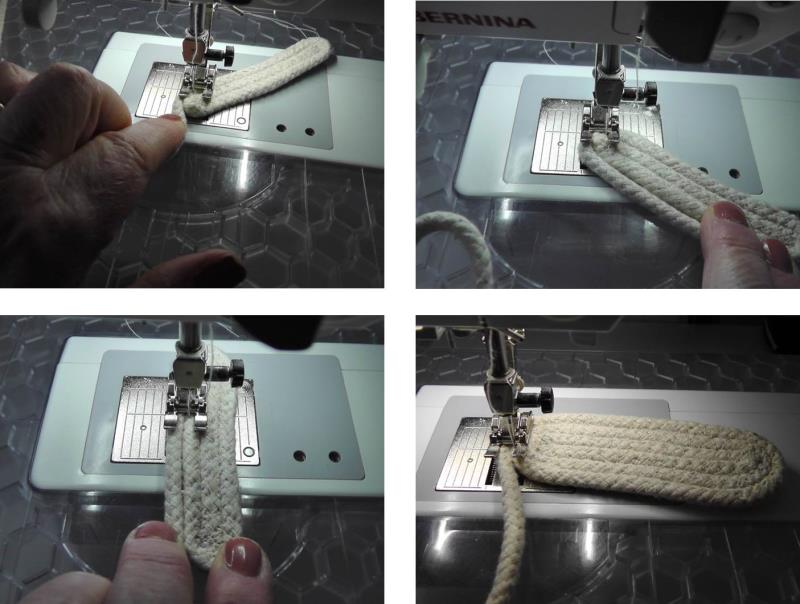
To stitch the mat in an oval shape, fold back the end of the line back 4” on itself and use pins to hold it in place temporarily. Tuck the end of the line under the second row of line.
(Click Image to Enlarge)
Step 5:
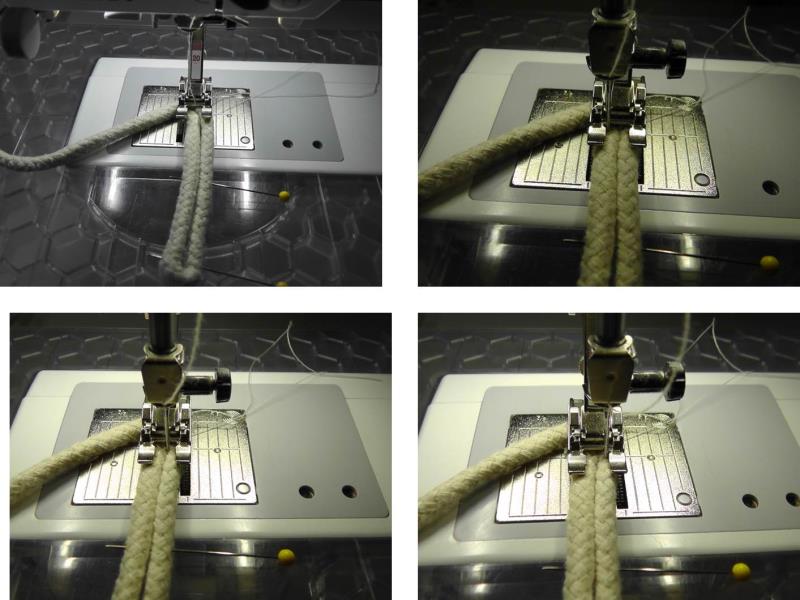
Place the two rows under the foot, centering the middle in the middle of the foot. Sew slowly down the middle of the two coils so the stitching catches both sides. Backstitch at the beginning and end of the line of stitching.
(Click Image to Enlarge)
Step 6:
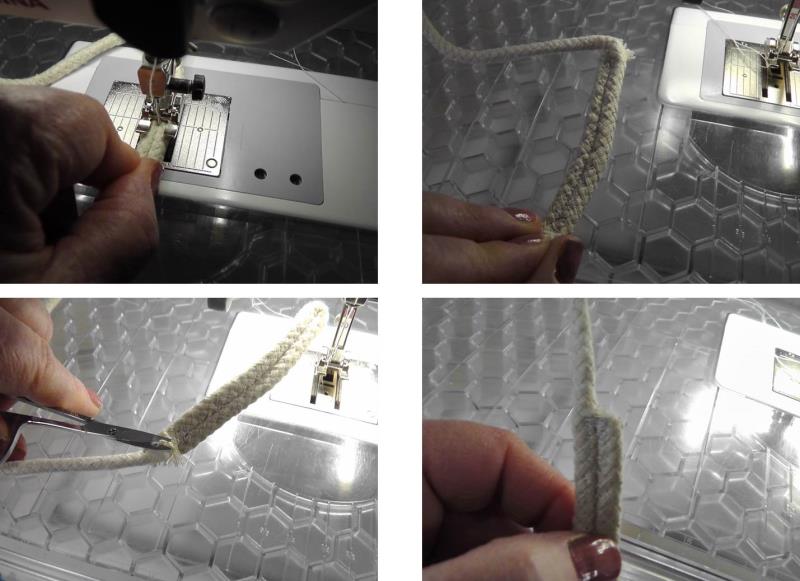
As you sew, keep the lines touching. Remove the line from under the foot and trim the end of the line.
(Click Image to Enlarge)
Step 7:
Position the line as shown and wrap the line over the top edge and around to the left side. Place the coil under the foot. Stitch forward then back and then stitch over the left two most lines, joining them together.
(Click Image to Enlarge)
Step 8:
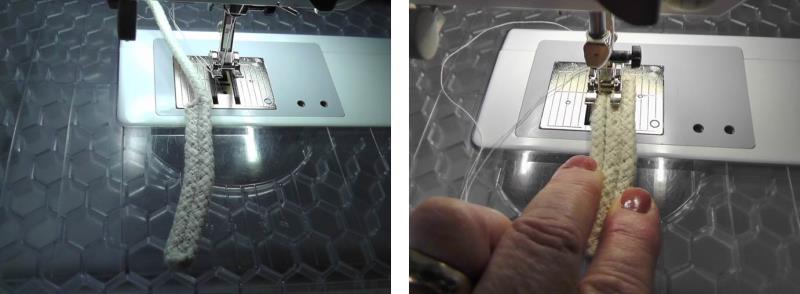
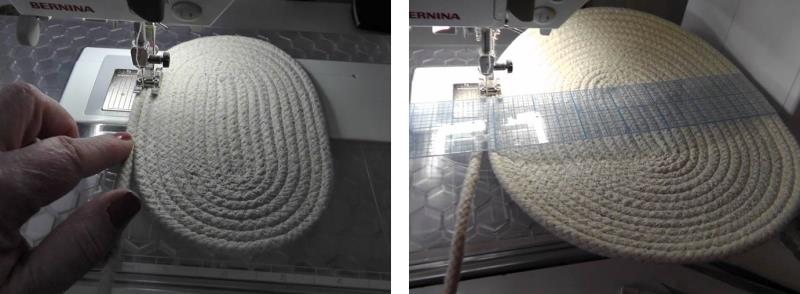
Continue coiling the line over the ends, and sewing the line together. Keep the coil flat while sewing and don’t pull or push the clothes line while sewing. Sew slowly and then increase speed when you get the hang of how the machine will handle the stitching.
(Click Image to Enlarge)
Step 9:
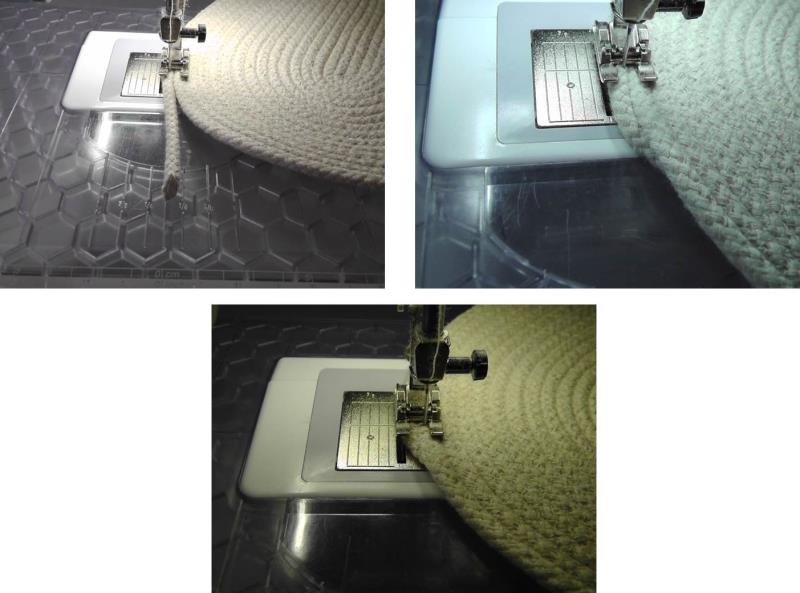
Sew until the width of the coil is about three or four inches larger than the height of the design (or as large as you want). If your machine has a narrow bed, turn the coil around and sew so that the coil is actually to the left of the machine.
(Click Image to Enlarge)
Step 10:
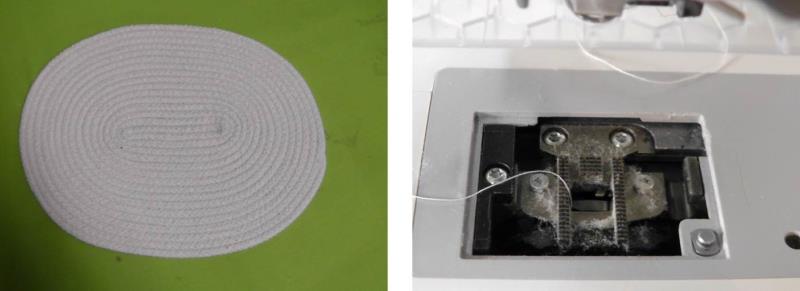
At the end, cleaning snip the line and tuck it under the edge of the mat, stitch forward and then back stitch a couple of time to secure the end in place.
(Click Image to Enlarge)
Step 11:
After the mat is completed, be sure to clean out underneath the throat plate; the clothesline creates a lot of lint.
(Click Image to Enlarge)
Step 12:
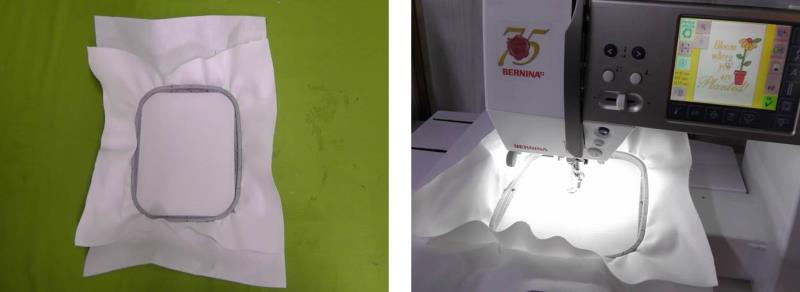
Now stitch the embroidery design. Hoop a piece of well-starched white fabric with a piece of cutaway stabilizer. Load the “Bloom” design on the machine and stitch the design.
(Click Image to Enlarge)
Step 13:
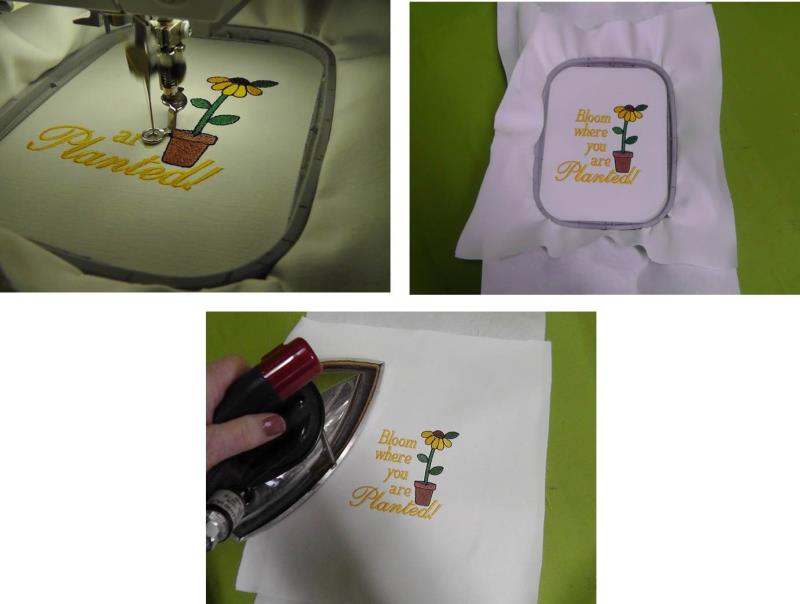
Stitch the design following the color sequence. After the design is finished stitching, remove the fabric from the hoop and press out any hoop marks.
(Click Image to Enlarge)
Step 14:
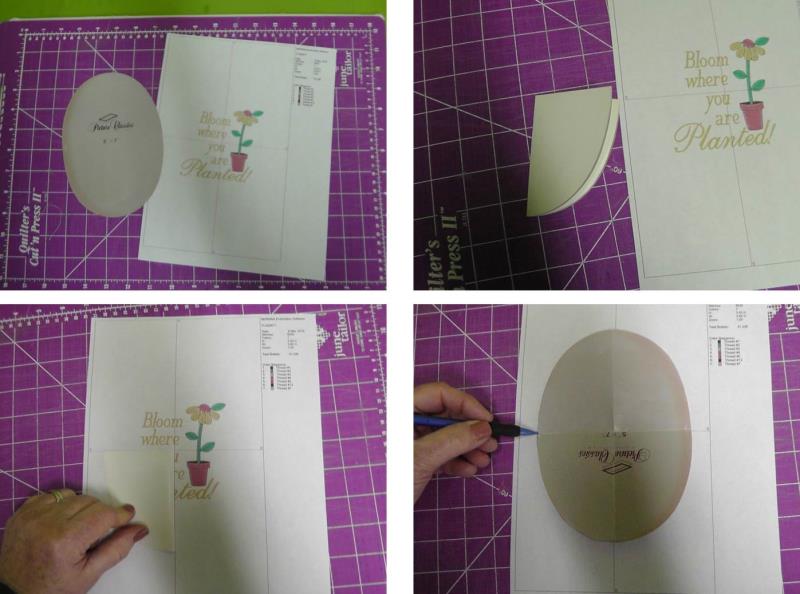
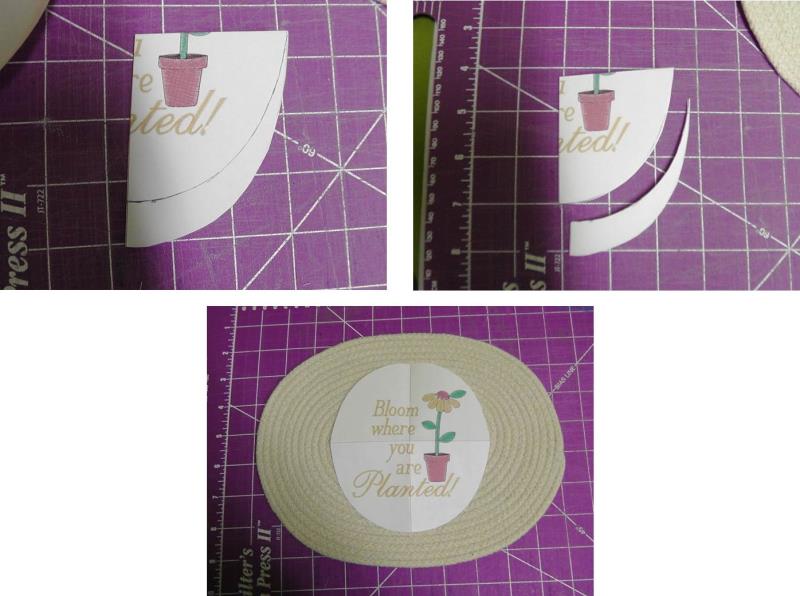
Cut out the paper template in the size and shape desired. For this projected, an insert from a picture frame was used that is in the shape of an oval. The oval was quarter folded and then lined to the crosshairs on the paper template. The template was then opened up and the shape traced on the template.
(Click Image to Enlarge)
Step 15:
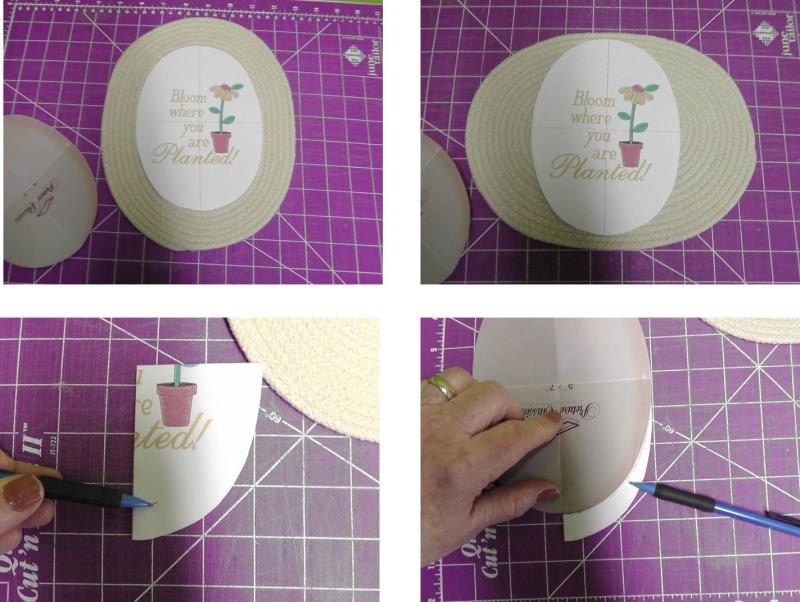
Check the template on the table mat.
(Click Image to Enlarge)
Step 16:
If any additional shaping needs to be done, just redraw it and trim the template until it is the correct size and shape.
(Click Image to Enlarge)
Step 17:
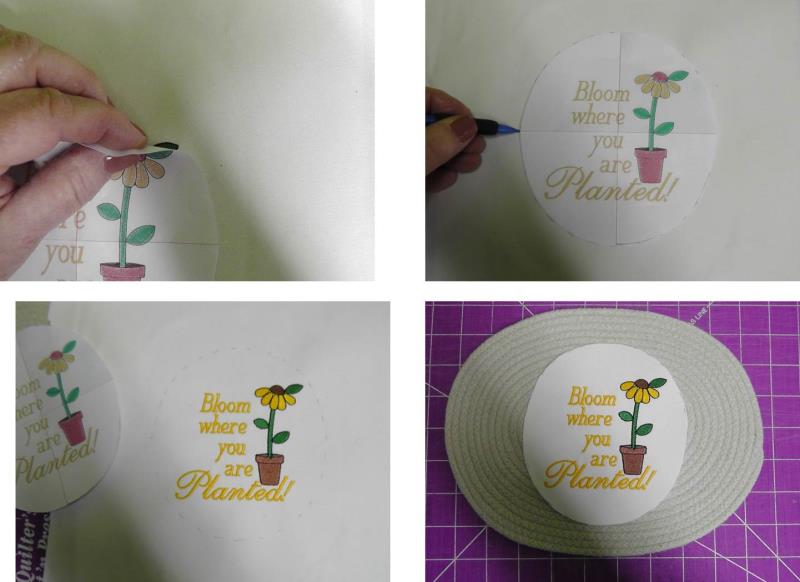
Align the cut template over the embroidery design, carefully matching the outline in the template to the outline of the stitching. Draw a light line around the template on the fabric and cut the fabric (and stabilizer) along the drawn line.
(Click Image to Enlarge)
Step 18:
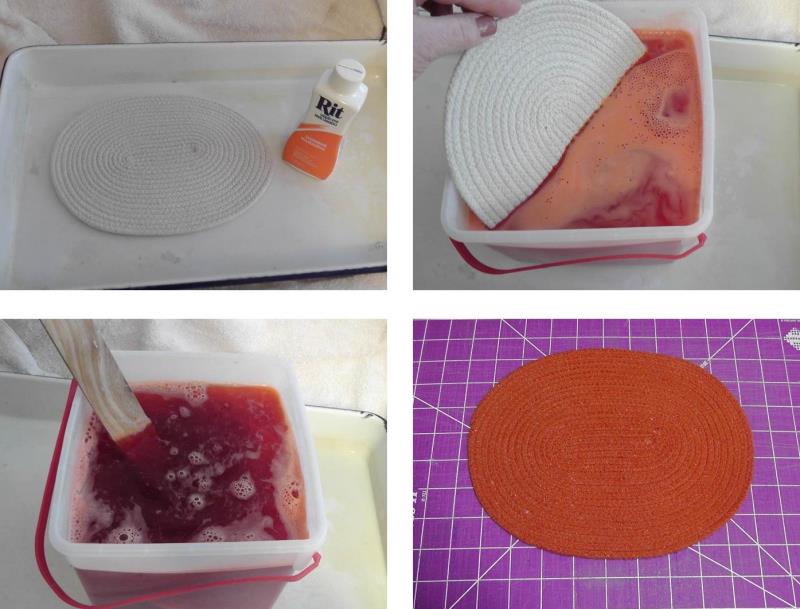
Follow the directions on the package of dye you use to dye the mat. Rinse and dry the mat as directed. Be sure the mat is completely dry before completing the last step of the project.
(Click Image to Enlarge)
Step 19:
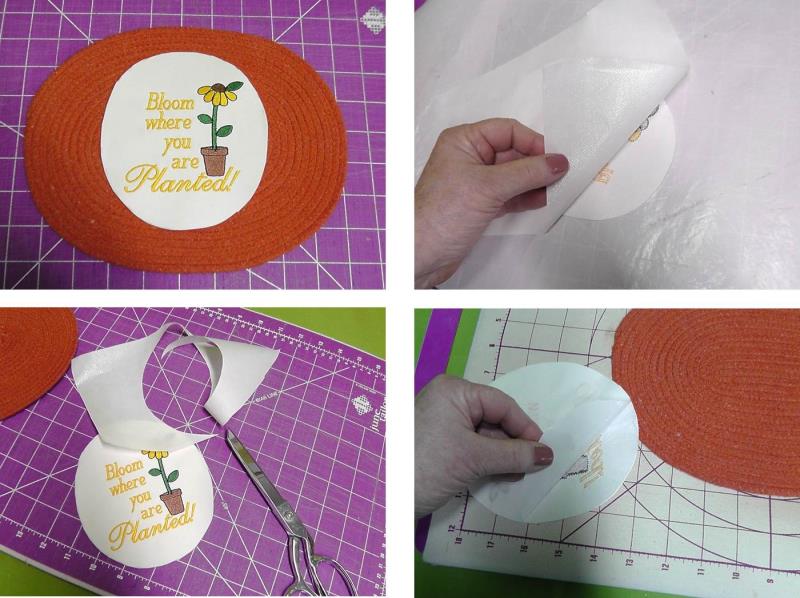
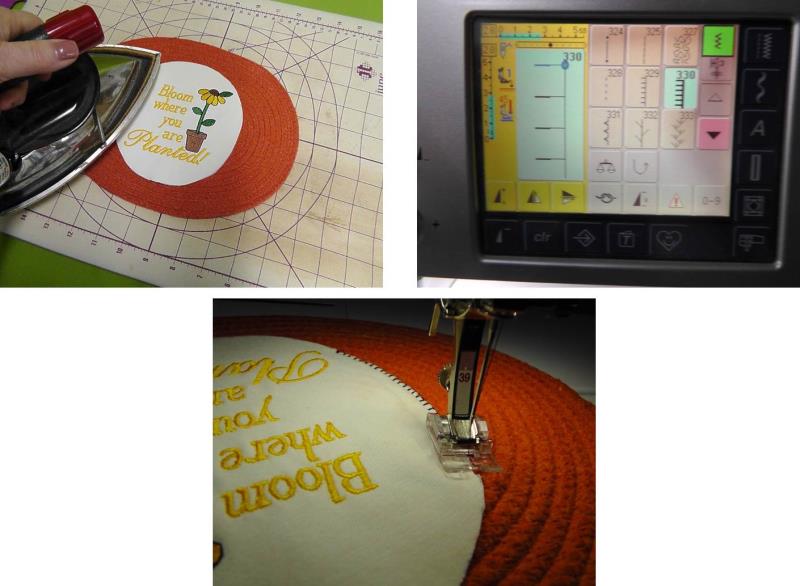
To attach the embroidery to the mat, fuse the web to the back side of the embroidery and trim. Remove the protective paper and lay the embroidery in place on the table mat.
(Click Image to Enlarge)
Step 20:
Fuse the edges of the fabric in place, using a press cloth. Use a blanket stitch to sew the embroidery in place on the mat. For the project, black embroidery thread was used to stitch the embroidery to the mat.
(Click Image to Enlarge)
Step 21:
Congratulations on creating a table mat that can be used for plants, as a mug mat, or to protect a table - it will be decorative sitting on a table until it is needed for use. Create several using different embroidery designs and dying the mats in different colors for different seasons, holidays, birthdays, picnics - just about any use!
Ramona Baird has been in the embroidery industry for over 23 years. She and her husband owned a commercial and retail embroidery store in Arizona for many years. She is an experienced digitizer having been mentored by award-winners Pat Williams and Lindee Goodall. Ramona is a contributor to “Creative Machine Embroidery” magazine having 5 covers to her credit. Ramona has worked for Wilcom America and served many years as Education Director for the American Sewing Guild. With a degree in fashion design, she is able to design and execute patterns which Pat Williams says are “out of the box” in creativity and application. Ramona likes to challenge the boundaries of embroidery and bring new and exciting designs, ideas, and projects to EmbroideryDesigns.com. She wants embroiderers of all levels to increase their skills and enjoyment in using their embroidery machine for gift-making and personal pleasure.