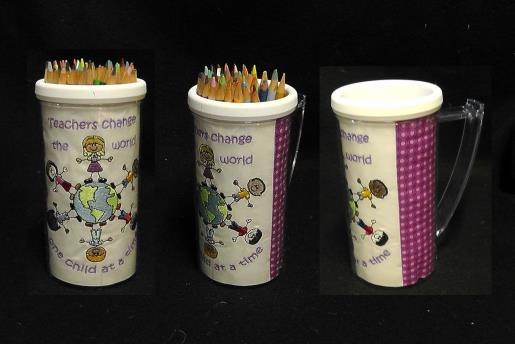
Teacher's Inspirational Pencil Holder Mug

Teacher's Inspirational Pencil Holder Mug Embroidery Project

By   Ramona Baird   on   April 01, 2016
  • SKILL LEVELSome Experience
  • TIME REQUIRED03:30
Description

This unique mug serves as both a pencil holder and a heartfelt gift for teachers. Featuring an inspiring message, it reminds educators of their impact on the world. Ideal for end-of-year appreciation. Step-by-step instructions are included.

Step of

Materials

Project Preview Video

Materials
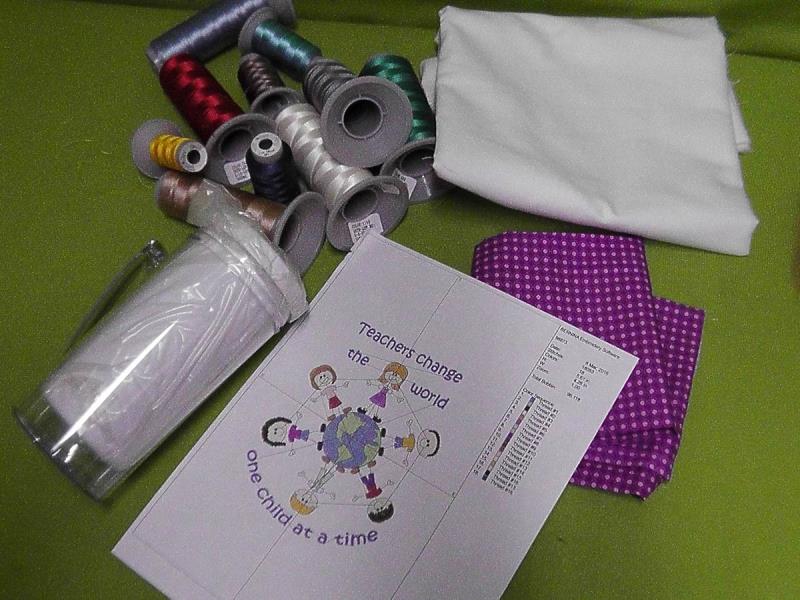
  • Mug that allows for embroidery insertion
  • White fabric enough for the hoop and long enough for the mug insertion
  • Coordinating fabric to wrap around the mug insert
  • Sewing thread to coordinate with fabrics
  • Embroidery thread as stated in design sequence
  • Tearaway stabilizer
  • Colored pencils or treats to place in the mug

  • Designs used in this project

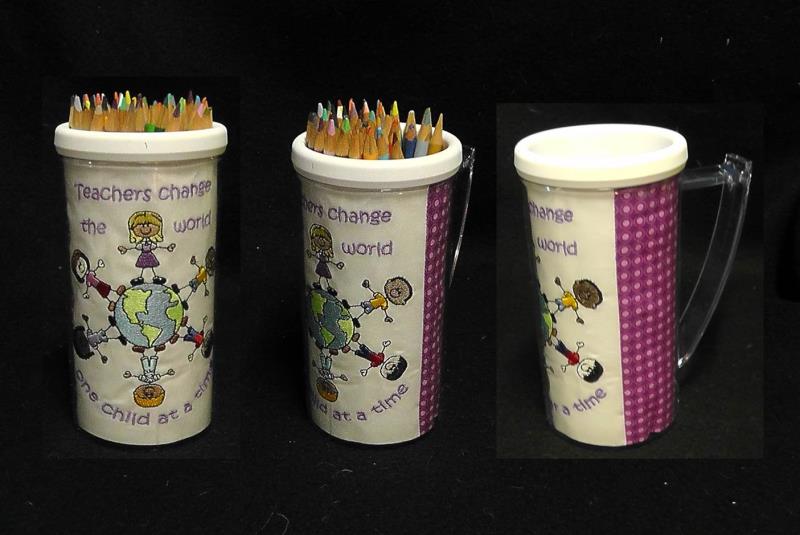
    Final Product: What You Will Create

    Preface:
    All mugs that allow for embroidery insertion differ in size; therefore, measurements for fabrics will not be included in this tutorial. General instructions will be given so you can measure the mug you purchase and cut the fabrics accordingly. Also, mugs may vary in shape. This one is a straight up and down cylinder shape. Some mugs or glasses are tapered so be sure to take that into account when cutting the fabrics.

    Check your local embroidery dealer - most carry these acrylic mugs. If your dealer doesn’t have them, search the internet using the words “acrylic for embroidery”. Some mugs will have a screw on top or bottom to allow the embroidery to be changed. The mug used in this project snaps together tightly and permanently.


    Step 1:
    Gather the materials and read through the instructions before beginning. Be sure the mug is tall enough for the height of the design. Print a template of the design.

    (Click Image to Enlarge)


    Step 2:
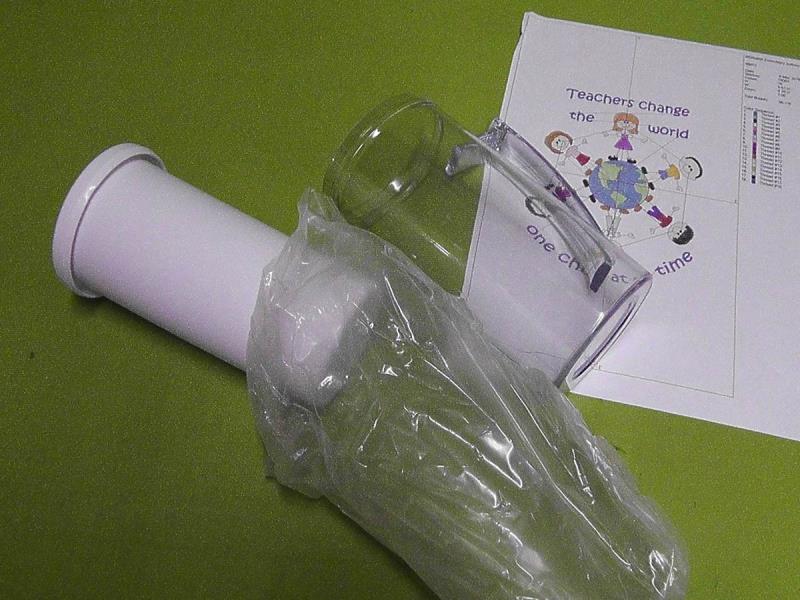
    Separate the sections of the mug. 

    (Click Image to Enlarge)


    Step 3:
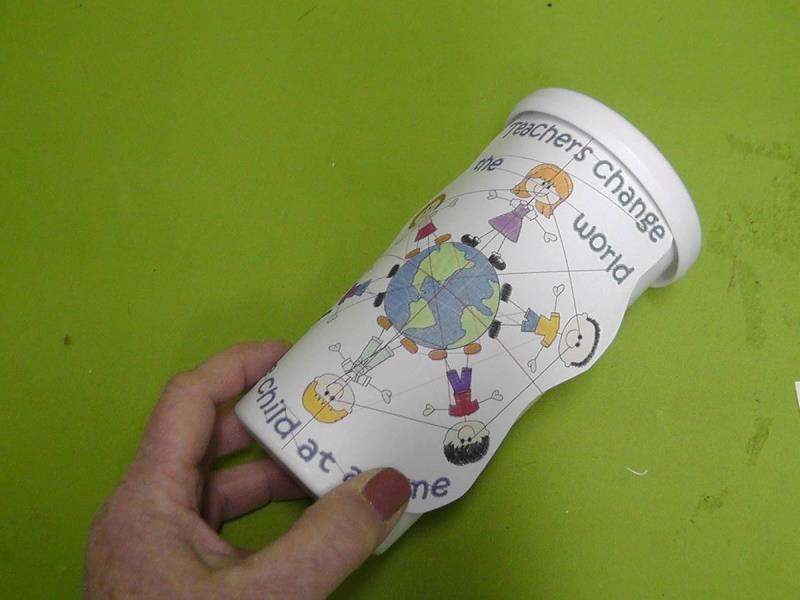
    Cut out around the design template. Position and check the size of the design with the size of the mug. The design for this mug fit, but I felt a little more space was needed at the top and bottom, so at the machine I re-sized the design 10 percent smaller.

    (Click Image to Enlarge)


    Step 4:
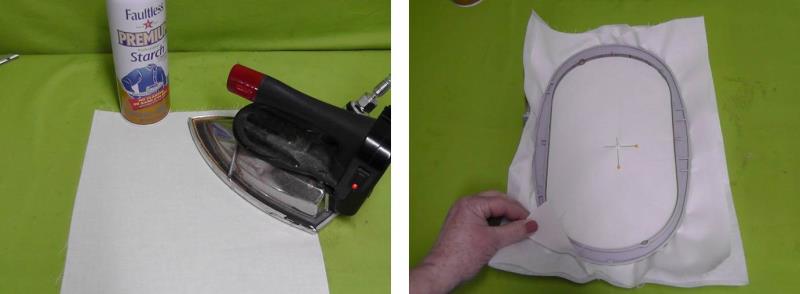
    Cut a piece of white fabric large enough to hoop and that will allow enough fabric all around for the height of the mug plus a little bit all the way around which will be trimmed down after the embroidery is finished. Press the fabric well using spray starch. Hoop the fabric with two pieces of tearaway stabilizer.

    (Click Image to Enlarge)


    Step 5:
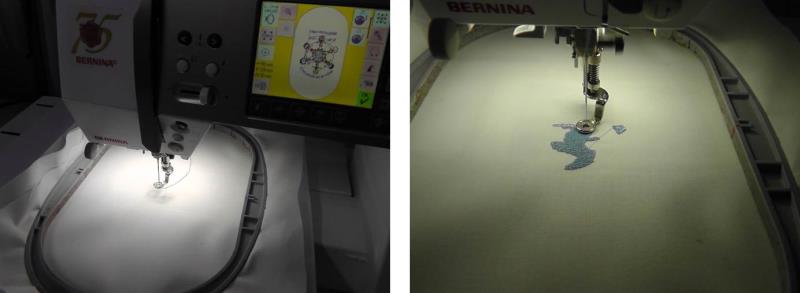
    Load the design “Teachers Change the World” on the machine and resize if needed - but not too much as this design has lots of registration that stitches last and small elements. Press the start button and begin stitching.

    (Click Image to Enlarge)


    Step 6:
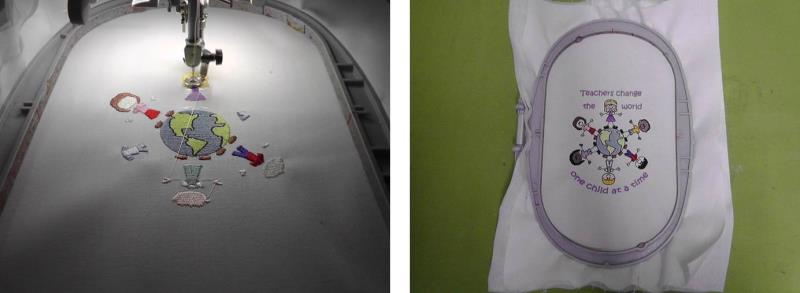
    Stitch the design following the color sequence.

    (Click Image to Enlarge)


    Step 7:
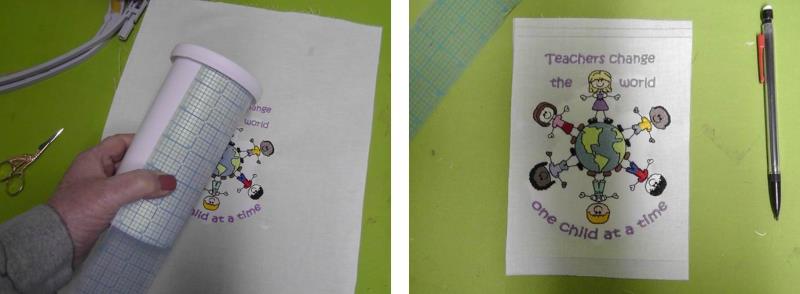
    Measure the area of the mug height, including any area under the lip of the mug if there is one. Determine how the fabric needs to be cut to size so all the embroidery shows through the acrylic outer mug shell, there is fabric tucked under the lid and fabric to fold under at the bottom that allows the edge to be clean finished, and there are ¼” seam allowances on the sides.

    (Click Image to Enlarge)


    Step 8:
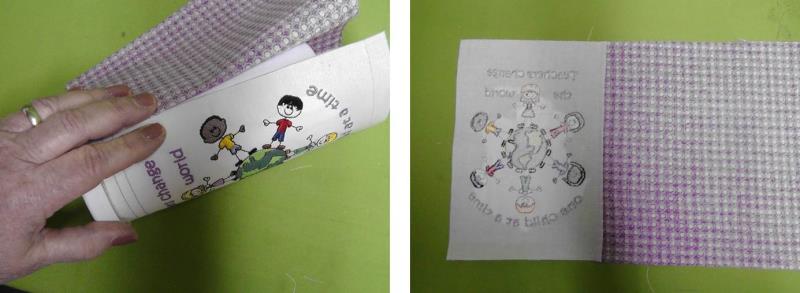
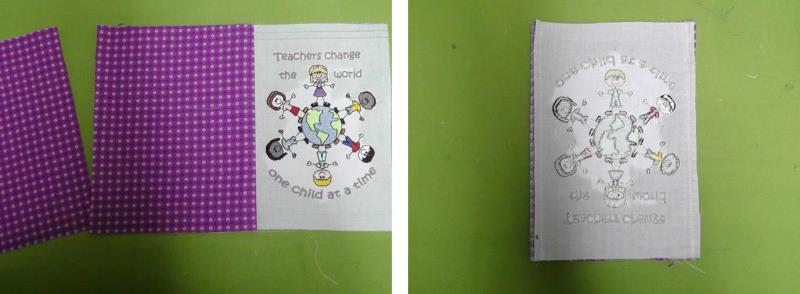
    Measure and wrap the coordinating fabric around the mug and mark. Cut the fabric so there are ¼” seam allowances at the sides to sew on to the embroidered fabric and it is the same height as the embroidered fabric was cut. With right sides together, sew one side of the coordinating fabric to the embroidered piece and press the seam toward the coordinating fabric.

    (Click Image to Enlarge)


    Step 9:
    Now bring the other sides of the two fabrics together, sew the ¼” seam and press it toward the coordinating fabric.

    (Click Image to Enlarge)


    Step 10:
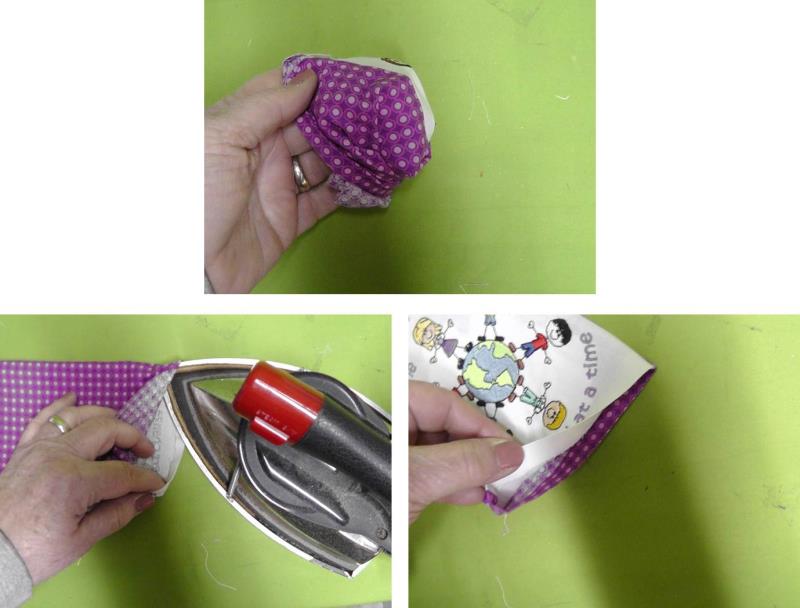
    Turn the tube of fabric right side out. Press under the lower edge as was determined in the cutting process.

    (Click Image to Enlarge)


    Step 11:
    Slide the tube of fabric over the inner mug insert. There should be a little play in the fabric so that it slides onto the insert easily, but not too loose so that it creates wrinkles when the fabric is inserted into the outer mug piece.

    (Click Image to Enlarge)


    Step 12:
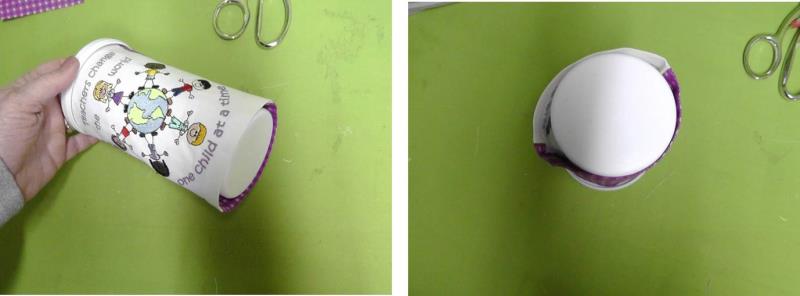
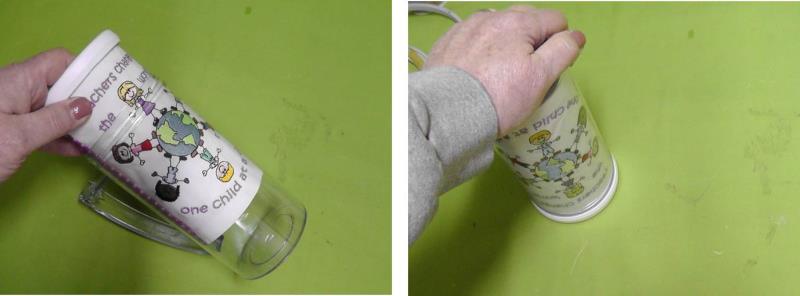
    Insert the inner mug piece into the outer mug piece placing the embroidery into position as desired. For this mug which is a permanent assembly, double check everything to make sure the fabric is smooth and the embroidery is positioned as desired. Place pressure on the top of the mug and it will snap and seat into place. Once this type of mug is snapped together, it cannot be undone.

    (Click Image to Enlarge)


    Step 13:
    Add some pencils, pens, colored pencils, special treats or anything you think the teacher would like and create a special and thoughtful gift for a special educator at the end of the school year.

    (Click Image to Enlarge)

    Meet the Author: Ramona Baird
    Ramona Baird
    Ramona Baird has been in the embroidery industry for over 23 years. She and her husband owned a commercial and retail embroidery store in Arizona for many years. She is an experienced digitizer having been mentored by award-winners Pat Williams and Lindee Goodall. Ramona is a contributor to “Creative Machine Embroidery” magazine having 5 covers to her credit. Ramona has worked for Wilcom America and served many years as Education Director for the American Sewing Guild. With a degree in fashion design, she is able to design and execute patterns which Pat Williams says are “out of the box” in creativity and application. Ramona likes to challenge the boundaries of embroidery and bring new and exciting designs, ideas, and projects to EmbroideryDesigns.com. She wants embroiderers of all levels to increase their skills and enjoyment in using their embroidery machine for gift-making and personal pleasure.
    More From This Author
    Link is Broken, Please check the URL
    Exclusive Embroidery Offers!
    Copyright © {{ currentDate | date:'yyyy'}} - EmbroideryDesigns.com
    GET 50% OFF! ×