Labor Day 10 Off 30
Live Chat
Embroidery Designs
Welcome, Embroiderer
Login
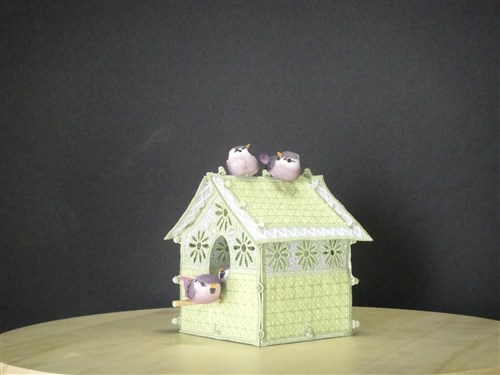
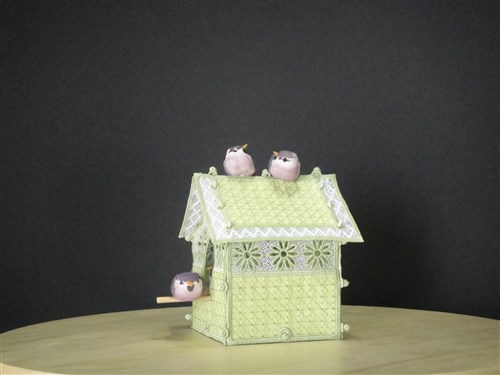
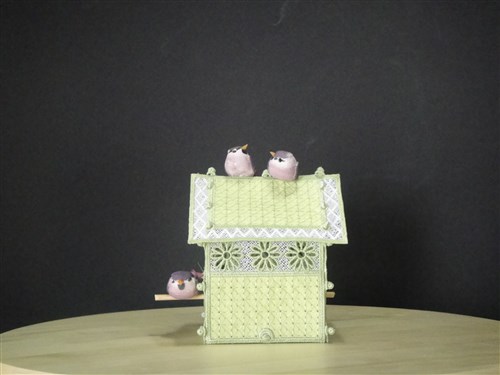
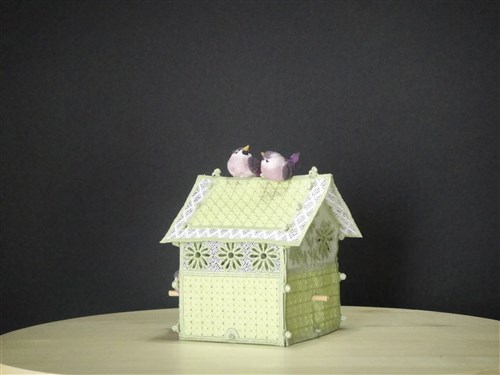
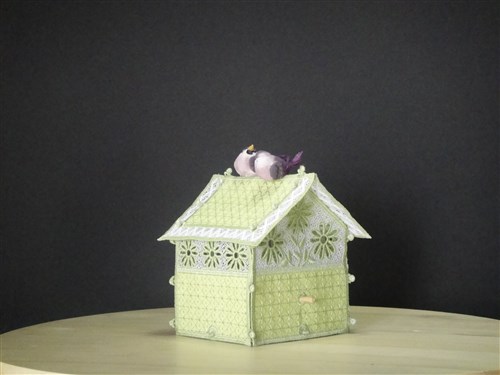
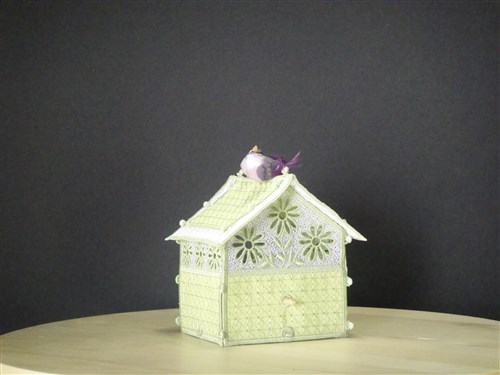
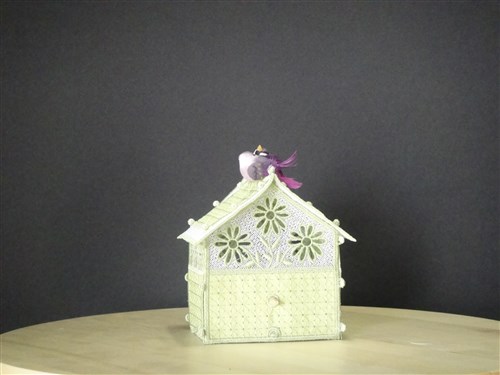
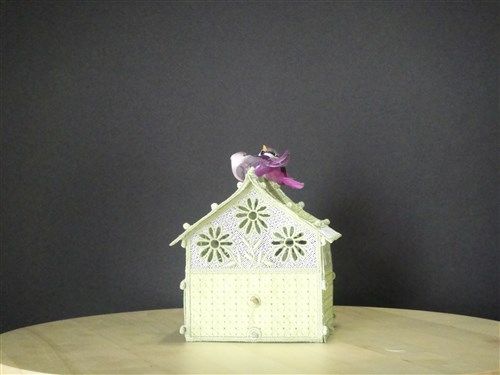
FSL & Applique Daisy Birdhouse

FSL & Applique Daisy Birdhouse Embroidery Project

By   Pat Williams   on   March 22, 2016
  • SKILL LEVELIntermediate
  • TIME REQUIRED08:00
  • FINISHED SIZE4.25 x 4.25 inches
Description

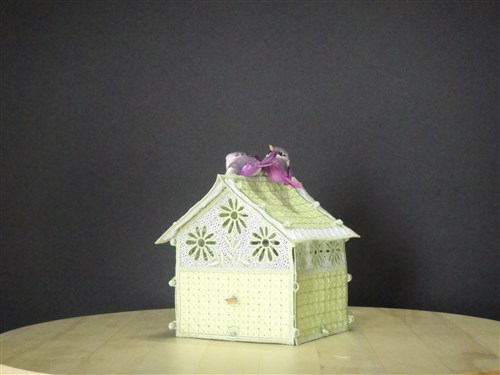
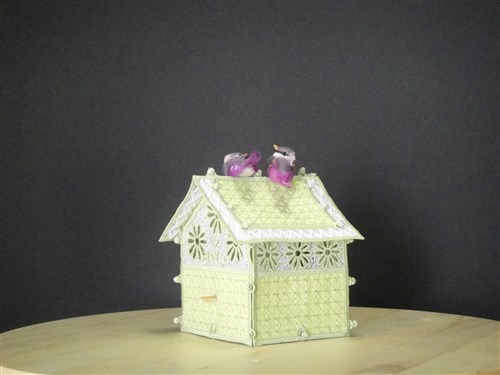
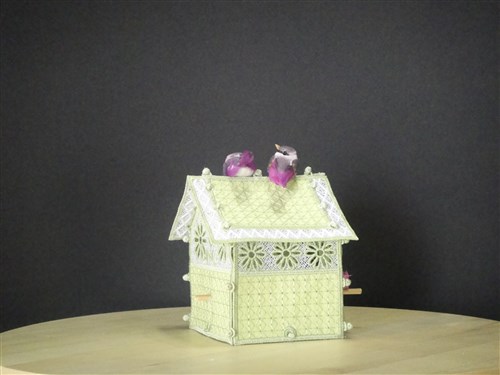
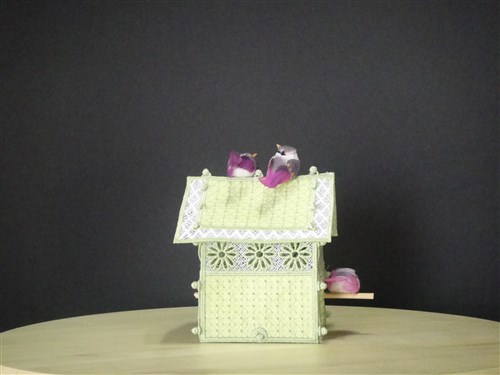
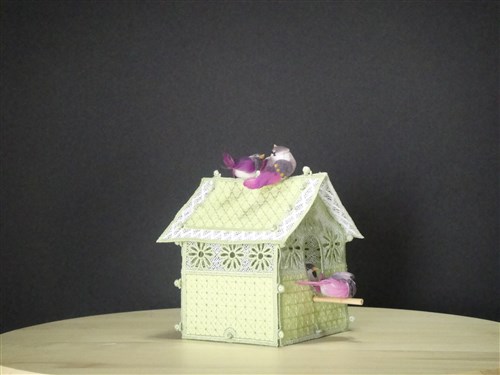
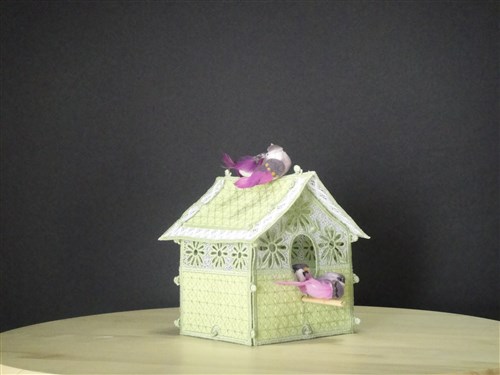
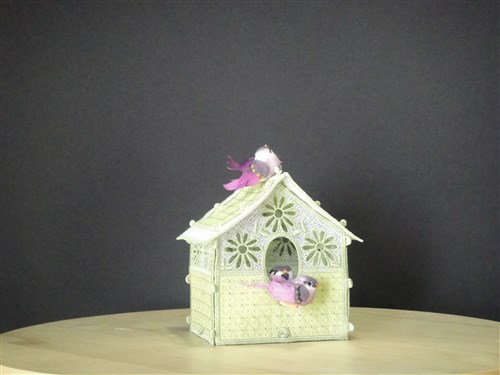
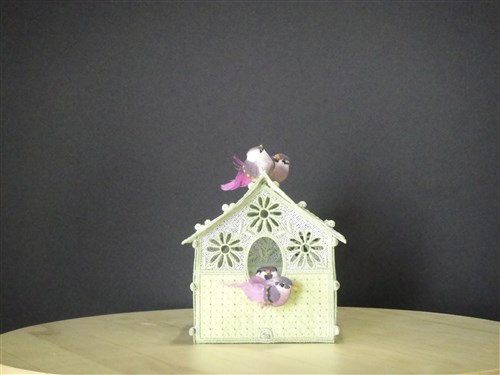
This charming little birdhouse in free standing lace and applique is easier to make than you think. The time to make includes 3 hours drying time.

Step of

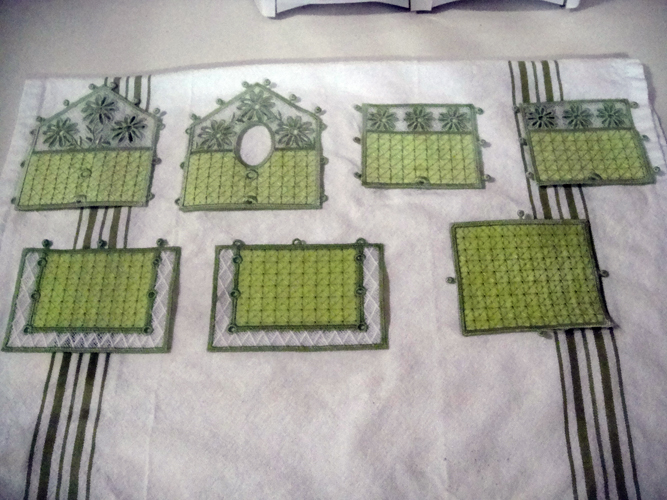
Materials

Project Preview Video

Materials
  • 5” x 7” embroidery hoop
  • 4” x 42” strip of light bamboo green 100% cotton fabric
  • 4” x 42” strip of Pellon Décor Bond 809; a firm iron on backing with extra crispness
  • 3 5/8th yards of fibrous water soluble stabilizer such as Wet N Gone
  • Bamboo Skewer – found in the barbeque isle of your grocery store
  • A small saw to cut the Bamboo Skewer and sandpaper
  • 4 small feathered birds – These came from Hobby Lobby and are the smallest of the birds Item 337279
  • Bamboo Green polyester embroidery thread – rayon thread is too soft for these types of projects
  • An Awl
  • Spray Adhesive
  • Magic Sizing
  • Quick drying tacky glue
  • A smooth cotton dish towel – no loops

  • Designs used in this project

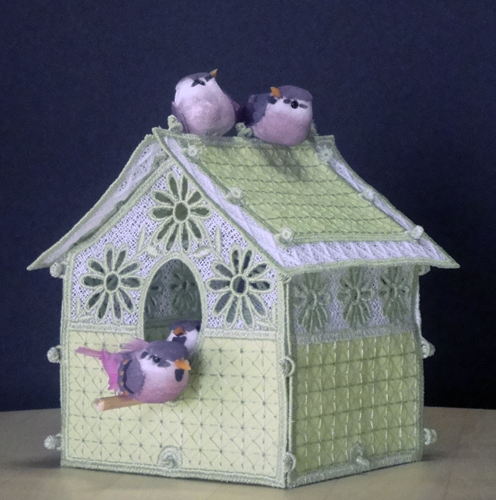
    Final Product: What You Will Create

    Preface:
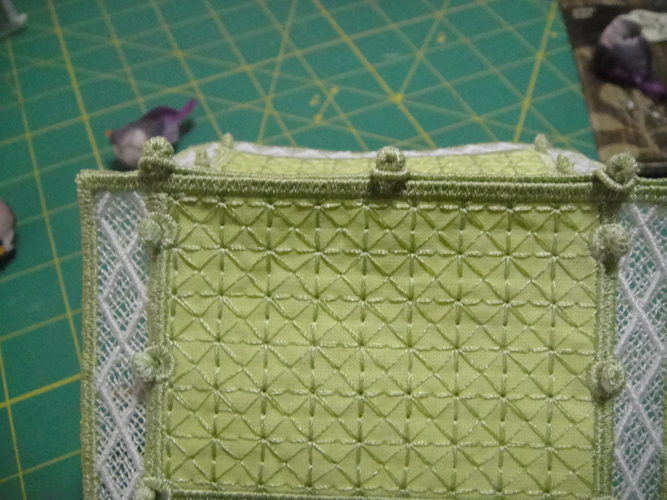
    These projects are really easy to put together with the embroidered loops and buttons. You can use an awl, tweezers and other pointed tools to assemble them. The sample was assembled with the awl only. Occasionally a loop may separate from the house on the side. If one does, simply wrap it around the base of the corresponding button and reattach it with a drop of tacky glue.


    Step 1:
    (Click Image to Enlarge)
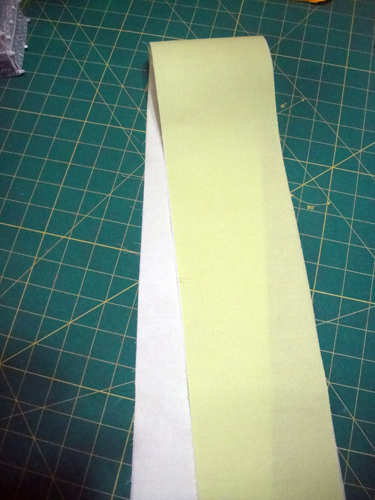
    Cut a 4” x 42” strip of your light bamboo green fabric and a 4” x 42” strip of Pellon Décor Bond 809; press the fabric with Magic Sizing; fuse the Pellon Décor Bond to the fabric strip following the manufacturer’s instructions. Cut two 4.5” sections off the bamboo skewer and sandpaper the cut ends so they are smooth.


    Step 2:
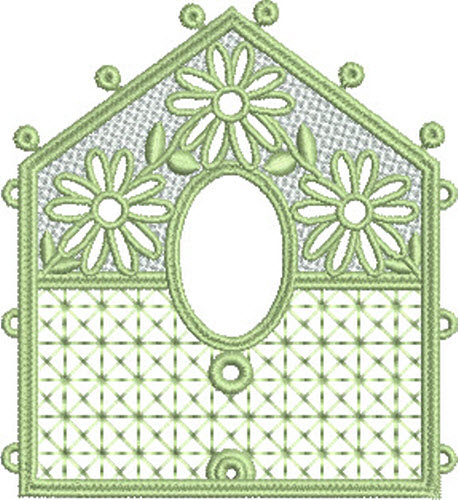
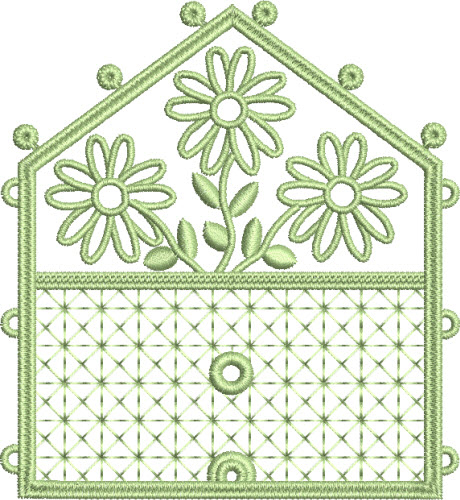
    Load design BH0301 for the front of the birdhouse.


    Step 3:
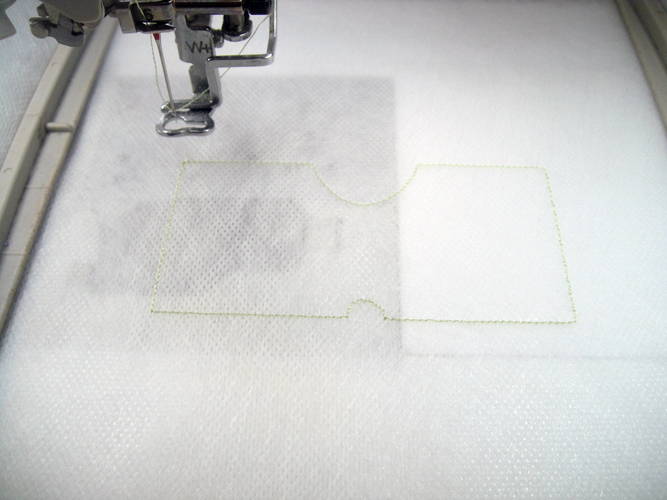
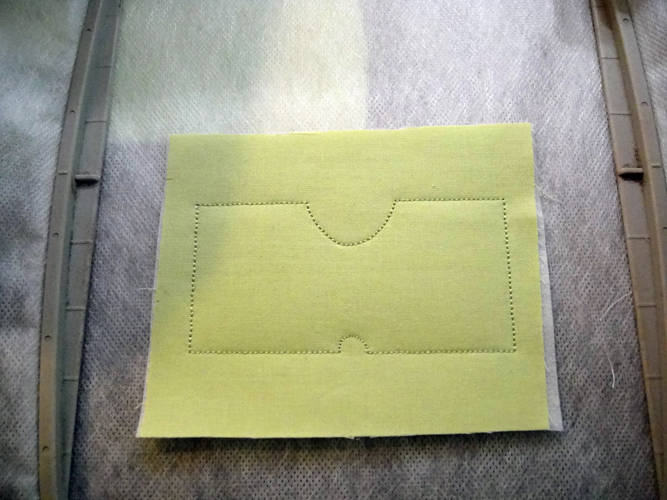
    Hoop two layers of fibrous water soluble stabilizer in your 5” x 7” hoop; run the 1st color stop for an outline of the applique.

    (Click Image to Enlarge)


    Step 4:
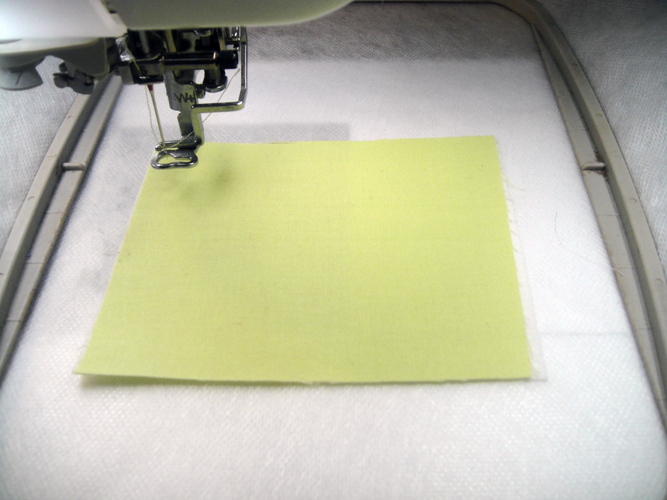
    Cut a 3” strip of the fused fabric strip; spray the back with adhesive and place over the outline.

    (Click Image to Enlarge)


    Step 5:
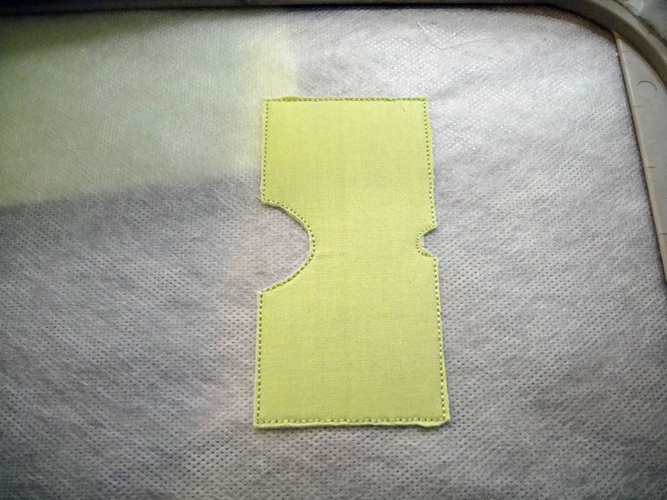
    Color stop #2 will tack down the applique.

    (Click Image to Enlarge)


    Step 6:
    Remove the hoop from the machine; do not unhoop; trim the excess fabric away as close to the outlines as possible.

    (Click Image to Enlarge)


    Step 7:
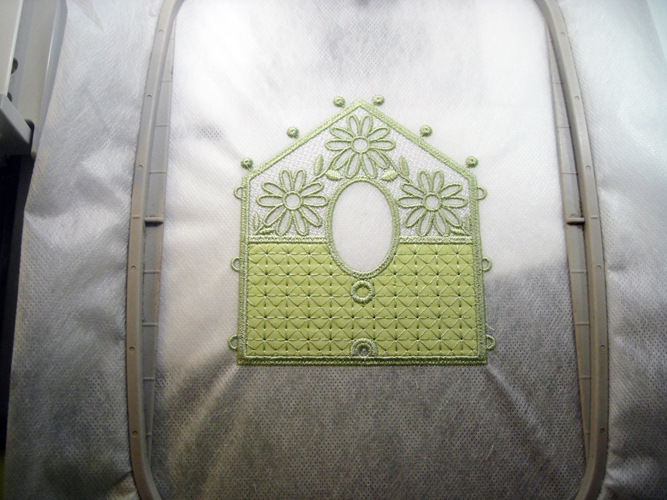
    Return your hoop to the machine; follow the color chart to complete the front of the birdhouse.

    (Click Image to Enlarge)


    Step 8:
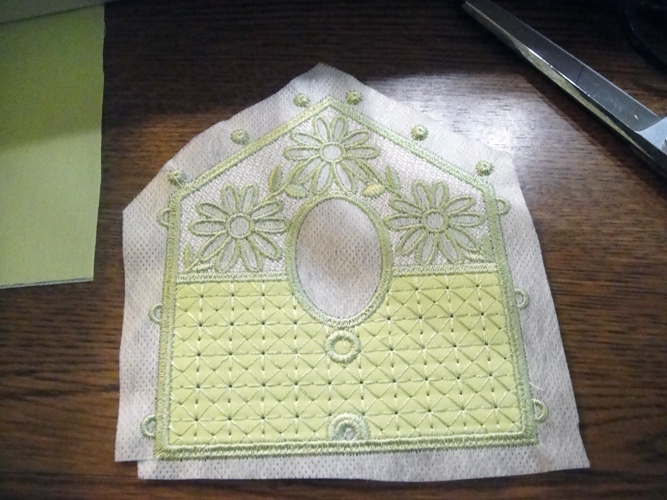
    Roughly cut away the excess stabilizer from around the design.

    (Click Image to Enlarge)


    Step 9:
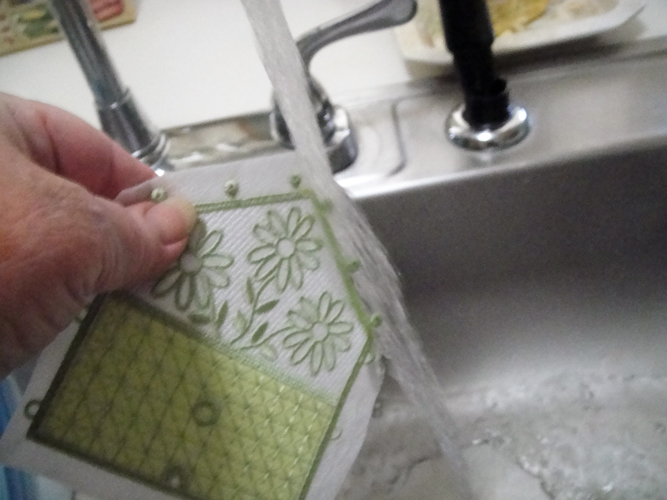
    Hold the piece under hot running water just long enough to remove the stabilizer from the holes and lace. Do not hold under the water too long, we want a lot of stabilizer to remain in the lace for stiffness; Lay the wet piece on a smooth cotton dish towel; blot away the excess water; smooth out to dry.

    (Click Image to Enlarge)


    Step 10:
    Load BH0302 for the back of the birdhouse into your machine; follow steps 3 through 9.


    Step 11:
    (Click Image to Enlarge)
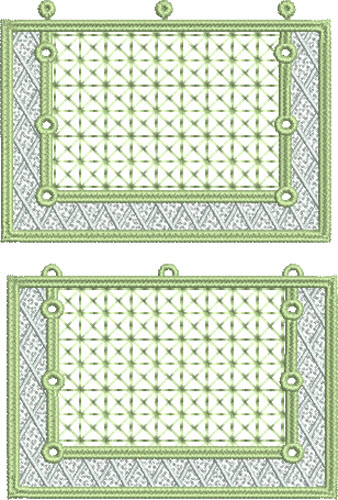
    Load BH0303; follow steps 3 through 7 twice as this file will complete one side of the house and then the second side.


    Step 12:
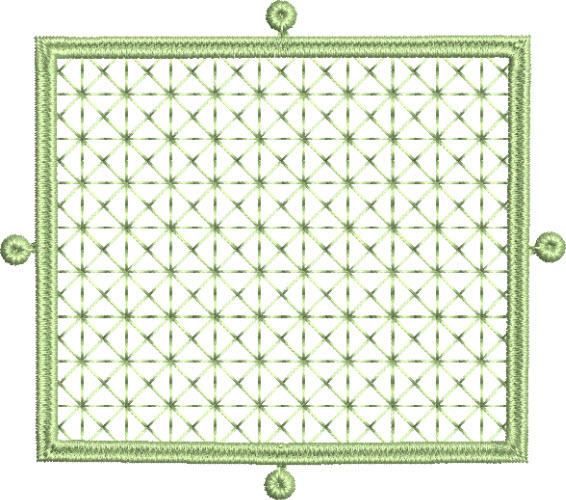
    Load BH0304 to make the floor; there is no white in this design so you may use the Bamboo green throughout the steps.

    (Click Image to Enlarge)


    Step 13:
    (Click Image to Enlarge)
    Load BH0305 for the two roof pieces; follow the color chart to stitch each roof piece in turn.


    Step 14:
    Allow all of the birdhouse sections to dry thoroughly, approximately three hours.

    (Click Image to Enlarge)


    Step 15:
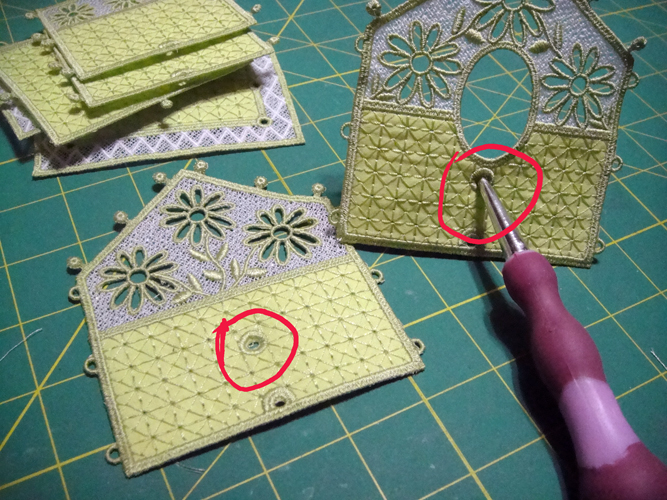
    With an awl open the two circles in the appliqued sections on both the front and back of the birdhouse.

    (Click Image to Enlarge)


    Step 16:
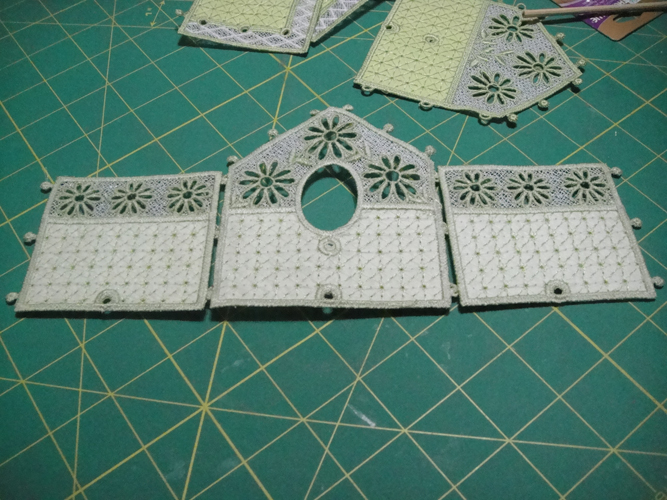
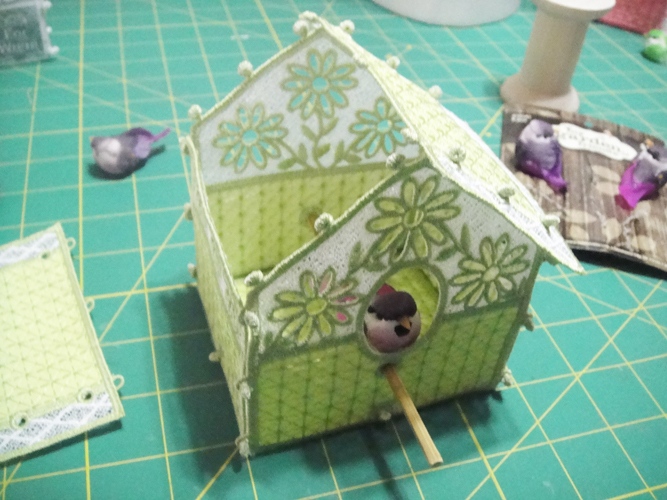
    Lay the font of the house and a side section face down on a protected work surface align the buttons over the loops on the side of the house; with the awl push the buttons through the loops; lay the second side alongside the front of the house and push the buttons through the loops; attach the back of the house to one of the sides in the same manner.

    (Click Image to Enlarge)


    Step 17:
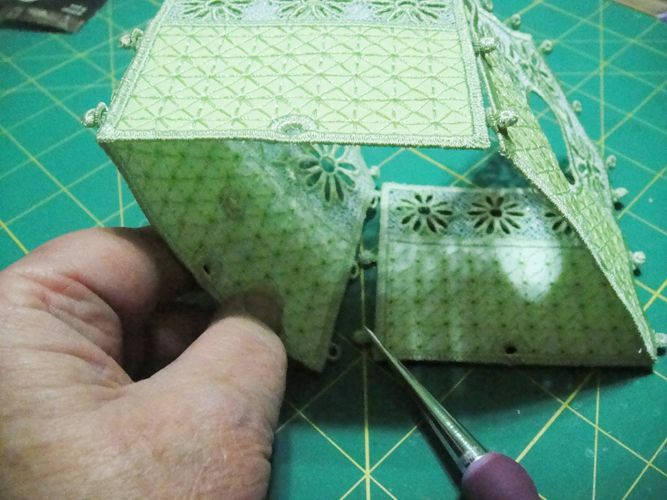
    Fold the house in half with the buttons of the back of the house on top and push the buttons through the loops on the remaining open side of the birdhouse.

    (Click Image to Enlarge)


    Step 18:
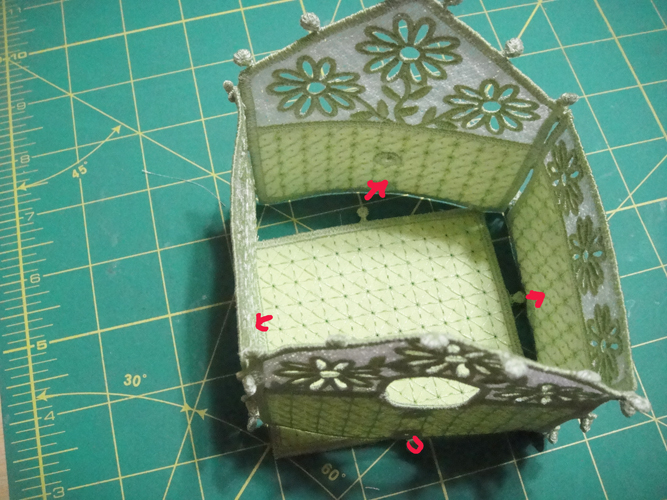
    Place the floor on your work surface right side up; push the buttons through the circles at the bottom of the inside of each house section.

    (Click Image to Enlarge)


    Step 19:
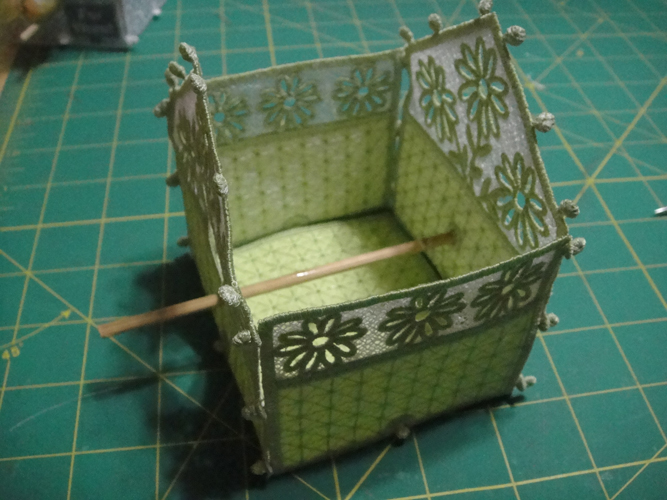
    Insert the 4.5” skewer through the small eyelets made in the appliqued sections of the front of the house and out through the corresponding eyelet in the back of the house. The skewer should protrude approximately ¼” from the back of the house.

    (Click Image to Enlarge)


    Step 20:
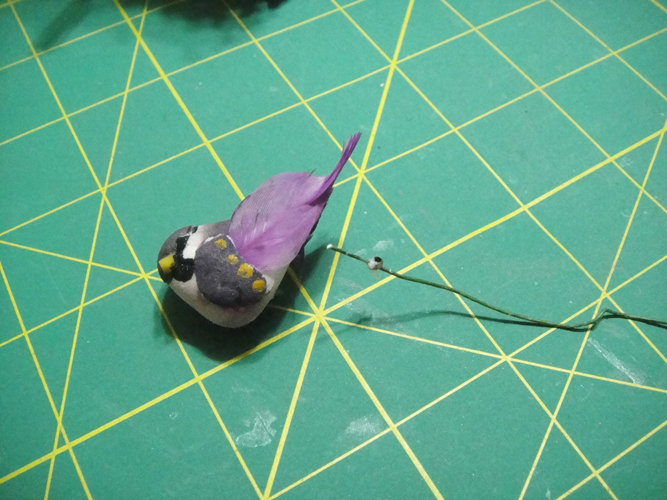
    Remove the wire from the bottom of a bird. Apply tacky glue to the bottom of the bird.

    (Click Image to Enlarge)


    Step 21:
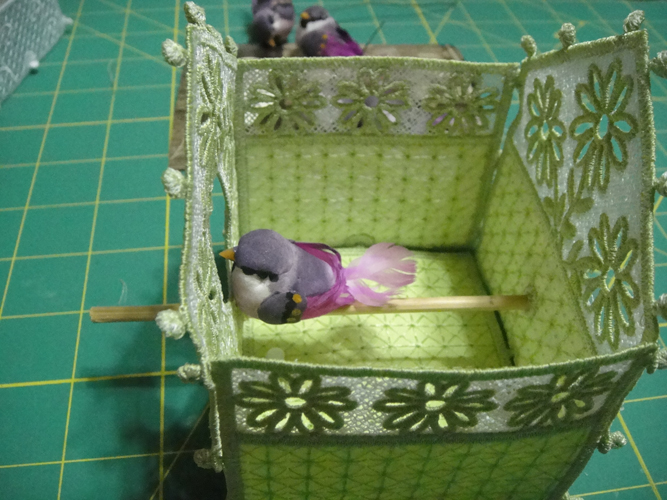
    Place the bird on the skewer inside the birdhouse so that he is looking out the door; allow to dry.

    (Click Image to Enlarge)


    Step 22:
    Lay a roof section face down and push the buttons on the house sides through the loops. Repeat on all sides of the roof sections.

    (Click Image to Enlarge)


    Step 23:
    After attaching the roof sides, push the buttons on top of the roof section though the loops on the second roof section.

    (Click Image to Enlarge)


    Step 24:
    Remove the wire from the bottom of three birds and glue two on the roof and one on the front perch. Congratulations your Two Story Birdhouse is complete!


    Step 25:
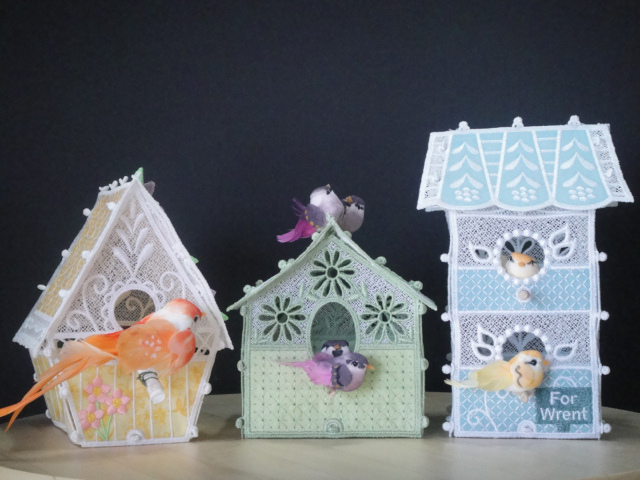
    Look at how cute it is sitting among our other birdhouse projects!

    (Click Image to Enlarge)


    For the love of embroidery…
    Pat Williams
    Meet the Author: Pat Williams
    Pat Williams
    Award winning Digitizer, Embroidery Educator, Author and a Consultant to the Industry, Pat Williams has 30 years of experience in the embroidery industry. Pat has won multiple awards for her digitizing expertise including the 2007 Impressions Awards Grand Championship, Best of Show as well as the 1st and 2nd Place Awards. Pat’s love of digitizing has afforded her the opportunity to write numerous articles for Impressions magazine in the United States and Images Magazine in Europe. In 2001 Pat was named “Embroidery Educator of the Year.” For many years Pat taught digitizing seminars at the ISS Shows in Long Beach, CA and for Compucon software. She now resides in Tucson, AZ.
    More From This Author
    Link is Broken, Please check the URL
    Exclusive Embroidery Offers!
    Copyright © {{ currentDate | date:'yyyy'}} - EmbroideryDesigns.com
    GET 50% OFF! ×