Border OptionsHugging border, circle, square, or rectangle — with a 3mm satin stitch.
Backing OptionsAvailable with iron-on, sew-on, or velcro backing.
Fast ShippingShipped quickly from the USA.
Free Online Tools
Powerful embroidery utilities that save time and prevent costly mistakes.
Stitch AssistantRECOMMENDED
Get the exact stabilizer, machine settings, needle, and thread color sequence for every embroidery design you purchase — based on that design's stitch density, dimensions, and color count.
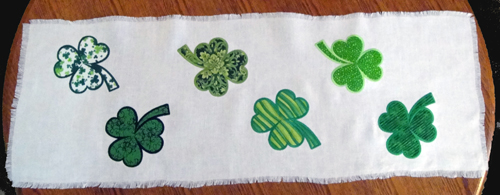
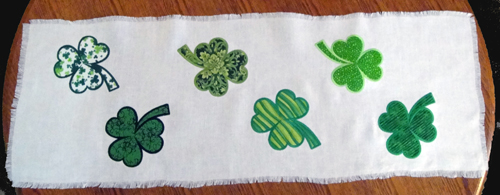
What could be more Irish than a linen shamrock table scarf to dress up your table for Saint Patrick’s Day? Use pre-cut or stitch and trim the simple appliques for this project.
Pre-wash the linen as you will want to be able to wash the final product without it shrinking. Press it with Magic Sizing or other spray starch afterwards to give it back some body. The larger of the shamrock designs, SMRK03, is used in this project but you can use both sizes of the shamrock appliques if desired.
Step 1:
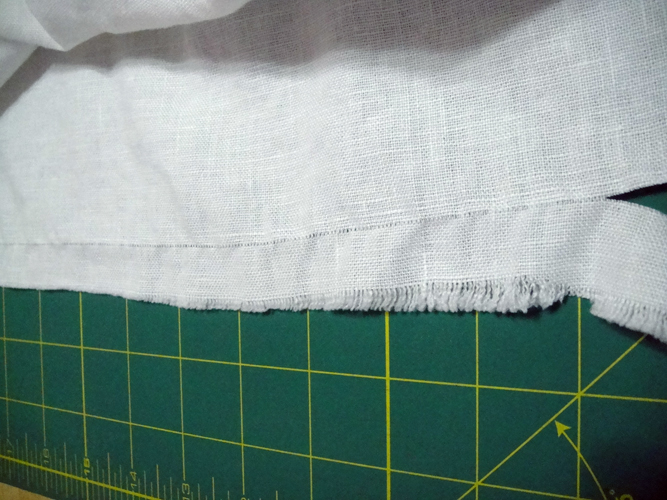
Snip the selvage and pull a thread across the width of the fabric to give yourself a straight of grain to cut the first side of the table scarf.
(Click Image to Enlarge)
Step 2:
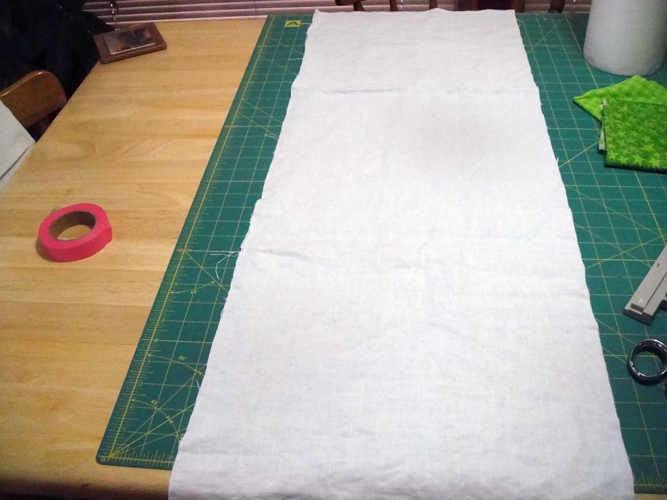
Measure over 14” from that edge and snip the selvage; pull a thread through and cut the second side of the table scarf; snip a crosswise thread on one end and pull a thread across the width of the table scarf to remove the selvage from the end; measure down 38” or desired length and repeat the pulled thread and cut off the final end of the table scarf.
(Click Image to Enlarge)
Step 3:
(Click Image to Enlarge)
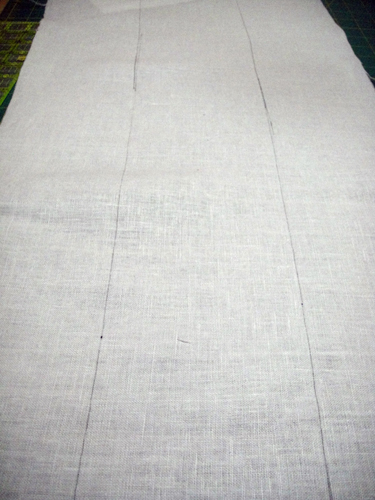
Mark two lines, each 4.5” from the lengthwise sides of the table scarf to give you a base as to where to place the center of the shamrocks.
Step 4:
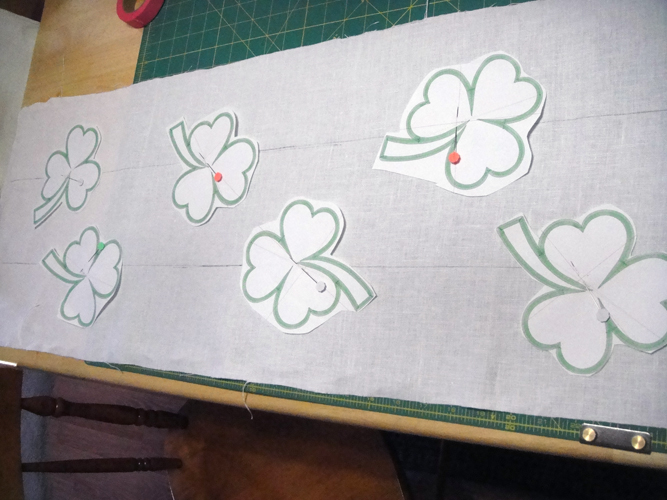
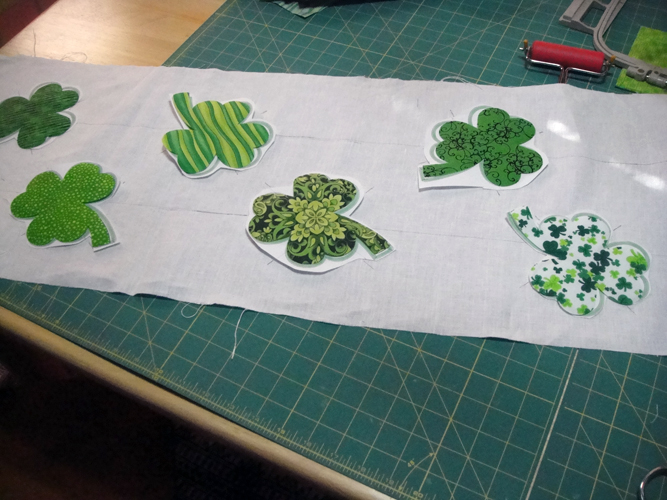
Print out six copies of the shamrock design. A random placement of the shamrocks was used in the sample - the end shamrocks are placed about 5 ½” from the bottom of the scarf; there is approximately 11” between the shamrocks in each row. Arrange and rotate the shamrocks in an arrangement pleasing to you.
(Click Image to Enlarge)
Step 5:
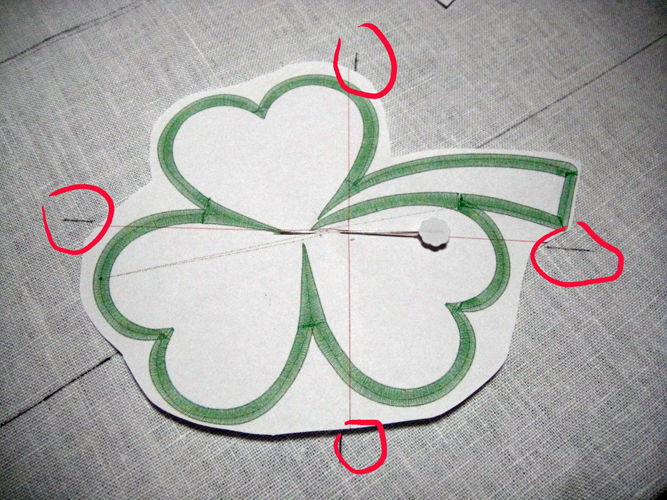
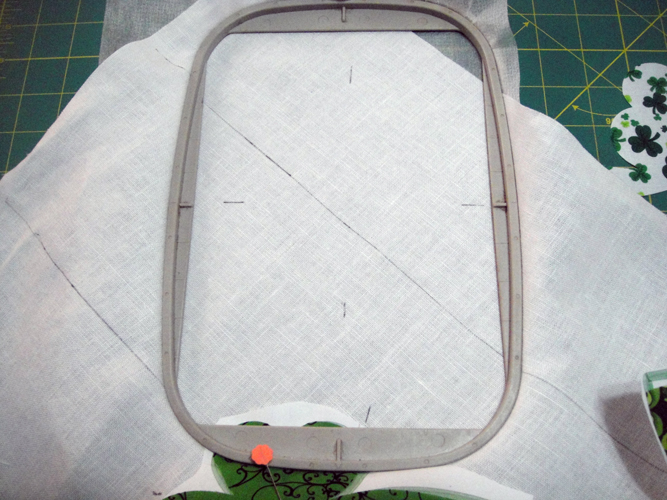
Mark the fabric at the end of the crosshairs printed on the templates to assist you when you hoop the fabric.
(Click Image to Enlarge)
Step 6:
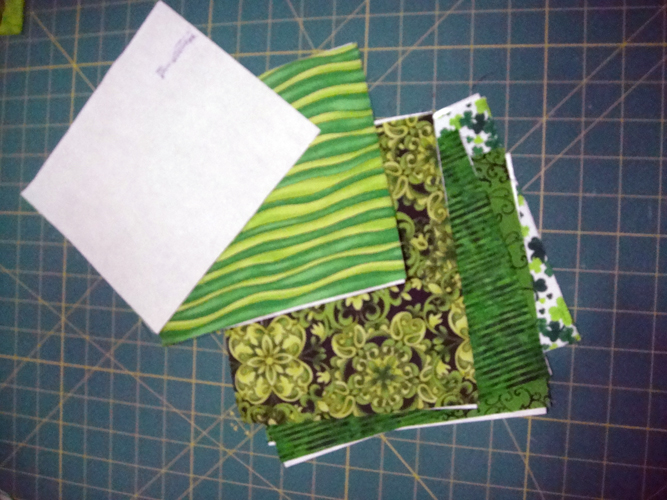
Prepare the 6 8” x 7” cotton fabrics for the appliques by ironing each 4 times with Magic Sizing to make them crisp; iron the Heat N Bond Lite to the wrong side of each fabric following the manufacturer’s instructions.
(Click Image to Enlarge)
Step 7:
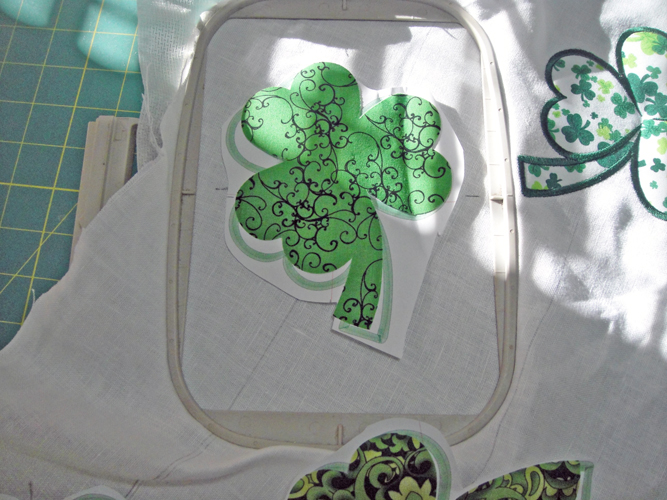
These precut appliques were cut with a Scan N Cut using a blade depth, speed and pressure set at 4. Each precut applique was pinned over the template to decide the best placement. If you are using the stitch and trim method just pin the rectangle of fabric over the templates. The pinned precut applique or fabric is left in place while each applique is sewn as follows.
(Click Image to Enlarge)
Step 8:
To avoid rotating the design for the stitching of each shamrock the fabric is rotated during the hooping process so that the marks made on the fabric align with the marks on the hoop. Place a full sheet of poly-mesh stabilizer in the hoop and place the fabric so that the marks you made on the sides of the shamrock align with the side marks of the hoop and the marks you made at the top and bottom of the shamrock align with the top and bottom marks on the hoop.
(Click Image to Enlarge)
Step 9:
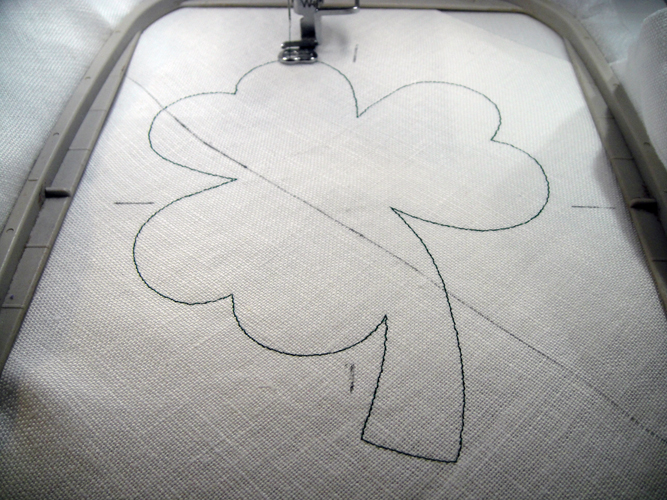
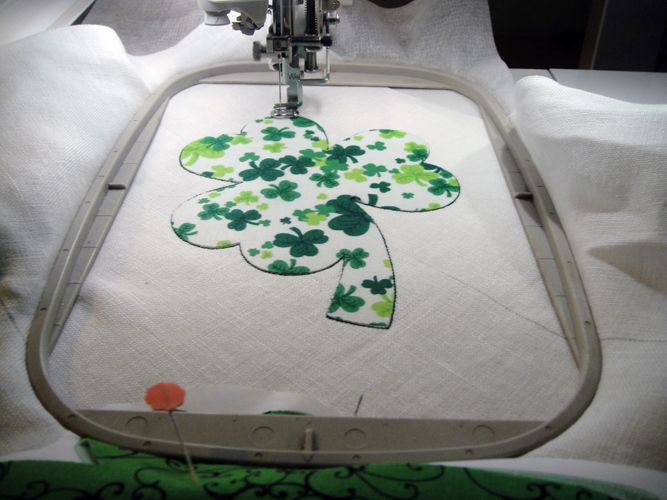
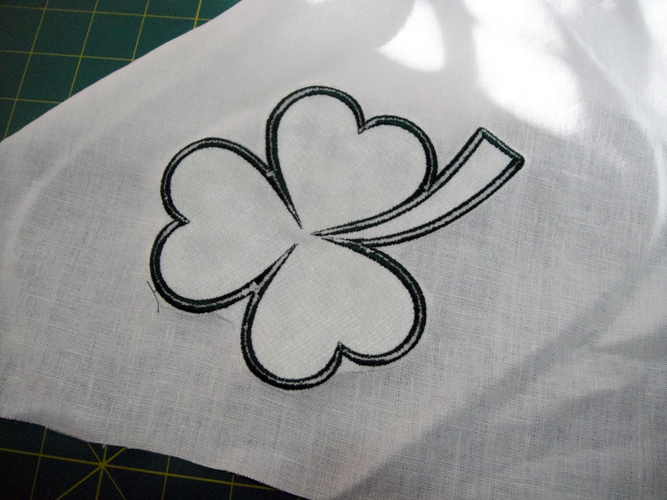
Load the design into the machine. The first color stop (CS) is a placement line for the applique.
(Click Image to Enlarge)
Step 10:
If using precut appliques iron the applique into place; if using the stitch and trim method spray a little adhesive on the applique fabric and place over the outlines – do not iron the applique until after you trim the applique in the next step.
(Click Image to Enlarge)
Step 11:
CS 2 is the tack down line, it is really not needed if you are using precut appliques but run it anyway as it will let you know that your applique is in the correct position; stitch and trim method users run CS 2 then trim your applique right next to the tack down stitches and then press your applique.
(Click Image to Enlarge)
Step 12:
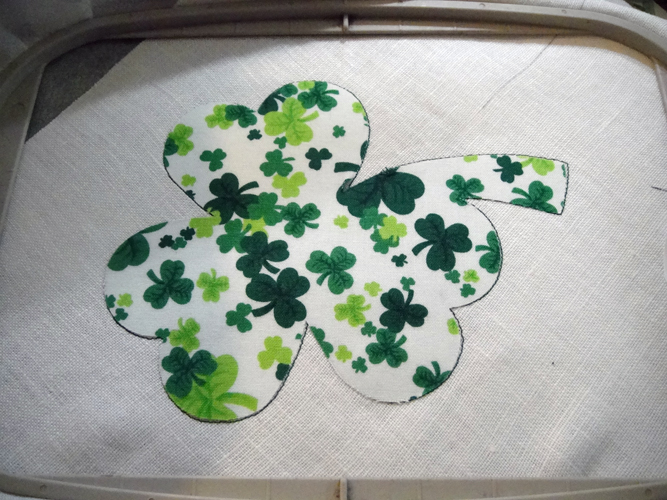
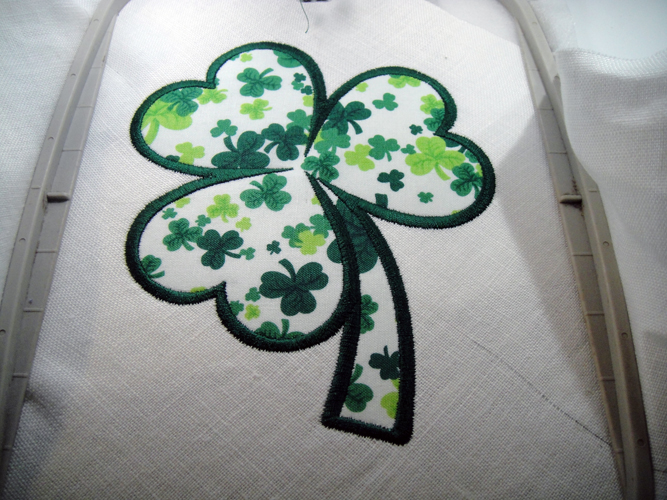
Run CS 3 for the border and detail on the applique.
(Click Image to Enlarge)
Step 13:
Trim the poly-mesh stabilizer away from the back of the applique as close as possible.
(Click Image to Enlarge)
Step 14:
Repeat Steps 8 through 13 five times to complete the embroidery.
(Click Image to Enlarge)
Step 15:
(Click Image to Enlarge)
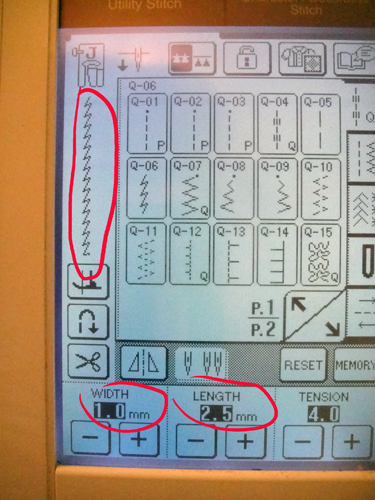
Select a small close zigzag on your sewing machine; place thread in the machine and bobbin to match your base fabric.
Step 16:
(Click Image to Enlarge)
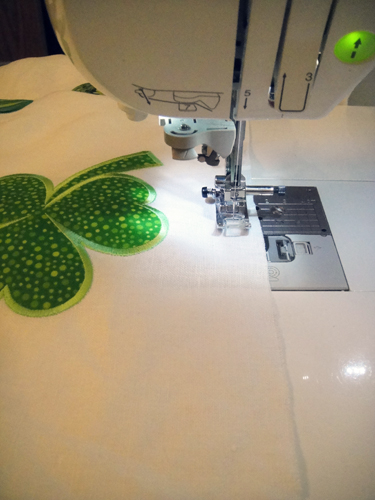
Depending on how close your shamrocks are to edges of your table scarf stitch ½” to 1” all around the scarf pivoting at the corners. How wide your seam allowance is determines how deep your fringe will be.
Step 17:
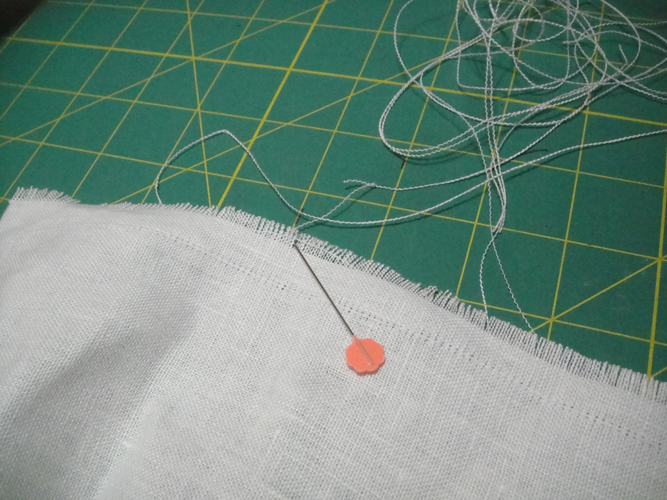
Using a straight pin to assist you one by one lift the threads from the edges of the table scarf to create the fringe.
(Click Image to Enlarge)
Step 18:
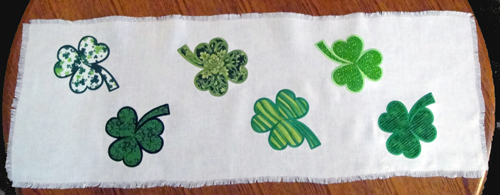
Congratulations your Shamrock Table Scarf is complete!
Award winning Digitizer, Embroidery Educator, Author and a Consultant to the Industry, Pat Williams has 30 years of experience in the embroidery industry. Pat has won multiple awards for her digitizing expertise including the 2007 Impressions Awards Grand Championship, Best of Show as well as the 1st and 2nd Place Awards. Pat’s love of digitizing has afforded her the opportunity to write numerous articles for Impressions magazine in the United States and Images Magazine in Europe. In 2001 Pat was named “Embroidery Educator of the Year.” For many years Pat taught digitizing seminars at the ISS Shows in Long Beach, CA and for Compucon software. She now resides in Tucson, AZ.