Live Chat
Embroidery Designs
Welcome, Embroiderer
Login
Retro 50’s Linen Stole
{{mainImageAlt || (productInfo._source && productInfo._source.name) || ''}}

Retro 50’s Linen Stole Embroidery Project

By   Pat Williams   on   February 16, 2016
  • SKILL LEVELIntermediate
  • TIME REQUIRED04:00
  • FINISHED SIZE73 x 12 inches
Description

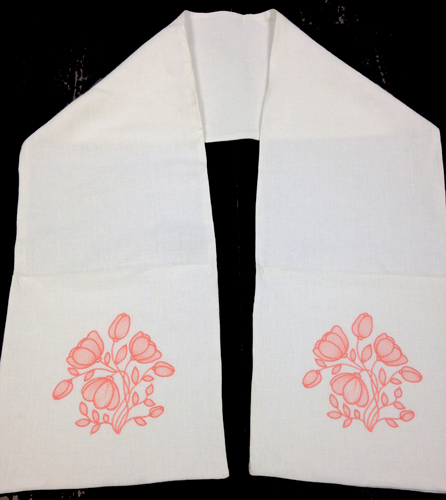
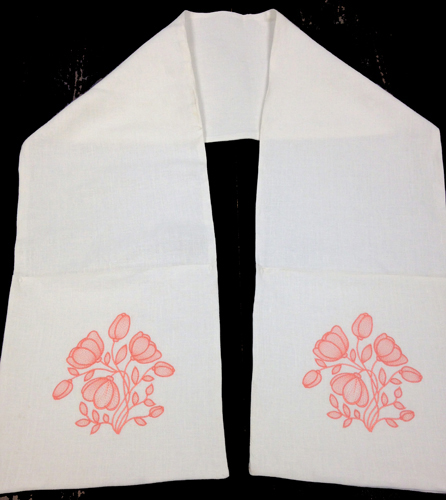
Elegant and easy to stitch up for Easter, a wedding, or as a great Mother’s Day gift. This linen stole is easy to wear with embroidered pockets on the ends to hold it in place.

Step of

Materials

Project Preview Video

Materials
  • 2 ¼ yards white linen
  • ½ yard polyester lining
  • Poly-mesh stabilizer
  • Frixion pen
  • Spray Adhesive
  • Magic Sizing or spray starch
  • Sewing thread to match fabric
  • Embroidery thread color of your choice

  • Designs used in this project

    Final Product: What You Will Create

    Preface:
    Besides being beautiful to wear this linen stole will be a useful accessory to carry with you to protect your shoulders from drafts and excessive air conditioning wherever you go. The 73” length presented is a “petite” length. You may wish to make yours a little longer if you are over 5’4”. Adjust the length accordingly. Stand with your hands down straight at your sides and have someone measure from two inches below your fingertips; across your back; and down two inches below your other hand.


    Step 1:
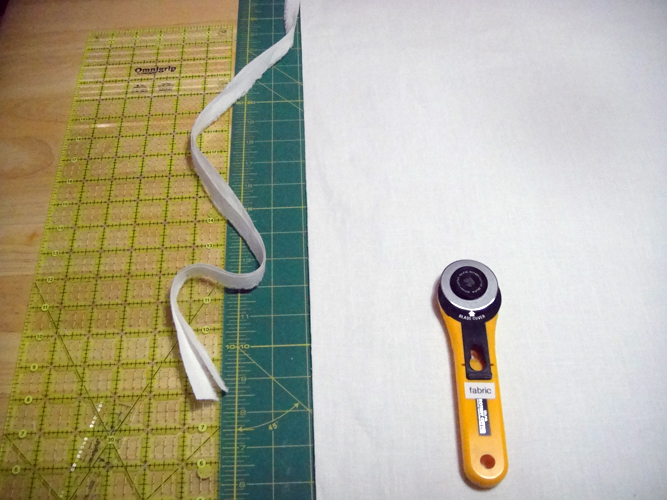
    Prewash the linen fabric and press with Magic Sizing or spray starch; remove the selvages.

    (Click Image to Enlarge)


    Step 2:
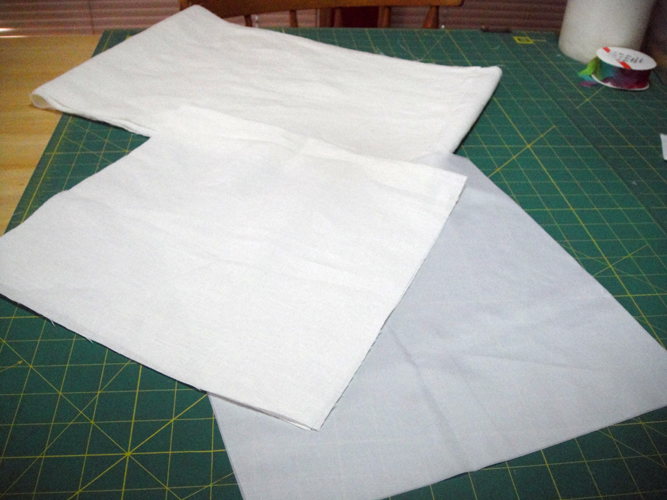
    Cut two 13” panels the length of the linen; cut two linen squares 13” x 13”; cut two polyester lining squares 13” x 13”.

    (Click Image to Enlarge)


    Step 3:
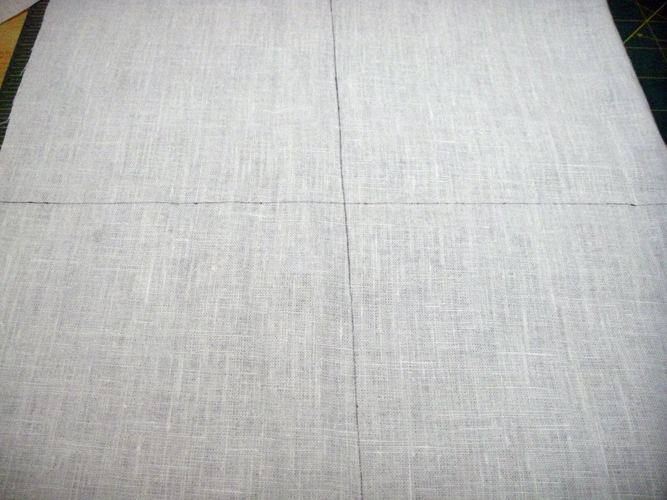
    Mark the 13” x 13” pocket linen pieces with a removable fabric pen across the horizontal and vertical centers.

    (Click Image to Enlarge)


    Step 4:
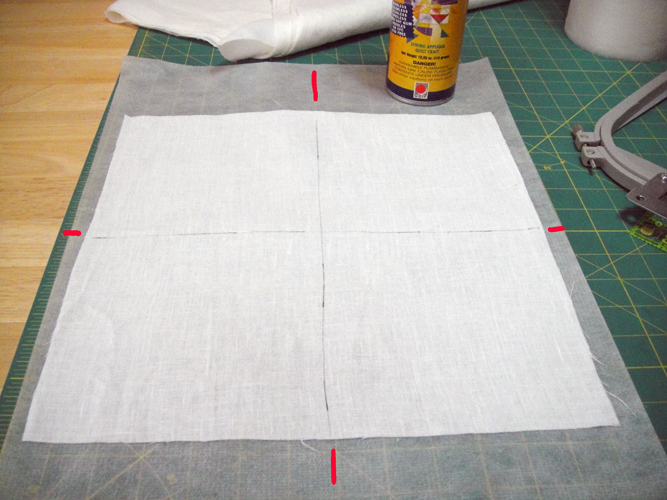
    Cut poly-mesh stabilizer in the size required for your hoop; spray the linen squares with adhesive and center on the stabilizer. Tip: Since you can see through the stabilizer use the lines on your cutting mat to help center the linen on the stabilizer.

    (Click Image to Enlarge)


    Step 5:
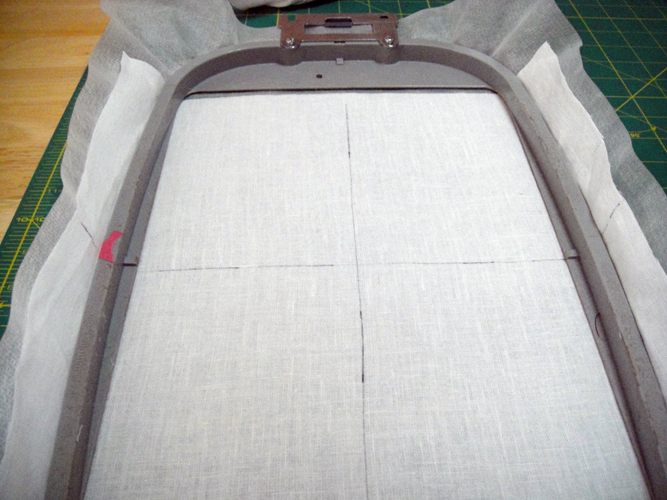
    Hoop the pocket aligning the marks on the fabric with the marks on your hoop. A 12” x 8” hoop is used in this pictures but this design should fit in a 12” x 7” hoop. Of course you can use smaller designs if you don’t have hoops that large.

    (Click Image to Enlarge)


    Step 6:
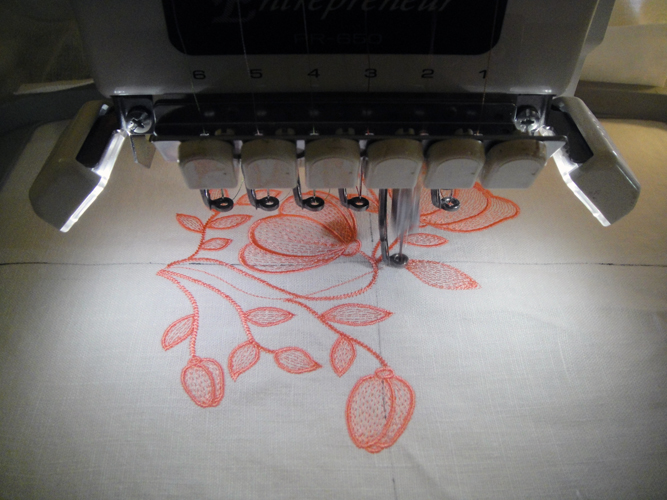
    Load CNTF01 into your machine and stitch in your favorite color.

    (Click Image to Enlarge)


    Step 7:
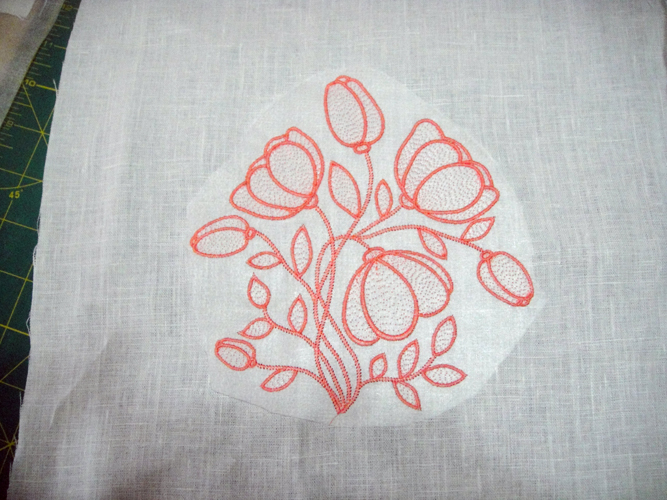
    Trim the poly mesh stabilizer from around the embroidered design.

    (Click Image to Enlarge)


    Step 8:
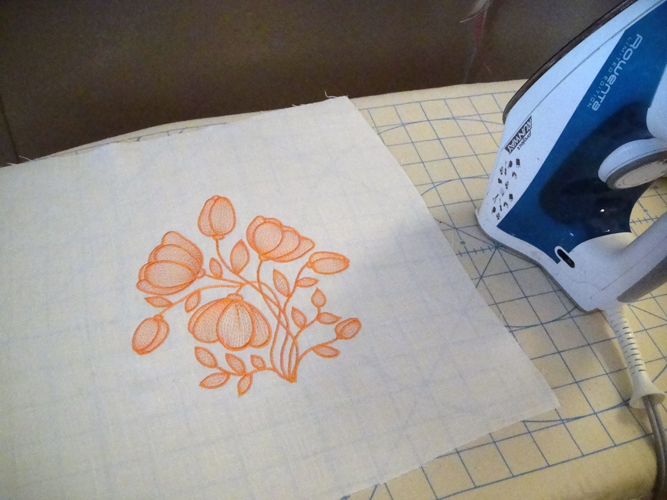
    Press the completed pocket to remove the Frixion pen lines; repeat Steps 4 through 8 to complete the second pocket.

    (Click Image to Enlarge)


    Step 9:
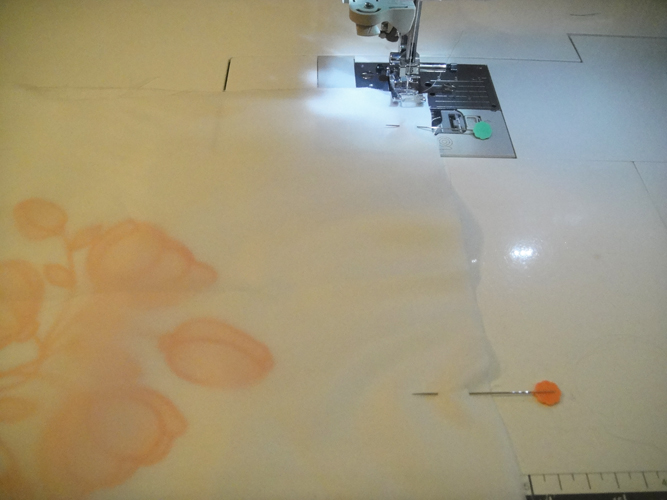
    Pin a lining square over the top of the embroidered pocket and stitch with a ½” seam allowance across the top of the pocket.

    (Click Image to Enlarge)


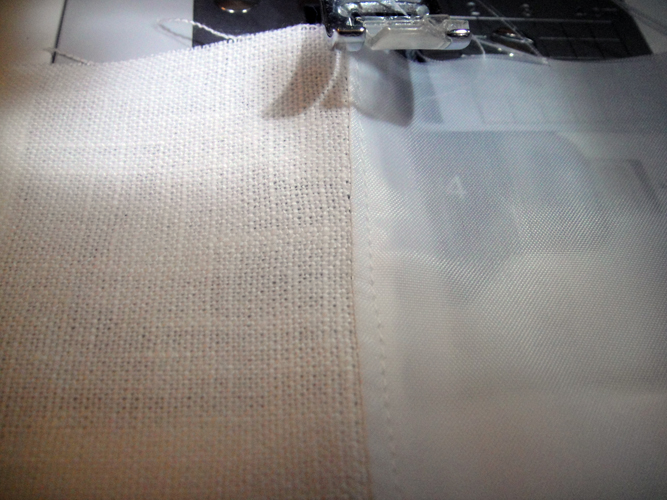
    Step 10:
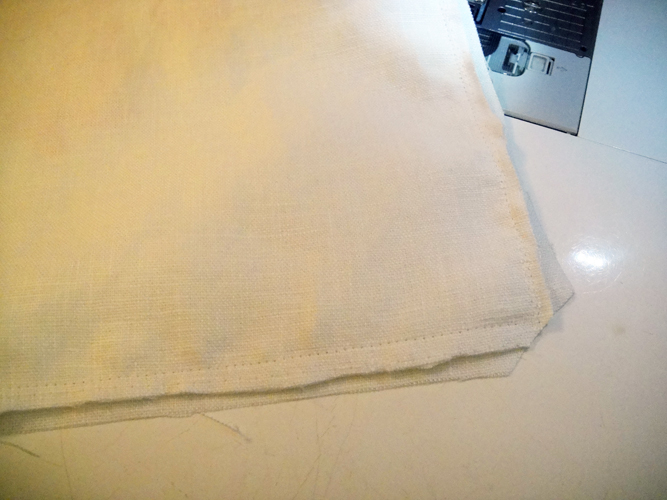
    Grade the seam allowance; press the seam allowances to the lining side and understitch.

    (Click Image to Enlarge)


    Step 11:
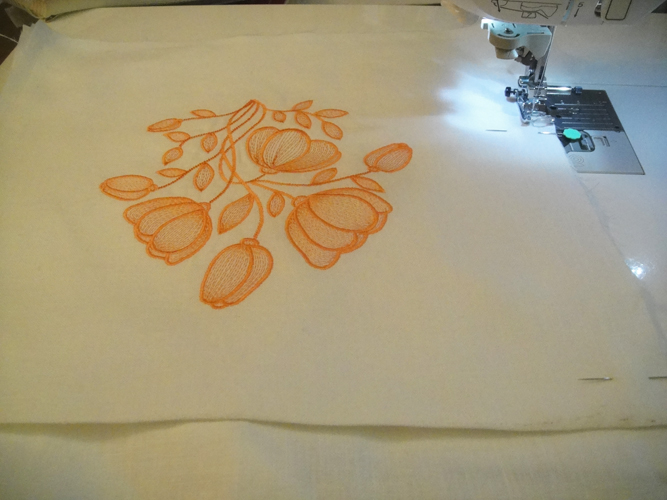
    Check and trim the length of your stole panels before adding the pockets.  Pin the pockets to each end of the stole front and machine baste in place around the edges of the pockets.

    (Click Image to Enlarge)


    Step 12:
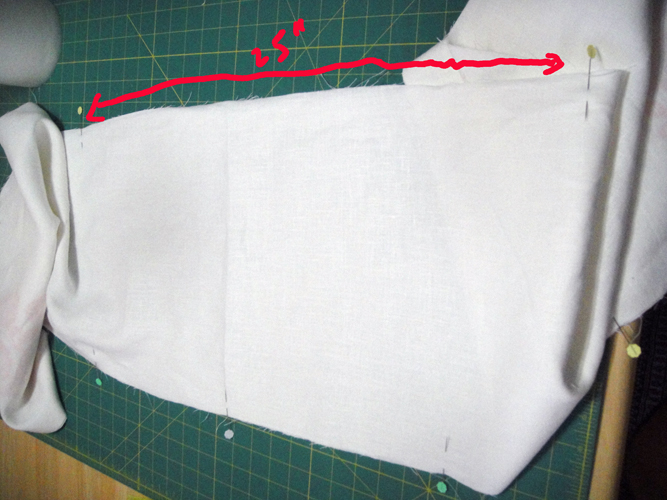
    Pin the stole lining to the right side of the stole and stitch around with a ½” seam allowance leaving an opening of 25” unstitched on a long side.

    (Click Image to Enlarge)


    Step 13:
    Grade the seam allowance on the stitched seams and trim the corners.

    (Click Image to Enlarge)


    Step 14:
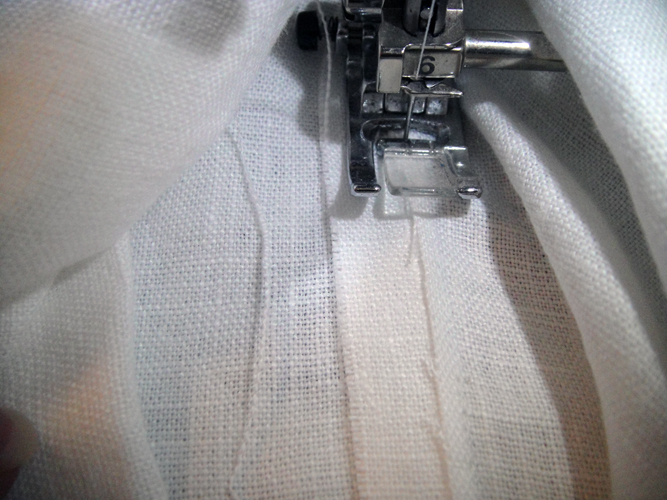
    Working within the large opening left unstitched, understitch the seam allowances to the lining as far as possible.

    (Click Image to Enlarge)


    Step 15:
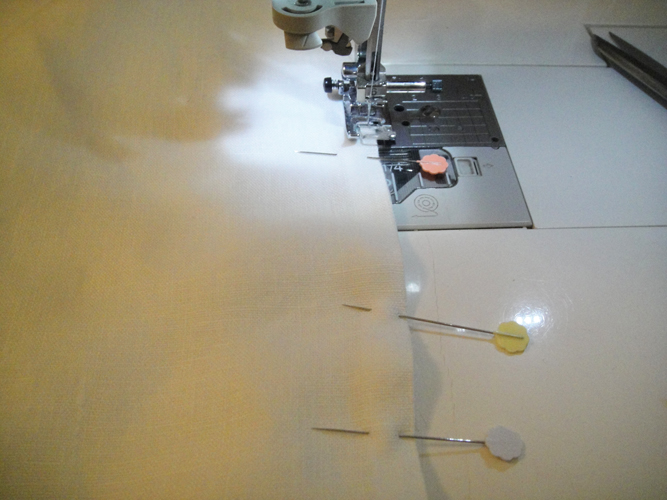
    Turn the stole right side out; pin and edgestitch the opening closed.

    (Click Image to Enlarge)


    Step 16:
    (Click Image to Enlarge)
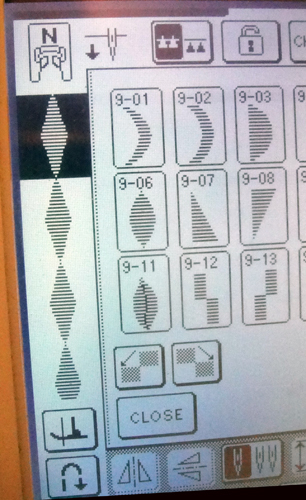
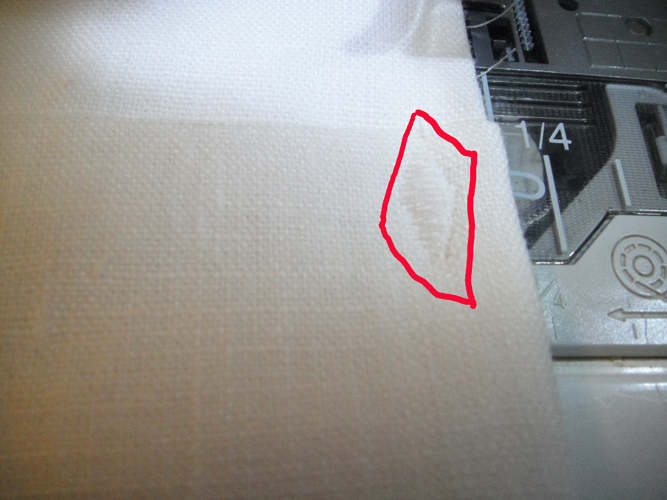
    You can use a zigzag or any stitch but I selected a satin stitch pattern to make a tack down on the top edges of the corners of the pockets.


    Step 17:
    Place a tack down as described in Step 16 ½” in from the top outer edge of each side of the pockets; iron your finished project.

    (Click Image to Enlarge)


    Step 18:
    Congratulations your Retro 50’s linen stole is complete!

    For the love of embroidery…
    Pat Williams
    Meet the Author: Pat Williams
    Pat Williams
    Award winning Digitizer, Embroidery Educator, Author and a Consultant to the Industry, Pat Williams has 30 years of experience in the embroidery industry. Pat has won multiple awards for her digitizing expertise including the 2007 Impressions Awards Grand Championship, Best of Show as well as the 1st and 2nd Place Awards. Pat’s love of digitizing has afforded her the opportunity to write numerous articles for Impressions magazine in the United States and Images Magazine in Europe. In 2001 Pat was named “Embroidery Educator of the Year.” For many years Pat taught digitizing seminars at the ISS Shows in Long Beach, CA and for Compucon software. She now resides in Tucson, AZ.
    More From This Author
    Link is Broken, Please check the URL
    Exclusive Embroidery Offers!
    Copyright © {{ currentDate | date:'yyyy'}} - EmbroideryDesigns.com
    GET 50% OFF! ×