Border OptionsHugging border, circle, square, or rectangle — with a 3mm satin stitch.
Backing OptionsAvailable with iron-on, sew-on, or velcro backing.
Fast ShippingShipped quickly from the USA.
Free Online Tools
Powerful embroidery utilities that save time and prevent costly mistakes.
Stitch AssistantRECOMMENDED
Get the exact stabilizer, machine settings, needle, and thread color sequence for every embroidery design you purchase — based on that design's stitch density, dimensions, and color count.
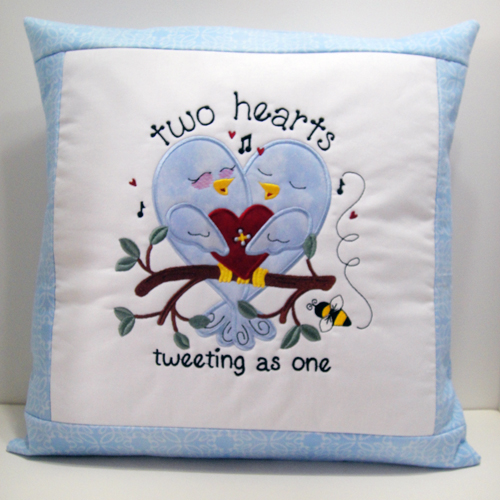
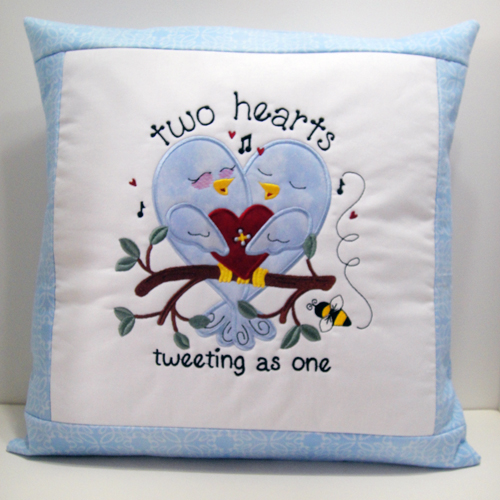
This charming pillow features two hearts and tweeting birds, perfect for young sweethearts. Ideal for adding a touch of love to any room. Appliques can be pre-cut using a cutting machine or with the stitch and trim method. Step-by-step instructions are included.
Due to the large, but simple center design and the envelope back this pillow is quick to make up for your favorite young sweethearts.
Step 1:
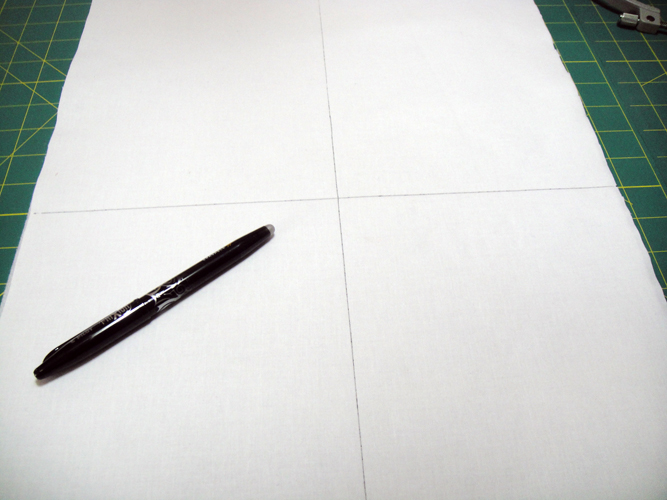
Cut white Kona® cloth and Pellon fusible fleece 14” x 20”; fuse the fleece to the Kona cloth following the manufacturer’s instructions; mark vertical and horizontal centers with a Frixion or other removable marking pen.
(Click Image to Enlarge)
Step 2:
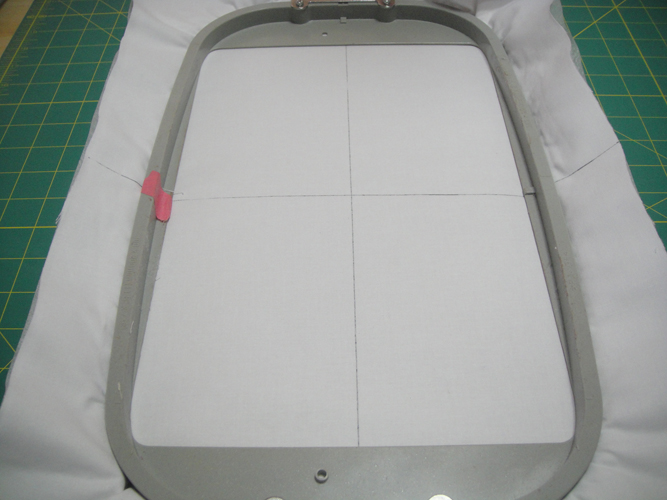
Hoop the fused Kona®/fleece fabric on top of a sheet of poly-mesh stabilizer in a 12”x 8” hoop aligning your marks with the marks on the hoop.
(Click Image to Enlarge)
Step 3:
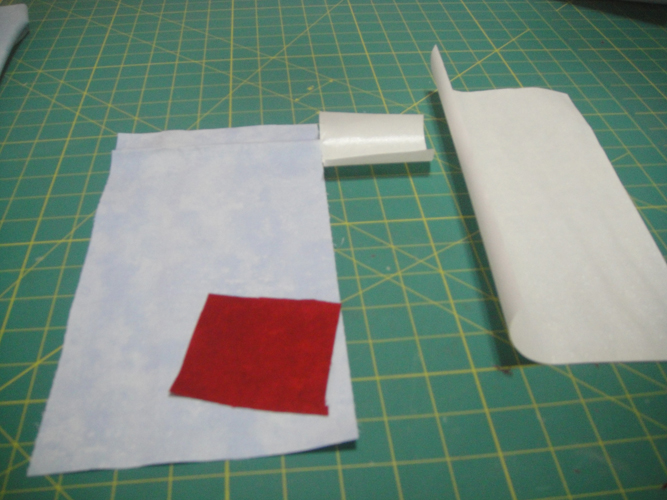
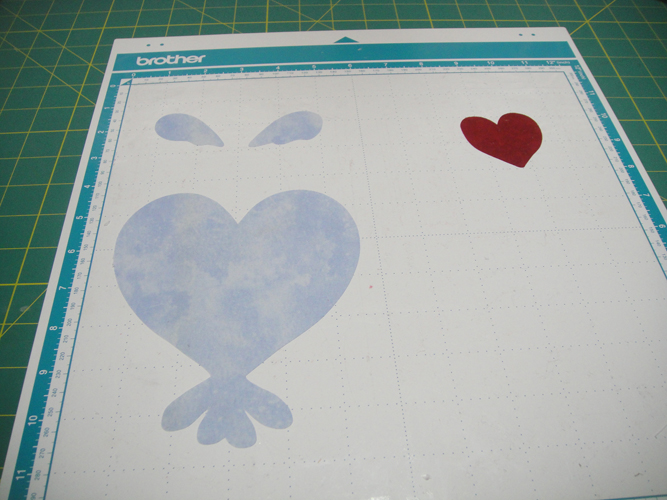
Cut an 11” x 6” rectangle of marbled light blue for the birds and wings applique and a 3” square of red cotton for the heart applique; cut matching size pieces of Heat N Bond Lite®.
(Click Image to Enlarge)
Step 4:
Iron the applique fabrics 3 or 4 times with Magic Sizing; following the manufacturer’s instructions apply the Heat N Bond Lite® to the back of the applique fabrics; if using the stitch and trim method stop here; if using a cutting machine use the svg or fcm files to pre-cut your applique pieces.
(Click Image to Enlarge)
Step 5:
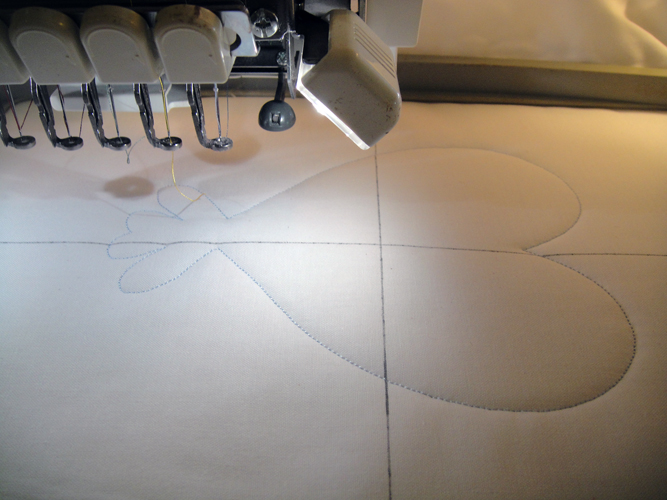
Run color stop (CS 1) to stitch a placement line for the birds applique.
(Click Image to Enlarge)
Step 6:
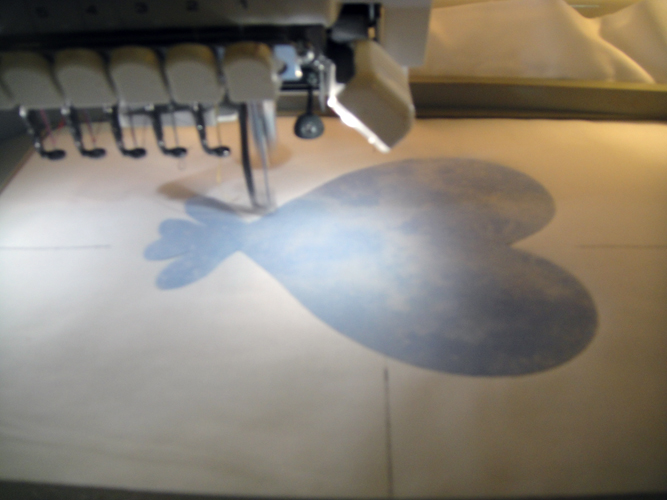
If using pre-cut appliques iron the applique in place; if using the stitch and trim method spray your fabric back with adhesive and place over the outlines; run CS 2 as a tack down line and trim the fabric right up next to the tack down stitches; press the appliques to the fabric after trimming. If using precut appliques the tack down stitches will just let you know that your applique is in the correct place.
(Click Image to Enlarge)
Step 7:
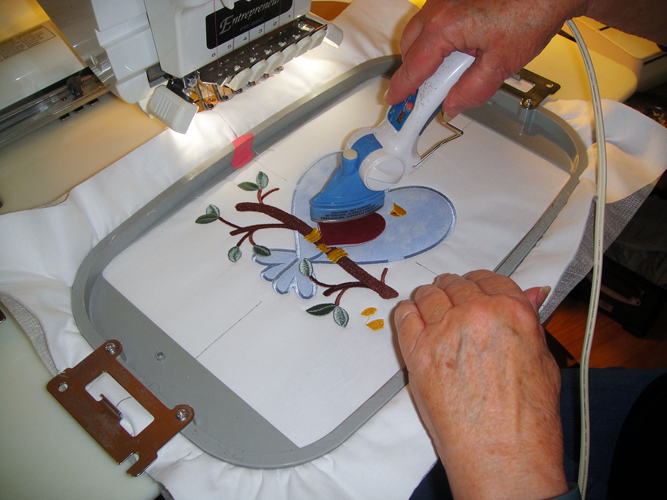
Follow the color charts for CS 3 through CS 8 for embroidering of the tree branch, feet, etc. CS 9 is a placement line for the heart applique; apply the heart applique as you did in step 6 depending upon your chosen method; run CS 10 is the tack down for the heart and it will be bordered with CS 11.
(Click Image to Enlarge)
Step 8:
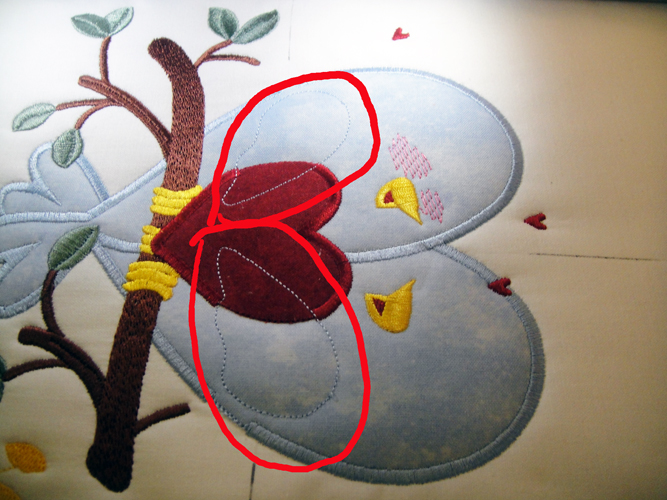
CS 12 is the placement line for both wings; place the appliques with your chosen method; CS 13 is the tack down for both wings and CS 14 will border both wings. Follow the remaining CS 15 through CS 20 to complete the embroidery.
(Click Image to Enlarge)
Step 9:
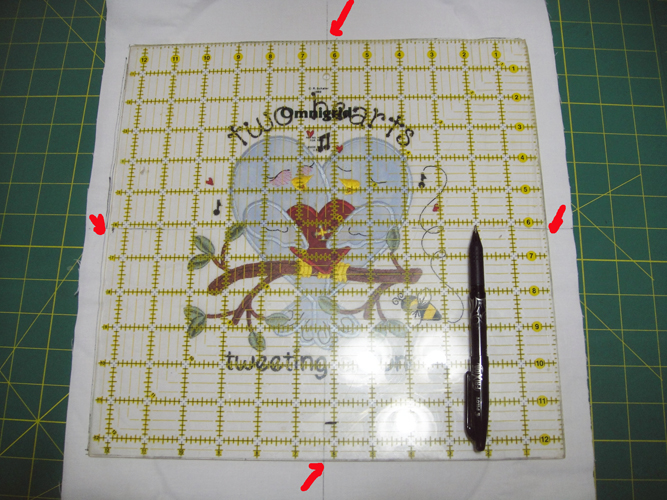
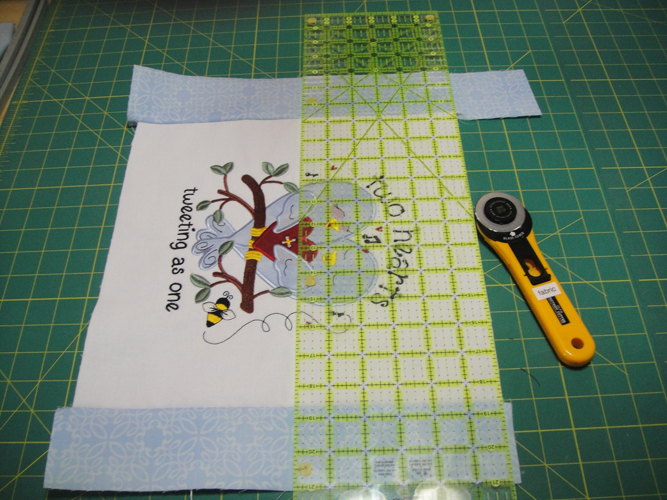
Align a 12.5” see through quilt block template at the 6.25” lines on the top and sides to trim your embroidery block down to a 12.5” square. I actually drew the lines around the template and then trimmed them off with a longer quilt ruler.
(Click Image to Enlarge)
Step 10:
(Click Image to Enlarge)
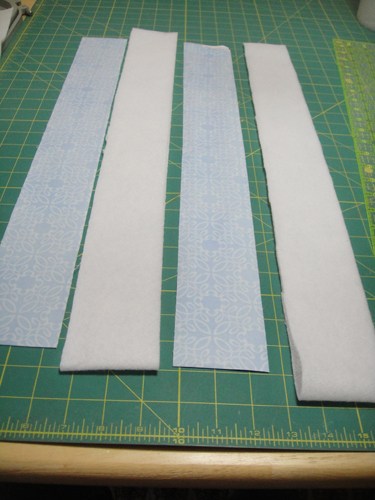
Cut two 2.75” strips of fabric across the width of the fabric and two fusible Pellon fleece strips 2.75” wide; fuse the Pellon fusible fleece strips to the wrong side of the fabric strips following the manufacturer’s instructions.
Step 11:
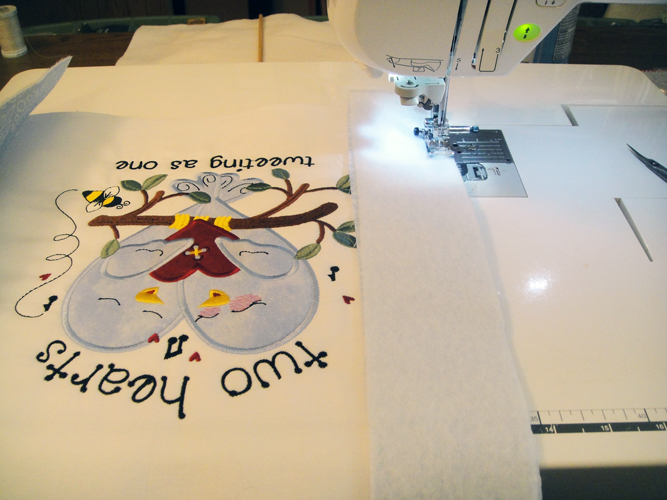
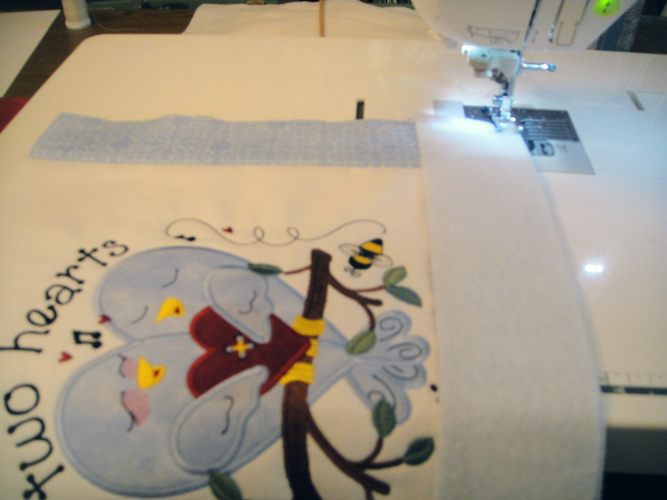
Lay a fused border strip face down on one side of the center block and stitch with a ¼” seam; repeat for the other side of the center block.
(Click Image to Enlarge)
Step 12:
Press the seams toward the borders; trim the borders at the top and bottom edges to be level with the center block.
(Click Image to Enlarge)
Step 13:
Add remaining border strips to the top and bottom of the center block with a ¼” seam; press the seams to the outside.
(Click Image to Enlarge)
Step 14:
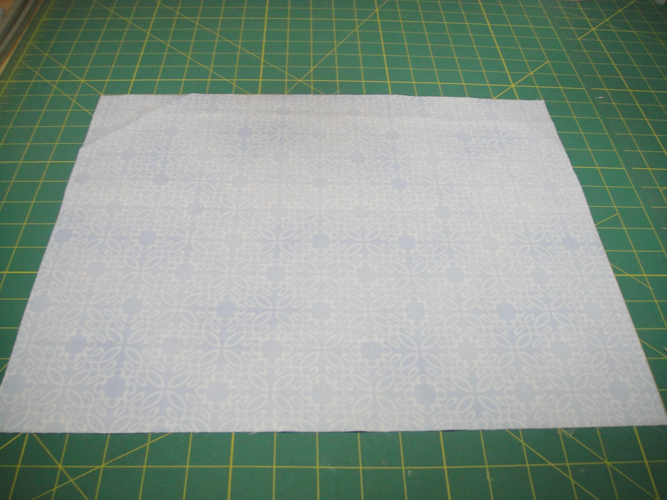
Cut two 17” x 14” rectangles of blue print fabric for the pillow backs.
(Click Image to Enlarge)
Step 15:
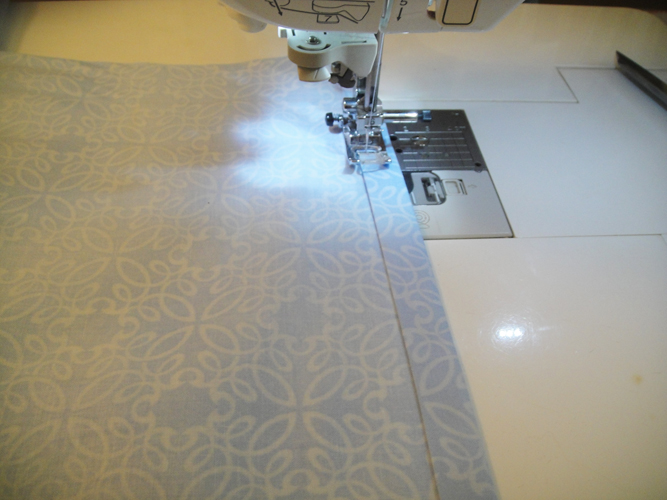
Fold and press ½” of a 17” edge of each back piece and then fold over ½” again; press and stitch a hem.
(Click Image to Enlarge)
Step 16:
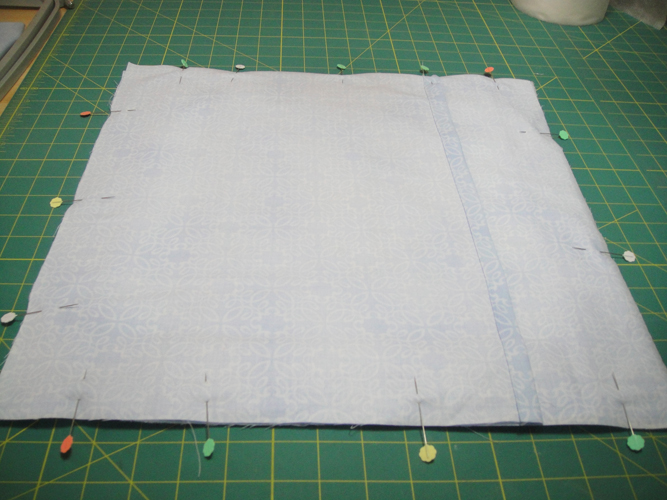
Lay both back pieces overlapping the hemmed edges on the pillow top right sides together; pin around the whole pillow top. Stitch all around the pillow top with a ½” seam.
(Click Image to Enlarge)
Step 17:
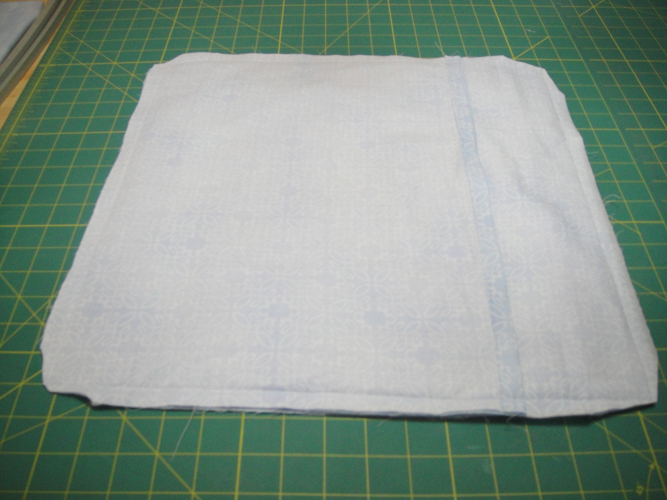
Trim all four corners and turn the pillow top right side out; push out the corners with a point turner.
(Click Image to Enlarge)
Step 18:
Insert the pillow form. Congratulations your Two Hearts Tweeting as One pillow is complete!
Award winning Digitizer, Embroidery Educator, Author and a Consultant to the Industry, Pat Williams has 30 years of experience in the embroidery industry. Pat has won multiple awards for her digitizing expertise including the 2007 Impressions Awards Grand Championship, Best of Show as well as the 1st and 2nd Place Awards. Pat’s love of digitizing has afforded her the opportunity to write numerous articles for Impressions magazine in the United States and Images Magazine in Europe. In 2001 Pat was named “Embroidery Educator of the Year.” For many years Pat taught digitizing seminars at the ISS Shows in Long Beach, CA and for Compucon software. She now resides in Tucson, AZ.