{{superHeaderAds.title}}
Live Chat
Embroidery Designs
Welcome, Embroiderer
Login
Playtime Tea Party Placemats
{{mainImageAlt || (productInfo._source && productInfo._source.name) || ''}}

Playtime Tea Party Placemats Embroidery Project

By   Ramona Baird   on   January 03, 2016

PROJECT DETAILS

SKILL LEVEL
Some Experience
TIME REQUIRED
05:30
Description

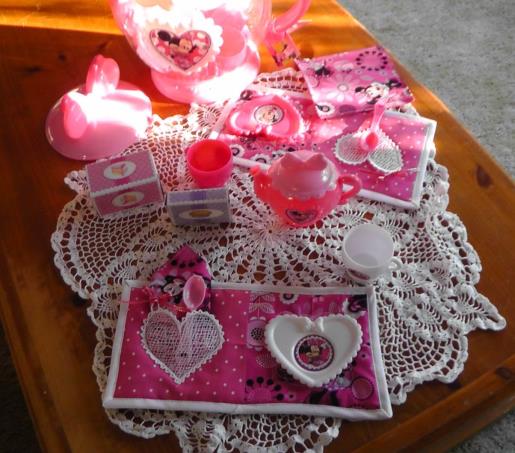
Delight a little girl and her friends with a set of “Playtime Placemats” for an imaginary tea party.

Project Preview Video

Materials
  • Note: amounts given for one placemat and napkins set
  • Tea Set (purchased at the Disney Store)
  • Fabrics to coordinate with tea set
  • 2- 6” x 6” Minnie Mouse themed fabric
  • 1- 7” x 13” Minnie Mouse themed fabric
  • 2- 6” x 6” pink and white dot fabric
  • White bias binding
  • 12” 1/8” ribbon to coordinate with fabric
  • 7” x 13” cotton batting
  • Embroidery thread to coordinate with fabrics
  • Fibrous water soluble stabilizer
  • Small antique doily or table cloth

  • Designs used in this project

    Final Product: What You Will Create

    Preface:
    The amount of fabric and binding will depend upon the tea set chosen. Purchase the tea set then layout the tea set pieces as if setting up a service. Plan the finished size of the placemat and purchase the fabrics for as many placemats as needed for a tea party play time. Also purchase fabrics for matching napkins. The amount of fabrics given in the materials list is for one placemat and one napkin for the project shown.


    Step 1:
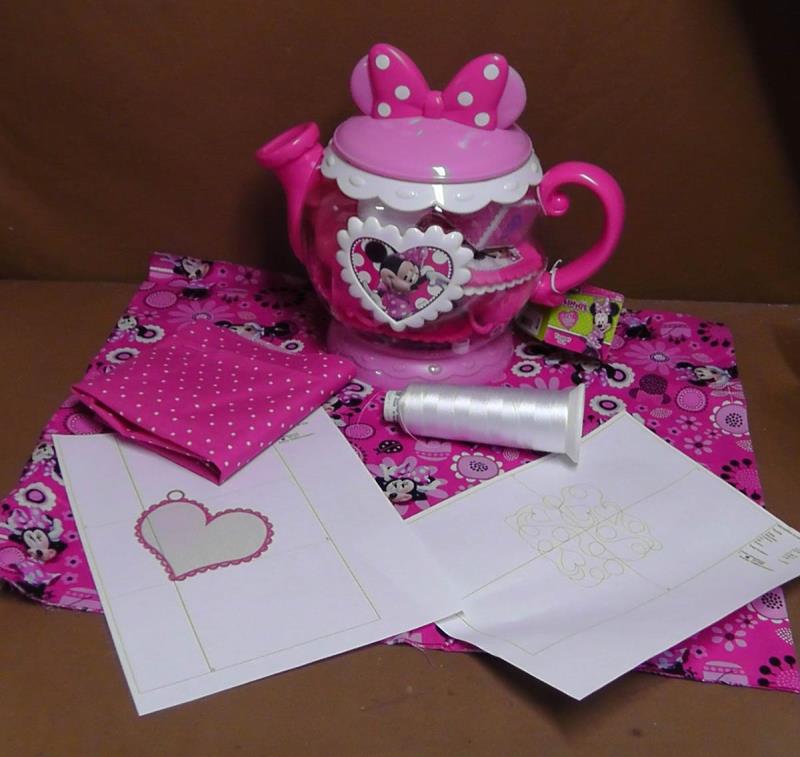
    Read the instructions before beginning and gather the materials for as many placemats as you’d like to create. Purchase a play tea pot set and purchase fabrics that will coordinate with the play set. Print out paper templates of the designs.

    (Click Image to Enlarge)


    Step 2:
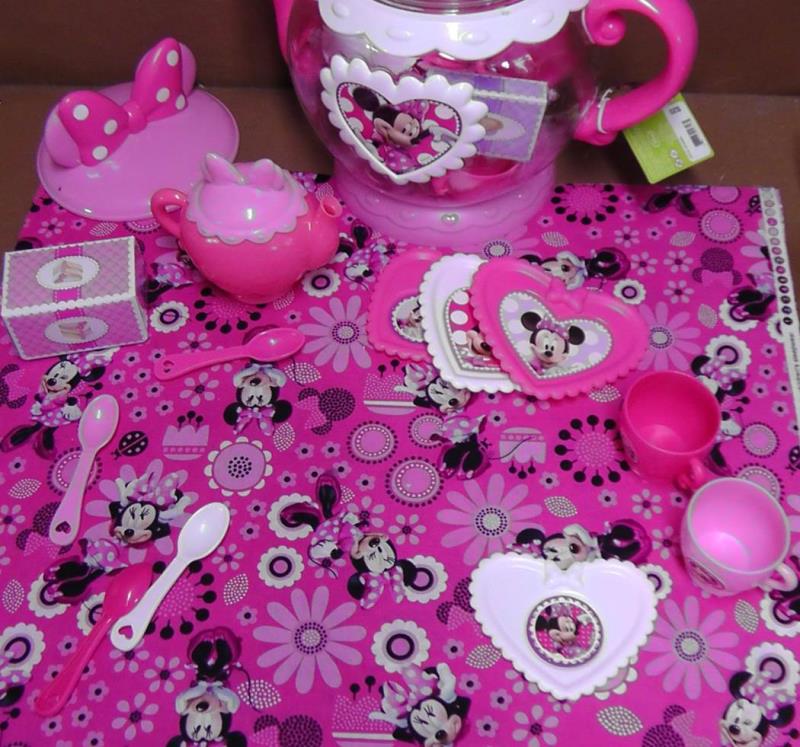
    This tea set comes with many pieces and all of them can be put away in the single tea pot. Get out several pieces to be able to decide on the size to make the placemat.

    (Click Image to Enlarge)


    Step 3:
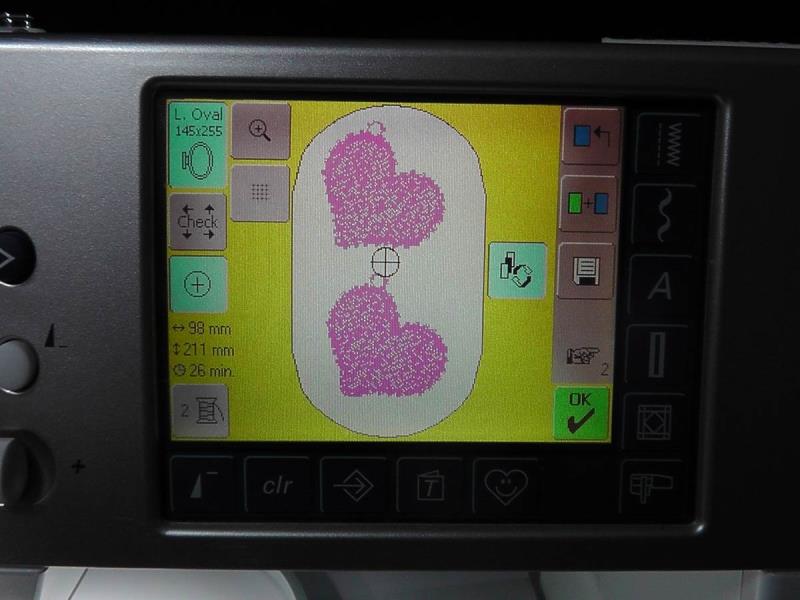
    Begin by sewing the FSL Blank Heart Ornament design. Load the embroidery design on the machine to stitch one design for each placemat being created. For the project, two placemats were created and two hearts added to the hoop for stitching.

    (Click Image to Enlarge)


    Step 4:
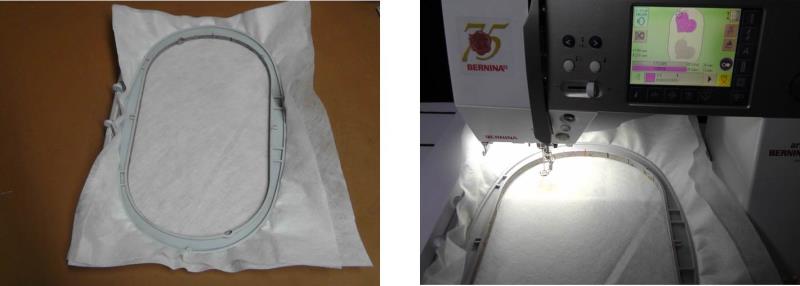
    Hoop two layers of fibrous water soluble stabilizer. Select the first FSL Blank Heart Ornament to stitch.

    (Click Image to Enlarge)


    Step 5:
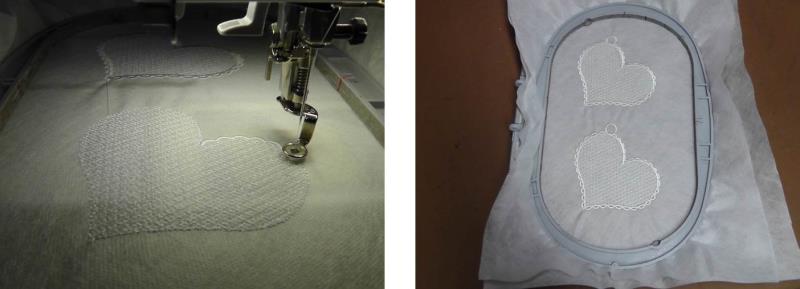
    After the first heart stitches, continue stitching the second heart.

    (Click Image to Enlarge)


    Step 6:
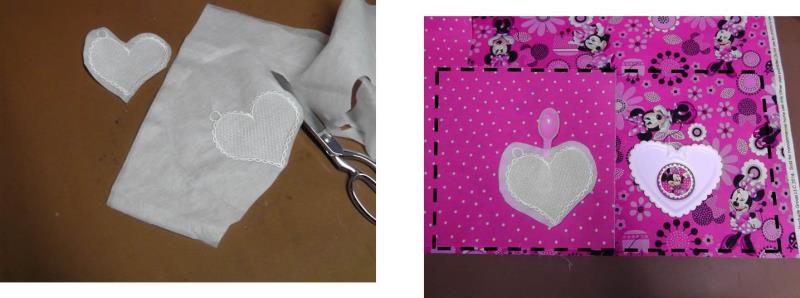
    Remove the stabilizer from the hoop and just generally trim around each heart. Lay out the chosen fabrics for the placemat and place the heart and little plate on the fabric. Determine the finished size of the placemat, the size of each fabric and add seam allowances. The materials list has the dimensions used for the project pieces. Cut the fabric as needed for the placemats you are doing. 

    (Click Image to Enlarge)


    Step 7:
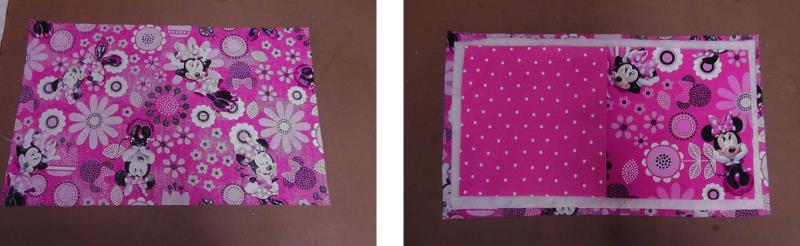
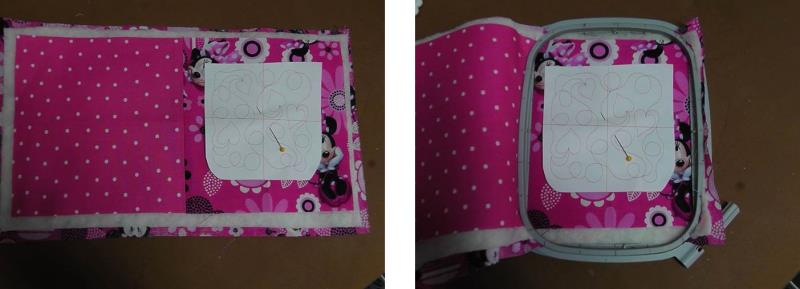
    Sew the left and right sides of the placemat top. Now it is time to assemble the placemat. Lay the placemat back fabric, wrong side up, on the ironing surface. Next, place the layer of batting on top and then place the placemat top on top of the batting.

    (Click Image to Enlarge)


    Step 8:
    Center the “Hearts Quilt” embroidery design on the right side of the placemat and hoop all the layers together.

    (Click Image to Enlarge)


    Step 9:
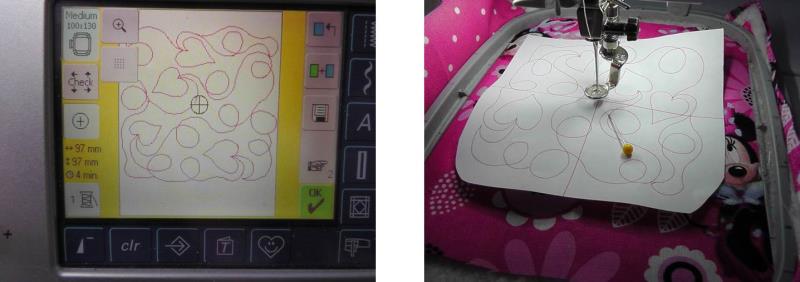
    Load the “Hearts Quilt” embroidery design on the machine and center the needle over the center of the paper template.

    (Click Image to Enlarge)


    Step 10:
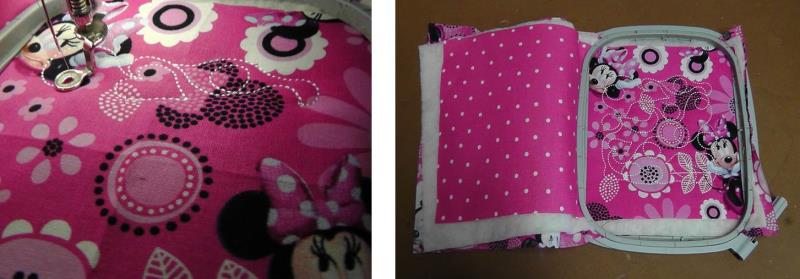
    Remove the paper template and stitch the design.

    (Click Image to Enlarge)


    Step 11:
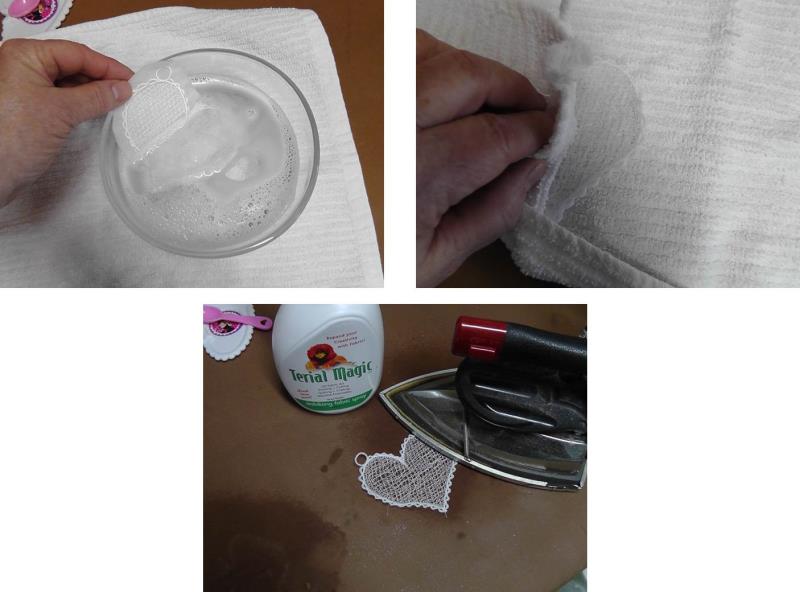
    While the design is stitching, remove the stabilizer from the heart designs following the manufacturer’s directions. Pat the lace dry and if necessary, use some starch or sizing to shape and make the lace crisp before sewing it to the placemat.

    (Click Image to Enlarge)


    Step 12:
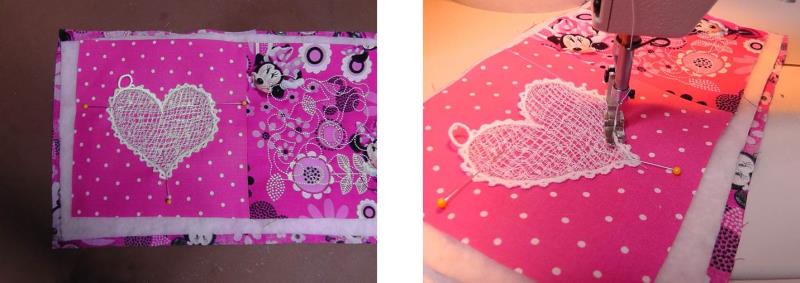
    Center the lace piece on the left side of the placemat and stitch it on through all layers.

    (Click Image to Enlarge)


    Step 13:
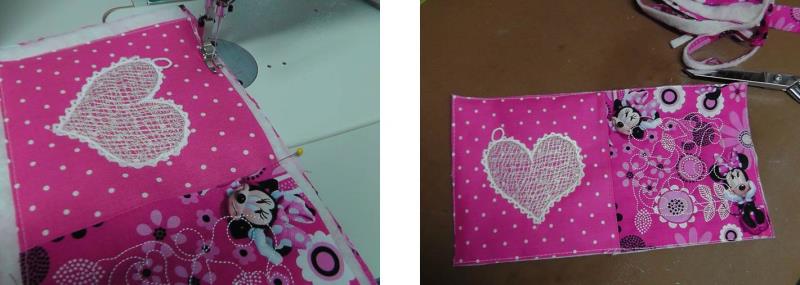
    Baste the layers together and then trim the excess batting and backing from around all the edges.

    (Click Image to Enlarge)


    Step 14:
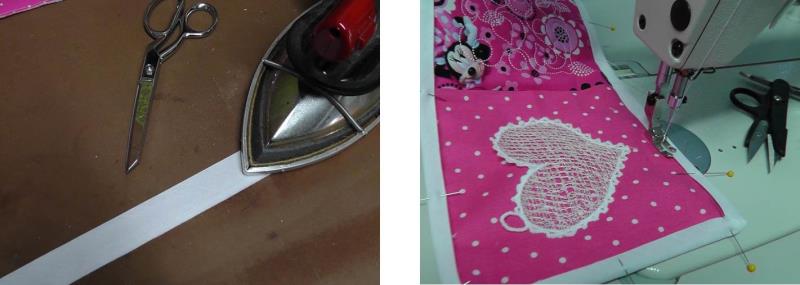
    Press the binding pieces and use your favorite method to bind all the edges of the placemat.

    (Click Image to Enlarge)


    Step 15:
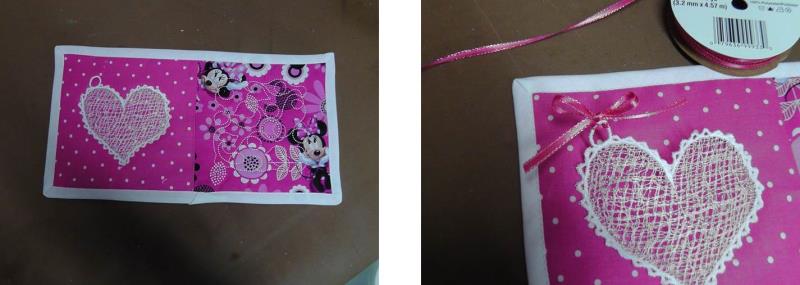
    As a final step, cut a 12” piece of ribbon and use the ribbon to tie a bow in the loop of the lace heart design.

    (Click Image to Enlarge)


    Step 16:
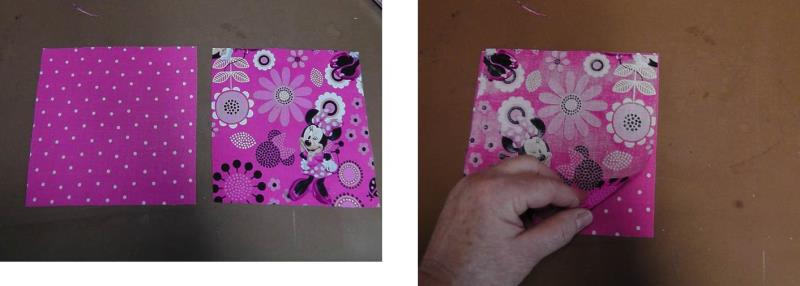
    Now create a napkin to go with the placemat. Cut one front and one back napkin piece and place right sides together.

    (Click Image to Enlarge)


    Step 17:
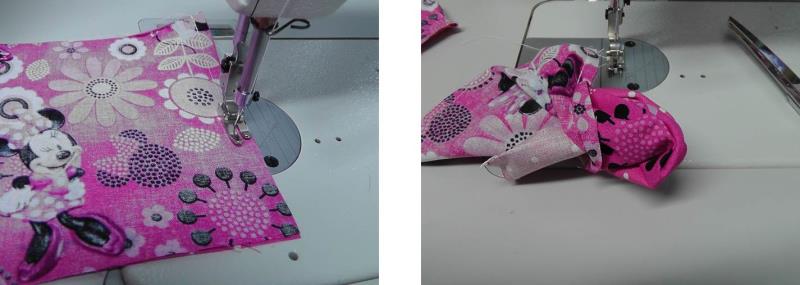
    Sew around all sides of the napkin leaving an opening for turning.

    (Click Image to Enlarge)


    Step 18:
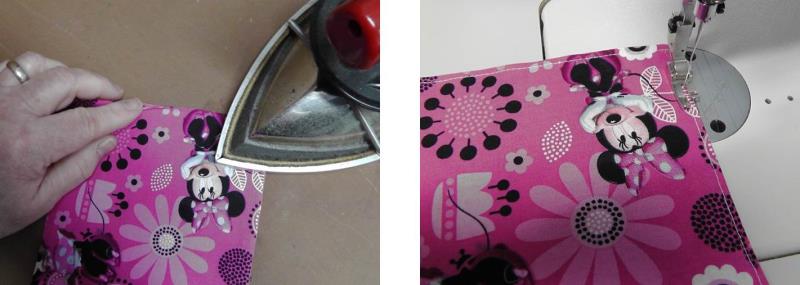
    Form the corners well. Press the napkin edges tucking the seam allowances of the opening to the inside of the napkin. Top stitch all the way around the napkin.

    (Click Image to Enlarge)


    Step 19:
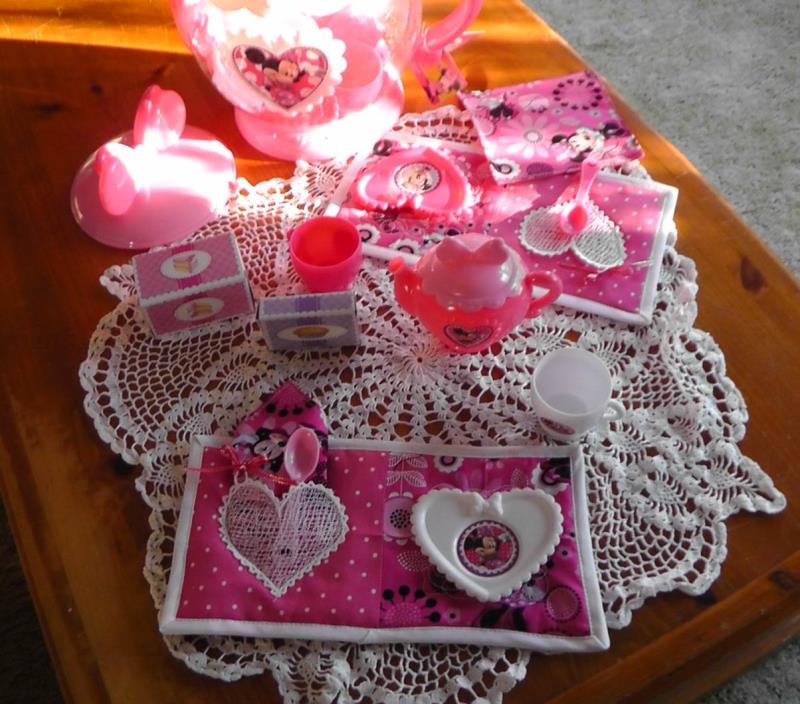
    Repeat all the steps for creating all the placemats and napkins needed for the little girls’ tea party. Insert the napkin in the heart pocket and place the utensil and plate on the placemat. Place an antique doily or table cloth on the table to add extra charm to the tea party.

    (Click Image to Enlarge)

    Meet the Author: Ramona Baird
    Ramona Baird
    Ramona Baird has been in the embroidery industry for over 23 years. She and her husband owned a commercial and retail embroidery store in Arizona for many years. She is an experienced digitizer having been mentored by award-winners Pat Williams and Lindee Goodall. Ramona is a contributor to “Creative Machine Embroidery” magazine having 5 covers to her credit. Ramona has worked for Wilcom America and served many years as Education Director for the American Sewing Guild. With a degree in fashion design, she is able to design and execute patterns which Pat Williams says are “out of the box” in creativity and application. Ramona likes to challenge the boundaries of embroidery and bring new and exciting designs, ideas, and projects to EmbroideryDesigns.com. She wants embroiderers of all levels to increase their skills and enjoyment in using their embroidery machine for gift-making and personal pleasure.
    More From This Author
    Link is Broken, Please check the URL
    Exclusive Embroidery Offers!
    Copyright © {{ currentDate | date:'yyyy'}} - EmbroideryDesigns.com
    GET 50% OFF! ×