Border OptionsHugging border, circle, square, or rectangle — with a 3mm satin stitch.
Backing OptionsAvailable with iron-on, sew-on, or velcro backing.
Fast ShippingShipped quickly from the USA.
Free Online Tools
Powerful embroidery utilities that save time and prevent costly mistakes.
Stitch AssistantRECOMMENDED
Get the exact stabilizer, machine settings, needle, and thread color sequence for every embroidery design you purchase — based on that design's stitch density, dimensions, and color count.
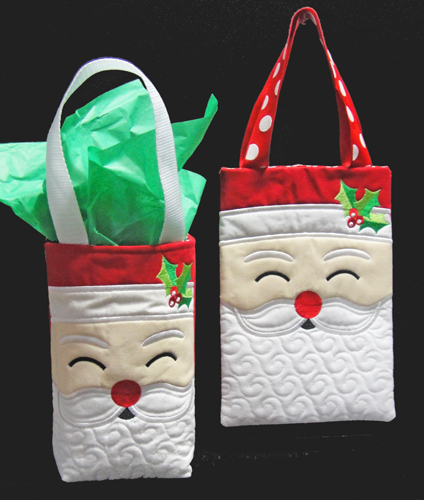
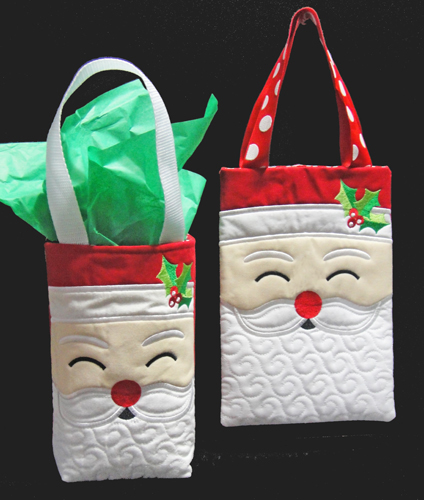
Create a delightful applique Santa tote bag, perfect for holiday shopping or gift-giving. This lined and quilted tote features a cheerful Santa design and can easily be converted into a gift bag with a few extra stitches. Step-by-step instructions are included.
There are two embroidery files in this project; one for the front and one for the back. The lining is attached in the hoop which makes this super simple to finish up in your sewing machine.
Step 1:
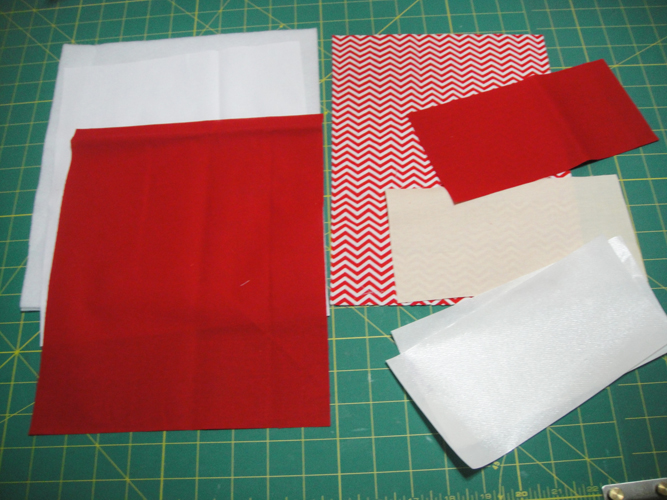
Cut: * 1 11” x 9” and 1 8” x 4” rectangle of red fabric * 1 11” x 9” rectangle of white fabric * 1 8” x 4” rectangle of flesh fabric * 2 11” x 8” rectangles of lining fabric * 2 13” lengths of ribbon or webbing * 2 4” x 8” strips of Heat N Bond Lite * 2 11” x 9” rectangles of Pellon® 987F fusible batting * 2 rectangles of Poly-Mesh® stabilizer to fit your 12” x 8” embroidery hoop
(Click Image to Enlarge)
Step 2:
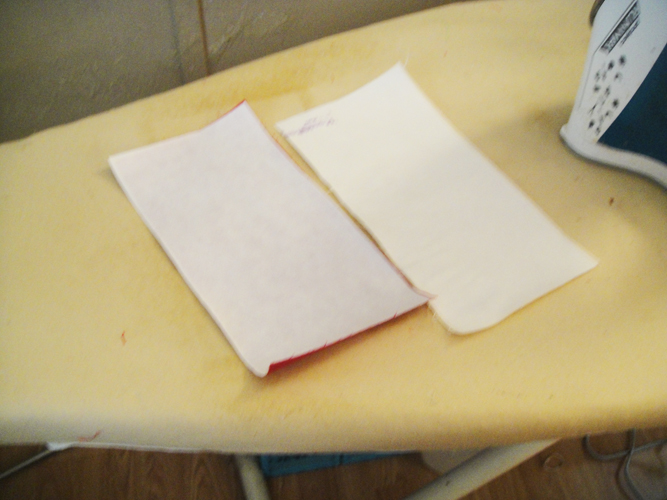
Press all fabrics with Magic Sizing then following the manufacturer’s instructions apply the two strips of Heat N Bond Lite® to the 8” x 4” rectangles of red and flesh fabrics.
(Click Image to Enlarge)
Step 3:
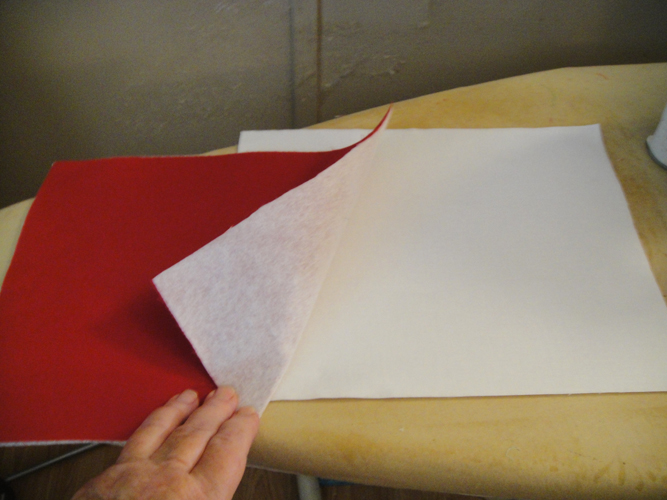
Following the manufacturer’s instructions apply the Pellon® fusible batting to the red and white 11” x 9” pieces of fabric.
(Click Image to Enlarge)
Step 4:
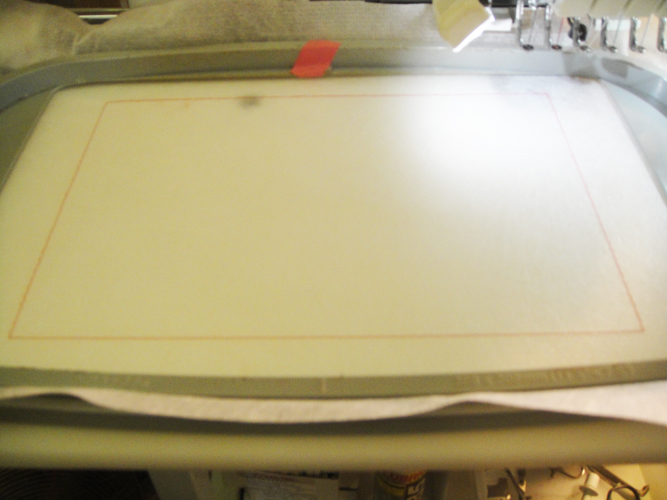
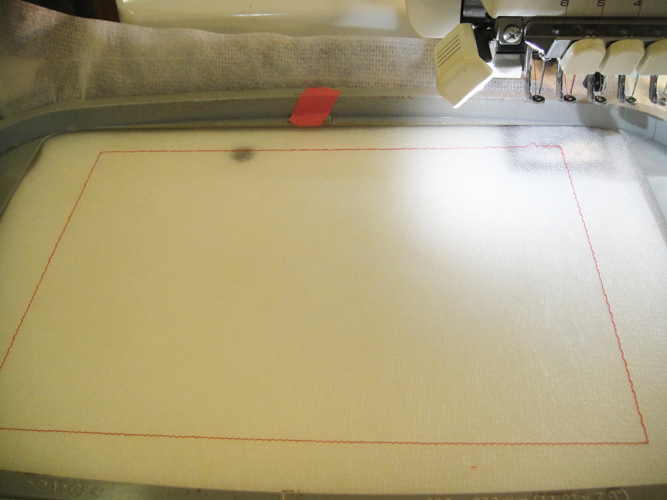
Load the design CHSTB01 into your machine; if necessary for your machine rotate the design 90 degrees to the right; hoop the mesh stabilizer in your hoop and run color stop (CS) #1 for a placement line for your fabric.
(Click Image to Enlarge)
Step 5:
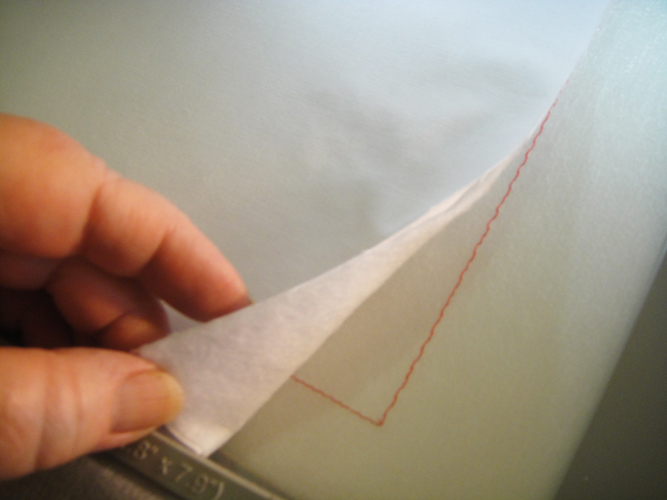
Spray the white fabric back with adhesive and place over the outlines so that the right hand (top) edge of the fabric is right on the placement line; the sides and the bottom edge of the fabric will exceed the outline.
(Click Image to Enlarge)
Step 6:
Run CS 2 in white thread to tack down the fabric.
(Click Image to Enlarge)
Step 7:
Run CS 3 in white for a placement line for the face.
(Click Image to Enlarge)
Step 8:
Place the flesh fabric over the outline; Run CS 4 in white to tack down the face.
(Click Image to Enlarge)
Step 9:
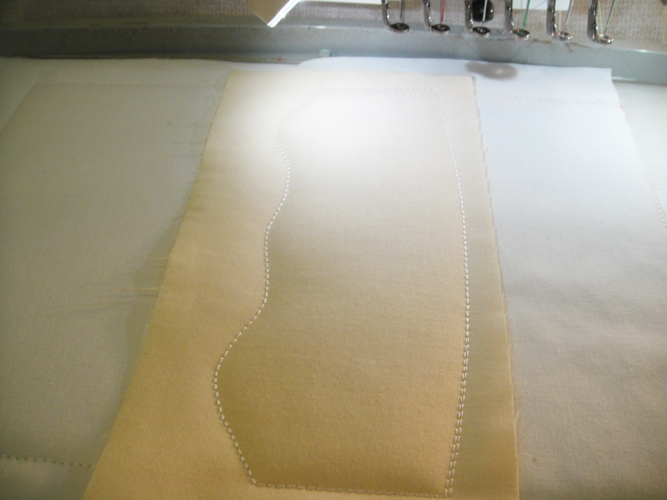
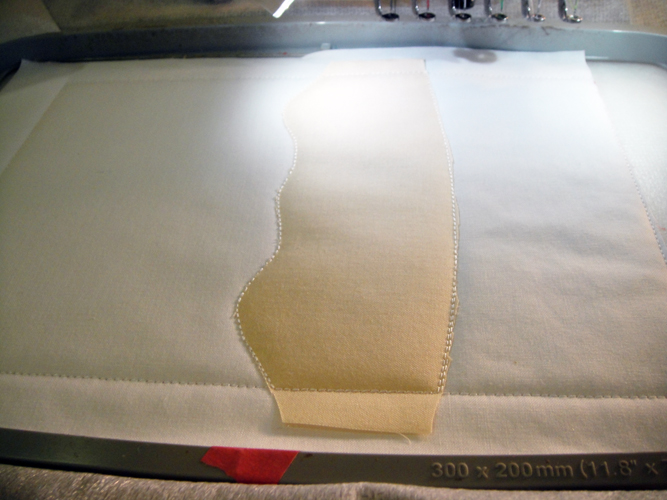
Trim the top and bottom of the face fabric right up next to the tack down stitches; do not trim the excess fabric from the sides of the face.
(Click Image to Enlarge)
Step 10:
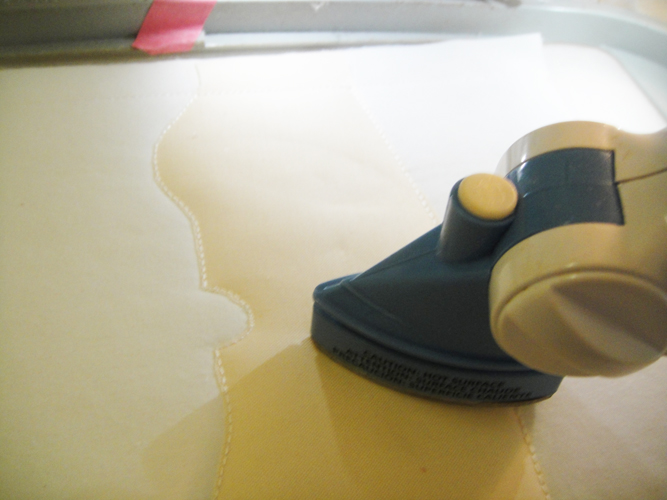
Iron the applique to the base fabric with an applique iron for permanent adhesion.
(Click Image to Enlarge)
Step 11:
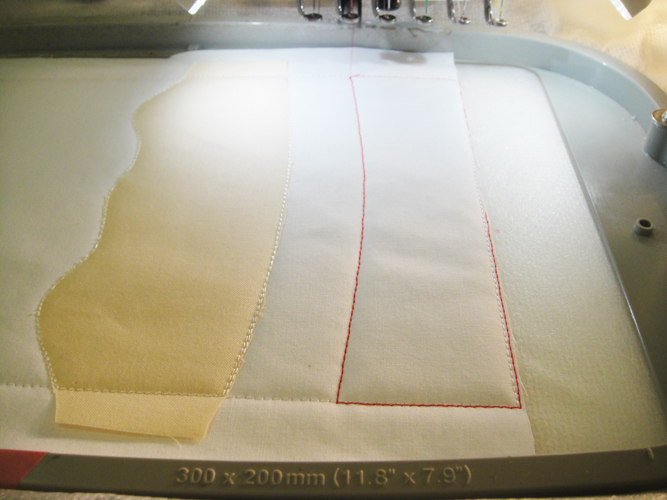
Run CS 5 in red for a placement line for Santa’s hat.
(Click Image to Enlarge)
Step 12:
Run CS 6 in red to tack down Santa’s Hat.
(Click Image to Enlarge)
Step 13:
Trim the top and bottom edges of the hat applique as close as possible to the tack down line; press the applique with the applique iron for permanent adhesion.
(Click Image to Enlarge)
Step 14:
Follow the color chart for CS 7 though CS 13 to embroidery the design.
(Click Image to Enlarge)
Step 15:
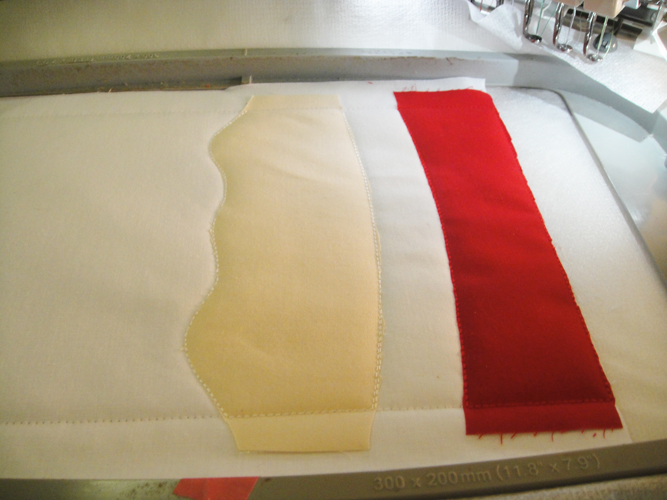
Run CS 14 in any color as it is just a placement line for the handle; shown stitched in white here just so you can see it in the photo.
(Click Image to Enlarge)
Step 16:
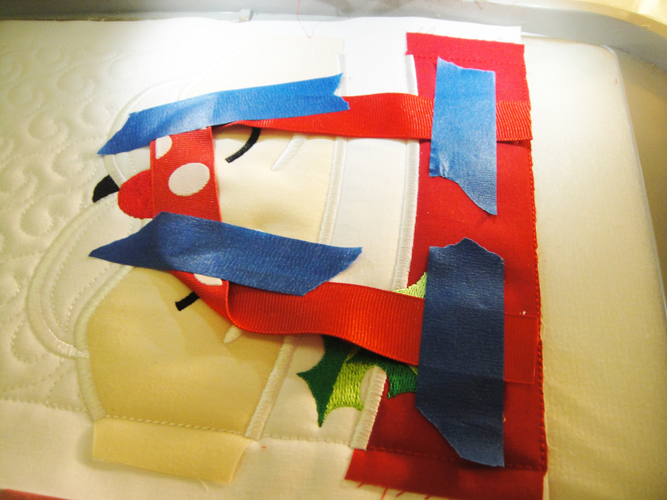
Place 13” of 1” wide grosgrain ribbon or ribbon on top of the placement lines and just to the edge of the cap. If using printed ribbon as in the pictures put the right side of the ribbon face down; tape down below the placement line as the tack down line will stitch over the top of the placement line; fold the ribbon and tape to the face just to keep it out of the way of the stitching and to ensure that the handle will not be twisted when the project is completed.
(Click Image to Enlarge)
Step 17:
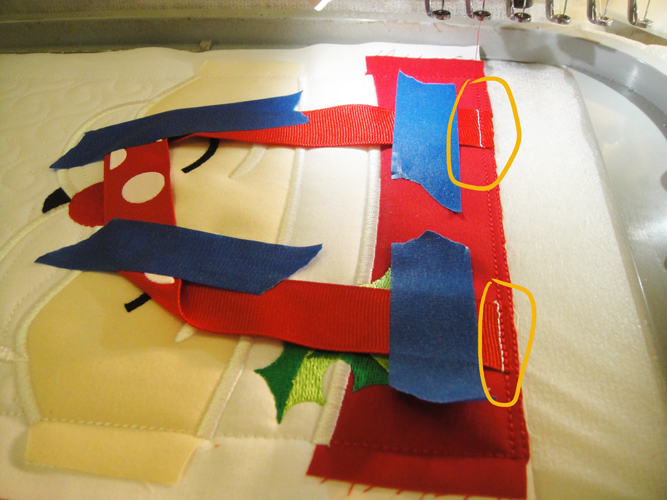
Run CS 15 in red to stitch the tack down of the handle; white was used in the photo just so you could see it better.
(Click Image to Enlarge)
Step 18:
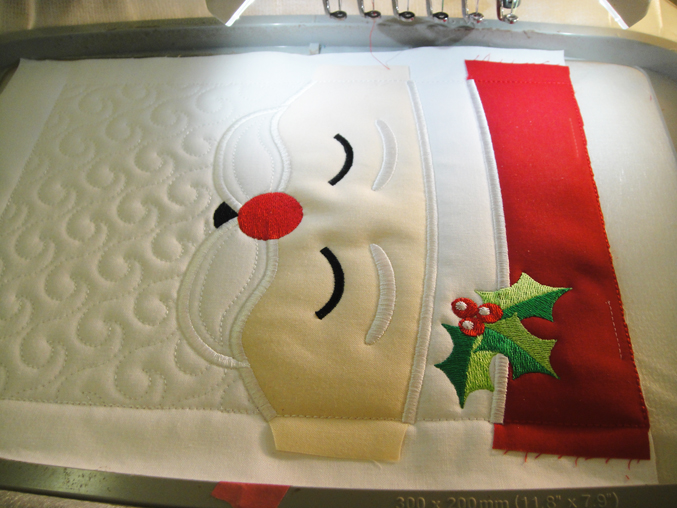
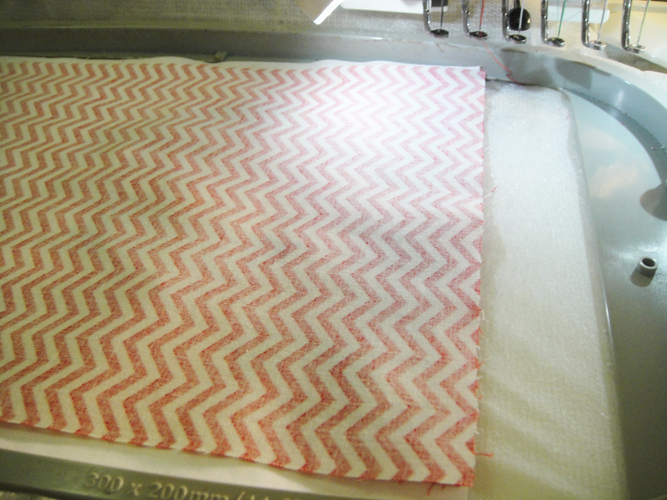
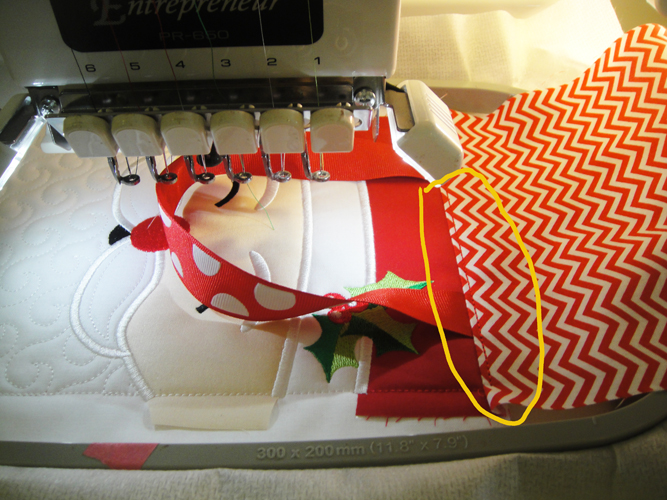
Place a rectangle of the lining fabric face down over the Santa face aligning the top edge with the hat applique and centering it so that the lining is ½” over the face placements lines on each side.
(Click Image to Enlarge)
Step 19:
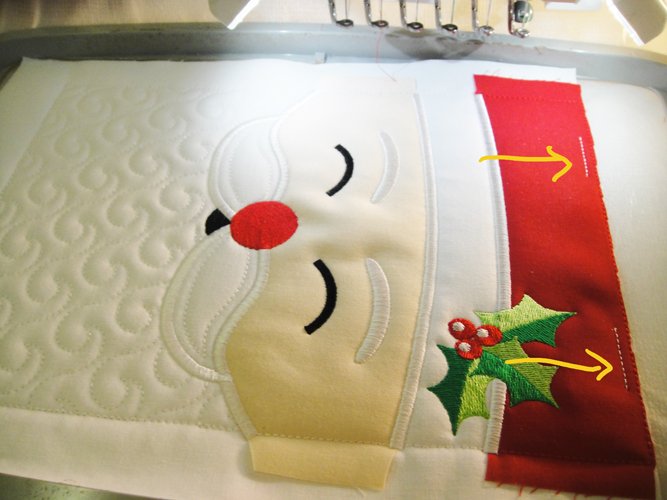
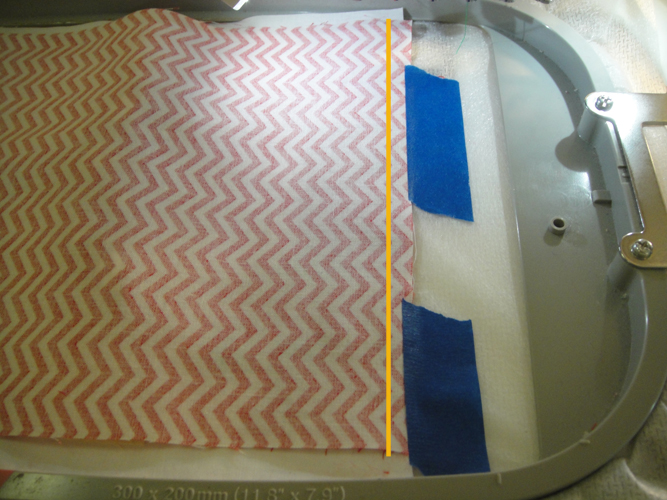
Tape the lining in place and run CS 16 in red thread to stitch the lining to the fabric; the stitching line is as indicated by the gold line in the picture.
(Click Image to Enlarge)
Step 20:
Fold the lining out to the right and finger press the seam.
(Click Image to Enlarge)
Step 21:
Run the final CS 17 in red to provide under stitching to the lining; remove the front design from the hoop and set aside for now.
(Click Image to Enlarge)
Step 22:
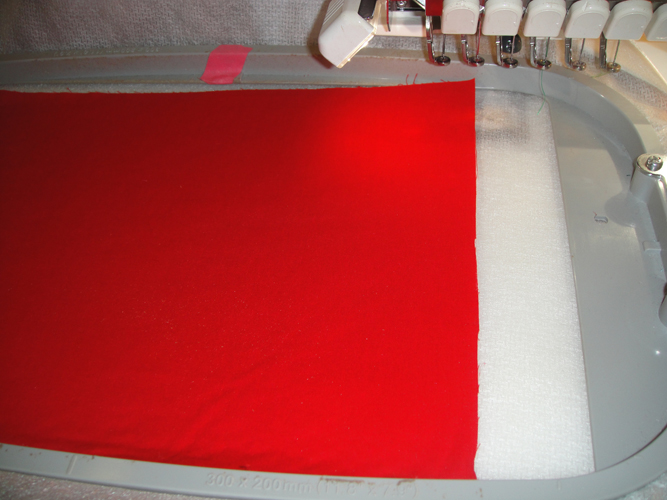
To make the back of the bag load design CHSTL01 into your embroidery machine; rotate 90 degrees to the right if necessary for your machine; hoop poly-mesh stabilizer in your hoop and run CS 1 as a placement line for the fabric.
(Click Image to Enlarge)
Step 23:
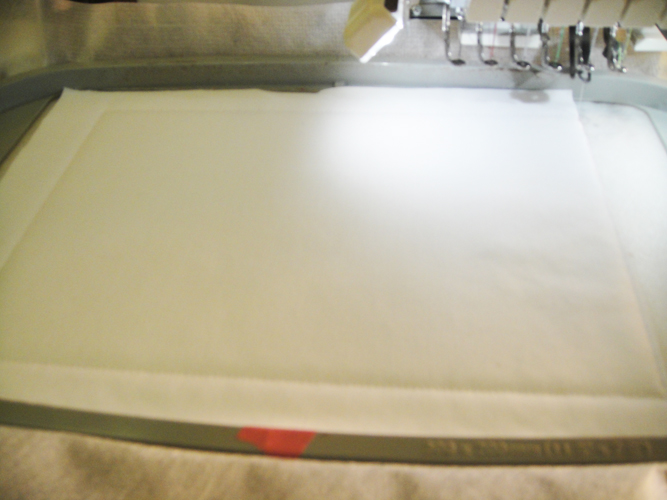
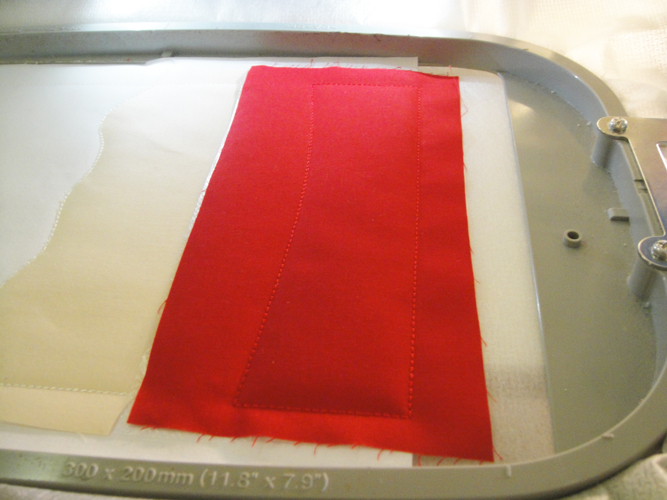
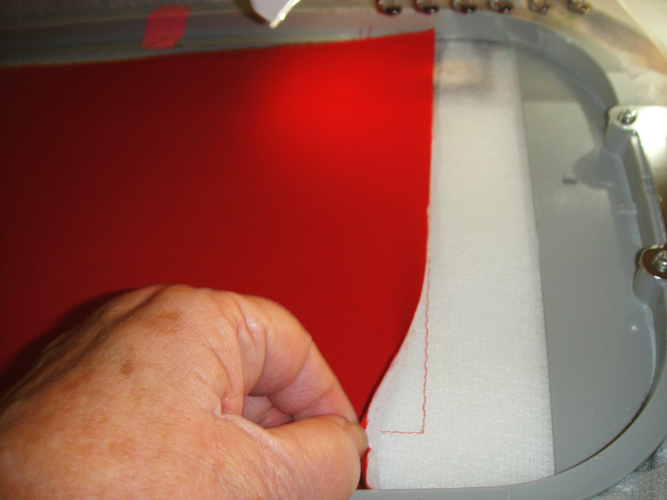
Spray with adhesive and place the right (top) edge of the red fabric with the batting side down over the placement lines; the fabric will exceed the outline on all other edges.
(Click Image to Enlarge)
Step 24:
Run CS 2 in red to tack down the fabric.
(Click Image to Enlarge)
Step 25:
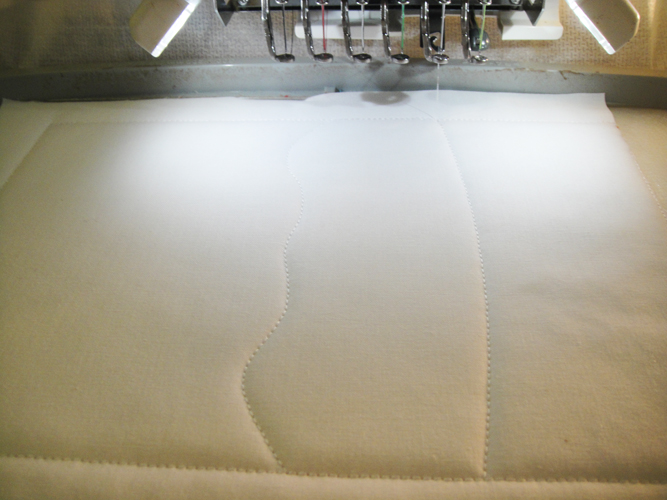
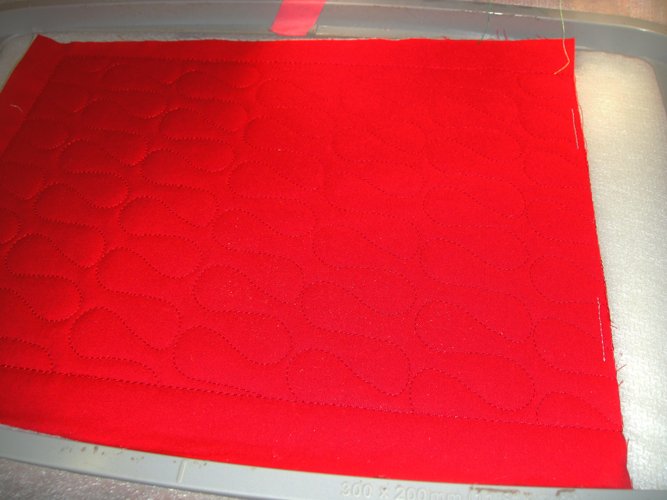
Run CS 3 in red to quilt the bag back.
(Click Image to Enlarge)
Step 26:
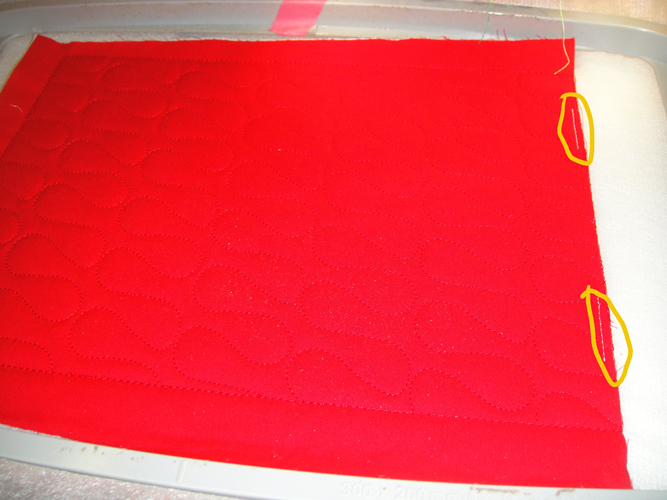
Run CS 4 as placement lines for the handle; you can use red thread it is stitched in white here for the photos.
(Click Image to Enlarge)
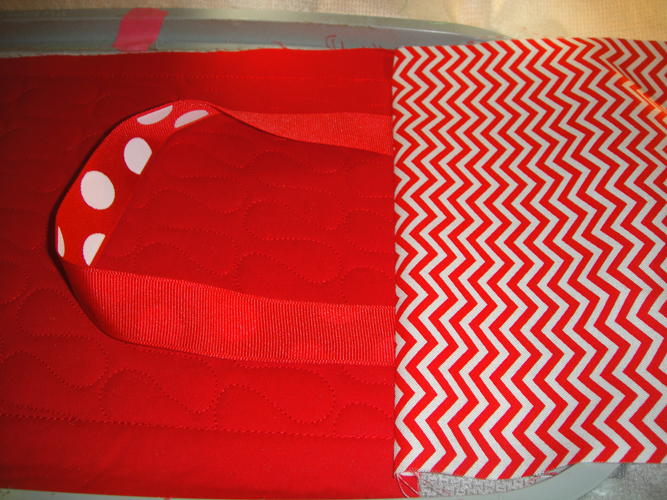
Step 27:
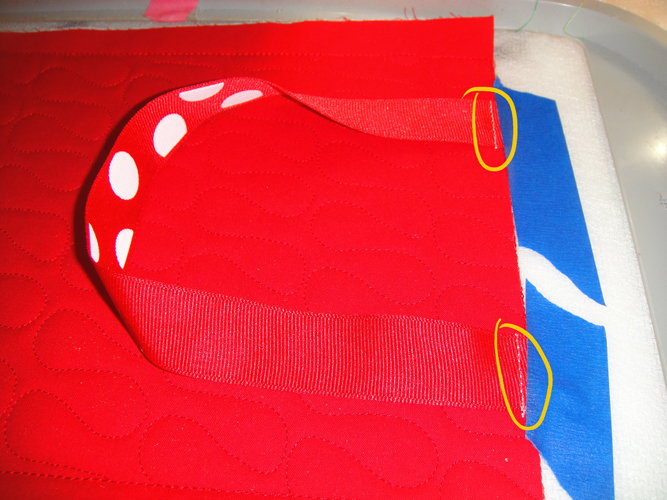
Tape the handles over the placement lines as you did in Step 18; run CS 5 in red to tack down the handles.
(Click Image to Enlarge)
Step 28:
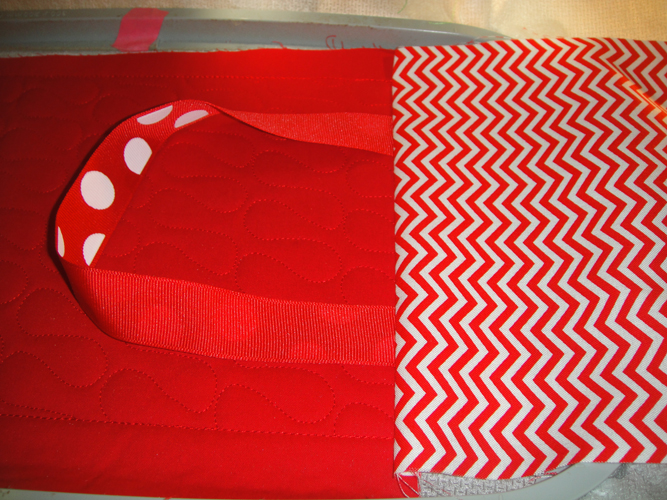
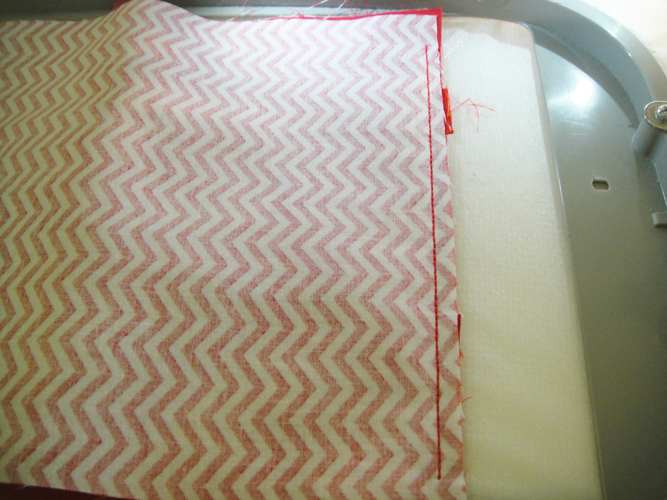
Place the lining face down over the back of the bag aligning the top edge and run CS 6 to seam the lining to the bag.
(Click Image to Enlarge)
Step 29:
Flip the lining over the edge of the bag; run CS 7 in red to under stitch the lining. Remove from the hoop.
(Click Image to Enlarge)
Step 30:
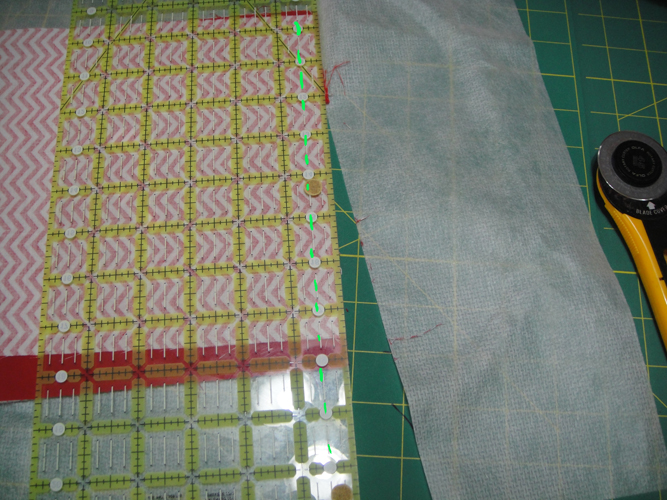
Remove the excess stabilizer from the front the edges of the front and back of the bag; trim seam allowances to ½” on the front and back of bag using the original tack down stitches as a guide.
(Click Image to Enlarge)
Step 31:
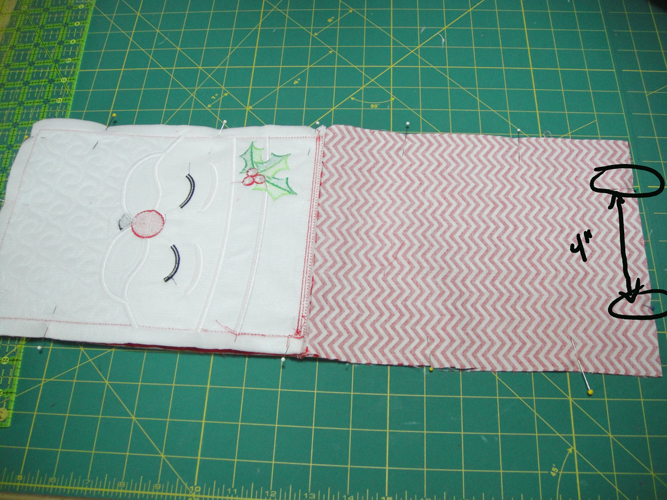
Place the front and back of the bag right sides together and lining right sides together making sure that the top edges of the bag are aligned; pin the fronts and backs together leaving two pins spaced 4” apart at the center of the bottom of the lining; these two pins will be used to mark where you will start and stop your stitching at the sewing machine to leave an opening for turning the bag.
(Click Image to Enlarge)
Step 32:
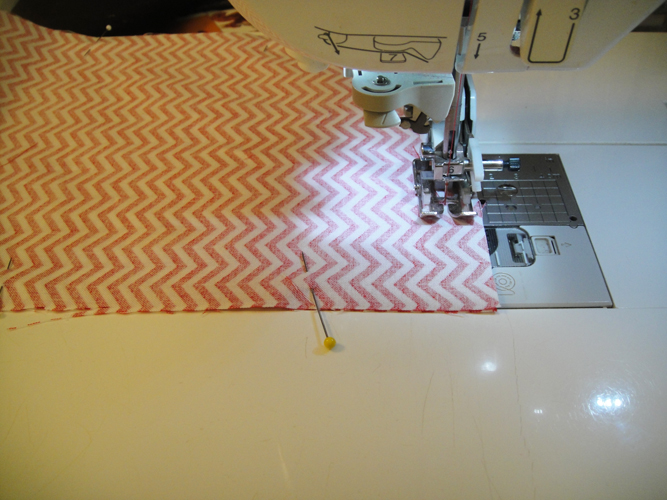
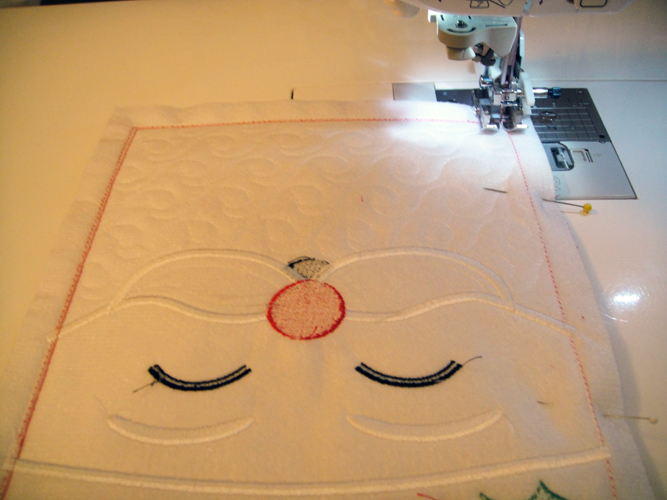
Using a walking foot if available, starting at the closest pin of the opening stitch all around the bag, pivoting at the corners until you reach the 1st opening pin with a ½” seam allowance; read the next step before stitching.
(Click Image to Enlarge)
Step 33:
When stitching around the face portion of the bag keep your stitching just a thread’s width inside the placement lines that were stitched on the embroidery machine. Trim all seam allowances to ¼”.
(Click Image to Enlarge)
Step 34:
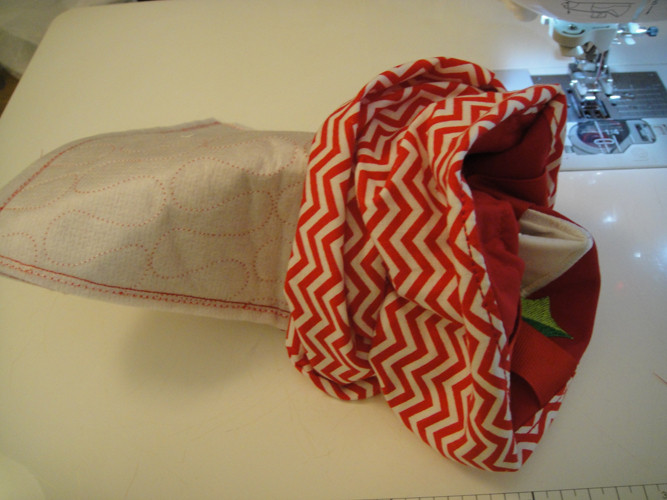
To make the tote bag simply turn the bag to the right side through the lining; skip to Step 38. To make the boxed gift bag go to Step 35.
(Click Image to Enlarge)
Step 35:
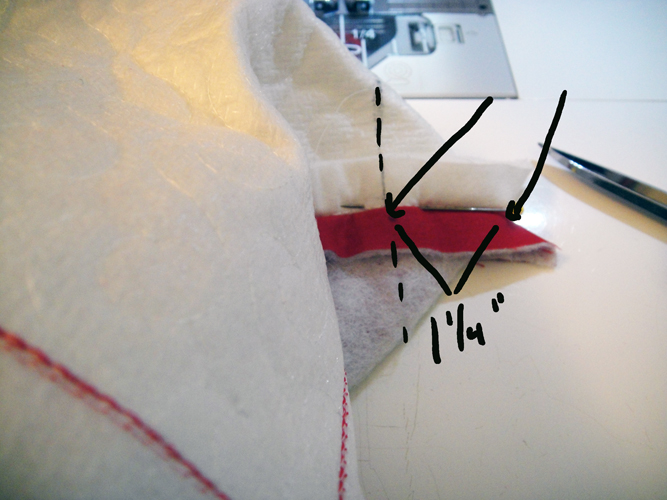
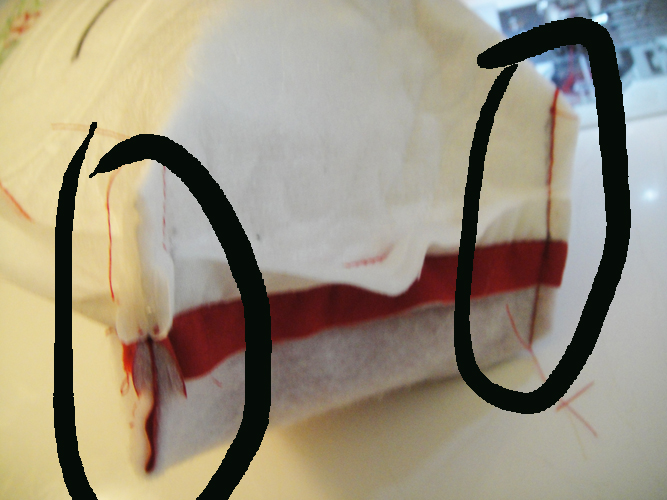
To make the gift bag with boxed corners, on each corner of the bag fold the corner into a triangle by aligning the side seam with the bottom seam; place a pin through the seams to keep them aligned; measure with a ruler from the end of the seam up into the bag ½ the distance that you want the depth of the bag to be; in the sample a line was draw 1¼” from the tip of the corner which resulted in a 2.5” depth in the bag.
(Click Image to Enlarge)
Step 36:
Stitch across the drawn line and trim the seams to ¼”; repeat on the two bottom corners of the lining using the same measurement as you used on the bag portion.
(Click Image to Enlarge)
Step 37:
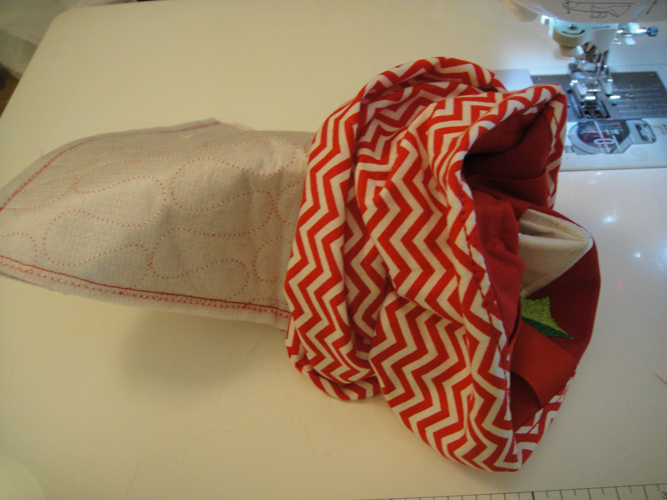
Turn the bag through the lining opening.
(Click Image to Enlarge)
Step 38:
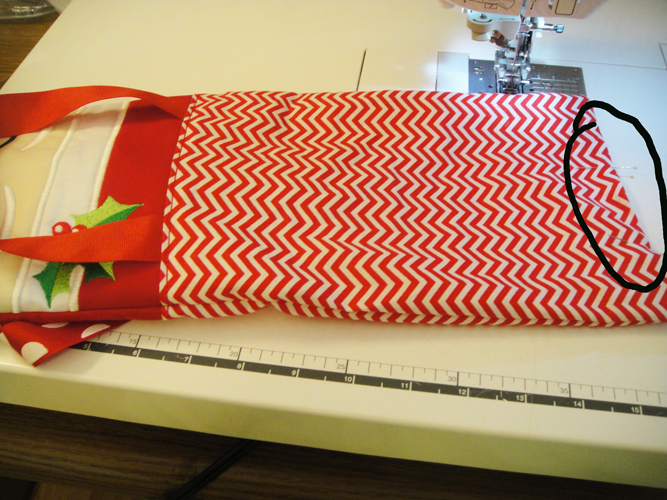
For both styles of bag fold the seam allowance of the lining opening together and machine stitch together on right side of the fabric; alternately the opening can be closed with a hand whip stitch.
(Click Image to Enlarge)
Step 39:
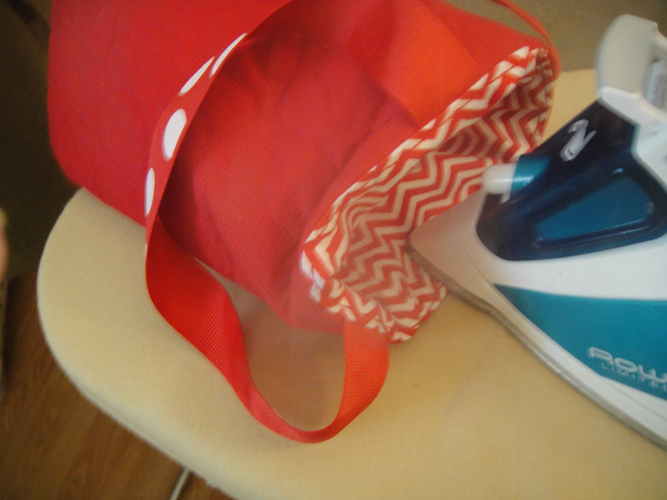
Press the lining to the inside; if you have used grosgrain ribbon for the handle be sure your iron is not too hot.
(Click Image to Enlarge)
Step 40:
Congratulations your Santa Tote or Gift bag is complete! Fill with small gifts and treats for your family and friends.
Award winning Digitizer, Embroidery Educator, Author and a Consultant to the Industry, Pat Williams has 30 years of experience in the embroidery industry. Pat has won multiple awards for her digitizing expertise including the 2007 Impressions Awards Grand Championship, Best of Show as well as the 1st and 2nd Place Awards. Pat’s love of digitizing has afforded her the opportunity to write numerous articles for Impressions magazine in the United States and Images Magazine in Europe. In 2001 Pat was named “Embroidery Educator of the Year.” For many years Pat taught digitizing seminars at the ISS Shows in Long Beach, CA and for Compucon software. She now resides in Tucson, AZ.