Festive Leaf Decorations for Pumpkins

Festive Leaf Decorations for Pumpkins Embroidery Project

By   Ramona Baird   on   November 02, 2015
  • SKILL LEVELBeginner
  • TIME REQUIRED03:00
Description

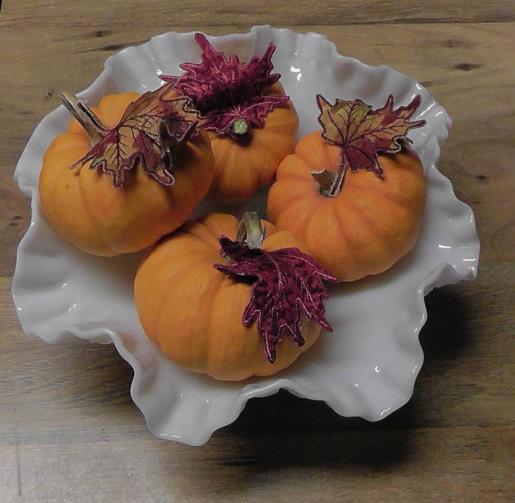
Enhance your holiday table with decorative leaves for small pumpkins. These vibrant accents add a festive touch to your seasonal decor. Step-by-step instructions are included.

Step of

Materials

Project Preview Video

Materials
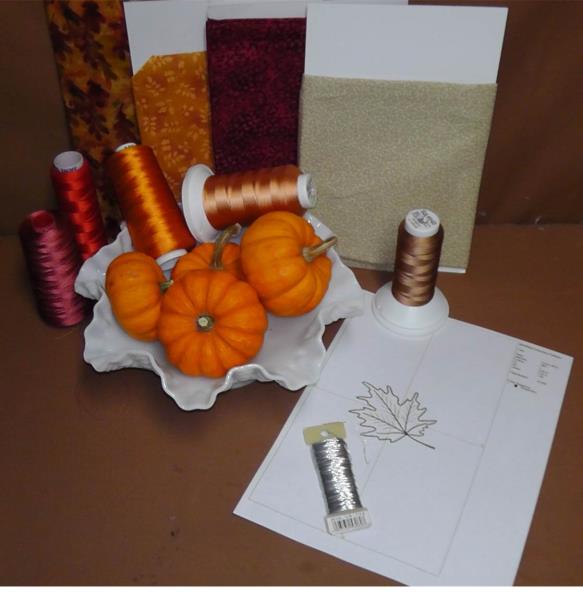
  • Scraps of fall fabrics large enough to hoop
  • Small decorative pumpkins
  • Embroidery thread to coordinate with fabrics
  • 28 ga. Wire
  • Hot glue gun
  • Poly mesh stabilizer
  • Heat ‘n Bond Lite

  • Designs used in this project

    Final Product: What You Will Create

    Preface:
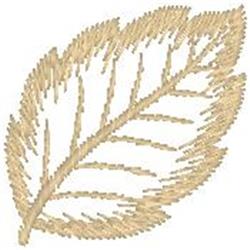
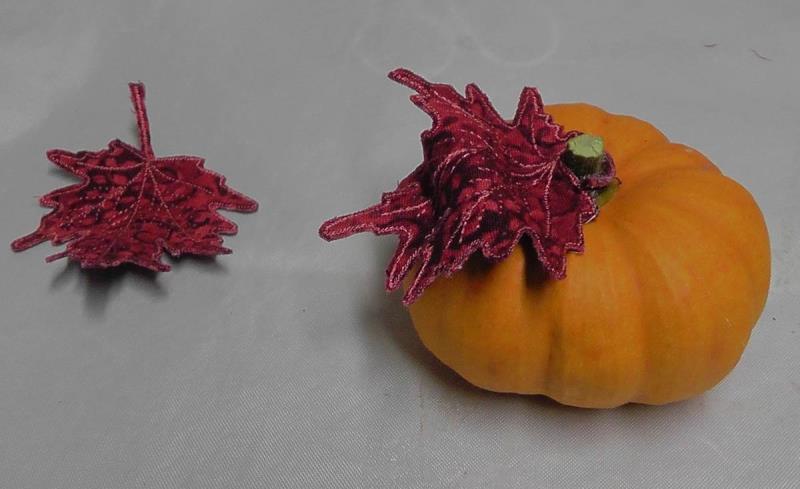
    Use open-shape type leaves with scraps of fall fabrics to embroidery leaves that can adorn pumpkins or other small gourds. Even though the leaves are not for pumpkins, the colorful fall fabrics provide a nice touch of color. After the leaves are embroidered, a small piece of wire is glued to the back along the spine and stem area and then the whole leaf is fused to another piece of fabric, cut out, shaped, and hot glued to the gourd. Have fun using plaids, small prints, or batik fabrics for this project.


    Step 1:
    Gather the supplies and read through the instructions before beginning. Use scraps of fabric about two inches larger all the way around than the hoop. 

    (Click Image to Enlarge)


    Step 2:
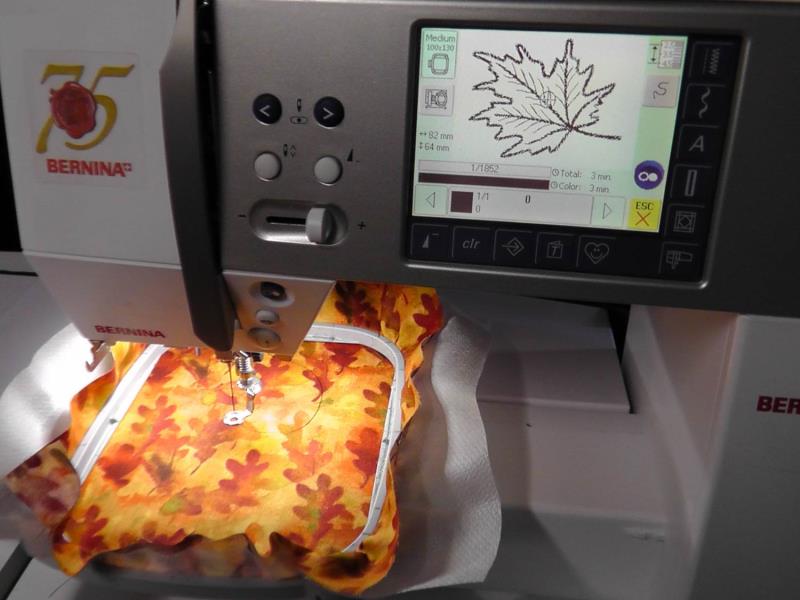
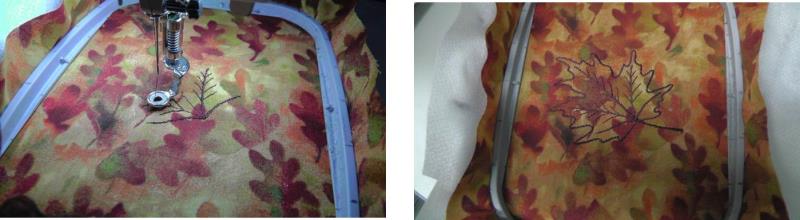
    Hoop the fabric with one layer of water soluble stabilizer. Load the “Maple Leaf” design in the machine and load the embroidery thread on the machine that will coordinate with the fabric.

    (Click Image to Enlarge)


    Step 3:
    Stitch the design. It is a single color so it stitches fast.

    (Click Image to Enlarge)


    Step 4:
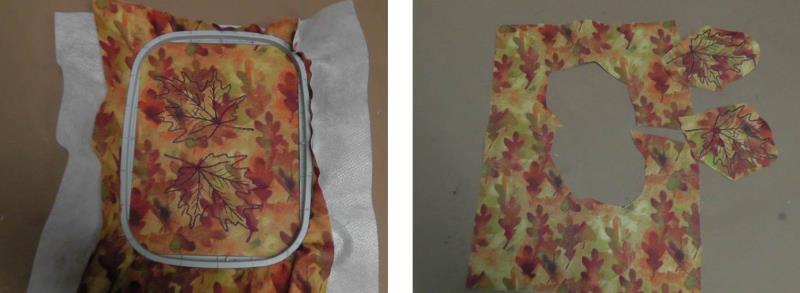
    If possible, stitch more than one design in the hoop to make the project go faster. 

    (Click Image to Enlarge)


    Step 5:
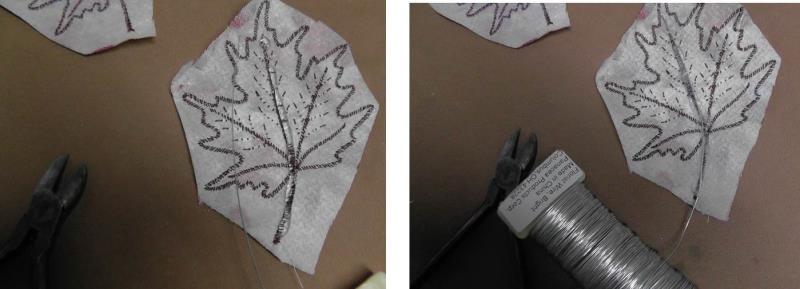
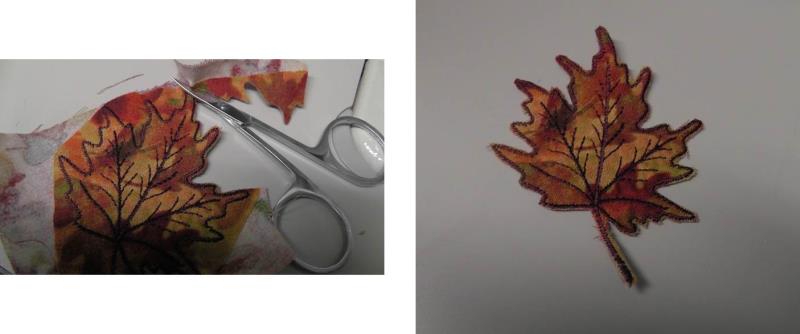
    After the design finishes stitching, cut loosely around the design and there should be enough fabric scraps left to be used for backing each leaf. Heat the glue gun. Run a small bead of blue along the center spine and along the stem.

    (Click Image to Enlarge)


    Step 6:
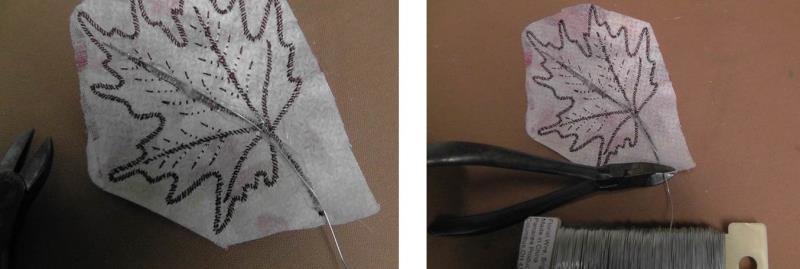
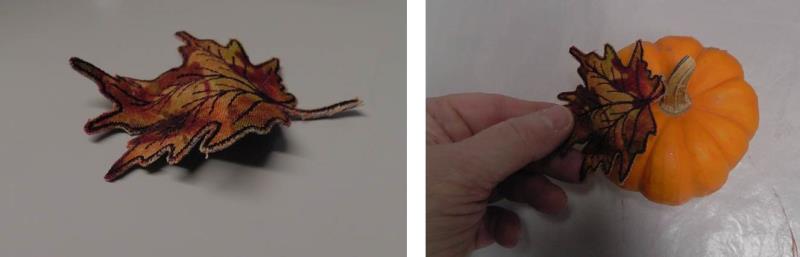
    Lay a piece of wire into the glue, forming it along the spine and stem.

    (Click Image to Enlarge)


    Step 7:
    Cut the wire at the bottom of the stem and let the glue cool.

    (Click Image to Enlarge)


    Step 8:
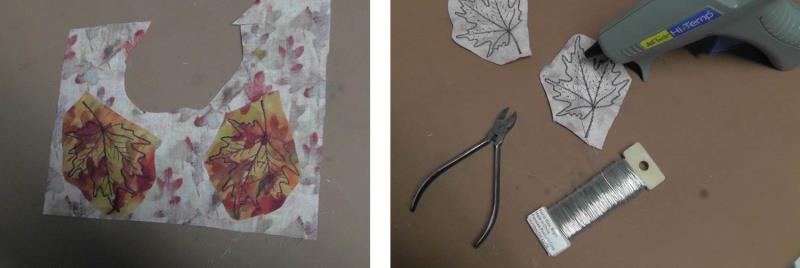
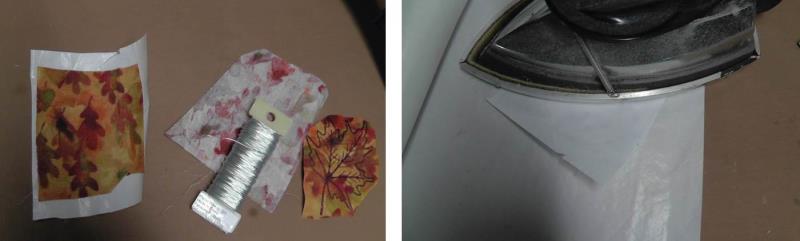
    Cut a small piece of fusible web and press it to the back side of the scrap pieces.

    (Click Image to Enlarge)


    Step 9:
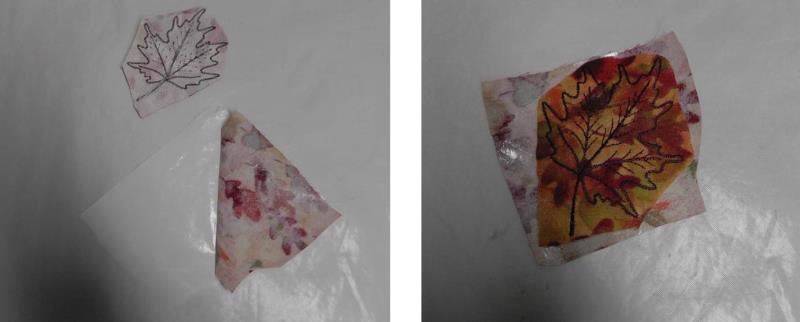
    Remove the paper and place the back side of the embroidered leaf over the fusible web.

    (Click Image to Enlarge)


    Step 10:
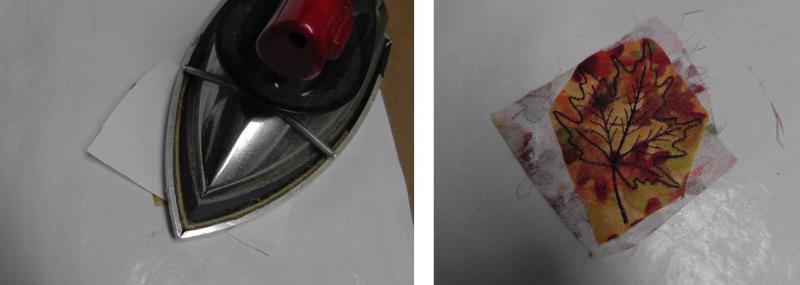
    Use the protective paper to place over the leaf and press; let the fabric cool.

    (Click Image to Enlarge)


    Step 11:
    Use small, sharp scissors to trim the fabric from around the outside of the embroidered area. Be very careful not to clip into any embroidery stitches.

    (Click Image to Enlarge)


    Step 12:
    Carefully curve and form the wire to shape the leaf so it will fit an area on the little pumpkin.

    (Click Image to Enlarge)


    Step 13:
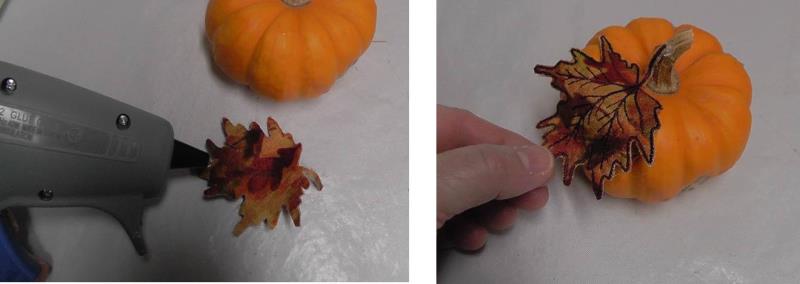
    Place hot glue on the back of the leaf in the areas needed and place the leaf on the surface of the pumpkin as planned.

    (Click Image to Enlarge)


    Step 14:
    The wire will keep the shape of the leaf as it was formed.

    (Click Image to Enlarge)


    Step 15:
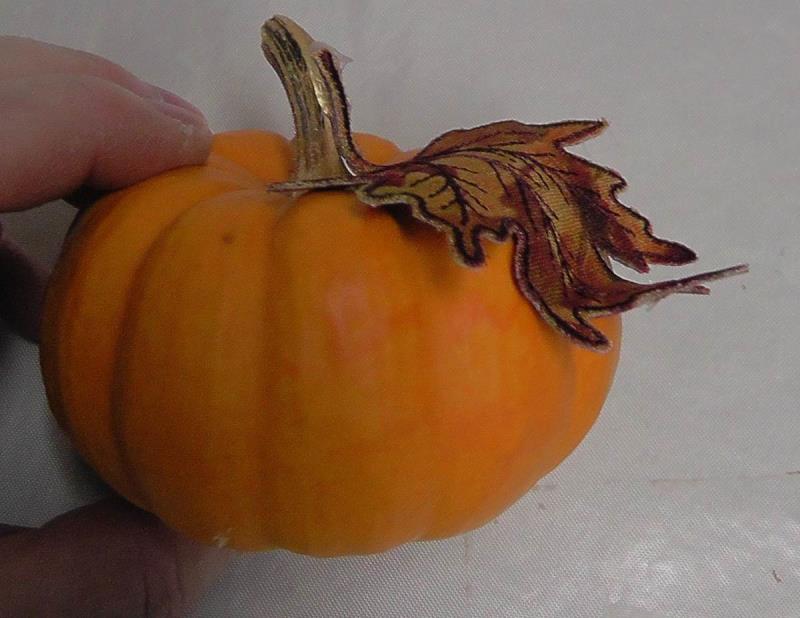
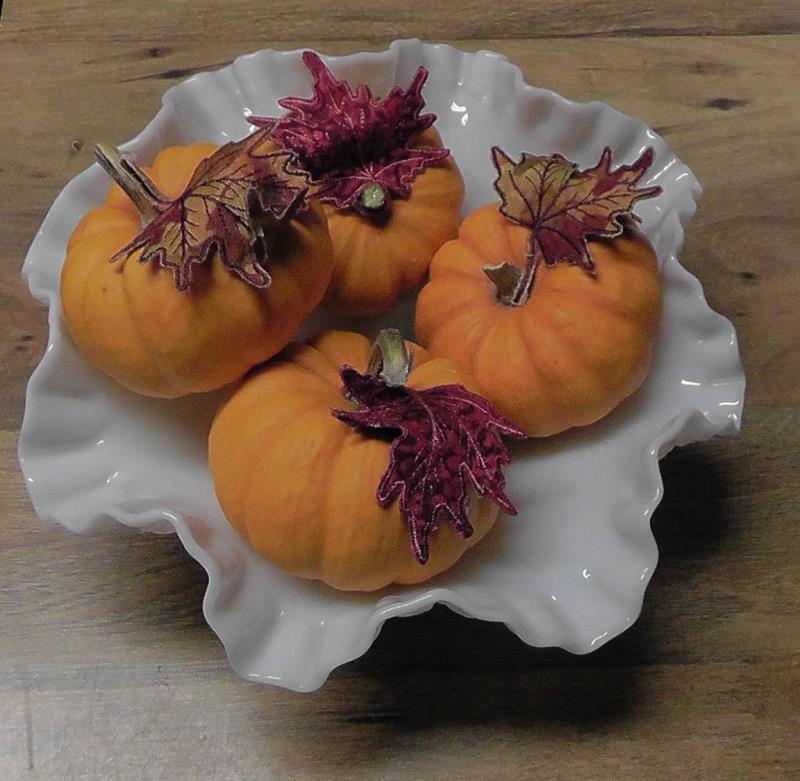
    Repeat the steps with the remaining fabrics to decorate all the pumpkins. Decorate each pumpkin with one or two leaves as you’d like.

    (Click Image to Enlarge)


    Step 16:
    These little “Embroidered Leaves” used to decorate the pumpkins provide a nice display in a bowl as part of a centerpiece, or they could be used near place settings at the dinner table.

    (Click Image to Enlarge)

    Meet the Author: Ramona Baird
    Ramona Baird
    Ramona Baird has been in the embroidery industry for over 23 years. She and her husband owned a commercial and retail embroidery store in Arizona for many years. She is an experienced digitizer having been mentored by award-winners Pat Williams and Lindee Goodall. Ramona is a contributor to “Creative Machine Embroidery” magazine having 5 covers to her credit. Ramona has worked for Wilcom America and served many years as Education Director for the American Sewing Guild. With a degree in fashion design, she is able to design and execute patterns which Pat Williams says are “out of the box” in creativity and application. Ramona likes to challenge the boundaries of embroidery and bring new and exciting designs, ideas, and projects to EmbroideryDesigns.com. She wants embroiderers of all levels to increase their skills and enjoyment in using their embroidery machine for gift-making and personal pleasure.
    More From This Author
    Link is Broken, Please check the URL
    Exclusive Embroidery Offers!
    Copyright © {{ currentDate | date:'yyyy'}} - EmbroideryDesigns.com
    GET 50% OFF! ×