Festive Christmas Tree and Reindeer Pillow

Festive Christmas Tree and Reindeer Pillow Embroidery Project

By   Pat Williams   on   October 26, 2015
  • SKILL LEVELSome Experience
  • TIME REQUIRED02:00
  • FINISHED SIZE16 x 12 inches
Description

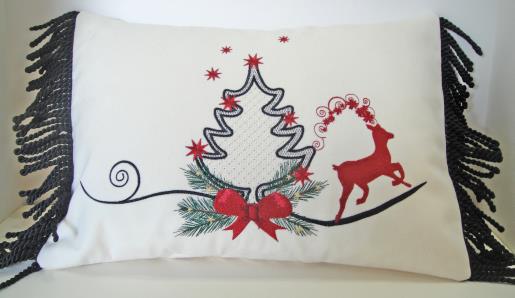
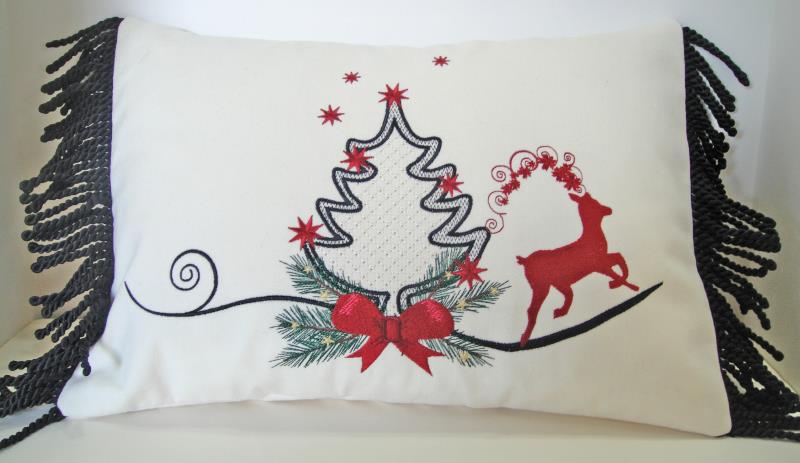
Create a charming holiday pillow featuring a Christmas tree and reindeer design. Perfect for adding a festive touch to your home decor. Step-by-step instructions are included.

Step of

Materials

Project Preview Video

Materials
  • 12” x 8” or larger embroidery hoop
  • 12” x 16” pillow form
  • ½ yard of 60” wide ivory cotton twill
  • ½ yard of fusible knit interfacing
  • 2’ of black upholstery fringe
  • Poly-mesh, No-Show or Weblon Stabilizer
  • Sewing machine
  • Walking foot if available
  • Point Turner

  • Designs used in this project

    Final Product: What You Will Create

    Preface:
    Though quick to stitch up, this pillow will make a lovely addition to your Christmas decorations for years to come. An envelope back makes the pillow quick to make as well. The size given excludes the fringe.


    Step 1:
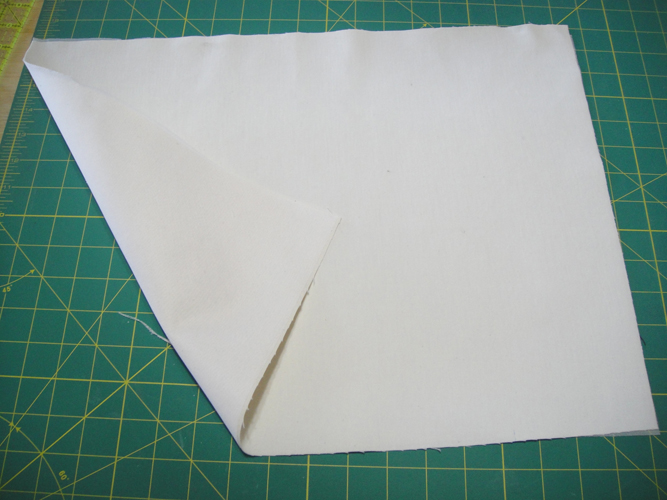
    For the pillow front cut a 15” x 19” rectangle of the cotton twill and the fusible knit interfacing; fuse the interfacing to the twill following the manufacturer’s instructions.

    (Click Image to Enlarge)


    Step 2:
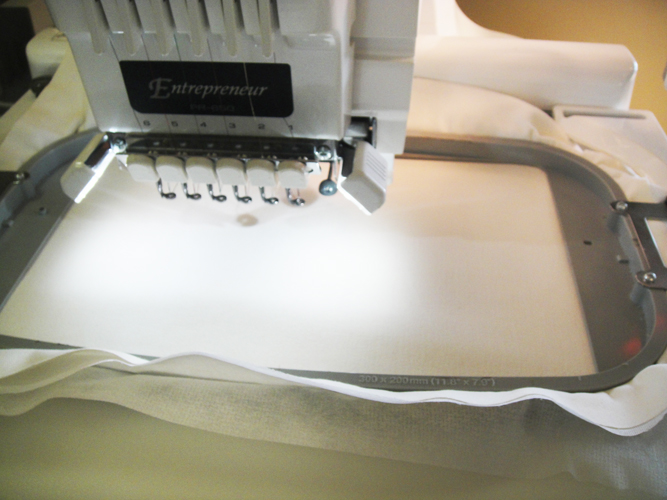
    Find and mark the center of your fabric with an air erasable pen; tautly hoop the prepared fabric with a poly-mesh stabilizer in a 12” x 8” hoop.

    (Click Image to Enlarge)


    Step 3:
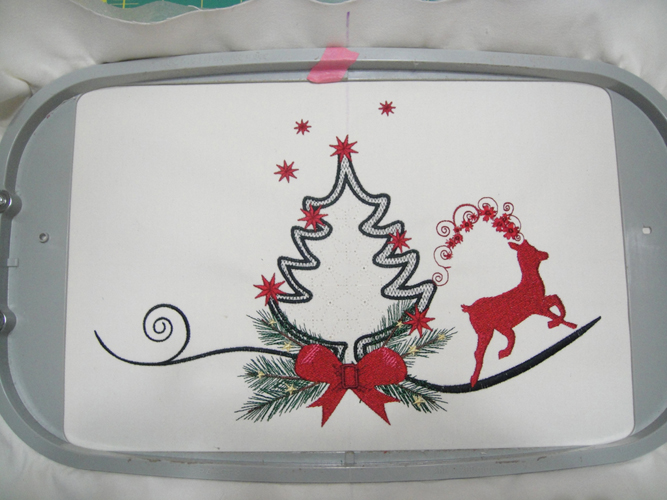
    Follow the color chart to embroider the design.

    (Click Image to Enlarge)


    Step 4:
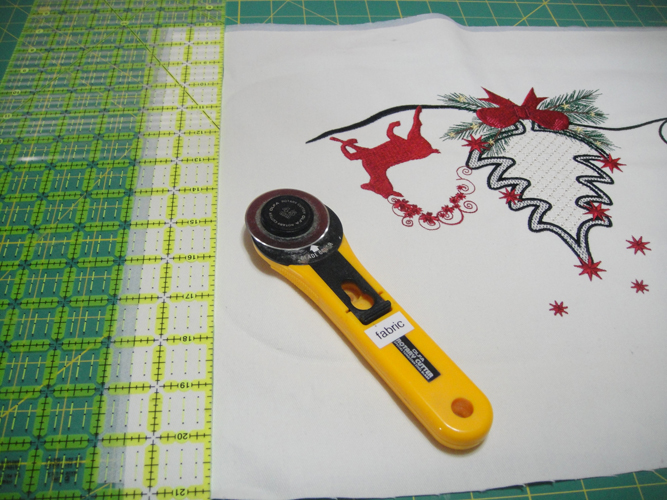
    Trim the fabric down to 12” x 16”; the embroidery will have slightly distorted your fabric so be sure to use the lines on your cutting mat to square up each edge as well as the whole pillow top as you trim. Press the pillow top. Note: Cutting the pillow top to the exact size of the pillow will result in a firmly stuffed pillow.

    (Click Image to Enlarge)


    Step 5:
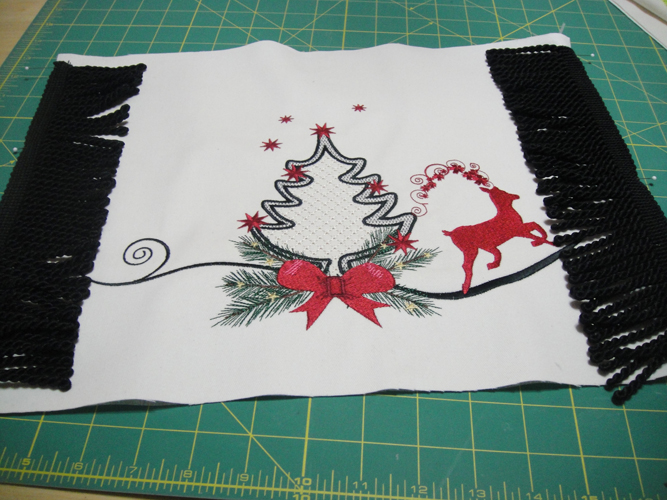
    Cut an place two strips of the black fringe and align with the sides of the pillow with the fringe pointing inside the pillow; leave ½” at the tops and bottoms of the fringe for a seam allowance.

    (Click Image to Enlarge)


    Step 6:
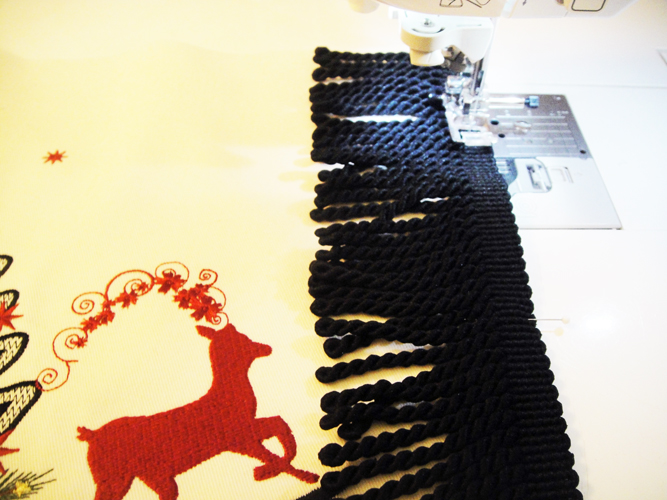
    Baste the fringe to the pillow down both sides using a seam allowance a little less than ½”.

    (Click Image to Enlarge)


    Step 7:
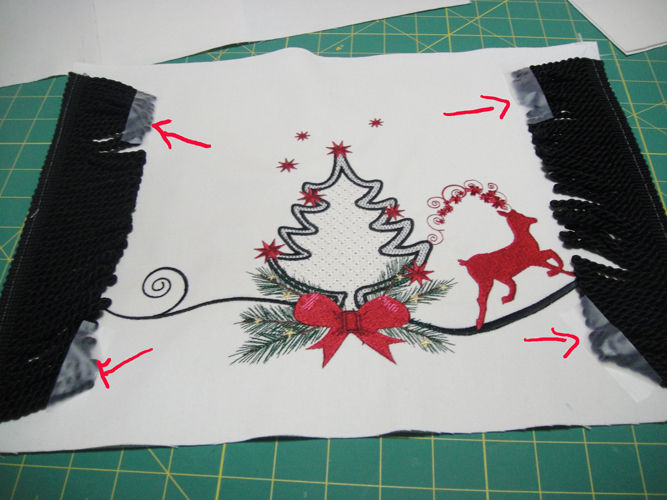
    Secure the fringe to the pillow top with scotch tape to keep it out of the way of the seam allowances.

    (Click Image to Enlarge)


    Step 8:
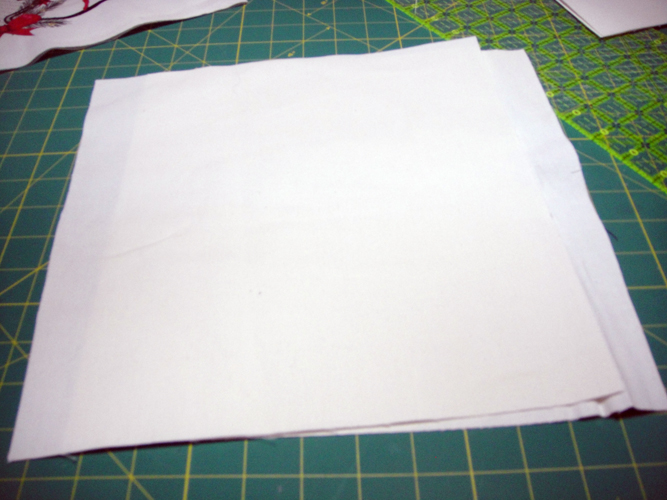
    Cut two pieces of cotton twill 12” x 11” for the pillow back.

    (Click Image to Enlarge)


    Step 9:
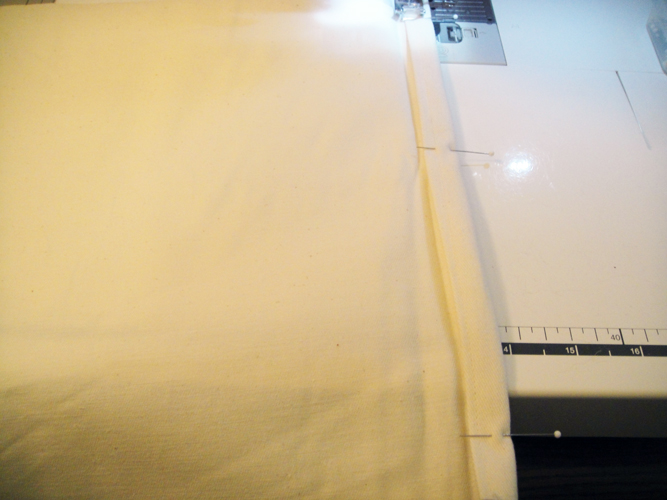
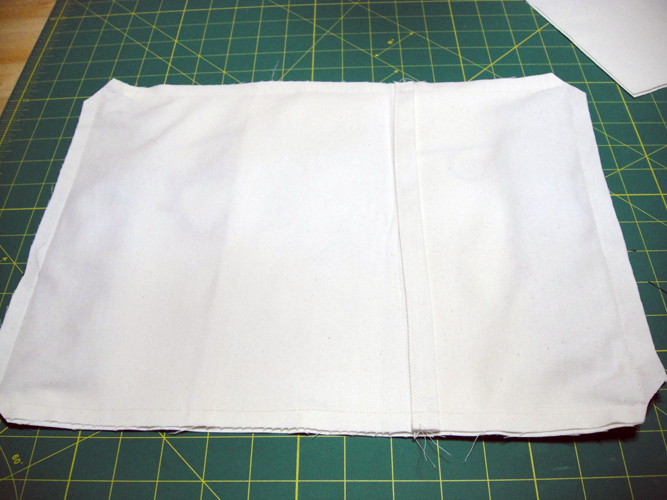
    Clean finish one 12” edge of each pillow back piece by turning under ¼” then ½” and stitching the hem down. Press the pillow back pieces.

    (Click Image to Enlarge)


    Step 10:
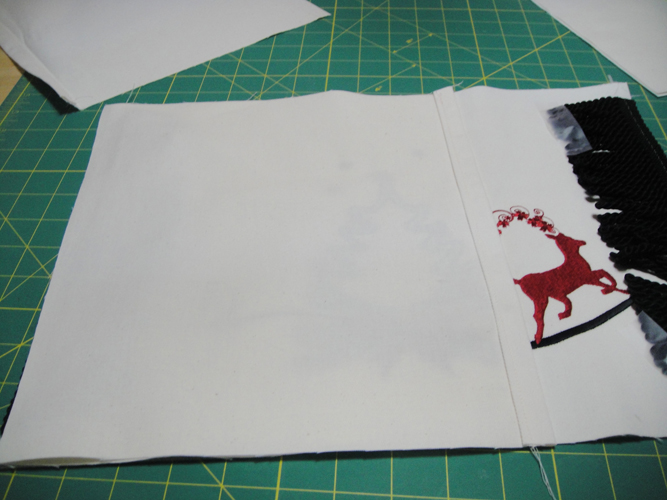
    Place one hemmed fabric face down on the pillow front with the hemmed edge facing to the right.

    (Click Image to Enlarge)


    Step 11:
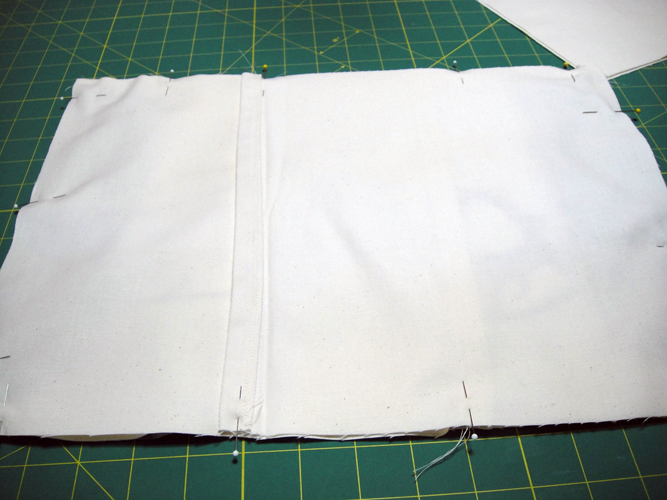
    Place the second hemmed fabric face down over the pillow front and first back piece with the hemmed edged facing to the left; pin all three pieces together.

    (Click Image to Enlarge)


    Step 12:
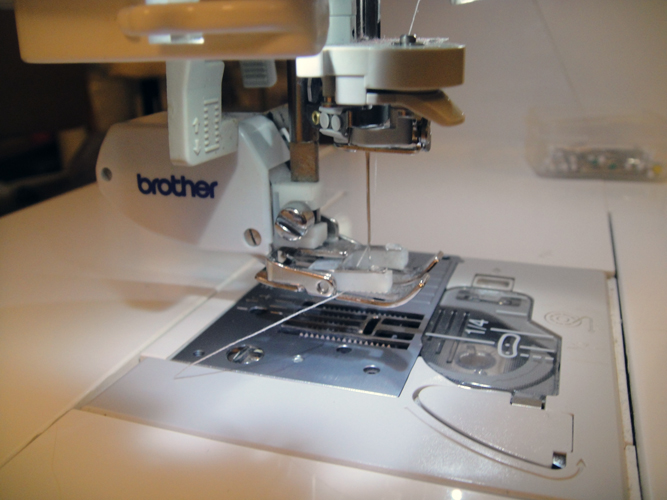
    As you will be stitching through layers of various thicknesses put a walking foot on the machine if you have one available.

    (Click Image to Enlarge)


    Step 13:
    Stitch all the way around the pillow with a ½” seam allowance; clip the four corners.

    (Click Image to Enlarge)


    Step 14:
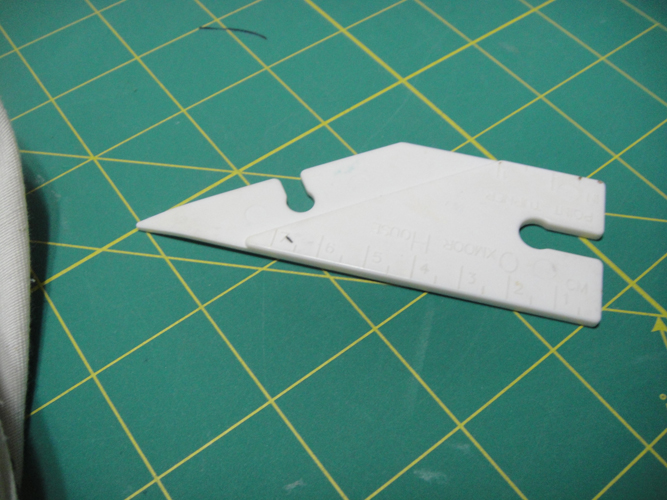
    Turn the pillow case right side out using a point turner to poke out your corners; insert the pillow form.

    (Click Image to Enlarge)


    Step 15:
    Congratulations your Christmas Tree & Reindeer is complete and ready to decorate your home for the holidays!

    (Click Image to Enlarge)


    For the love of embroidery…
    Pat Williams
    Meet the Author: Pat Williams
    Pat Williams
    Award winning Digitizer, Embroidery Educator, Author and a Consultant to the Industry, Pat Williams has 30 years of experience in the embroidery industry. Pat has won multiple awards for her digitizing expertise including the 2007 Impressions Awards Grand Championship, Best of Show as well as the 1st and 2nd Place Awards. Pat’s love of digitizing has afforded her the opportunity to write numerous articles for Impressions magazine in the United States and Images Magazine in Europe. In 2001 Pat was named “Embroidery Educator of the Year.” For many years Pat taught digitizing seminars at the ISS Shows in Long Beach, CA and for Compucon software. She now resides in Tucson, AZ.
    More From This Author
    Link is Broken, Please check the URL
    Exclusive Embroidery Offers!
    Copyright © {{ currentDate | date:'yyyy'}} - EmbroideryDesigns.com
    GET 50% OFF! ×