Mega Blow Out 99cent
Live Chat
Embroidery Designs
Welcome, Embroiderer
Login
Tattered Heart Wreath
{{mainImageAlt || (productInfo._source && productInfo._source.name) || ''}}

Tattered Heart Wreath Embroidery Project

By   Ruth Vangrowski   on   October 09, 2015
  • SKILL LEVELBeginner
  • TIME REQUIRED08:00
Description

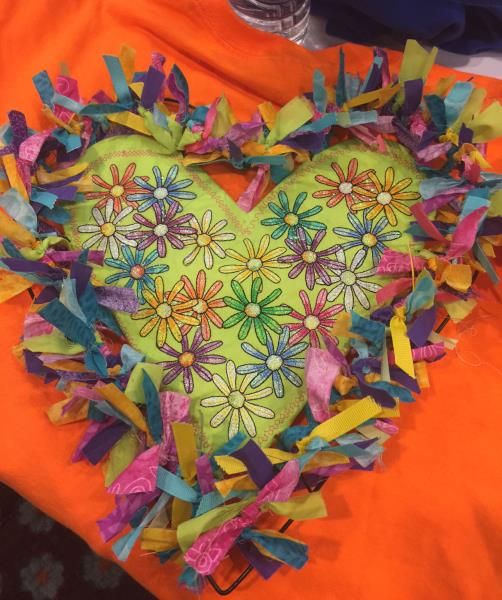
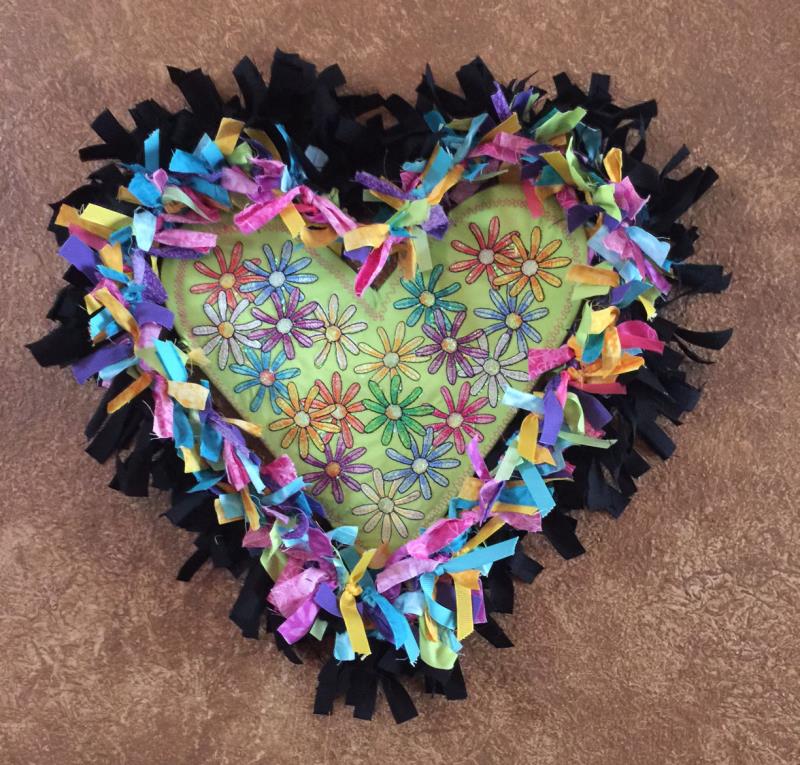
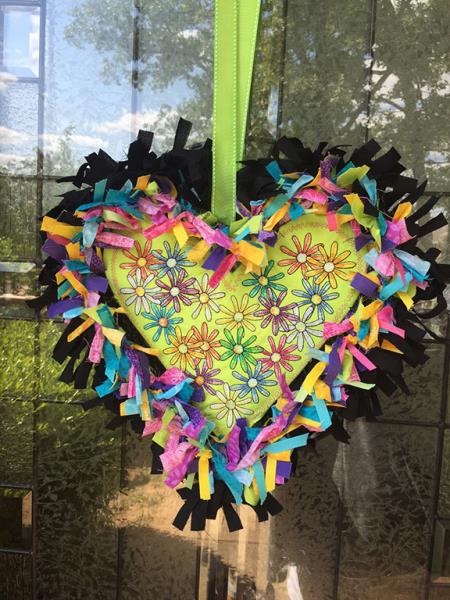
This heart can be used for a wall hanging, dorm door decoration or front door wreath.

Step of

Materials

Project Preview Video

Materials
  • Floral Mylar Magic Pack by Great Notions SKU CMC_FMM1. We used design number 22146a the daisy.
  • Wire heart frame, was purchased from Michaels Craft store.
  • ½ yard of bright color fabric 44/45” wide cotton for the heart front & back
  • ½ yard of black 44/45” wide cotton fabric
  • Assorted bright color scraps of fabric, assorted grosgrain ribbon 3/8” wide
  • ½ yard of quilt batting
  • ½ yard of fusible interfacing to use as backing
  • Target stickers

  • Designs used in this project

    Final Product: What You Will Create


    Step 1:
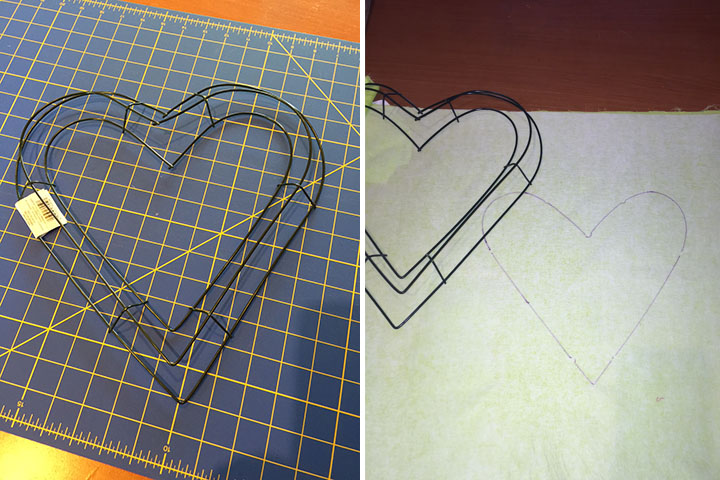
    Fuse interfacing to the wrong side of fabric for the heart. Trace the inner heart shape onto the back of the fabric, dark enough to just show through the front.

    (Click Image to Enlarge)


    Step 2:
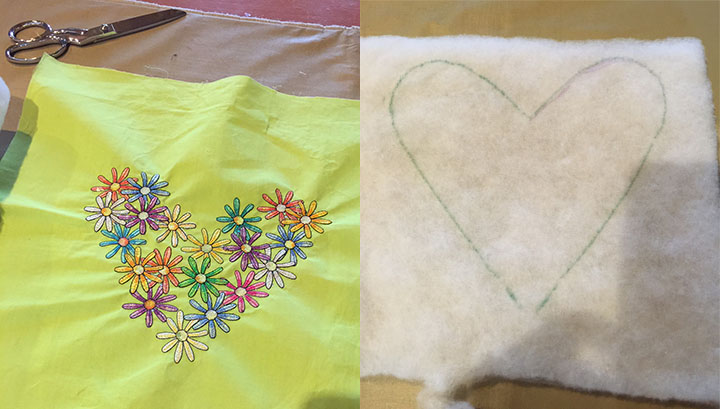
    Lay the target stickers where you want the daisy design to run. You will overlap some, the idea is to cover most of the area. Follow the embroidery instructions for Mylar on the color sequence.


    Step 3:
    After you have filled up the heart shape with the daisy design, trace the inter heart onto the batting.

    (Click Image to Enlarge)


    Step 4:
    Cut out the batting in the heart shape following the tracing. Next you will take the second piece of the heart fabric to use as the back side of the heart, you will sandwich the batting between the two pieces of fabric. Stitch the three pieces together following the heart shape.


    Step 5:
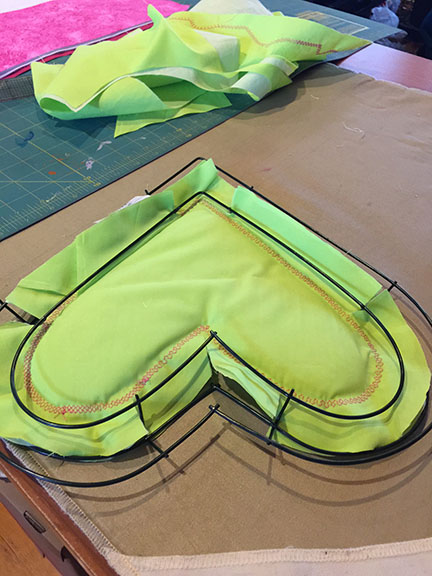
    Cut the heart shape out leaving at least 1-2”all around the shape. Lay the wire heart frame front side down on the backside of the heart. You will need to clip the fabric where the frame is joined.

    (Click Image to Enlarge)


    Step 6:
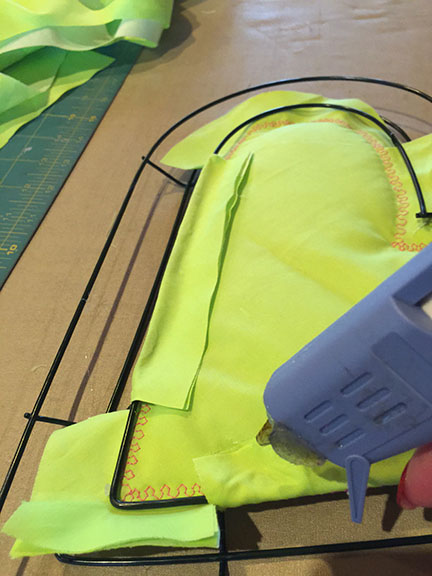
    Pull the clipped fabric over the frame and glue to the back side using a hot glue gun.

    (Click Image to Enlarge)


    Step 7:
    Using the bright color fabrics, cut strips ½” wide by 6” long, do the same to the ribbons. You are ready to tie fabric and ribbons onto the medium frame. You need to tie a double knot. Be sure to push the strips as close together as you can, the more strips you use the fuller the wreath will look.

    (Click Image to Enlarge)


    Step 8:
    The outer frame is for the black strips of fabric, cut strips ½” wide by 6” long. Tie on the same as in step 5.

    (Click Image to Enlarge)


    Step 9:
    Optional: Attach a long piece of ribbon at the top of the wreath so you can hang on a wreath hanger.

    (Click Image to Enlarge)

    Meet the Author: Ruth Vangrowski
    Ruth Vangrowski
    Ruth works for Great Notions. Has been sewing for over 50 years and embroidering for more than 30 years.
    More From This Author
    Link is Broken, Please check the URL
    Exclusive Embroidery Offers!
    Copyright © {{ currentDate | date:'yyyy'}} - EmbroideryDesigns.com
    GET 50% OFF! ×