Border OptionsHugging border, circle, square, or rectangle — with a 3mm satin stitch.
Backing OptionsAvailable with iron-on, sew-on, or velcro backing.
Fast ShippingShipped quickly from the USA.
Free Online Tools
Powerful embroidery utilities that save time and prevent costly mistakes.
Stitch AssistantRECOMMENDED
Get the exact stabilizer, machine settings, needle, and thread color sequence for every embroidery design you purchase — based on that design's stitch density, dimensions, and color count.
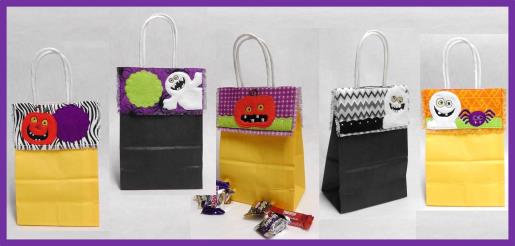
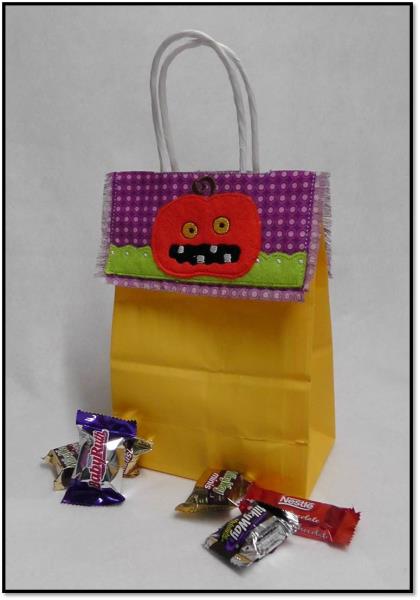
Create charming Halloween Bag Toppers to delight trick-or-treaters or serve as unique hostess gifts. These festive toppers are quick to stitch, taking only 20–30 minutes each. Step-by-step instructions are included.
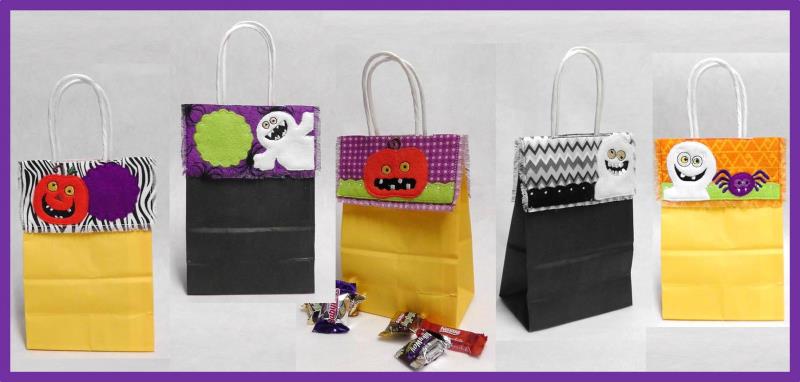
There are five Halloween Bag Toppers available for purchase and download. The instructions will be given for the Pumpkin Bag Topper, but all follow the same basic steps of first sewing the placement line for the background fabric, stitching down the background fabric, and then sewing a placement line for the felt, tacking down the felt and trimming it close to the stitching. Other colors will stitch eyes, nose, mouth, teeth. The last color to stitch is the handle cut out. Names or initials may be added to the medallions either in software or at the machine. The last steps will show how to add an initial even after the Halloween Bag Topper has been taken out of the hoop. Add candy (or even homemade goodies), slip the topper over the handles, and the little trick or treaters will be delighted!
Step 1:
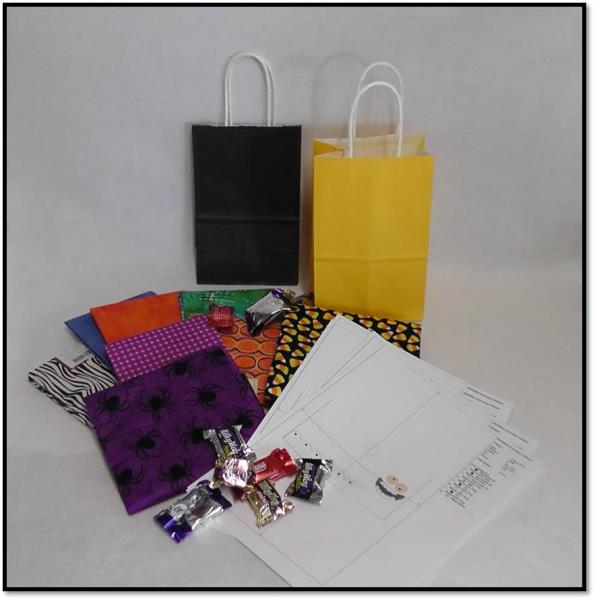
Gather the materials needed and read through the instructions before beginning. There are some common things for each design, and different sized felt pieces needed for each design which is given in the materials section.
(Click Image to Enlarge)
Step 2:
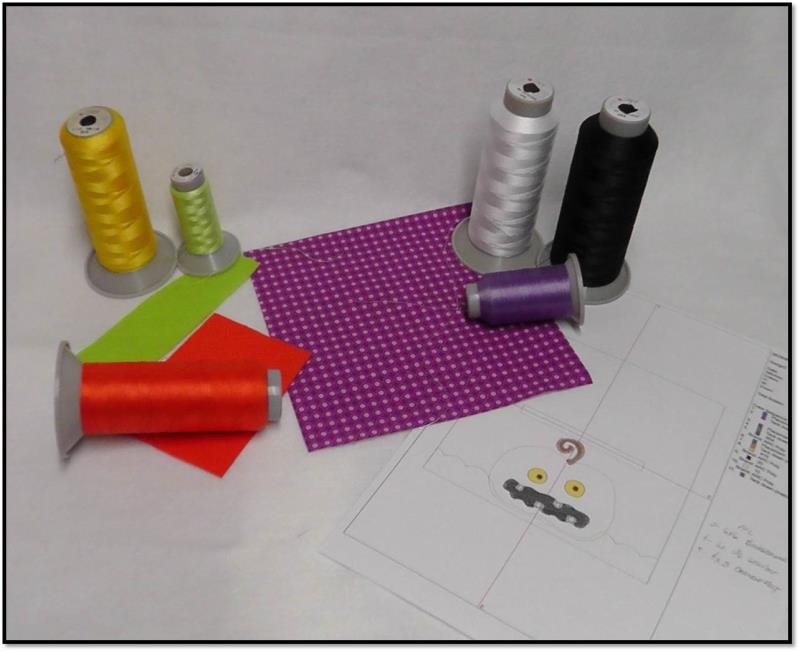
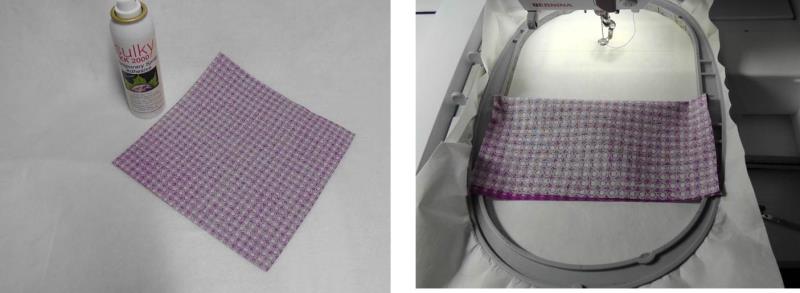
Match thread colors to the background fabric and felt colors. Cut the background fabric to the size needed and spray starch well. Also cut the pieces of felt needed as defined in the materials list.
(Click Image to Enlarge)
Step 3:
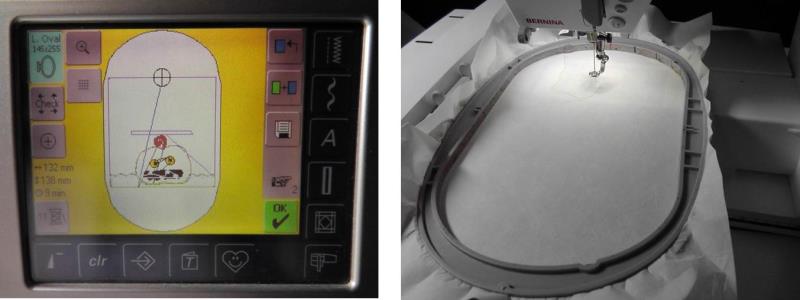
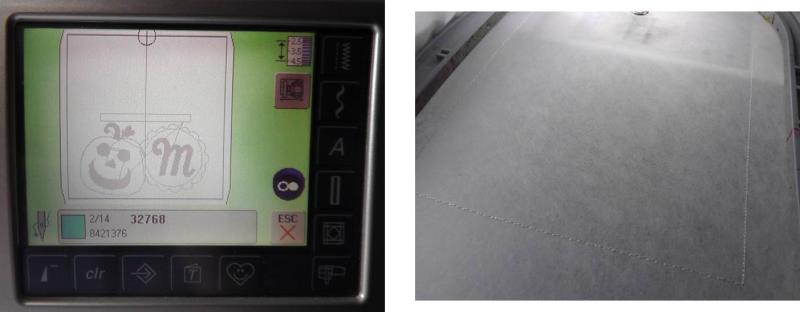
Load the design Halloween Bag Topper Pumpkin on the machine. Hoop one layer of medium cutaway stabilizer. Stitch the first color which is the placement line for the background fabric.
(Click Image to Enlarge)
Step 4:
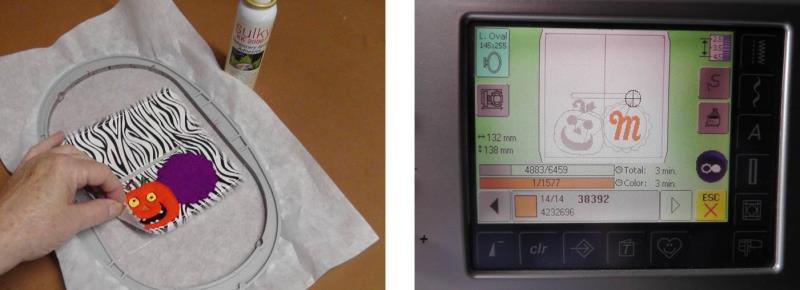
Spray the wrong side of the background fabric lightly with KK2000. Fold the fabric in half, right sides together. Place and center the fold of the fabric in the middle section of the hoop as shown.
(Click Image to Enlarge)
Step 5:
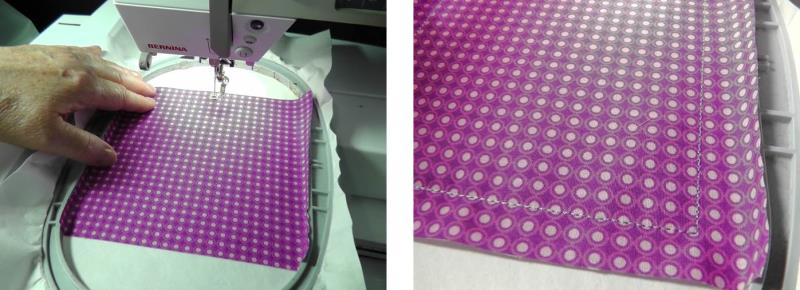
Unfold the top portion and smooth the fabric into place. Stitch color 2 which will tack the fabric to the stabilizer.
(Click Image to Enlarge)
Step 6:
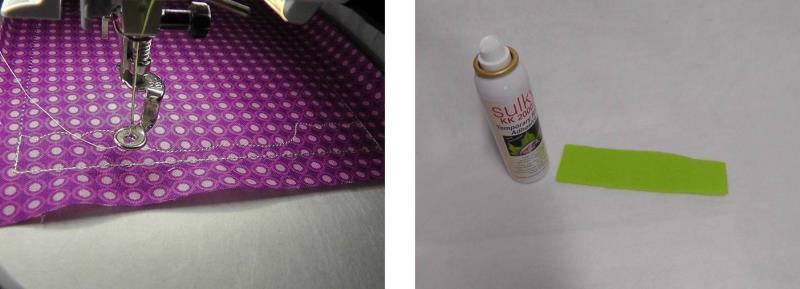
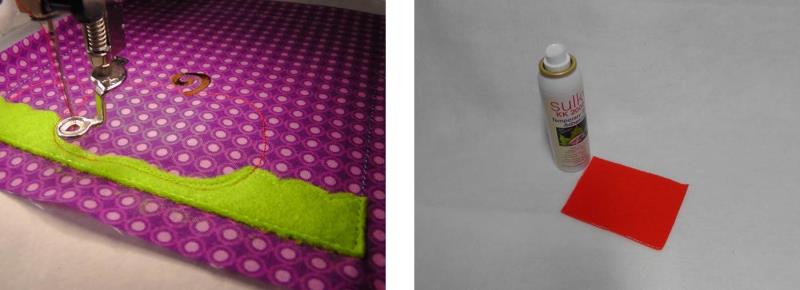
Stitch color 3 which will stitch the placement line for the green felt piece. Spray the back of the green felt piece lightly with KK2000.
(Click Image to Enlarge)
Step 7:
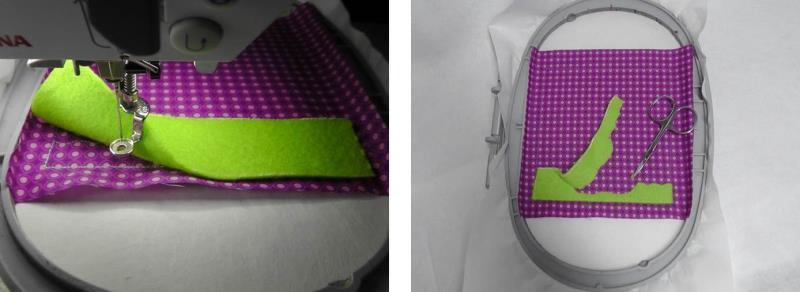
Place the green felt over the placement line and stitch color 4 which will tack the felt to the background fabric. Remove the hoop from the machine (do not un-hoop the fabric) and use small, sharp scissors to trim the felt close to the stitching line.
(Click Image to Enlarge)
Step 8:
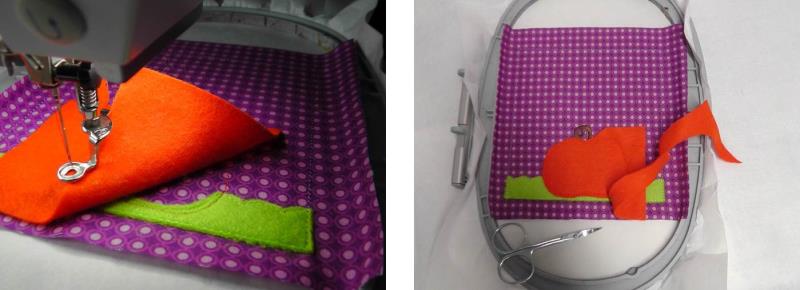
Stitch the stem. Stitch the placement line for the pumpkin. Spray the back of the orange felt lightly with KK2000.
(Click Image to Enlarge)
Step 9:
Place the felt over the placement line and stitch the next color to tack the orange felt down. Remove the hoop from the machine and trim the felt close to the stitching line.
(Click Image to Enlarge)
Step 10:
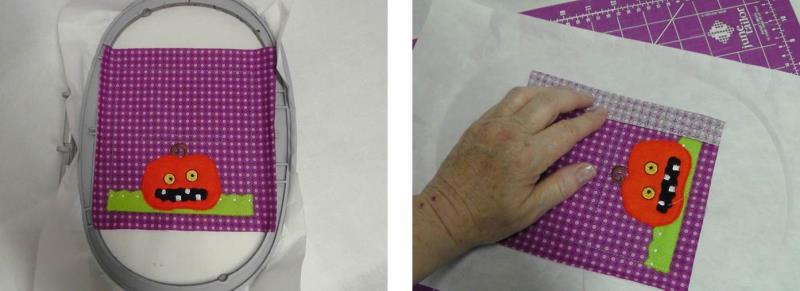
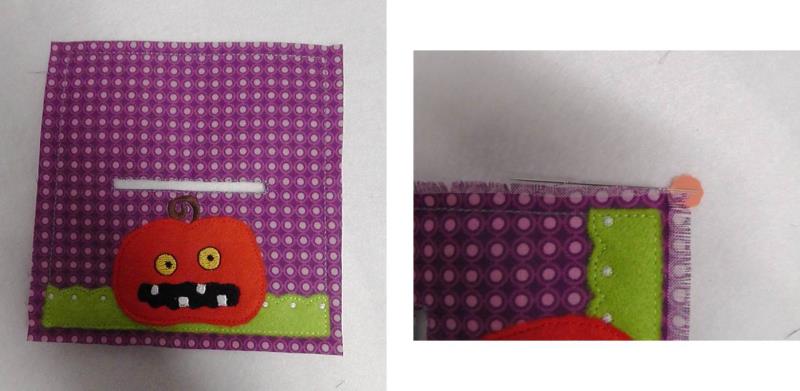
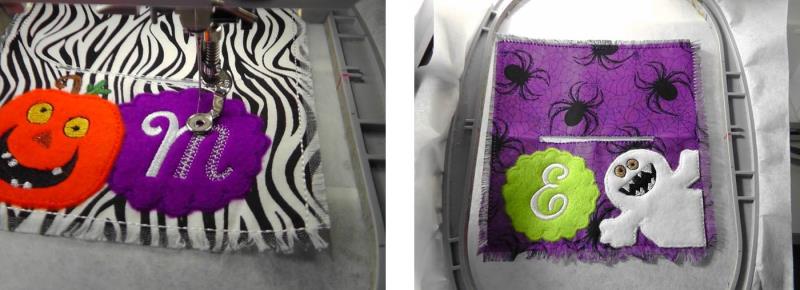
Continue stitching the remaining colors. When all the stitching is finished remove the project from the hoop. Lay the topper on a cutting mat right side up and fold back along one edge.
(Click Image to Enlarge)
Step 11:
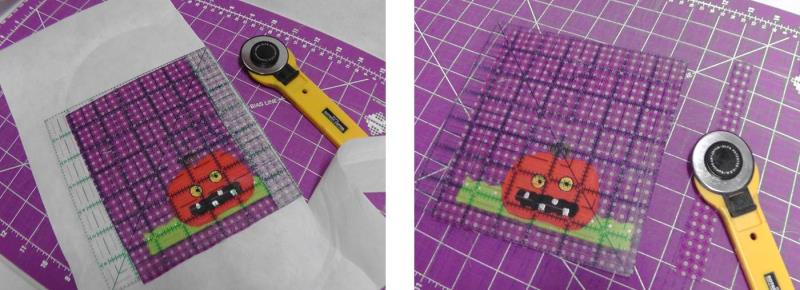
Use a ruler and rotary cutter to trim the stabilizer about 1/8” away from the stitching line. Repeat for the other three sides.
(Click Image to Enlarge)
Step 12:
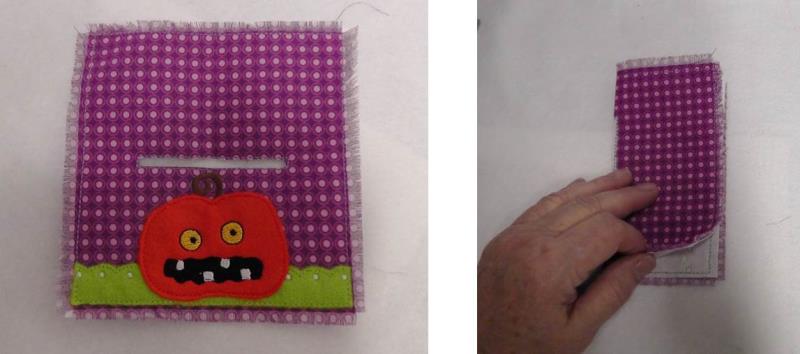
Use sharp scissors to cut away the inside of the top rectangle to create an opening for the bag handles. Use a pin to pull up threads along the outside edges of the fabric and fringe each side of the background fabric.
(Click Image to Enlarge)
Step 13:
Fold the project in half, meeting wrong sides together.
(Click Image to Enlarge)
Step 14:
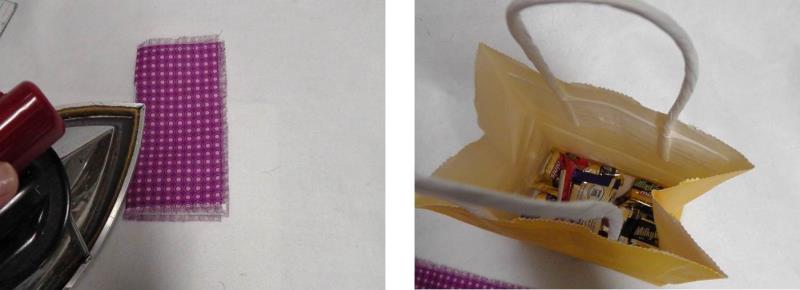
Gently press the folded edge to crease. Place candy pieces or other small gift items in the bag.
(Click Image to Enlarge)
Step 15:
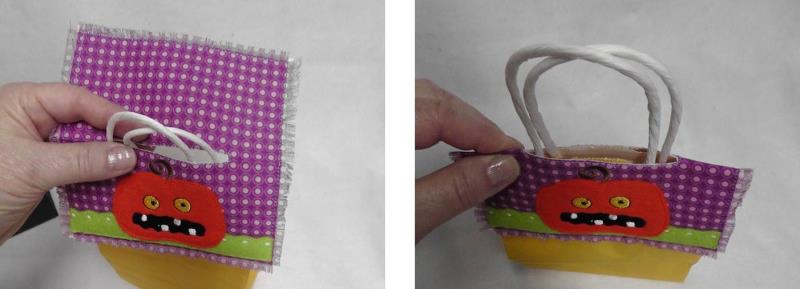
Slip the handles through the opening and slide the bag topper to the top of the bag.
(Click Image to Enlarge)
Step 16:
Congratulations on creating this easy-to-do Halloween Bag Topper! These colorful Halloween Bag Toppers can be used over and over each year.
(Click Image to Enlarge)
Step 17:
Two of the bag toppers have medallions on them. If desired, add a name or initial in software or at the machine before removing the topper from the machine and performing the final steps of cutting away the stabilizer and fringing the fabric. Initials or names can also be added at a later time. To do this, add the initial in software and place the design in the machine. Stitch the first color which is the placement line.
(Click Image to Enlarge)
Step 18:
Spray the back of the bag topper with KK2000 and align the topper outline to the outline just stitched. Advance through the colors to the initial.
(Click Image to Enlarge)
Step 19:
Stitch the initial.
(Click Image to Enlarge)
Step 20:
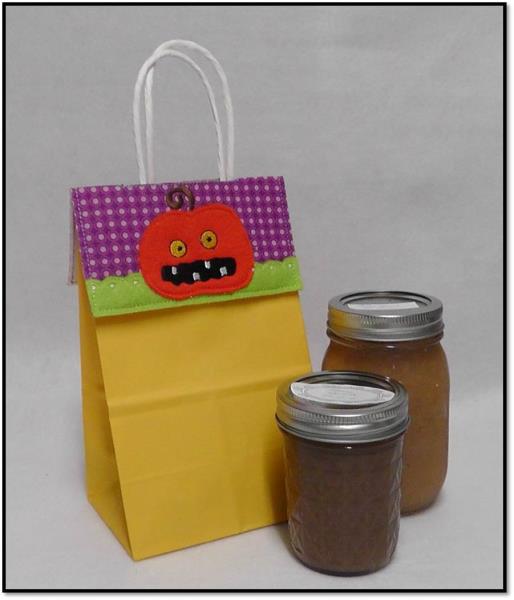
The Halloween Bag Toppers can also be used to decorate gift bags for other items such as home-canned applesauce or apple butter which can be given as a wonderful hostess gift.
(Click Image to Enlarge)
Step 21:
Purchase all the Halloween Bag Topper designs and have fun creating them for the special little Trick-or-Treaters or a lovely hostess gift.
Ramona Baird has been in the embroidery industry for over 23 years. She and her husband owned a commercial and retail embroidery store in Arizona for many years. She is an experienced digitizer having been mentored by award-winners Pat Williams and Lindee Goodall. Ramona is a contributor to “Creative Machine Embroidery” magazine having 5 covers to her credit. Ramona has worked for Wilcom America and served many years as Education Director for the American Sewing Guild. With a degree in fashion design, she is able to design and execute patterns which Pat Williams says are “out of the box” in creativity and application. Ramona likes to challenge the boundaries of embroidery and bring new and exciting designs, ideas, and projects to EmbroideryDesigns.com. She wants embroiderers of all levels to increase their skills and enjoyment in using their embroidery machine for gift-making and personal pleasure.