














































PROJECT INSTRUCTIONS


PROJECT INSTRUCTIONS
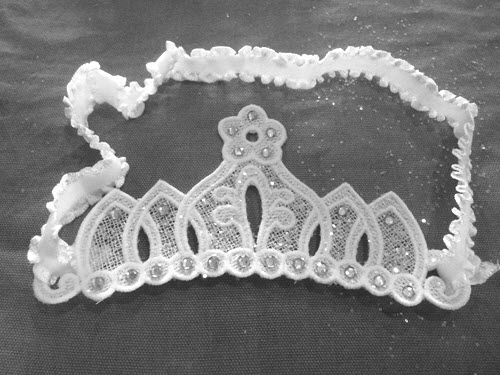
FSL Princess Tiara with Crystals Embroidery Project
By
Jeanie Marleen
on
August 22, 2015
Description
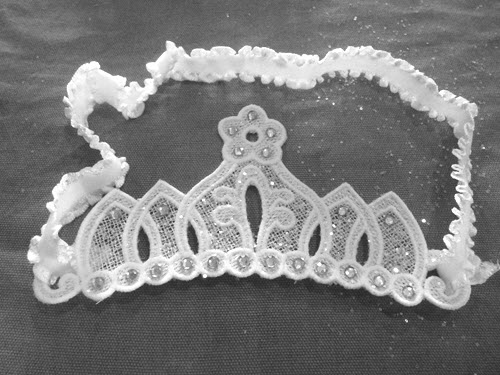
Create a stunning freestanding lace tiara adorned with hot fix crystals for a touch of sparkle. Perfect for making any girl feel like a princess for a day. Ideal for special occasions or dress-up play. Step-by-step instructions are included.
Step
of
Materials
Project Preview Video

QUICK VIEW
FSL Heart Tiara
$10.00
$2.49
Circle Price: $2.34

QUICK VIEW
FSL Royal Tiara
$10.00
$2.49
Circle Price: $2.34

QUICK VIEW
Daisy Tiara
$10.00
$2.49
Circle Price: $2.34

QUICK VIEW
Water Soluble Stabilizer - 12" x 25 Yds
$32.46
$25.97
Circle Price: $25.97
{{ item.name }}
{{ item.listPriceDisplay }}{{ item.salePriceDisplay }}
Circle Price:
{{ item.clubPriceDisplay }}


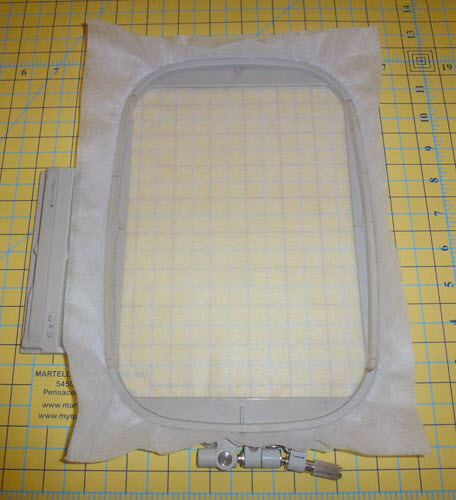
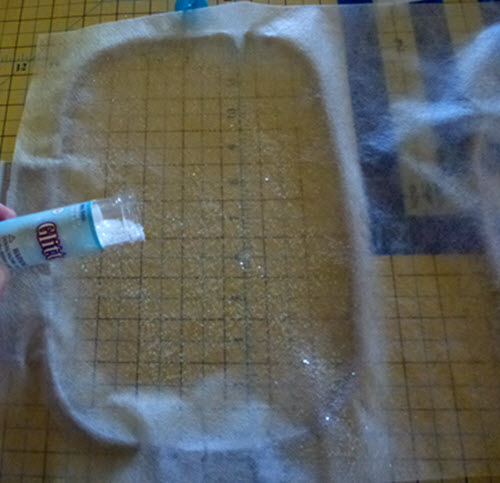
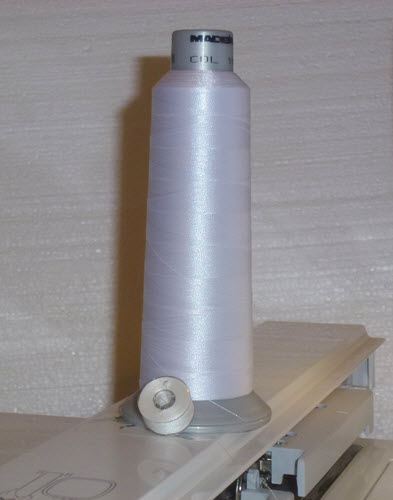
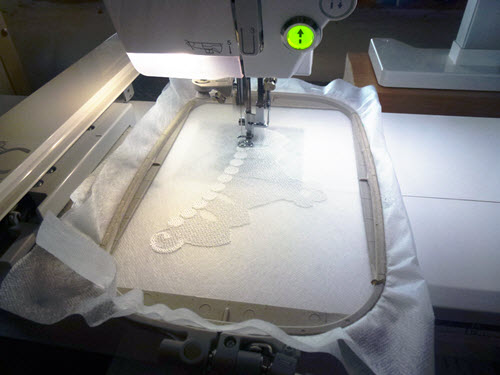
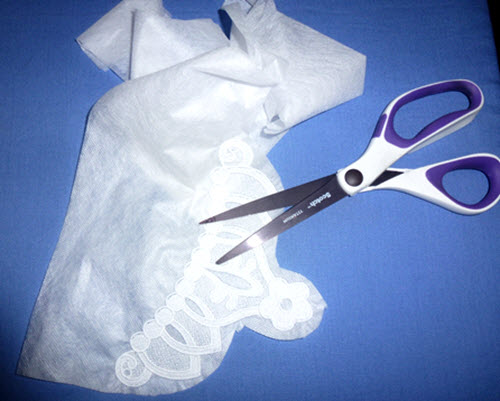
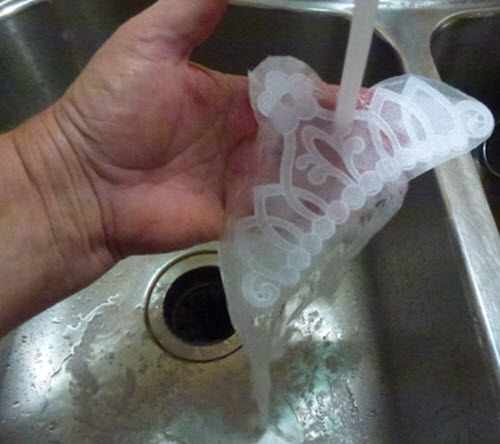
| Materials FSL tiara design 2 lays of lit fibrous water soluble stabilizer Polyester thread - same color in the bobbin as top thread New 75/11 needle Scissors Warm water and lint free towel for blotting and drying Pressing mat Glitter Ribbon or elastic Hot fix crystals Tweezers for placing crystals BeJeweler to affix crystals |
| Designs used in this project |
| Final Product: What You Will Create |
 |
|
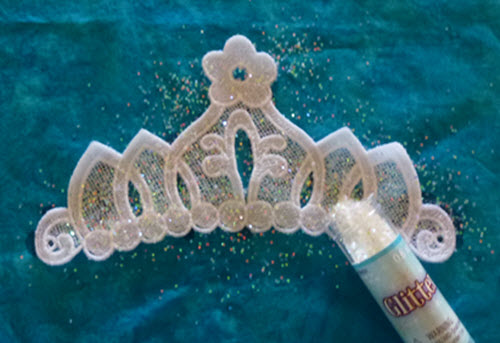
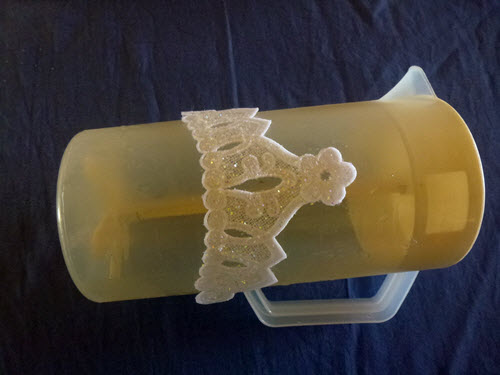
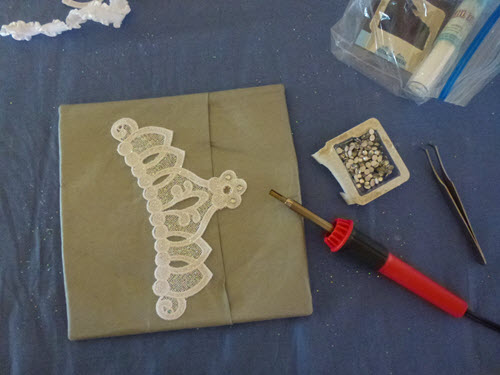
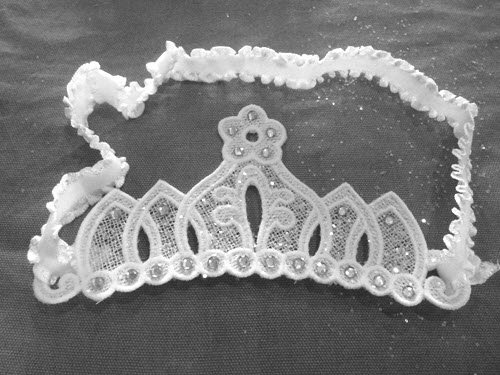
Fun Project! Jeanie Marleen DesignWhiz August 2015 |
Projects You May Like
Meet the Author:
Jeanie Marleen
Quilter, Embroiderer and Digitizer. Love to create fun things to make and share.
Feedback
Characters Remaining
Please Login to Submit a Feedback
Invalid Characters, Please enter a valid Comment
Please enter a valid Comment
Reviewed On
Link is Broken, Please check the URL