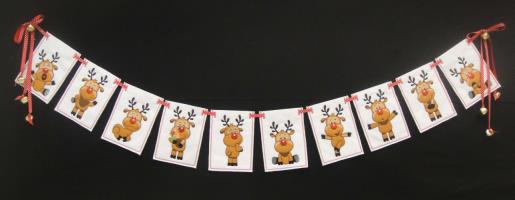
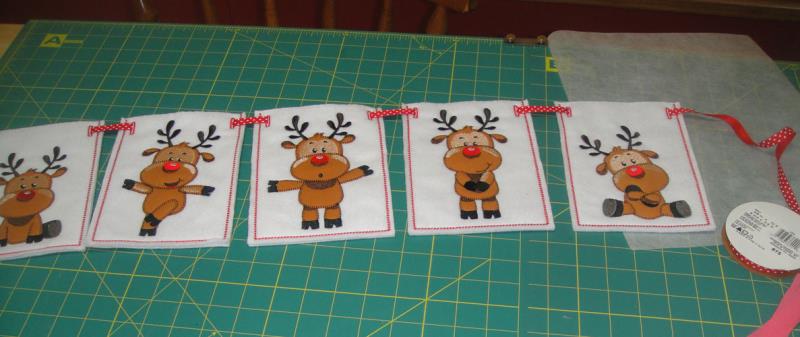
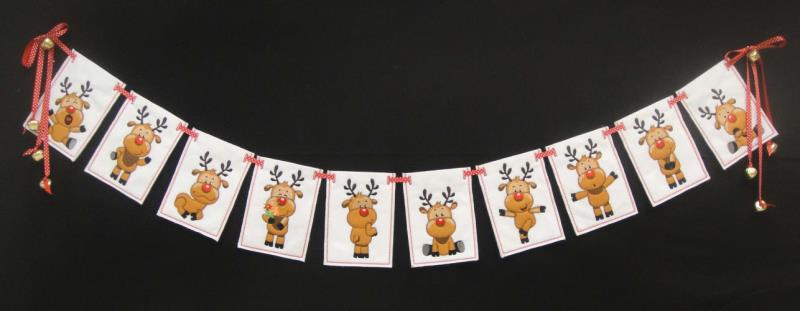
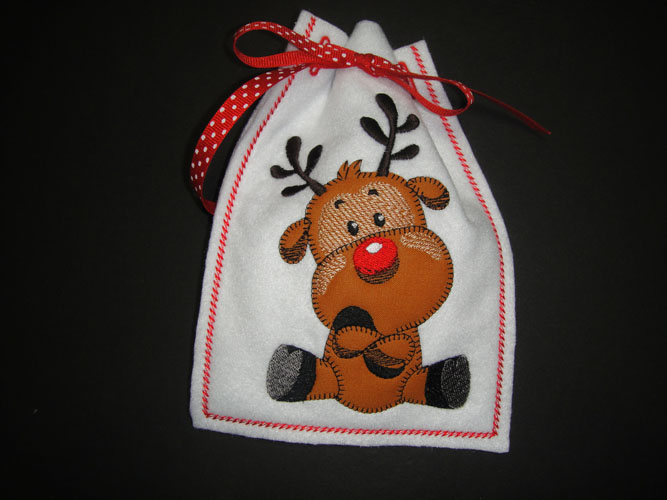
Add cheer to your Christmas decorations with this Rudolph Pockets Banner. Each banner piece is a pocket so that you can insert candy canes or small toys to add to the fun.
The reindeer are finished with a blanket stitch, or E-stitch, borders, so pre-cutting the appliques is a must. The sample was made using a Scan N Cut to pre-cut the appliques. FCM files are included for using the Scan N Cut. SVG files are provided for other electronic cutters. PDF files are provided for cutting by hand. The cutting files provided have already been slightly increased in size to provide a perfect fit when they are applied to the pockets. If cutting by hand please cut on the outside edge of the cutting line and not through the center of the cutting line.
Step 1:
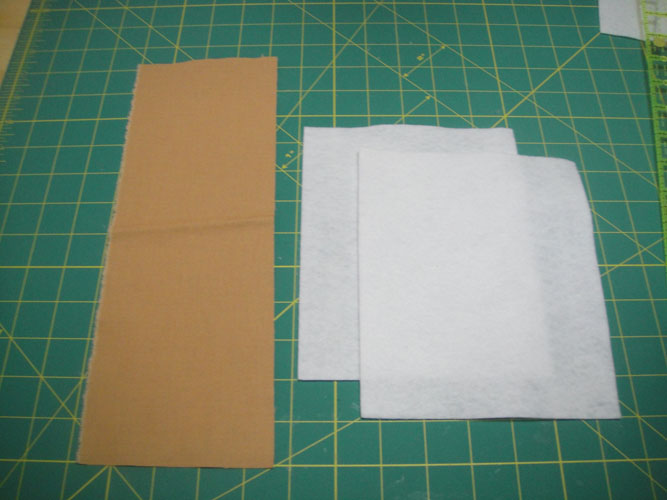
Cut 20 6”x 8” rectangles of white felt; Cut 3 4” strips of the dark gold applique fabric; for ease of use with the Scan N Cut® I sub-cut these into 11” x4” strips. Each reindeer needs approximately a 4” x 5.5” strip of the dark gold.
(Click Image to Enlarge)
Step 2:
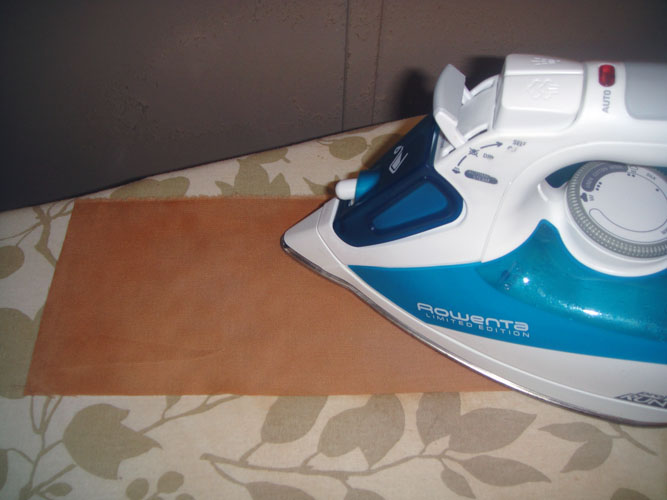
Press the dark gold fabric about 4 times with Magic Sizing® or spray starch; this helps prevent fraying of the appliques.
(Click Image to Enlarge)
Step 3:
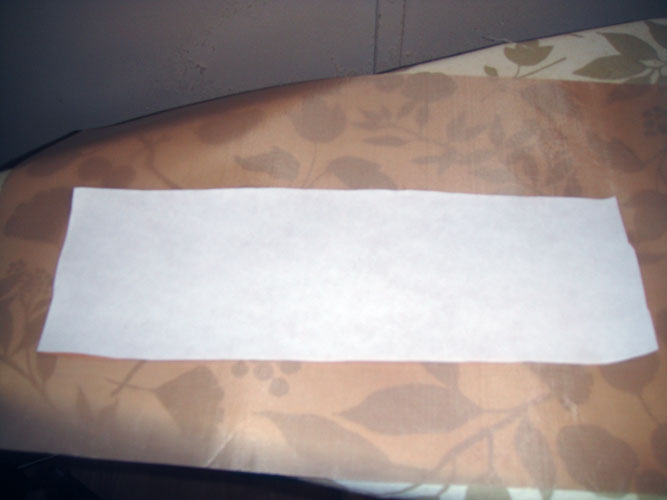
Following the manufacturer’s instructions apply Heat N Bond Lite® to the wrong side of the dark gold fabric strips.
(Click Image to Enlarge)
Step 4:
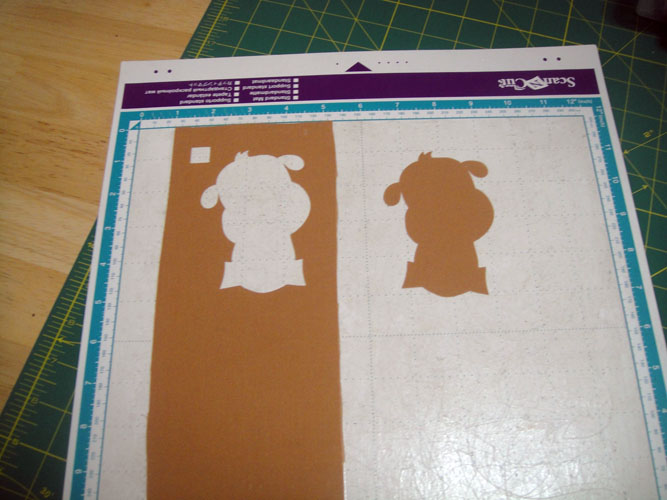
Cut the 1st applique from the fabric as shown with the Scan N Cut® or other electronic cutter. There is room on the strip to cut the 2nd applique from the same strip of fabric. If cutting by hand, print the PDF files; place on the right side of the prepared fabric; cut just on the outside edge of the outlines.
(Click Image to Enlarge)
Step 5:
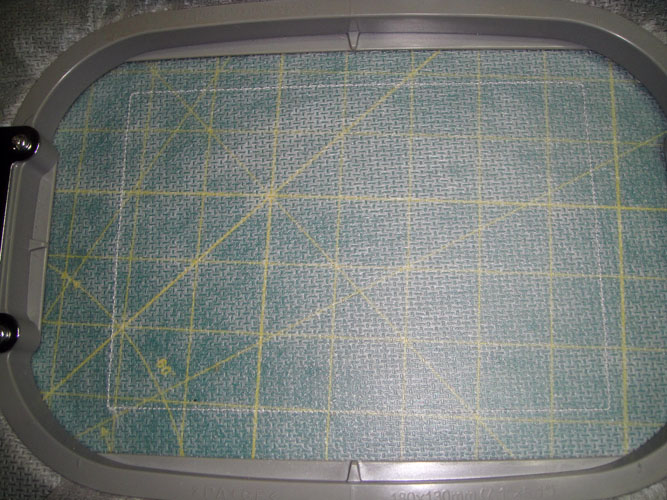
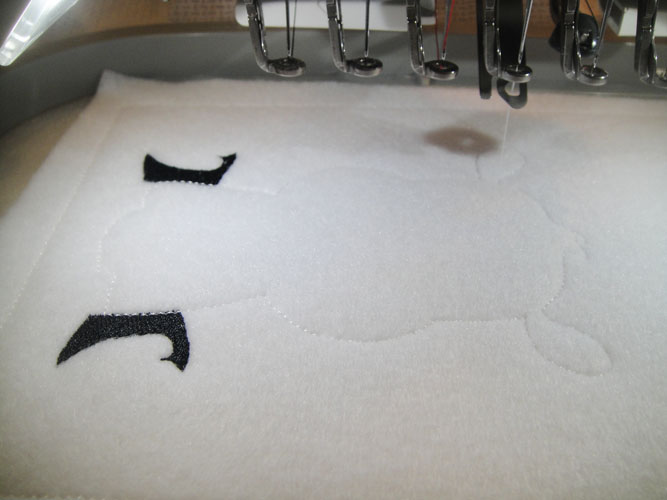
Hoop your stabilizer and stitch the first CS (color stop), in a color to match your felt, for an outline of the pocket. Note: the hoop was laid on the dark background just so you could see the outline in the picture.
(Click Image to Enlarge)
Step 6:
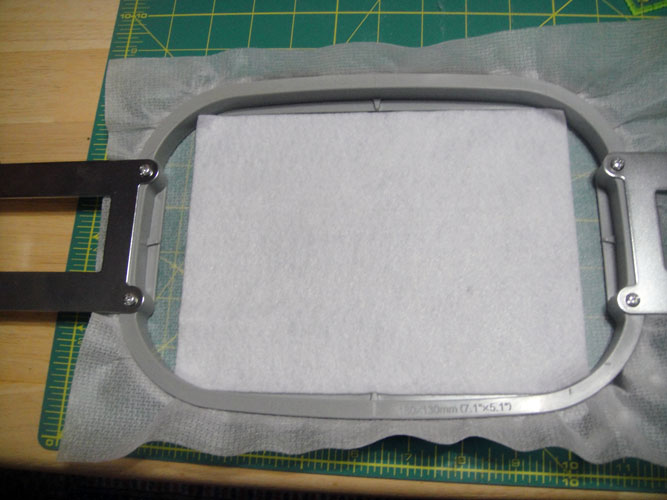
Lay a 6” x 8” rectangle of felt in the hoop making sure that you have at least ½” of felt exceeding the outline on all sides.
(Click Image to Enlarge)
Step 7:
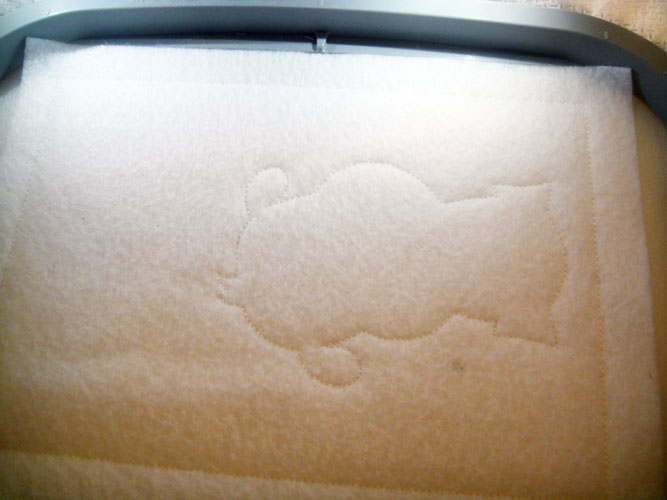
For all reindeer files, except RFBA05 (see Step 12), stitch the 2nd CS in thread to match your felt to tack down the felt. The 3rd CS is an outline of the reindeer; this too should be stitched in embroidery thread to match the felt.
(Click Image to Enlarge)
Step 8:
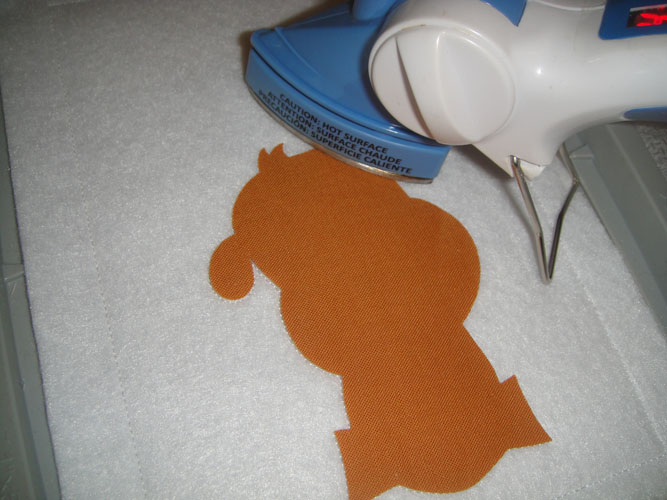
Precision placement of the applique is required. Remove the hoop from the machine, do not unhoop; place it on a flat surface and line up the applique precisely; press in place.
(Click Image to Enlarge)
Step 9:
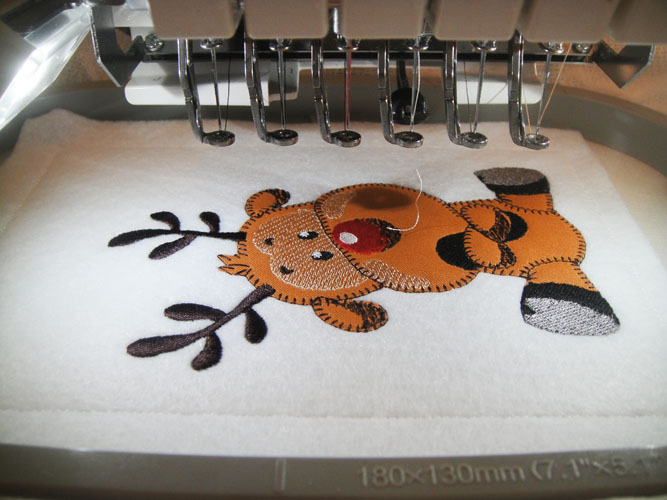
Follow the color chart to stitch the design until the white is stitched on the reindeer’s nose and eyes; stop the machine.
(Click Image to Enlarge)
Step 10:
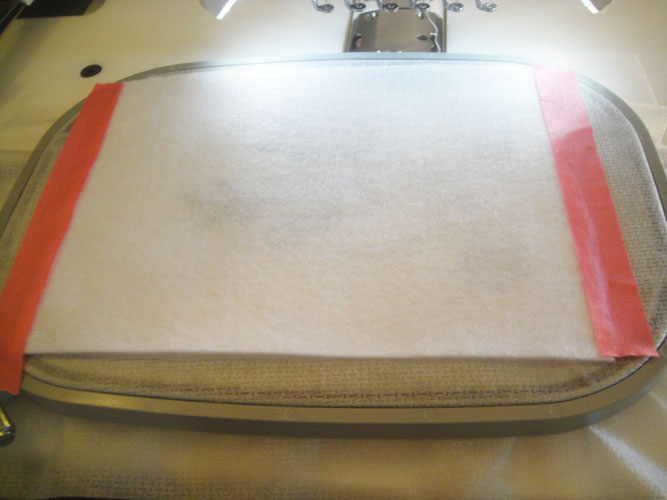
Remove the hoop from the machine, do not unhoop, turn the hoop over and place a 2nd piece of felt over the back of the front felt; hold the ends in place with embroidery tape.
(Click Image to Enlarge)
Step 11:
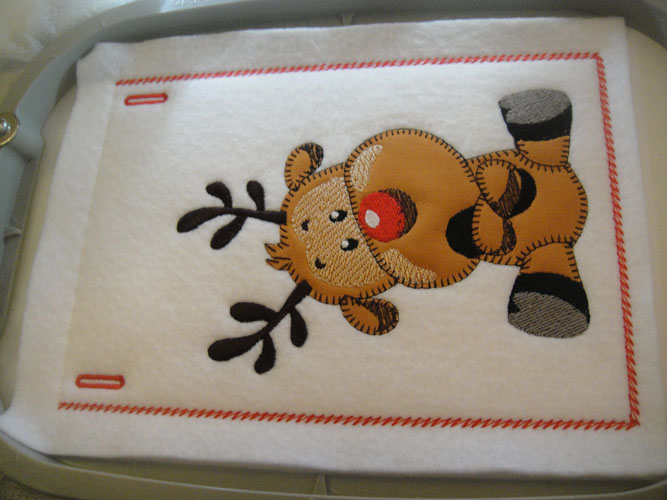
Stitch the last two CS in red to tack down the back and to stitch the decorative border and buttonholes.
(Click Image to Enlarge)
Step 12:
RFBA05 has one exception to the above directions. In this case the back feet need to be stitched in black after the first outline and tack down stitches are sewn and before the outline for the applique is sewn. For this block stitch CS 1 and 2 in white; stitch CS 3 in black and then stitch CS 4 in white; follow steps 8 through 11 to complete this pocket.
(Click Image to Enlarge)
Step 13:
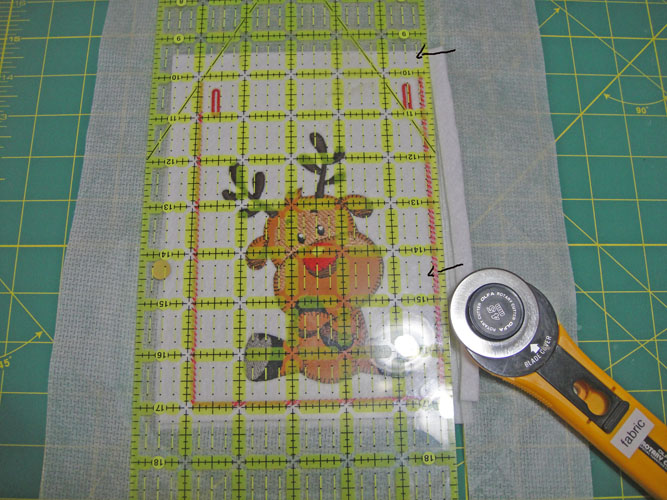
With a see through ruler line up the ¼” mark on the inside of the decorative red stitching and trim the pocket and the two sides and bottom.
(Click Image to Enlarge)
Step 14:
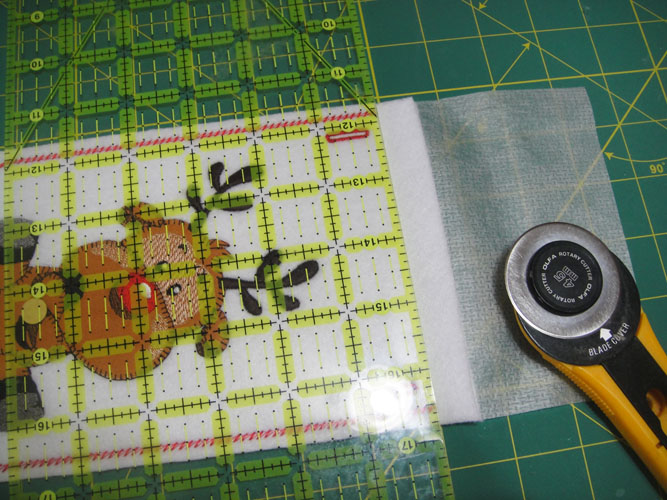
Lay the ruler across the top of the pocket just above the ends of the decorative stitching and trim the top.
(Click Image to Enlarge)
Step 15:
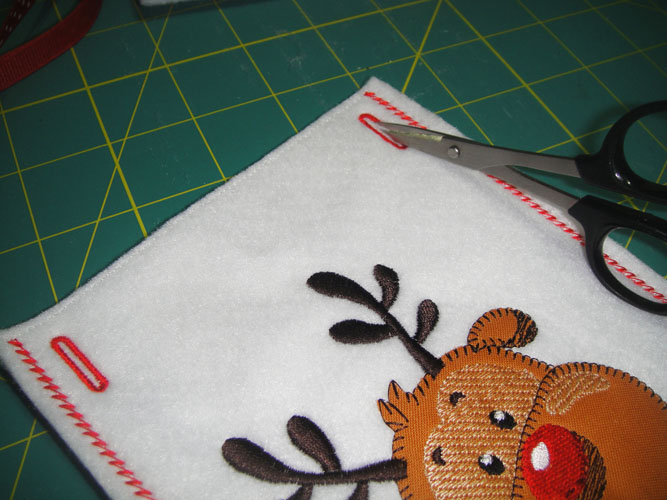
Open the button holes with small sharp scissors or a seam ripper.
(Click Image to Enlarge)
Step 16:
Using three yards of 3/8” grosgrain ribbon, insert the ribbon down through the first button hole; up through the second button hole of each reindeer pocket until you have one continuous string of reindeer pockets; adjust the spacing of the pockets as desired having approximately 12” of ribbon hanging from both ends.
(Click Image to Enlarge)
Step 17:
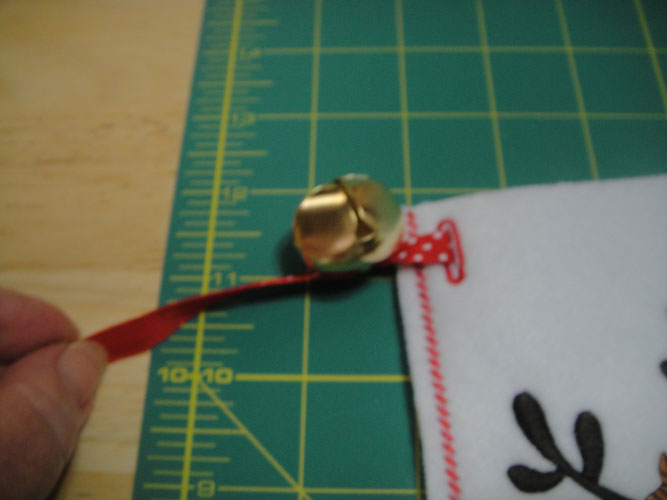
Slip a 1” bell onto the ribbons at each end of the banner and slide up to the top of the banner.
(Click Image to Enlarge)
Step 18:
(Click Image to Enlarge)
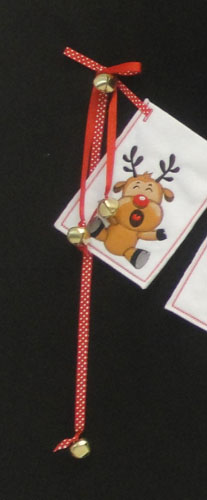
Cut two sections of ribbon approximately 27” in length; tie in bows around the bells at each end of the banner; tie bells on the 4 ends of the added ribbons.
Step 19:
Congratulations your Whimsical Rudolph Pocket Banner is complete! No candy canes were available at the time of this posting, but to further enhance your banner you can add candy canes, greenery, or small toys inside the pockets.
(Click Image to Enlarge)
Step 20:
Alternately you may use each pocket as a small gift bag just by inserting your gift and tying a section of ribbon to the front of the pocket!
Award winning Digitizer, Embroidery Educator, Author and a Consultant to the Industry, Pat Williams has 30 years of experience in the embroidery industry. Pat has won multiple awards for her digitizing expertise including the 2007 Impressions Awards Grand Championship, Best of Show as well as the 1st and 2nd Place Awards. Pat’s love of digitizing has afforded her the opportunity to write numerous articles for Impressions magazine in the United States and Images Magazine in Europe. In 2001 Pat was named “Embroidery Educator of the Year.” For many years Pat taught digitizing seminars at the ISS Shows in Long Beach, CA and for Compucon software. She now resides in Tucson, AZ.