Border OptionsHugging border, circle, square, or rectangle — with a 3mm satin stitch.
Backing OptionsAvailable with iron-on, sew-on, or velcro backing.
Fast ShippingShipped quickly from the USA.
Free Online Tools
Powerful embroidery utilities that save time and prevent costly mistakes.
Stitch AssistantRECOMMENDED
Get the exact stabilizer, machine settings, needle, and thread color sequence for every embroidery design you purchase — based on that design's stitch density, dimensions, and color count.
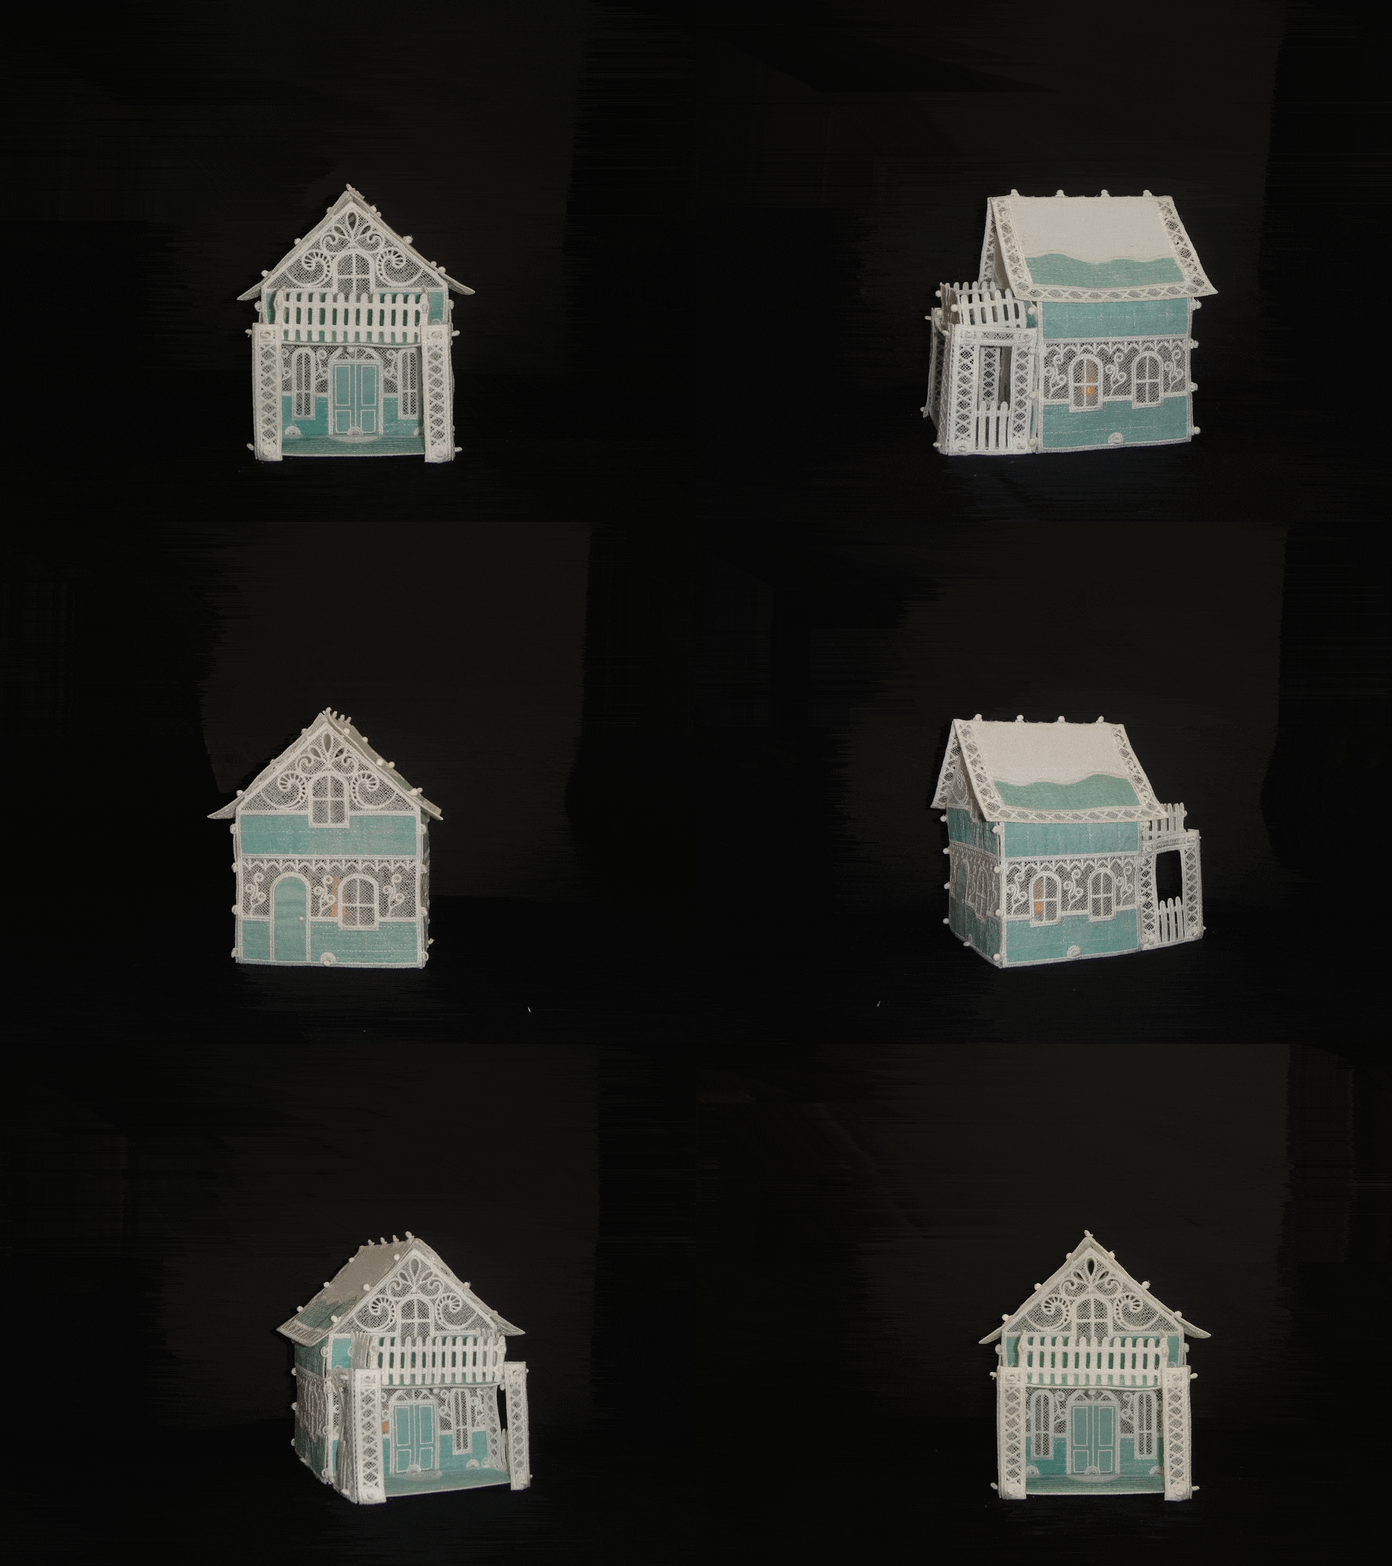
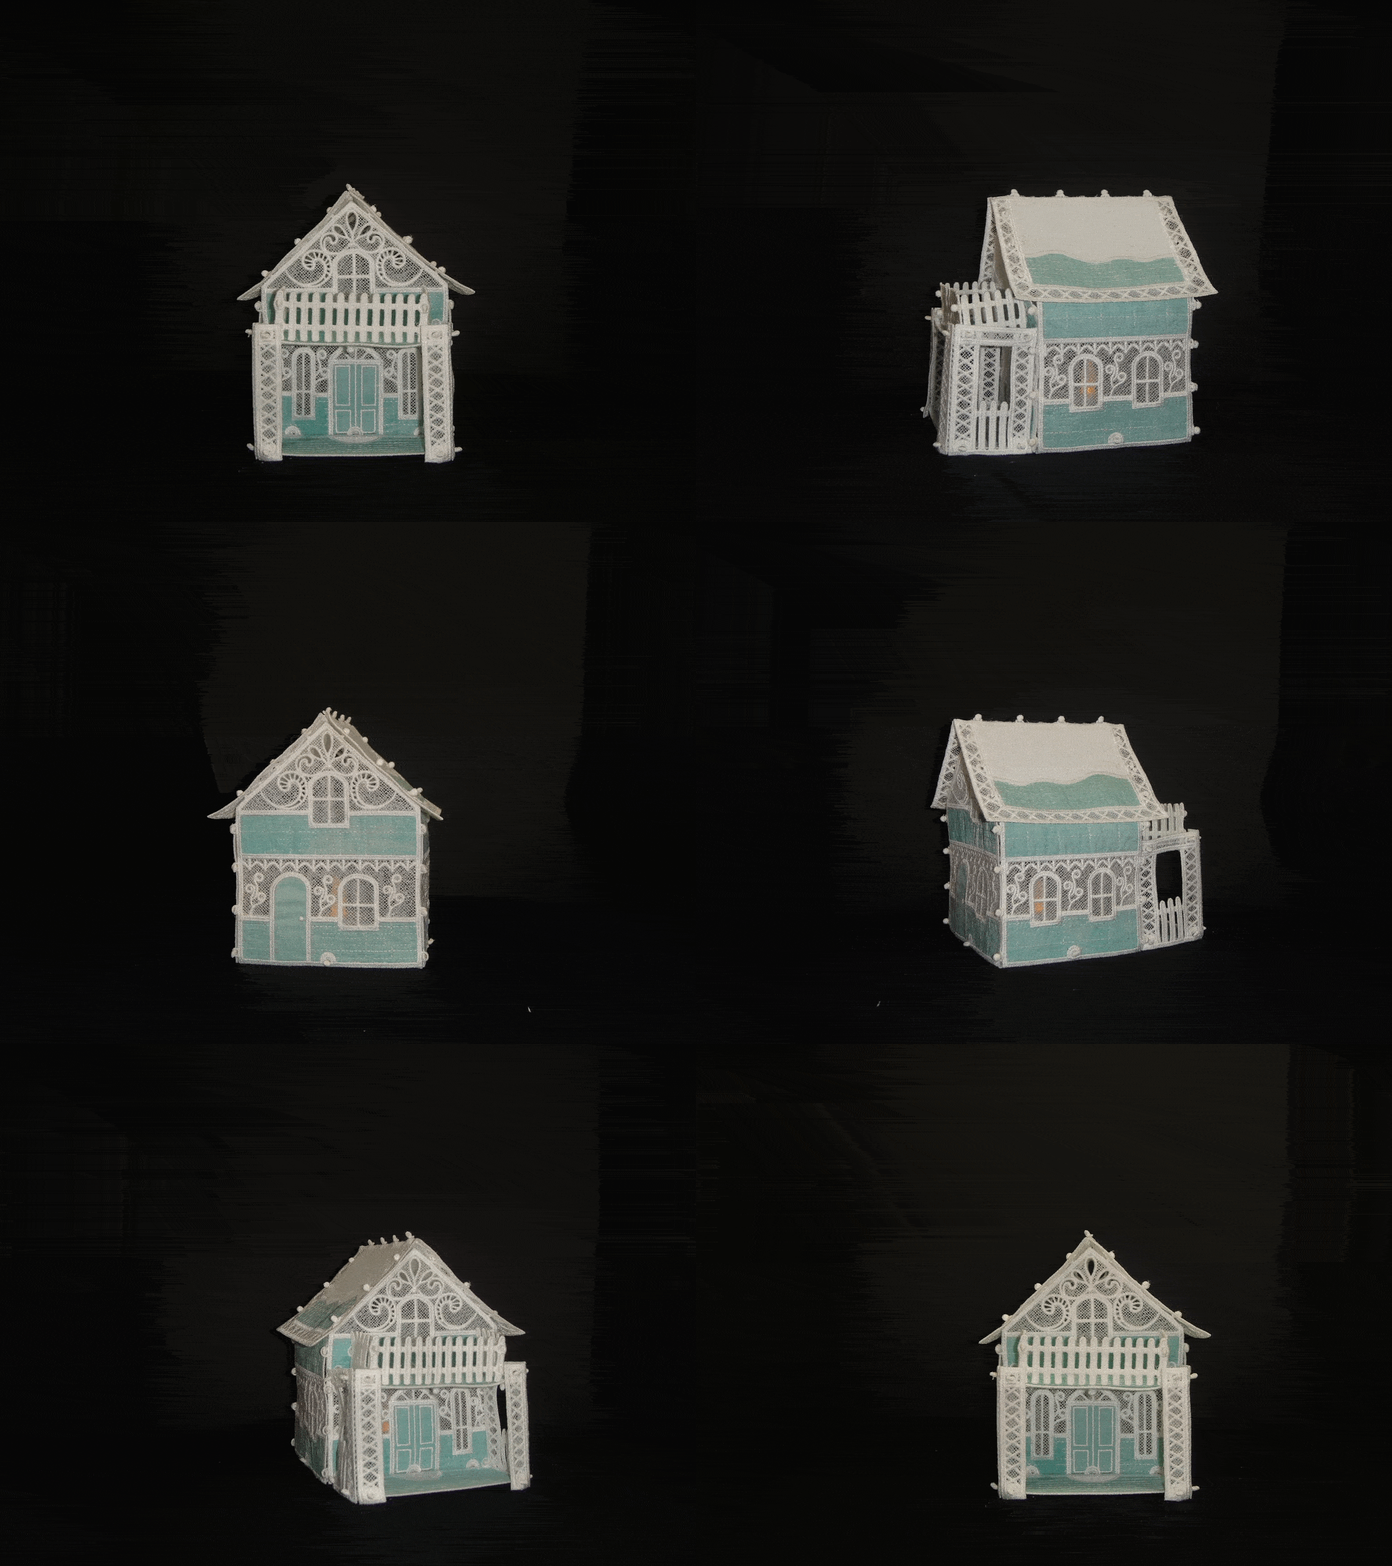
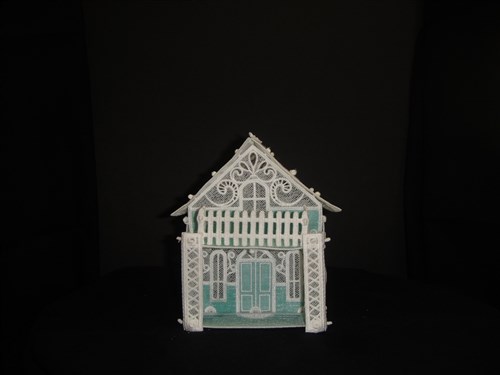
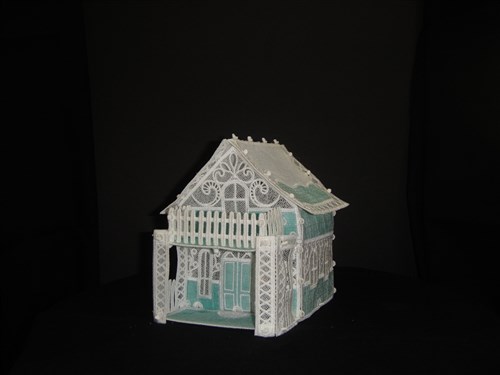
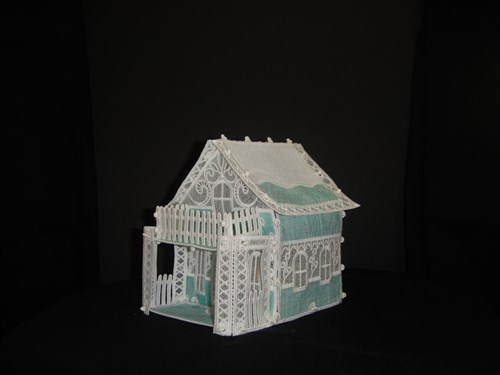
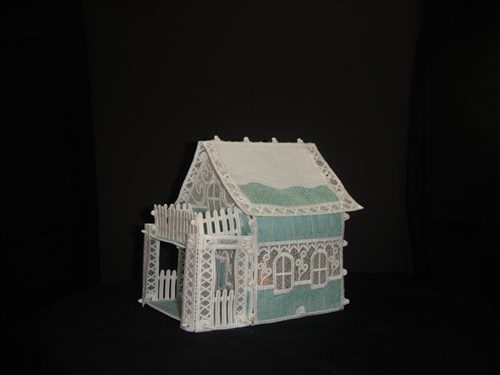
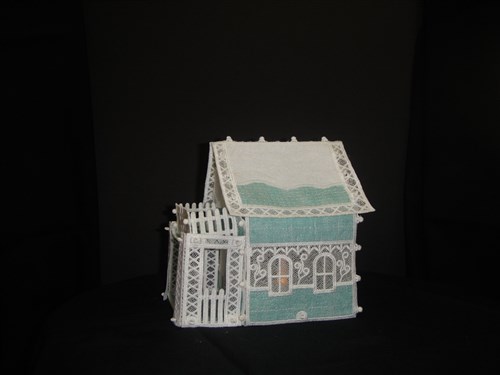
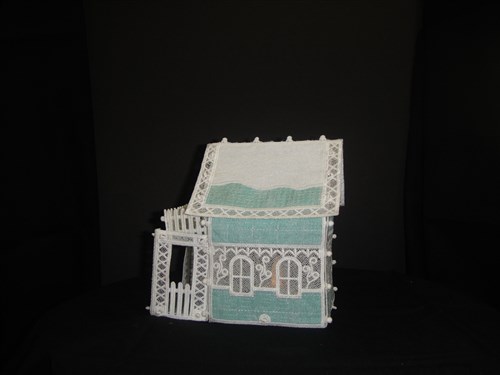
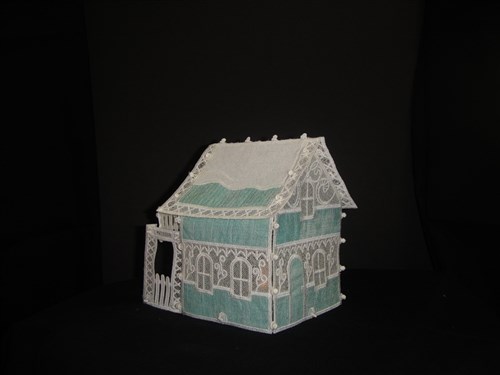
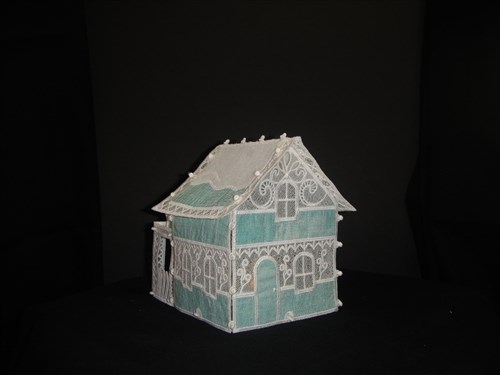
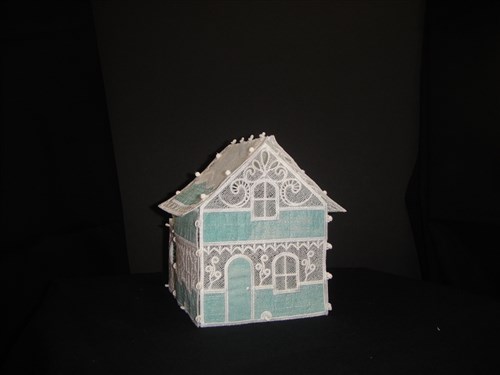
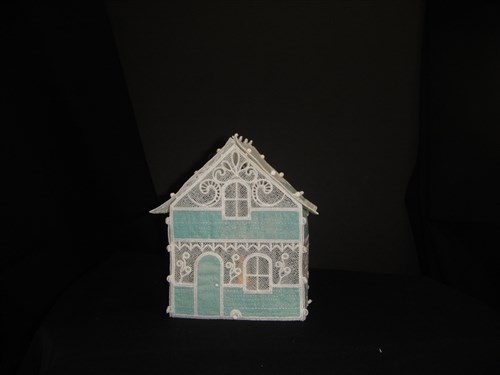
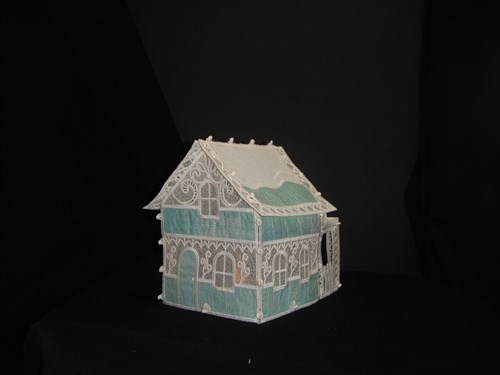
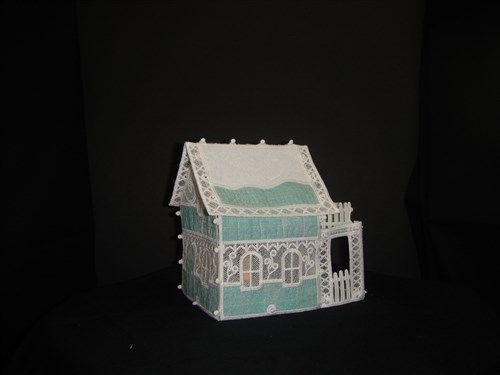
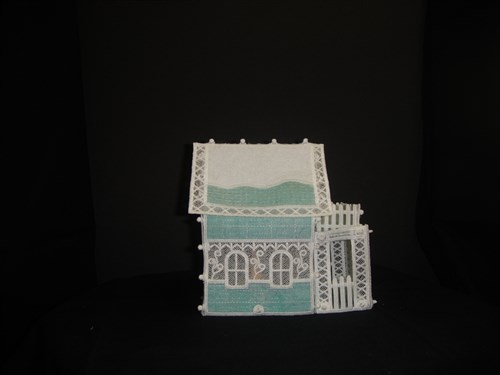
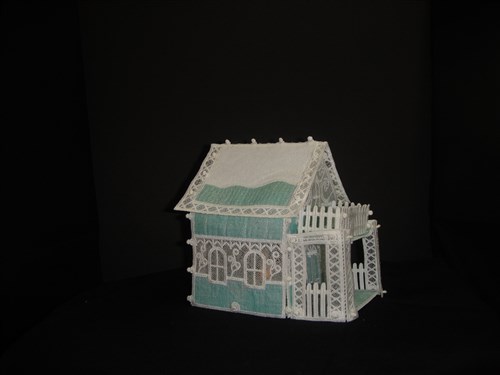
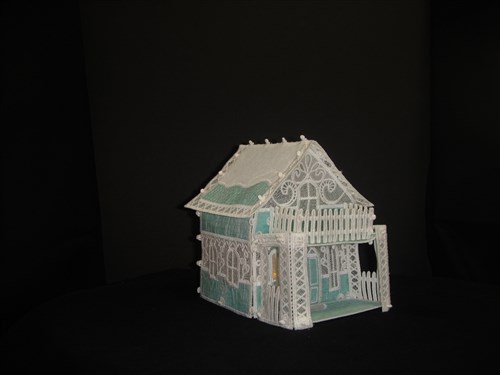
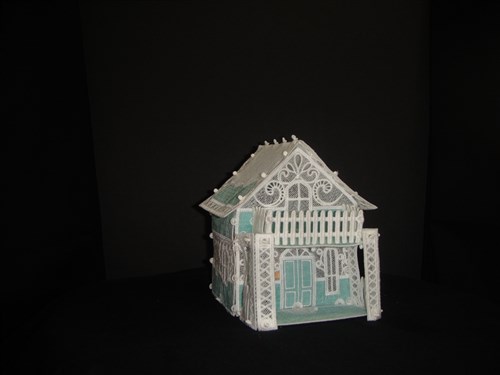
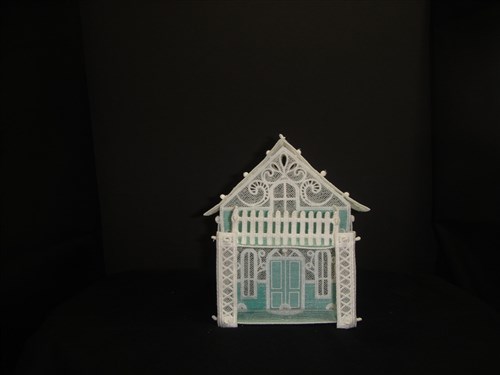
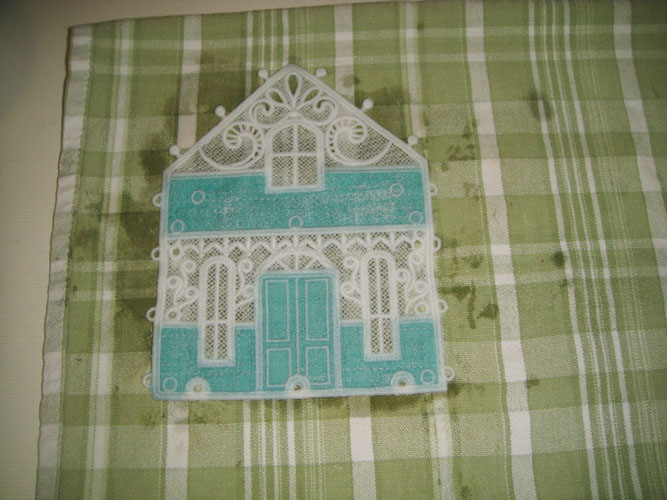
Create an enchanting Victorian house with applique techniques, perfect for adding charm to your Christmas Village. This delicate piece features intricate detailing and is ideal for festive decoration. Step-by-step instructions are included.
Step
of
Applique Victorian House for Christmas Village
By Pat Williams
1/3rd yard of light teal 100% cotton quilting fabric – the sample was made from the Moda® Grunge Basics collection
6” square of Pellon Thermolam Plus® a thin but dense interfacing to use as snow on the roof
5 yards of fibrous water soluble stabilizer such as Floriani Wet N’ Gone – do not use clear plastic stabilizers for this project they cannot hold all of these stitches
1/3 yards of Pellon Fusible Craft Fuse 808® backing
Spray Adhesive
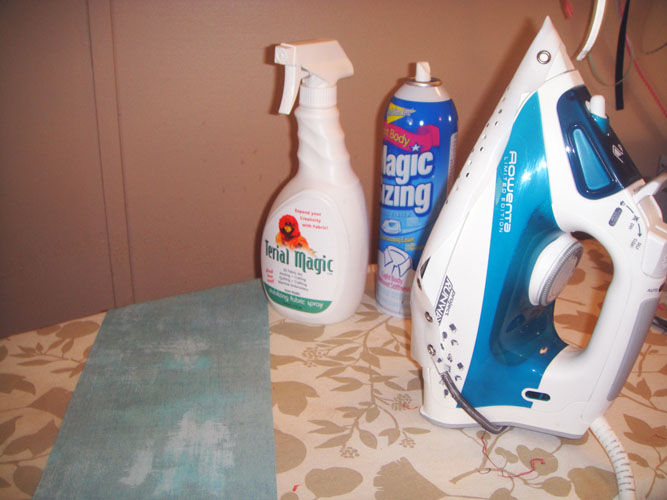
Magic Sizing or Best Press
White polyester embroidery thread – rayon is too soft for this project
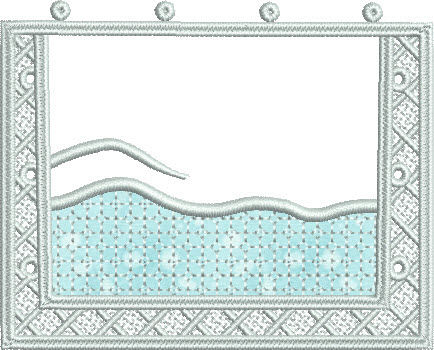
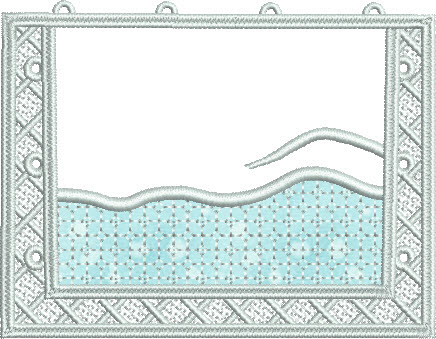
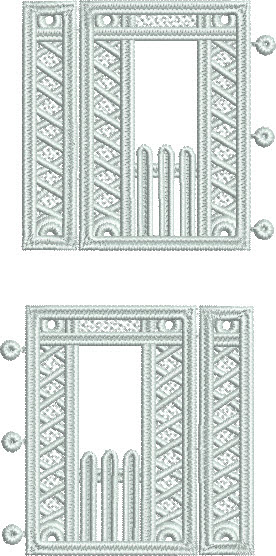
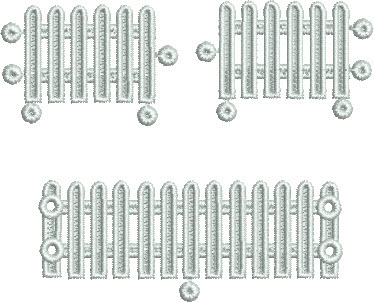
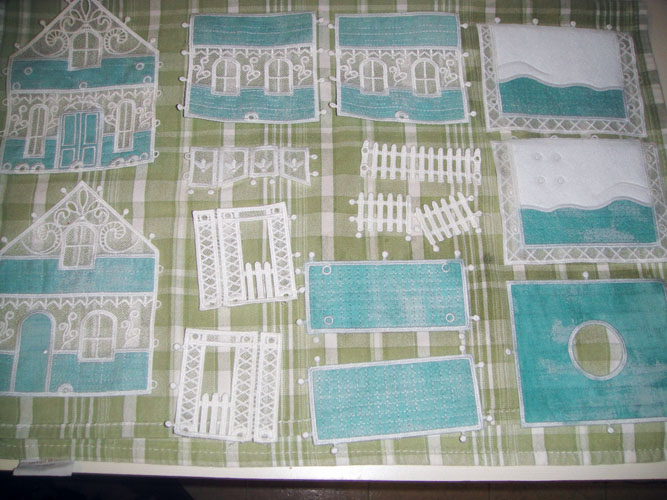
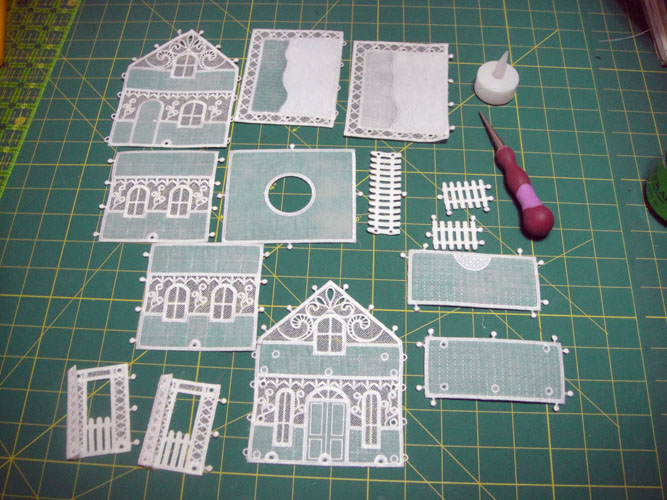
There are 9 files that make up the sections needed for this house. They are all made using the same techniques so only one section will be fully illustrated in the instructions.
Step 1:
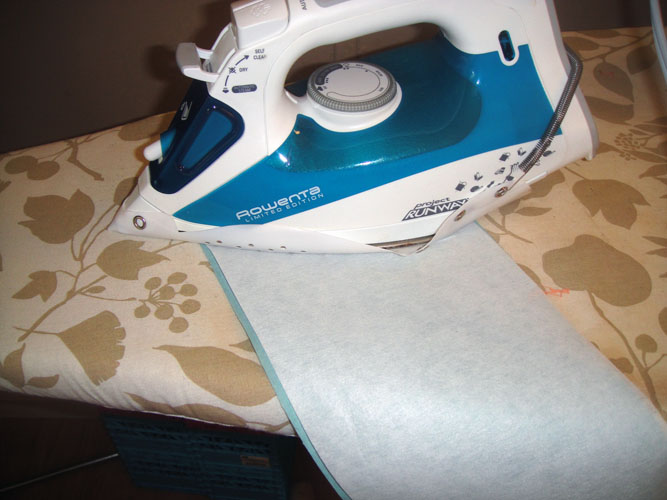
Cut your 1/3 yard of teal fabric into to 6” x 42” strips and cut those into 4 6” x 21” strips for ease of handling. Press three times with Magic Sizing to give crispness to the fabric which will help prevent fraying. You can take the strips to your embroidery machine and just cut off strips as needed for the appliques.
(Click Image to Enlarge)
Step 2:
Following the manufacturer’s instructions apply Pellon Craft Fuse 808® interfacing to the back of the teal fabric and the 6” square of Pellon Thermolam Plus®.
(Click Image to Enlarge)
Step 3:
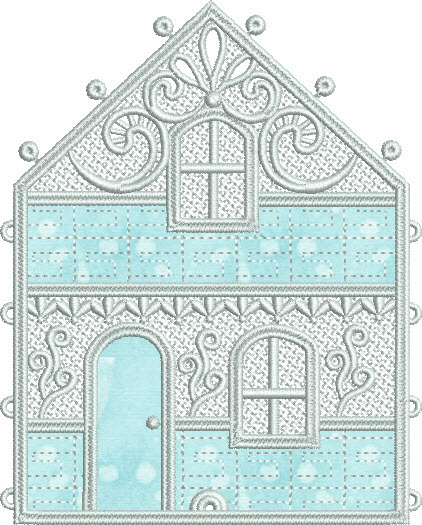
Load design VCFront into your embroidery machine. Load white polyester embroidery thread in the machine.
(Click Image to Enlarge)
Step 4:
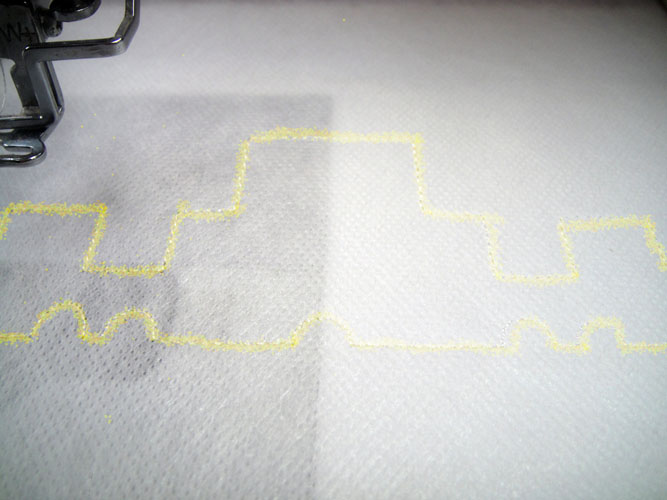
Hoop two layers of fibrous water soluble stabilizer and run CS (color stop) 1 for an outline of the first applique (highlighted here in yellow just so you can see it).
(Click Image to Enlarge)
Step 5:
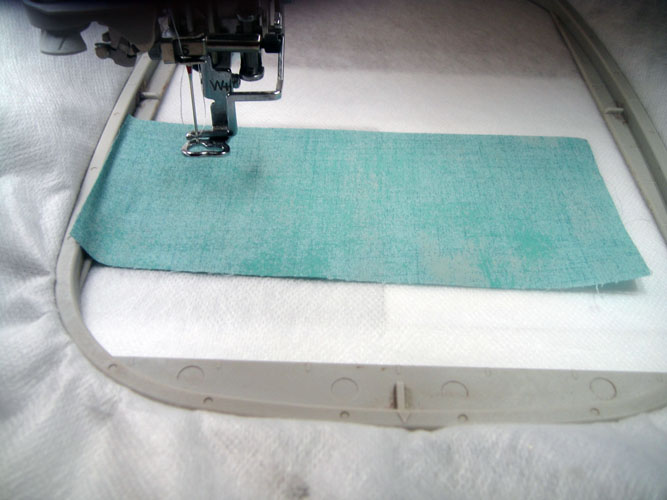
Cut a 3” strip off the bottom of a 6” strip of the prepared teal fabric; spray the back with adhesive and place over the outlines.
(Click Image to Enlarge)
Step 6:
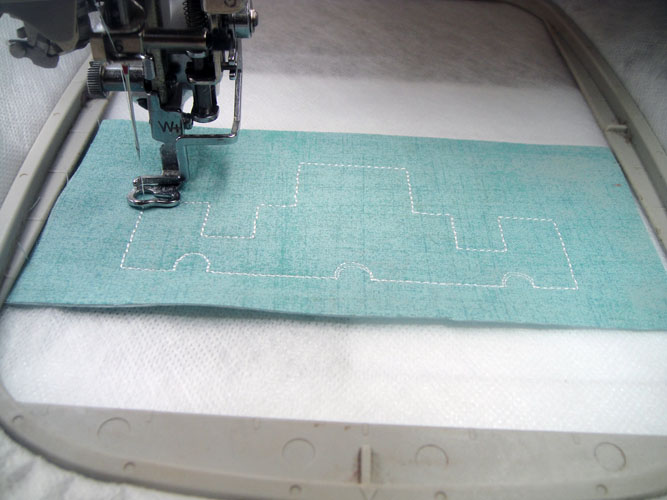
Run CS 2 to stitch the tack down stitches.
(Click Image to Enlarge)
Step 7:
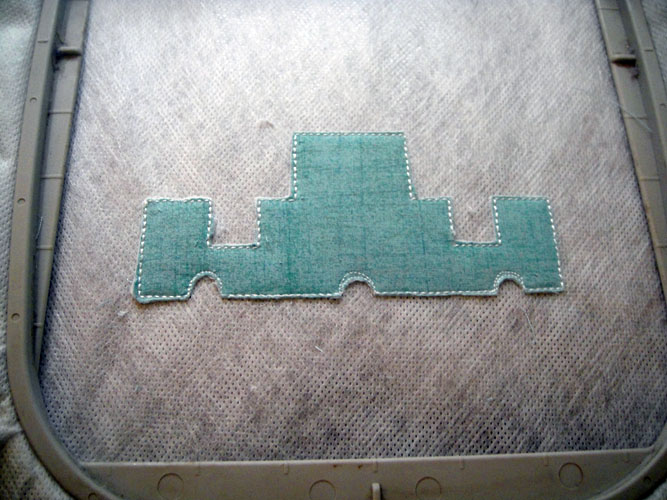
Remove the hoop from the machine; do not unhoop; with small sharp scissors trim the applique right to the tack down line; do not use applique scissors, they will not get close enough to the outlines.
(Click Image to Enlarge)
Step 8:
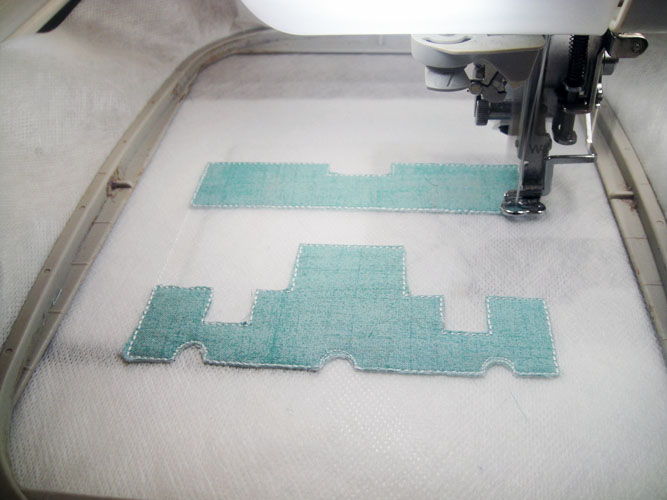
Run CS 3 & 4 to place the second applique using a 6” x 3” rectangle of the prepared fabric.
(Click Image to Enlarge)
Step 9:
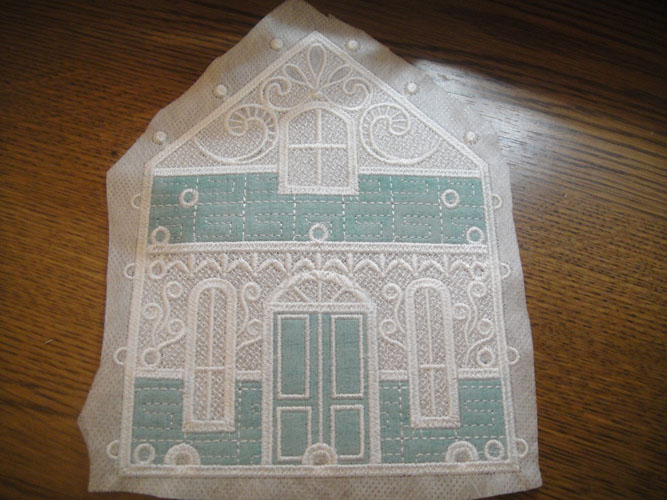
Run CS 5 to complete the detail and lace portions of the house front; remove the design from the hoop and cut away the excess stabilizer.
(Click Image to Enlarge)
Step 10:
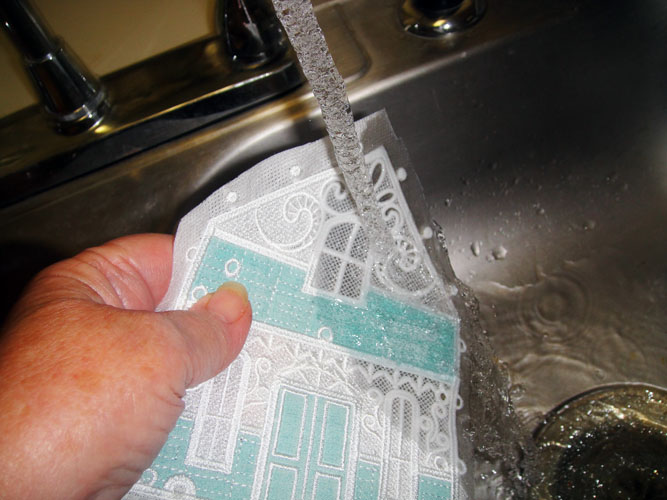
Hold the embroidered piece under running hot water to remove the stabilizer; just hold it under the water long enough to remove the stabilizer from the holes and lace sections as the remaining stabilizer will add stiffness to the project.
(Click Image to Enlarge)
Step 11:
Lay the house front on a smooth - no nap- towel to dry.
(Click Image to Enlarge)
Step 12:
(Click Image to Enlarge)
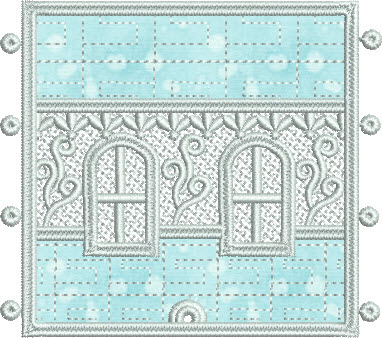
Load design VCSides into your embroidery machine; using two 2” strips of the prepared teal fabric stitch the sides of the house using the same techniques as above; RUN THIS DESIGN TWICE.
Step 13:
Load design VCBack into your embroidery machine; using a 3” strip of fabric for the first applique and a 2” strip of fabric for the top applique stitch the design as above.
(Click Image to Enlarge)
Step 14:
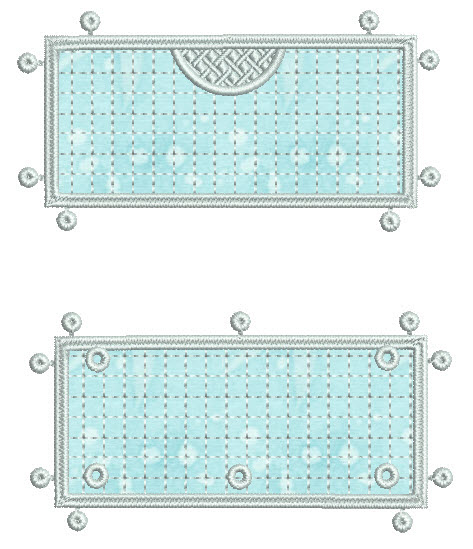
Load design VCPorch into your machine; using two 2.5” strips of fabric stitch the porch roof (the bottom design with the eyelets) and the porch floor (with the door mat) in the same manner.
(Click Image to Enlarge)
Step 15:
Load design VCRoof1 and stitch using a 2.5” strip of the teal fabric for the bottom applique and a 3” strip of the Thermolam Plus® for the snow applique on the roof.
Step 16:
Load design VCRoof2 and stitch in the same manner as VCRoof1.
Step 17:
(Click Image to Enlarge)
Load design VCPosts and stitch; no appliques are required for the porch posts.
Step 18:
(Click Image to Enlarge)
Load design VCFence and stitch; no appliques are required for the porch top fence.
Step 19:
(Click Image to Enlarge)
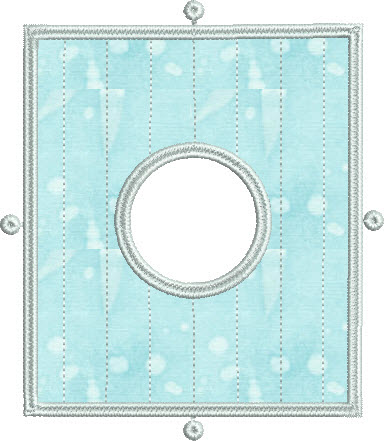
Load design VCFloor; use a 6” x 6” square of fabric for the floor; be sure to trim out the center fabric from the hole when trimming; do not cut out the stabilizer just lift the fabric with the tip of your scissors and trim. If you inadvertently cut the water soluble stabilizer slip two layers of water soluble stabilizer under the hole.
Step 20:
Allow all pieces to dry thoroughly.
(Click Image to Enlarge)
Step 21:
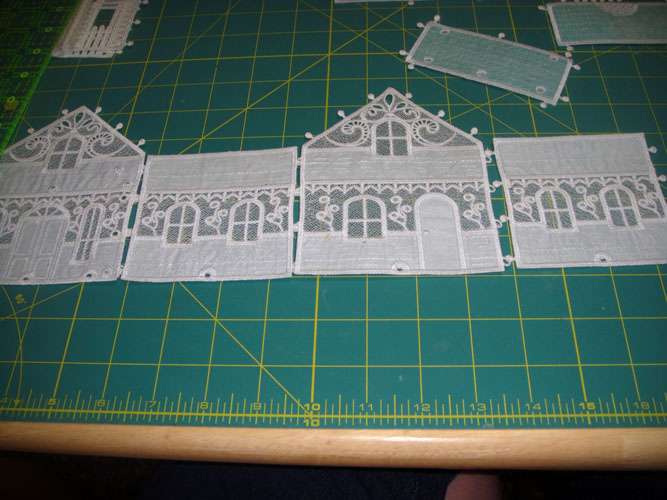
To prepare for assembly press each piece if necessary to get them to lie nice and flat. You may use the awl as well as tweezers, hemostats or other tools to assemble the house but the sample was assembled just using the awl to push the buttons through the loops and eyelets.
(Click Image to Enlarge)
Step 22:
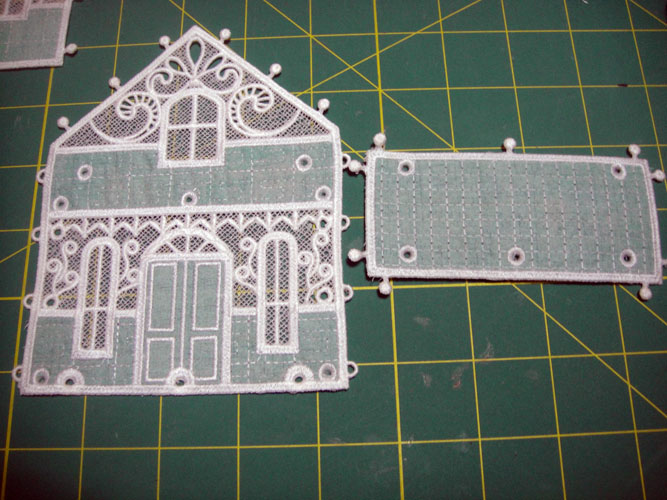
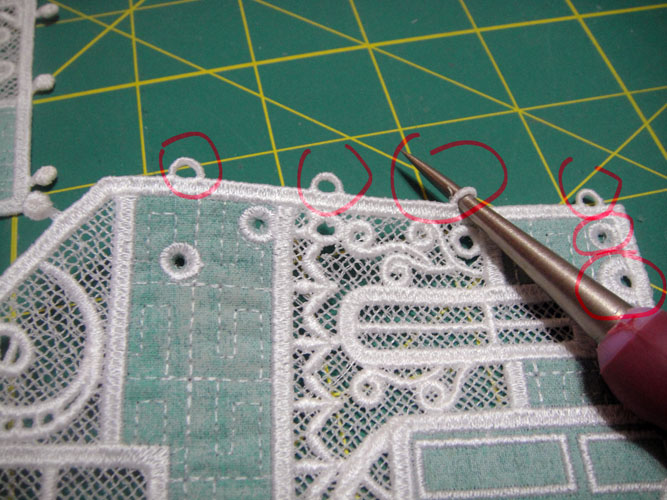
Use the awl to open up the eyelets in the porch roof and in the upper applique section of the house front.
(Click Image to Enlarge)
Step 23:
Use the awl to slightly stretch all the loops and eyelets at the bottom of the house pieces.
(Click Image to Enlarge)
Step 24:
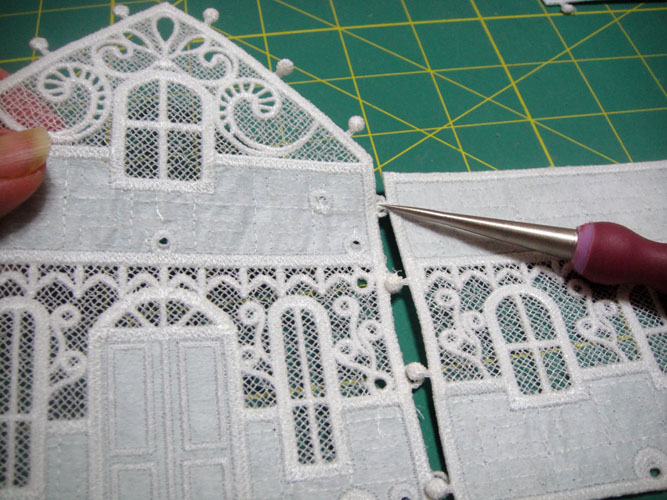
Lay the house front and a side face down on a protected work surface with the side’s buttons on top of the front loops. Push the buttons with the awl through the loops while slightly lifting the house front.
(Click Image to Enlarge)
Step 25:
Repeat step 24 to attach the sides to both the front and the back of the house.
(Click Image to Enlarge)
Step 26:
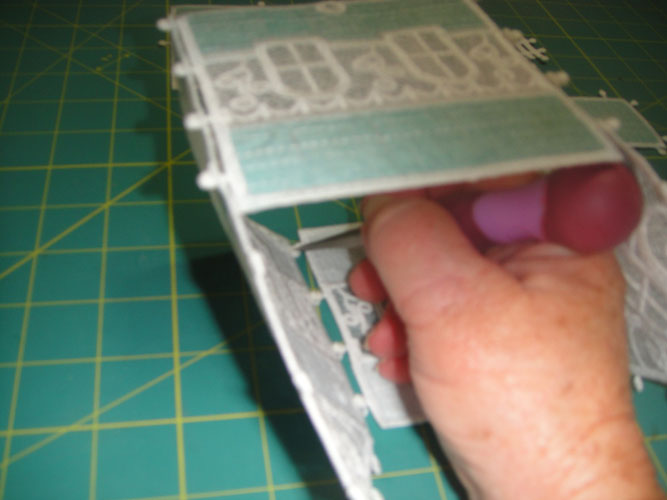
Fold the pieces into a rectangle and work from the inside to join the last buttons through the loops.
(Click Image to Enlarge)
Step 27:
Insert the buttons on the floor into the four eyelets at the base of the walls.
Award winning Digitizer, Embroidery Educator, Author and a Consultant to the Industry, Pat Williams has 30 years of experience in the embroidery industry. Pat has won multiple awards for her digitizing expertise including the 2007 Impressions Awards Grand Championship, Best of Show as well as the 1st and 2nd Place Awards. Pat’s love of digitizing has afforded her the opportunity to write numerous articles for Impressions magazine in the United States and Images Magazine in Europe. In 2001 Pat was named “Embroidery Educator of the Year.” For many years Pat taught digitizing seminars at the ISS Shows in Long Beach, CA and for Compucon software. She now resides in Tucson, AZ.