Mega Blow Out 99cent
Live Chat
Embroidery Designs
Welcome, Embroiderer
Login
ITH Quilted Tea Bag Holders with Spoons
{{mainImageAlt || (productInfo._source && productInfo._source.name) || ''}}

ITH Quilted Tea Bag Holders with Spoons Embroidery Project

By   Pat Williams   on   June 08, 2015
  • SKILL LEVELSome Experience
  • TIME REQUIRED00:50
  • FINISHED SIZE6.5 x 4.5 inches
Description

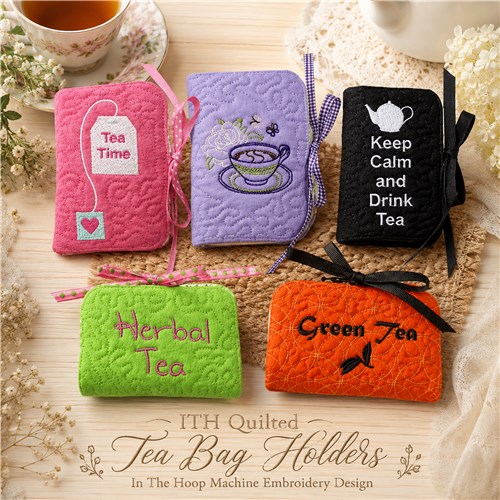
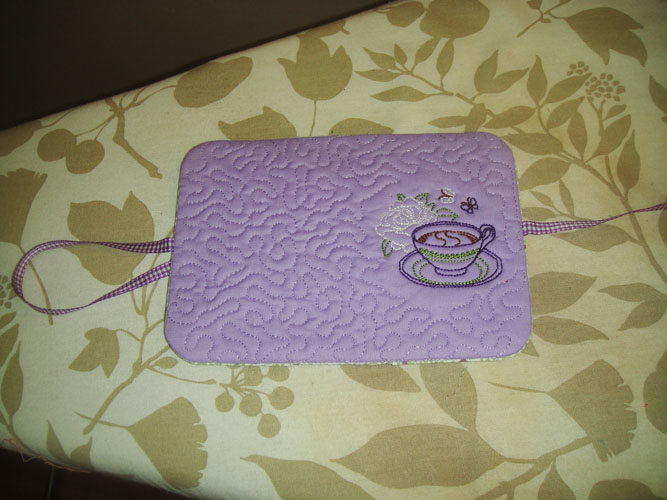
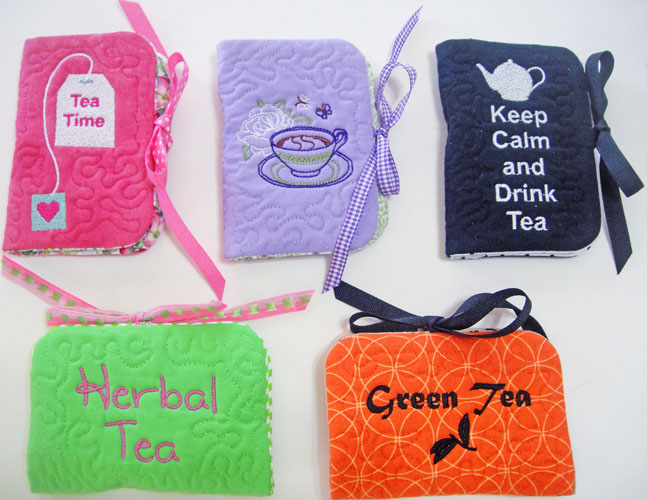
These beautifully quilted tea bag holders only require about 6 hand stitches to tack down the spoon holding ribbon. Fast fun projects for gifts or for your craft fair.

Step of

Materials

Project Preview Video

Materials
  • 8” x 6” outside cotton quilting fabric
  • 22” x 6” lining and pocket cotton quilting fabric
  • 8” x 6” Battilizer® or low loft batting
  • 30” 3/8th” ribbon or narrower
  • Spray Adhesive
  • Fray Check - optional
  • Appetizer or demitasse spoon 4.5” or less in height
  • Wrapped tea bags
  • Poly mesh or other light weight cut away stabilizer to fit 5” x 7” hoop
  • 2” x 4” rectangle of Heat N Bond Lite®
  • Frixion marking pen
  • Spray starch or Magic Sizing
  • Scotch Tape
  • Embroidery threads per the color charts and to match fabrics

  • Designs used in this project

    Final Product: What You Will Create

    Preface:
    The ITH quilting of these tea bag holders qualify them to be called “Upscale.” It also provides a nice weight to the holder as well as a protective covering for the little spoon. If you can’t find the spoons locally the Libby Appetizer Spoons are inexpensive on Amazon.


    Step 1:
    (Click Image to Enlarge)
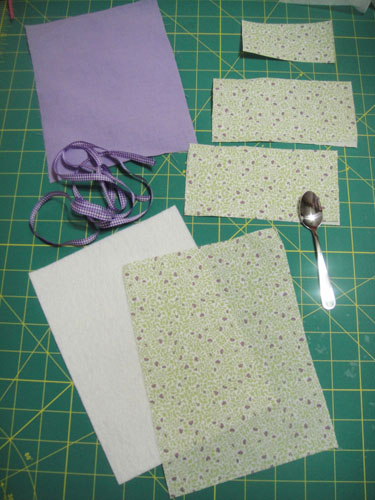
    Cutting instructions:

    a. Cut 1 8”x 6” rectangle of fabric for the outside of the tea bag holder
    b. Cut 1 8”x 6” rectangle of fabric for the lining
    c. Cut 2 6”x 6” squares from the lining fabric
    d. Cut 1 2” x 4” rectangle from the lining fabric
    e. Cut 1 8” x 6” rectangle of Battilizer®
    f. Cut 2 8” lengths and 1 10” length of ribbon
    g. Press all fabrics with spray starch or Magic Sizing; fold the two 6” squares of fabric in half and press; apply the Heat N Bond Lite ® to the 2” x 4” rectangle of lining fabric.


    Step 2:
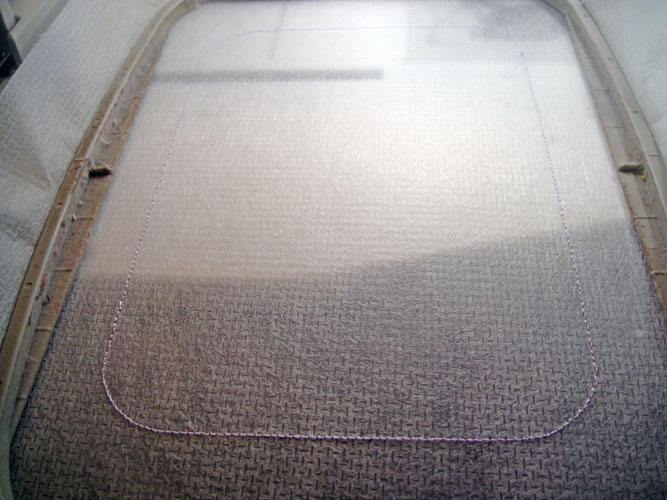
    Hoop poly mesh stabilizer in your 5”x 7” embroidery hoop with an embroidery thread to match your outer fabric run the first CS (color stop) for a placement line.

    (Click Image to Enlarge)


    Step 3:
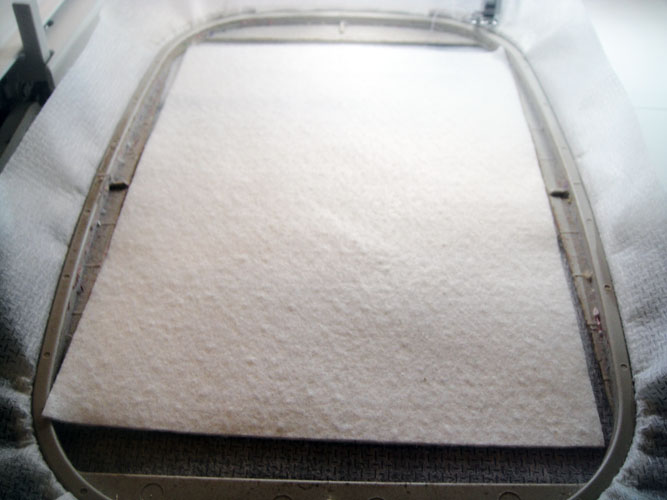
    Spray adhesive on the Battilizer® and place over the placement line in the hoop making sure the Battilizer® exceeds the outline by ½” in all directions.

    (Click Image to Enlarge)


    Step 4:
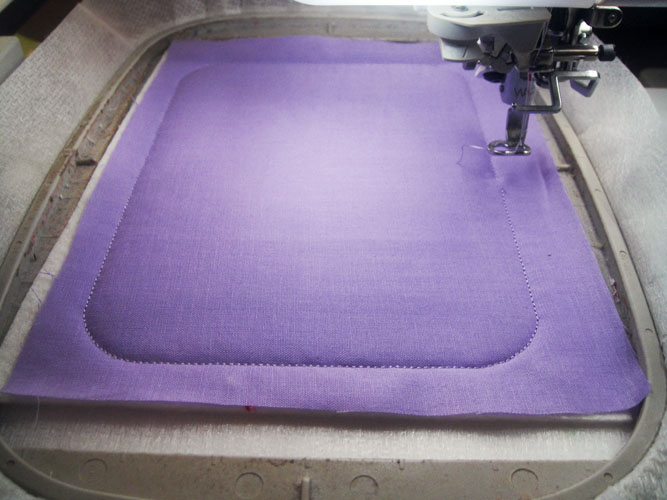
    Spray adhesive on your outside fabric and place over the Battilizer®; run CS 2 to tack down the outside fabric and batting.

    (Click Image to Enlarge)


    Step 5:
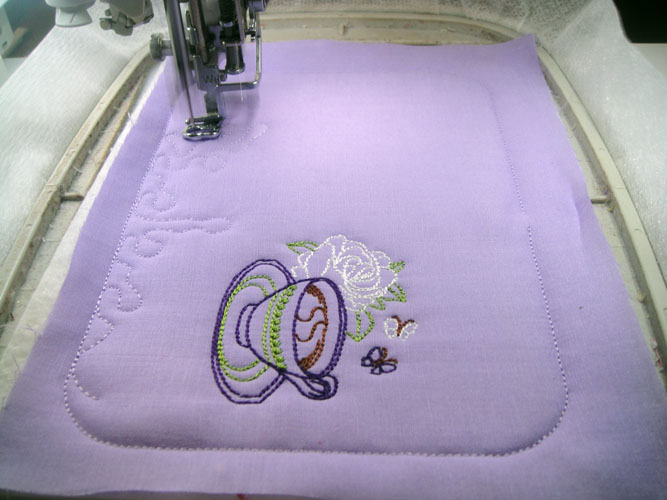
    Follow the color chart for the specific design to complete the embroidery design and quilting. The quilting is stitched in a color to match the fabric in all the samples shown.

    (Click Image to Enlarge)


    Step 6:
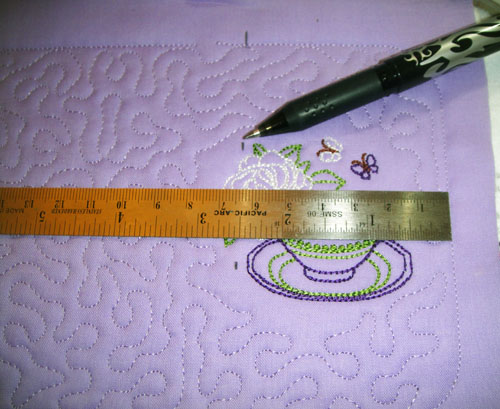
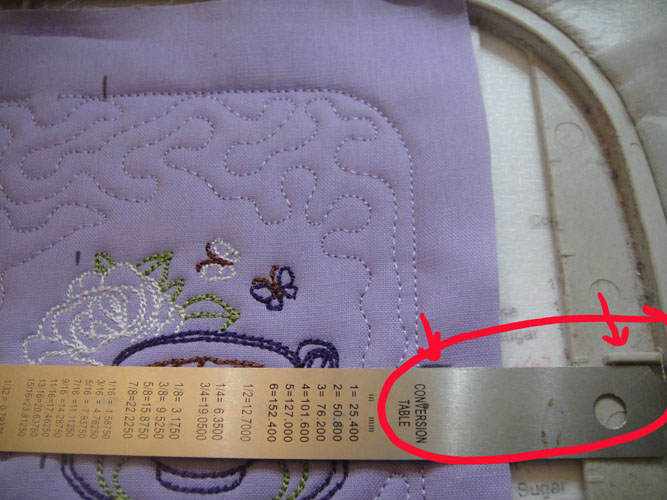
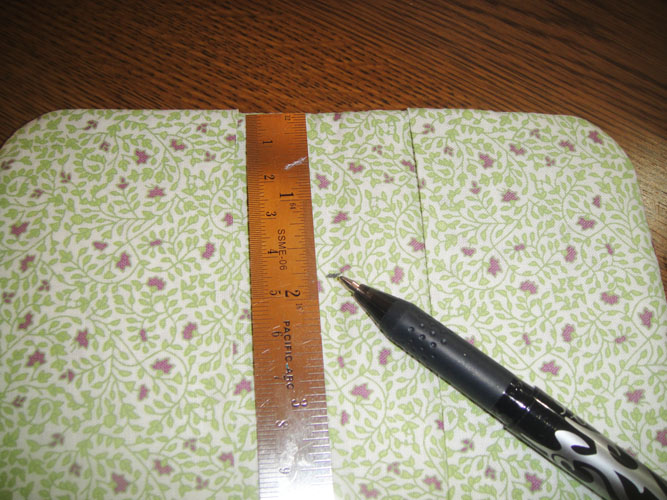
    Remove the hoop from the machine, do not unhoop. Measure from the tack down stitching up 2.5” and mark across the width of the tea bag holder placement marks for the inner pockets; repeat on the opposite end of the tea bag holder.


    Step 7:
    Using the center guide on your hoop make a small mark just outside the tack down stitching at both ends of the tea bag holder.

    (Click Image to Enlarge)


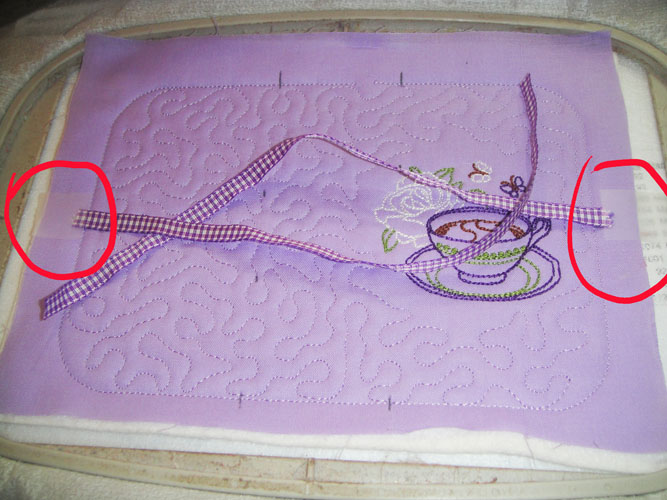
    Step 8:
    Place an 8” section of ribbon centered over the marks just made on the two sides of the holder; scotch tape in place. Note: If using ribbons that are printed on one side; place the ribbons print side down.

    (Click Image to Enlarge)


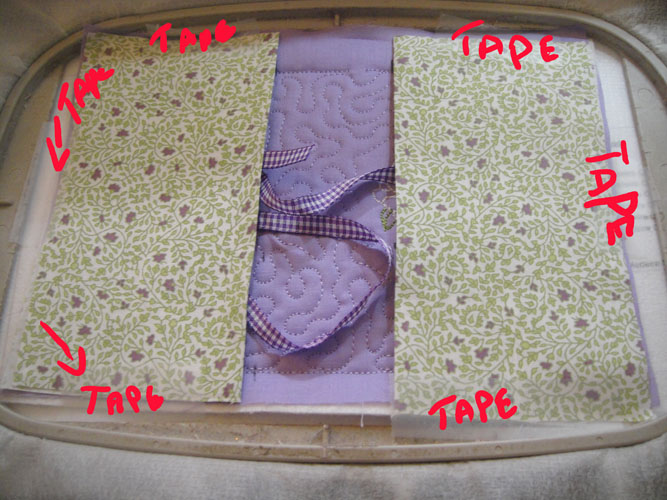
    Step 9:
    Tape the two folded pocket sections; placing the folded edges on the marks made 2.5” from the tack down stitching; tape the pockets to the holder.

    (Click Image to Enlarge)


    Step 10:
    Run the next CS to tack down the pockets; remove all the scotch tape.

    (Click Image to Enlarge)


    Step 11:
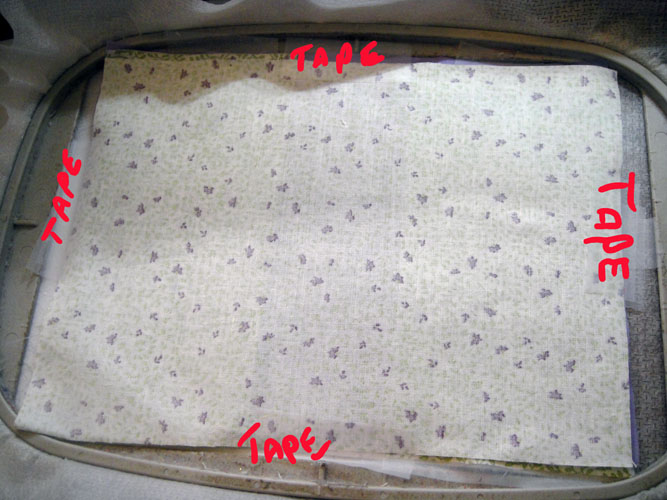
    Place the 6”x 8” lining fabric face down over the holder; tape in place on all four sides.

    (Click Image to Enlarge)


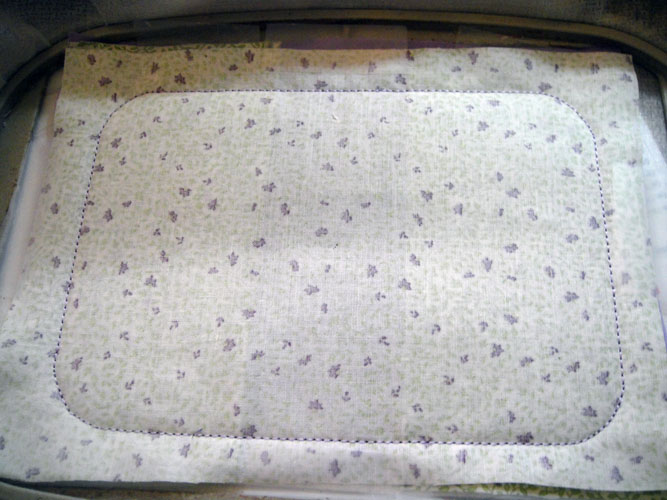
    Step 12:
    Run the final CS to secure the lining to the holder.

    (Click Image to Enlarge)


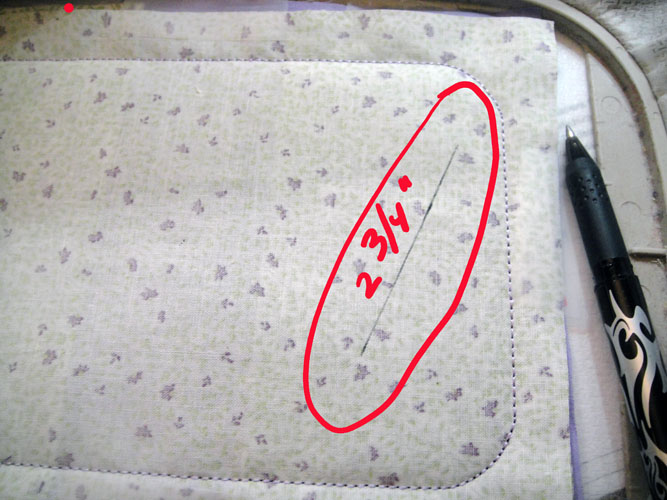
    Step 13:
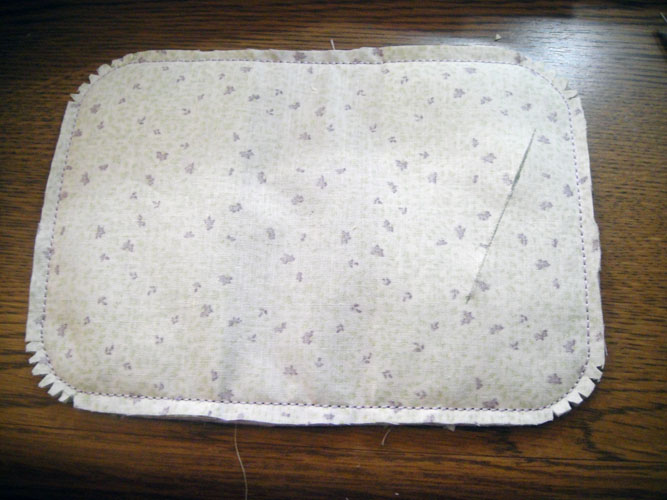
    At the right hand end of the holder mark a 2 ¾” slightly diagonal line on the lining; keep the drawn line within the area that will be behind the pocket.

    (Click Image to Enlarge)


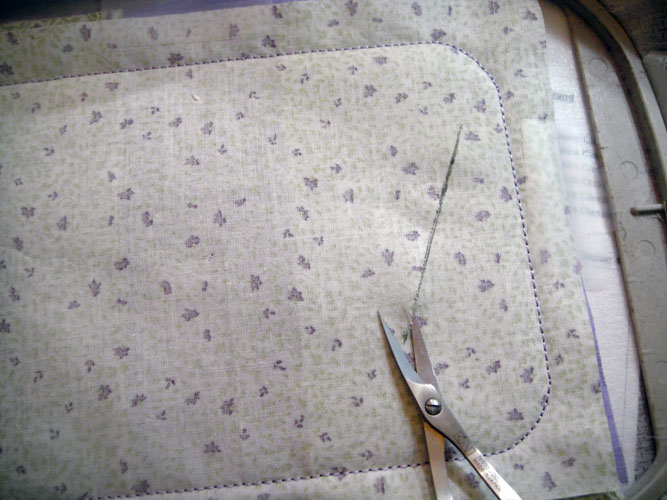
    Step 14:
    With curved tip scissors pick up the lining fabric only and cut open this line.

    (Click Image to Enlarge)


    Step 15:
    Remove the project from the hoop; trim all edges to ¼”; notch the curved corners for easy turning.

    (Click Image to Enlarge)


    Step 16:
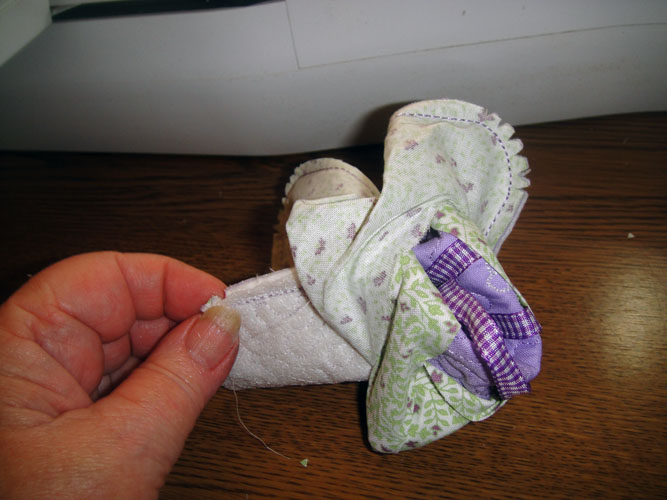
    Turn the project right side out through the slash made in the lining.

    (Click Image to Enlarge)


    Step 17:
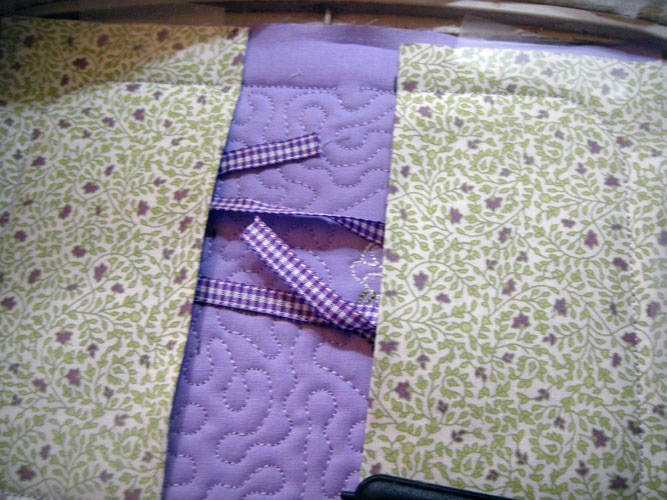
    When you first turn the project right side out the pockets will stay over the outside of the holder; leave them in that position for a minute.

    (Click Image to Enlarge)


    Step 18:
    Take the project to the ironing board and steam press the edges rolling them toward the lining side. Press the slashed edges back together as close as possible. Remove the Heat N Bond Lite backing paper from the 2” x 4” strip of fabric; trim if necessary; place over the slash and press in place.

    (Click Image to Enlarge)


    Step 19:
    Flip the pockets over to the lining side of the holder and steam press again to set the edges.

    (Click Image to Enlarge)


    Step 20:
    Measure down 1 ¾” from the top edge and make a mark with the Frixion pen in the center of the lining.

    (Click Image to Enlarge)


    Step 21:
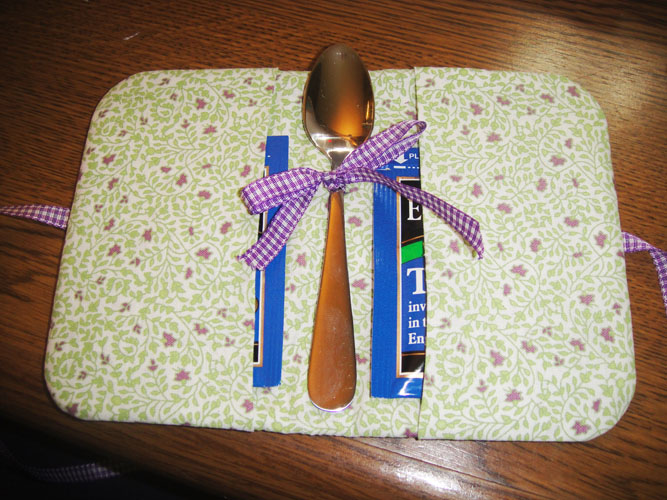
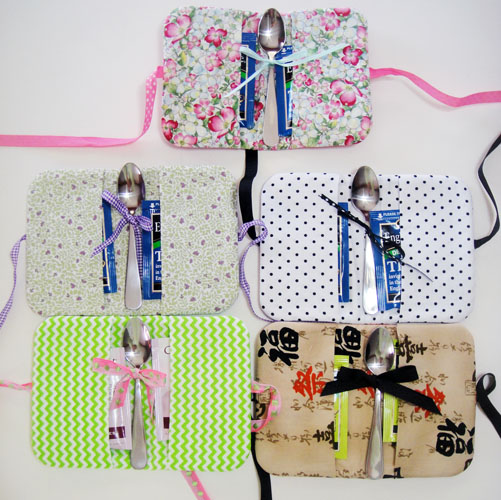
    Fold the 10” length of ribbon in half and hand tack the center of the ribbon to the lining of the tea holder over the mark just made; tie the spoon with the ribbon; add several tea bags and or sweeteners.

    (Click Image to Enlarge)


    Step 22:
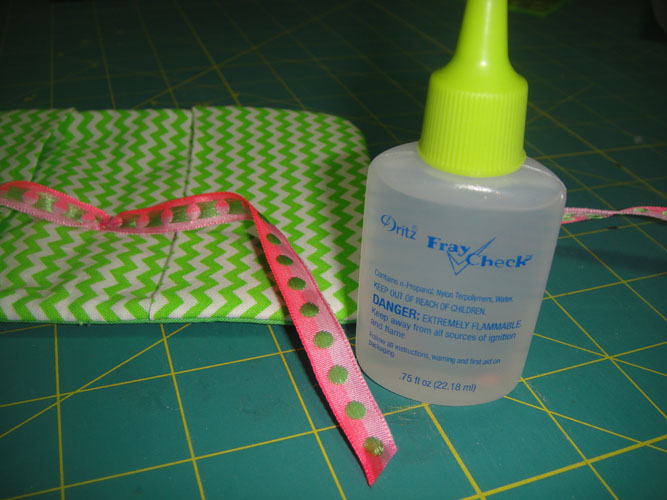
    If using ribbons that will fray, apply a little Fray Check to the bottom of each ribbon.

    (Click Image to Enlarge)


    Step 23:
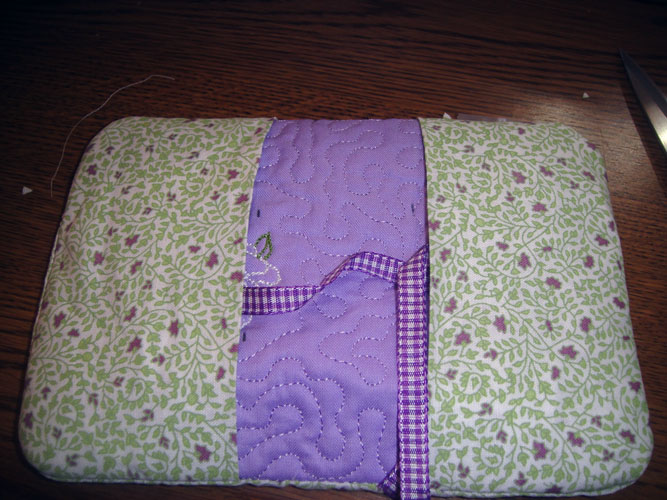
    Tie the remaining ribbons together. Congratulations your tea bag holders are complete!

    (Click Image to Enlarge)


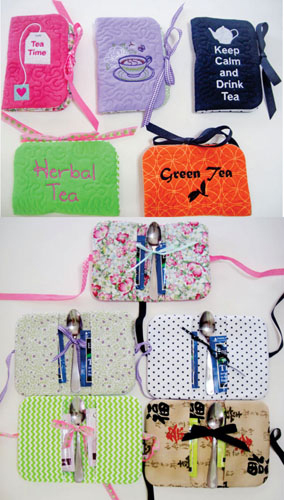
    Step 24:
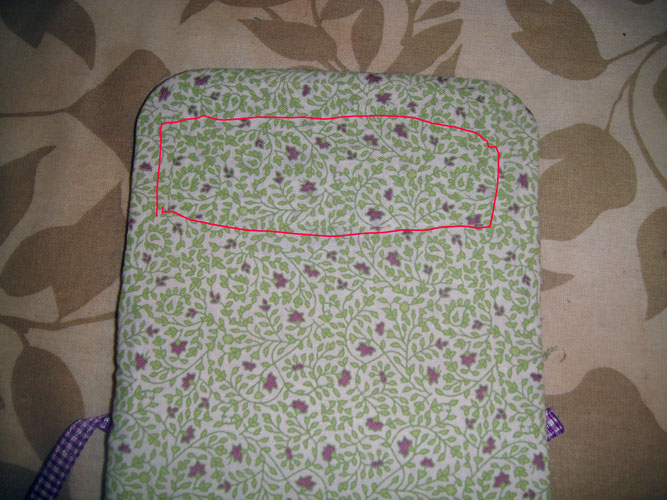
    The insides of the tea bag holders will look like these.

    For the love of embroidery…
    Pat Williams
    Meet the Author: Pat Williams
    Pat Williams
    Award winning Digitizer, Embroidery Educator, Author and a Consultant to the Industry, Pat Williams has 30 years of experience in the embroidery industry. Pat has won multiple awards for her digitizing expertise including the 2007 Impressions Awards Grand Championship, Best of Show as well as the 1st and 2nd Place Awards. Pat’s love of digitizing has afforded her the opportunity to write numerous articles for Impressions magazine in the United States and Images Magazine in Europe. In 2001 Pat was named “Embroidery Educator of the Year.” For many years Pat taught digitizing seminars at the ISS Shows in Long Beach, CA and for Compucon software. She now resides in Tucson, AZ.
    More From This Author
    Link is Broken, Please check the URL
    Exclusive Embroidery Offers!
    Copyright © {{ currentDate | date:'yyyy'}} - EmbroideryDesigns.com
    GET 50% OFF! ×