Border OptionsHugging border, circle, square, or rectangle — with a 3mm satin stitch.
Backing OptionsAvailable with iron-on, sew-on, or velcro backing.
Fast ShippingShipped quickly from the USA.
Free Online Tools
Powerful embroidery utilities that save time and prevent costly mistakes.
Stitch AssistantRECOMMENDED
Get the exact stabilizer, machine settings, needle, and thread color sequence for every embroidery design you purchase — based on that design's stitch density, dimensions, and color count.
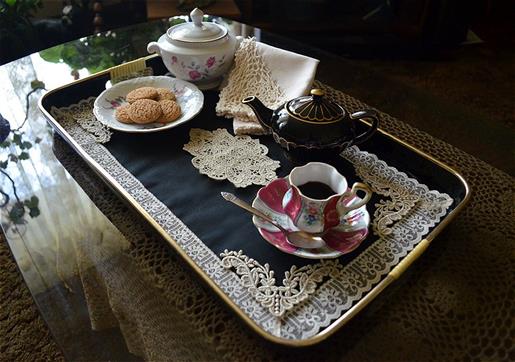
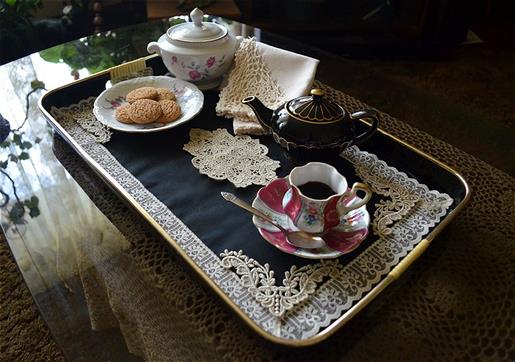
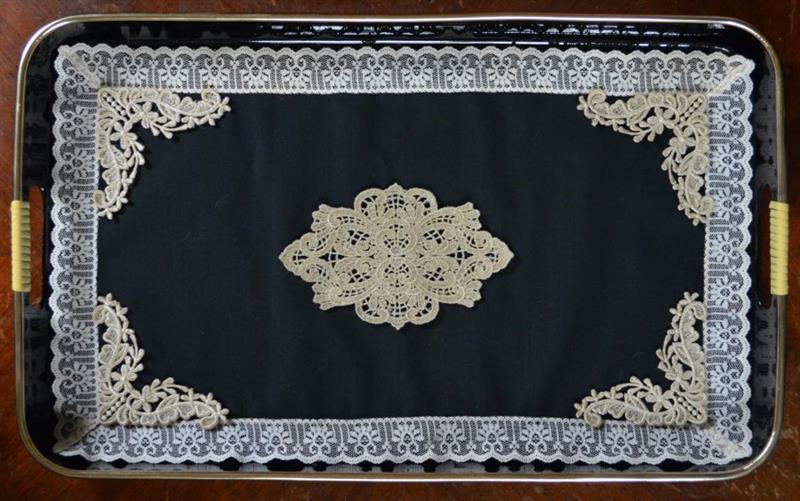
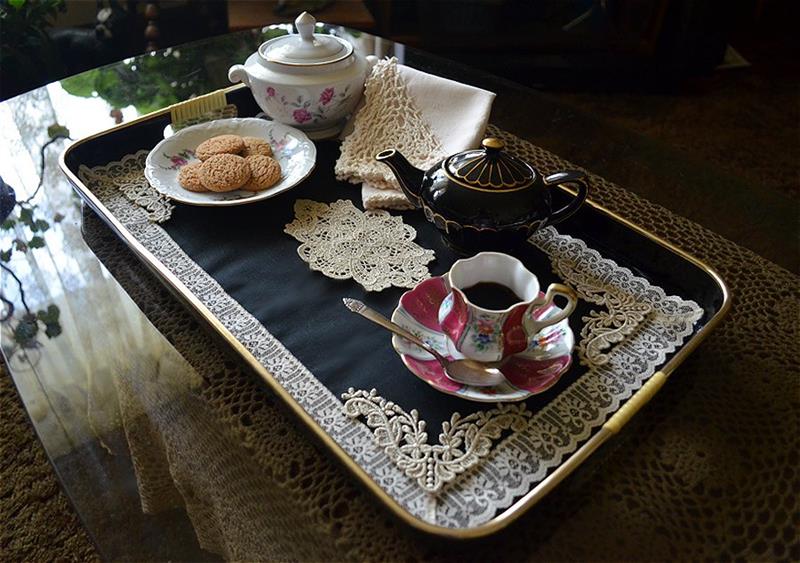
Freestanding lace (FSL) embroidery designs can be used to embellish a piece of cotton, trimmed with lace to create a serving tray liner, making even tea for one fun! The liner will also protect the surface of your antique tray in a complimentary style. By applying the designs that have been first created using water soluble stabilizer, these individual pieces are tacked on quickly by hand with a few stitches, and if there’s ever a need to replace a tea stained liner, the FSL pieces can be easily removed to use again. The embroidery and assembly time for the complete project is about 3 hours, however keep in mind it will take additional time for the FSL to dry overnight.
Step 1:
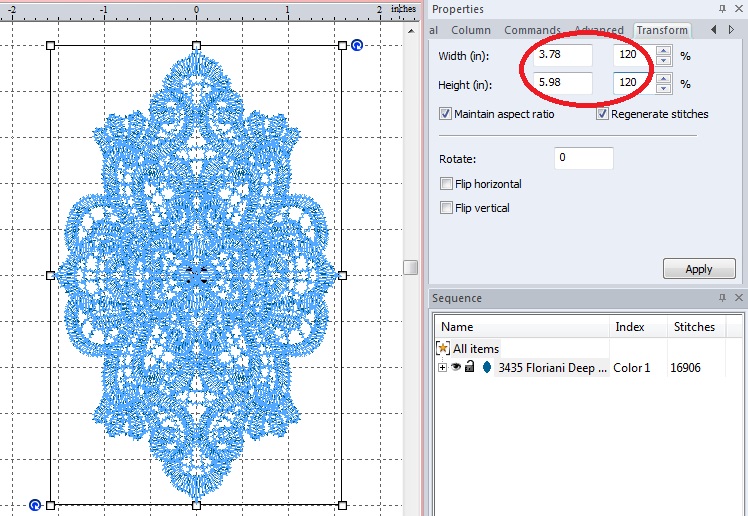
You can either use the suggested FSL designs or choose those that you wish to use for embellishment and make any necessary changes in your software if preferred. FSL designs can usually be increased in size without too many issues, however, be aware that if you decrease the size, the stitches may clump together, leaving a very hard compact design. I decided to increase the size of the design I'm using for the center of the liner 20% of the original size to bring it up to a 6” length. The design I’ve chosen for the corners is a perfect fit for my tray and no need to resize.
(Click Image to Enlarge)
Step 2:
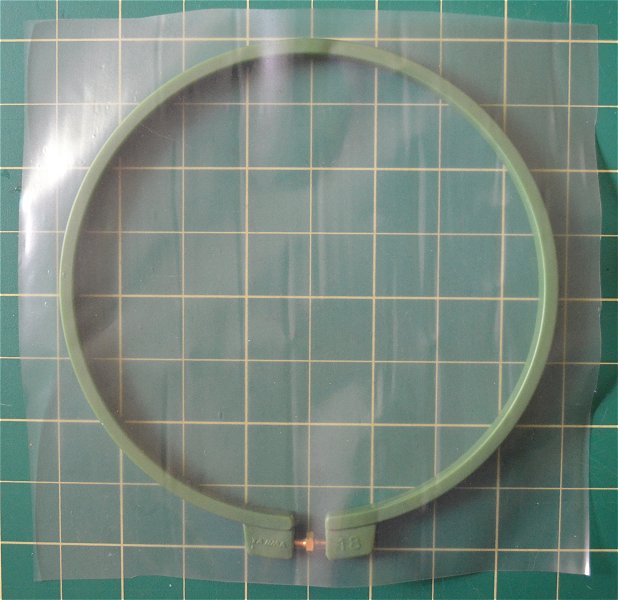
A layer or two of a fibrous water soluble stabilizer will work best for FSL, but a non-fibrous stabilizer will work if you double up the layers. Make sure that the first layer of stabilizer is large enough to hoop entirely as seen in image. One or two layers of smaller scraps that won’t be entirely hooped can be added to cover the area being stitched. I have used three layers of a non-fibrous stabilizer; the two top layers were hooped only at two sides.
(Click Image to Enlarge)
Step 3:
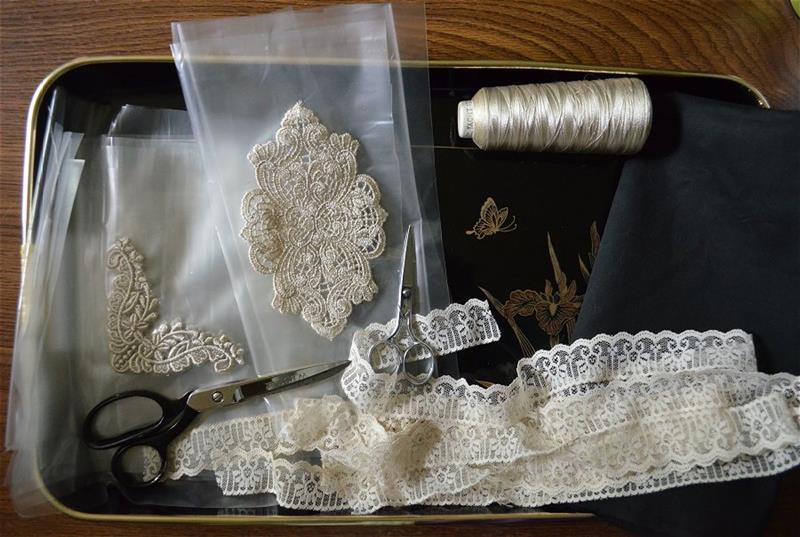
After you have stitched the FSL designs out on the stabilizer, gather the rest of the materials. You will need the tray that you will be lining to determine the size to cut the fabric and to help you decide where your designs will be placed. You’ll also need lace trims, fabric and sewing scissors, matching thread and the fabric that you prefer to use for the liner. I’ve chosen black lightweight 100% cotton, but any fabric that is washable will work fine, as well as any color. Obviously a light color would not be the wisest choice for daily use of a tea tray, but white or off white would be beautiful if used for a special occasion, such as a wedding or anniversary centerpiece.
(Click Image to Enlarge)
Step 4:
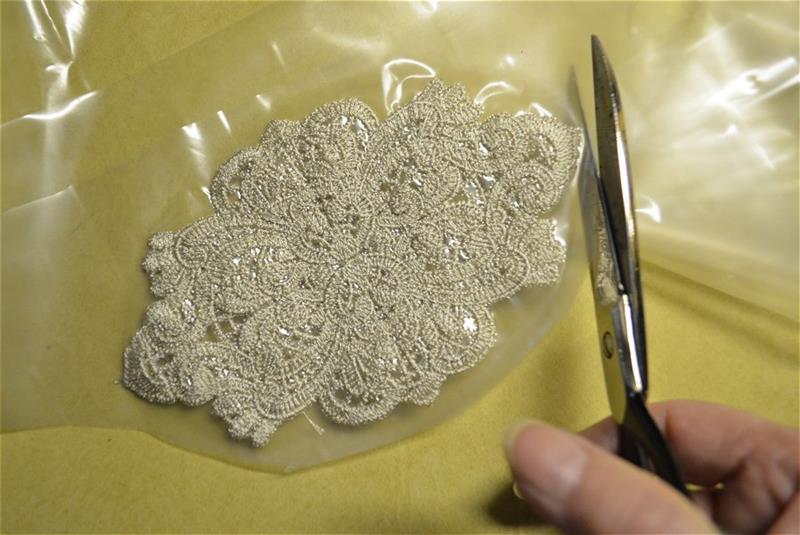
Trim away the excess stabilizer. Tuck the larger scraps into a zip-lock bag to store away for future use. Water soluble stabilizer should always be stored in an air tight container or plastic bag to keep the stabilizer from becoming brittle. Some embroiderers even choose to store their bagged scraps in the freezer.
(Click Image to Enlarge)
Step 5:
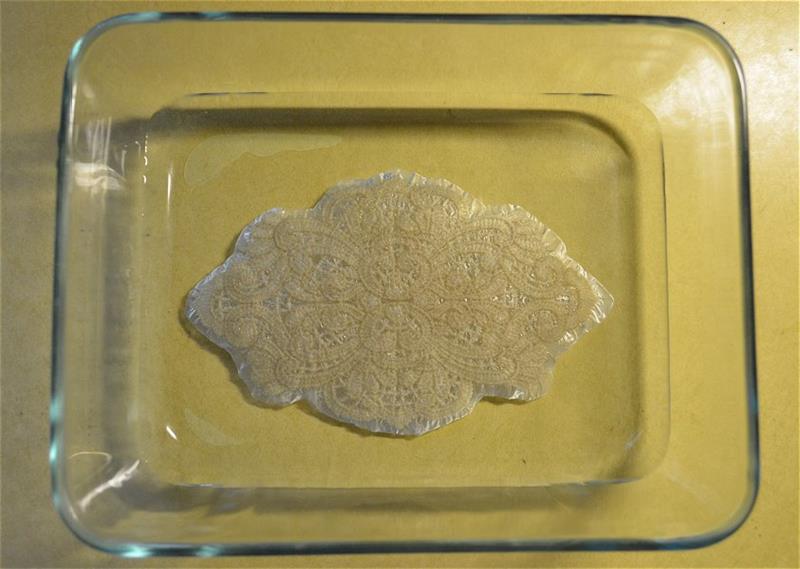
Soak the trimmed FSL design in lukewarm water for about 3-5 minutes.
(Click Image to Enlarge)
Step 6:
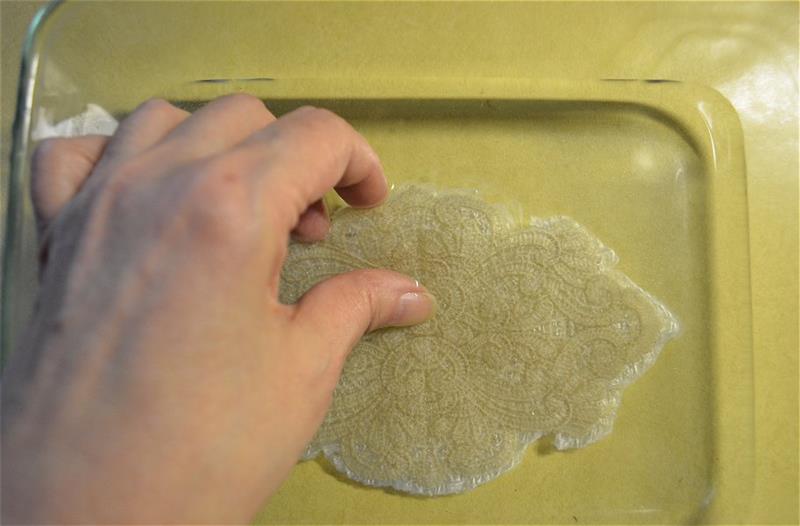
Test by scraping the edge with your fingernail or the edge of utensil that won’t cut into the thread, such as a spoon. The stabilizer should be dissolving and will pull away easily.
(Click Image to Enlarge)
Step 7:
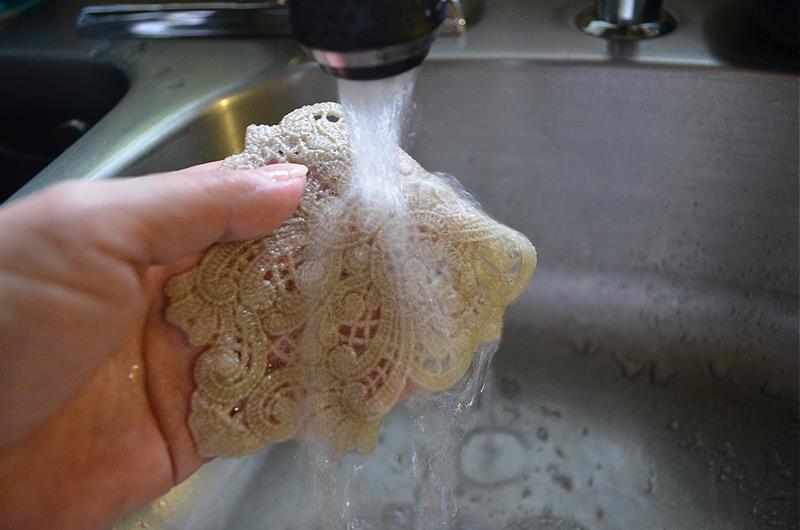
Rinse under lukewarm water to remove the remainder of the stabilizer. The longer you rinse, the more flexible the piece will become. Keep in mind that laundering later will also remove any stabilizer left behind.
(Click Image to Enlarge)
Step 8:
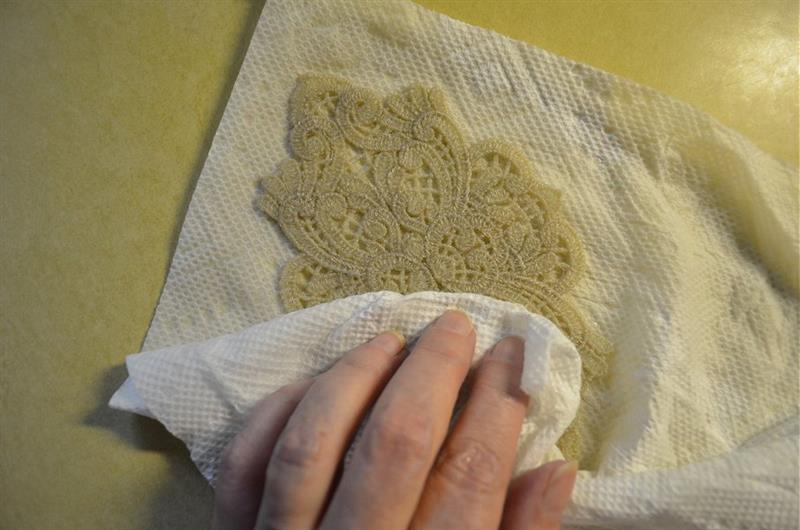
Set on a paper towel and pat away the excess moisture from the piece. Set the piece to the side to completely dry. If you set the piece to dry on a paper towel, you should check it periodically and pull away the paper towel to be sure that the piece doesn’t completely stick to the towel after it’s dry. A clever way of drying FSL is to lay it on a baking cooling rack or framed nylon window screen. Let dry overnight.
(Click Image to Enlarge)
Step 9:
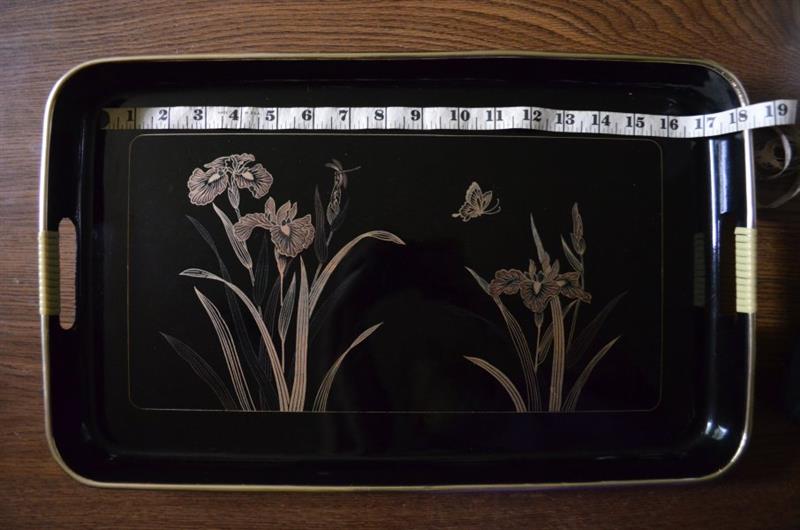
While you’re waiting for the FSL to dry, assemble the liner. First measure the inside of your tray; cut the fabric to equal your tray’s inside dimensions. My tray measures 17" x 10 ¼”. You will not need an allowance for a hem unless you decide to not include a trim. I chose to not hem the fabric, but have used a zigzag stitch around the outside edges to avoid fraying. Alternatively, you might choose to give the liner a rolled hem.
(Click Image to Enlarge)
Step 10:
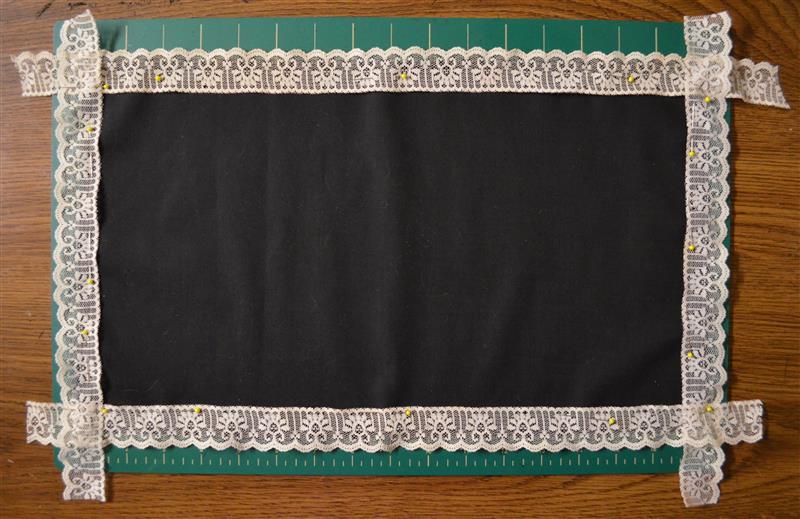
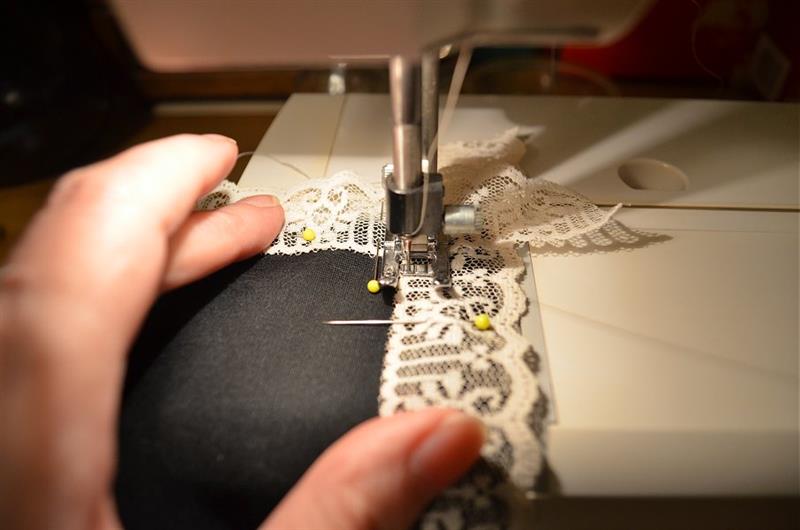
Pin the pieces of lace trim in place. Leave an inch or two at each end that will be used to create the seam. The longer allowance that you can leave, the easier it will be to handle when creating the seam in the corners of the trim.
(Click Image to Enlarge)
Step 11:
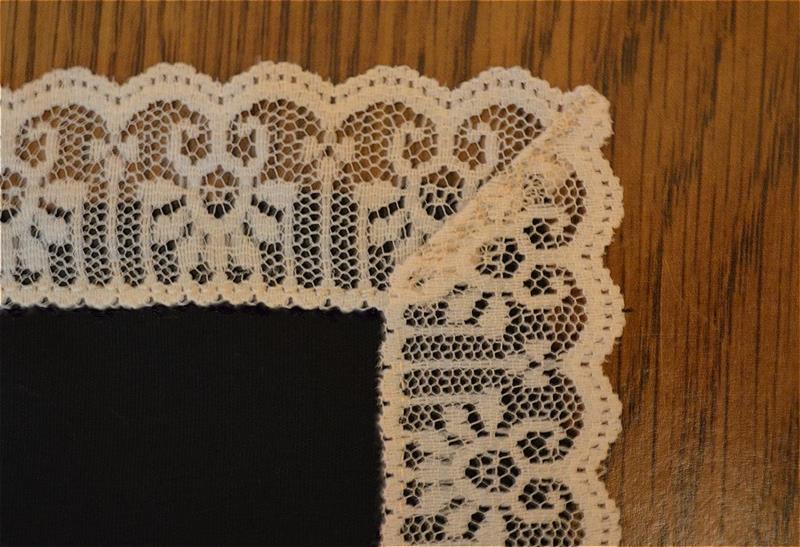
Stitch along the inside edge of the trim using an average stitch length of about 3.0 MM. Begin and end at the exact center where the two pieces of trim cross; do not stitch down the ends of the trim. To finish ends of trim, fold back the piece of trim that is laying over the other piece at an angle that will create a squared corner. Stitch from the inside corner to the outside of the trim along the fold.
(Click Image to Enlarge)
Step 12:
On the backside, cut away the excess trim, leaving an allowance of about 1/4” from the first seam. Fold that allowance to the inside to reach the first seam you had stitched; and then, on the top side, stitch from the inside corner to the outside corner next to the first seam to tack down. Locking the stitches on lace by backing up can be difficult. Personally, I pull the stitched lace away from the machine leaving tails of bobbin and top thread long enough to tie into a neat little knot at the backside and trim.
(Click Image to Enlarge)
Step 13:
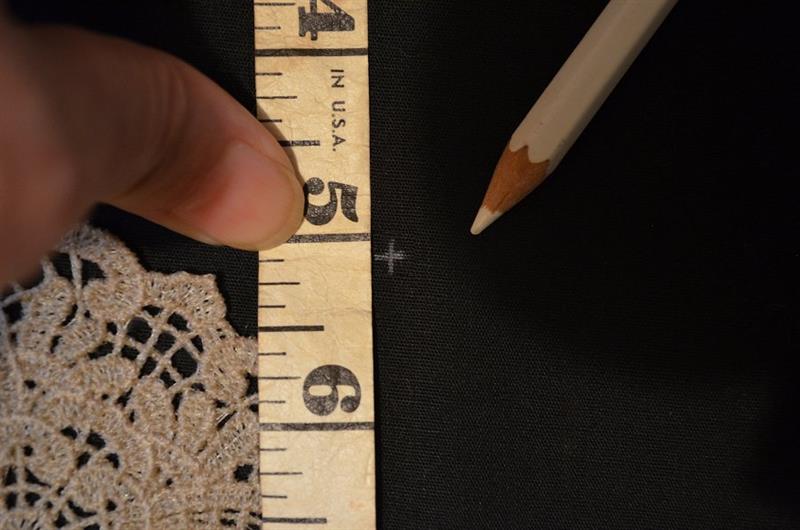
Find the center of the liner by measuring half way from each side and mark. My liner is 10 ¼” wide so I marked a line at 5 1/8” and it is 17” long so I marked a line at 9 ½” crossing over the first mark.
(Click Image to Enlarge)
Step 14:
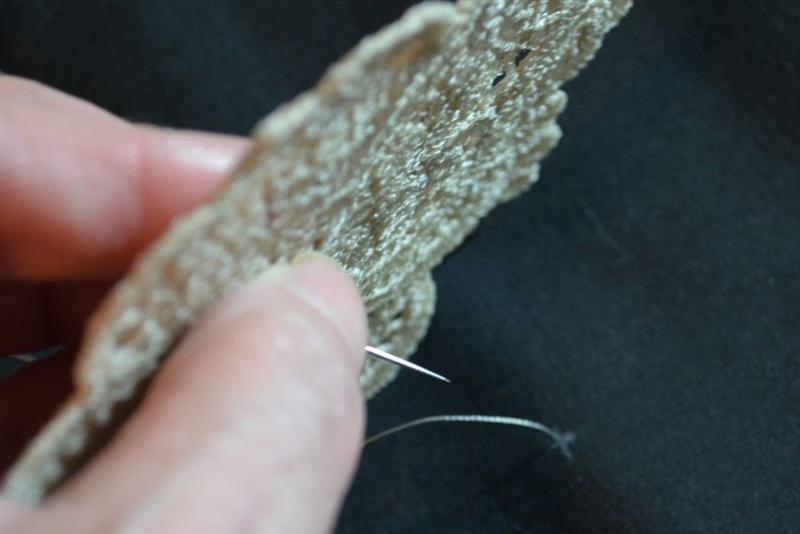
Using a threaded hand needle, pull the first stitch from the back to the top through the point where the lines cross. Pull the needle through the center point of the FSL piece from back to top. Then near to where the stitch came through at the center of the FSL, pull the needle from top to back, and then back through the liner top to back; repeat with a few stitches and knot at the back. Make sure the FSL piece is sitting straight, and then tack down each side of the piece with a few stitches in the same manner.
(Click Image to Enlarge)
Step 15:
Place the remaining FSL pieces at each corner, tacking down with a few stitches at each side of the piece and at the center inside corner.
Bonnie Landsberger has been a crafter and hand embroiderer since childhood and a machine embroiderer and digitizer since 1986. She was the in-house head digitizer for a 50-head embroidery shop for 11 years and later offered custom digitizing services and stock design sales through her web site for Moonlight Design since 1993. She currently also holds a position as a customer service representative at EmbroideryDesigns.com.
Bonnie has won several awards for digitizing, including a gold medal in the 2002 Digitizing Olympics and grand prize in all categories & first place for Winter Holidays category in the Stitches Magazine Great Greeting Card Contest 2003.
Her embroidery and digitizing technical articles can be found in various trade magazines and she is currently a contributing writer and Editorial Advisory Board Member for Stitches Magazine. You can also find more of her articles online at EmbroideryDesigns.com and will continue to contribute articles to our Learning Center.