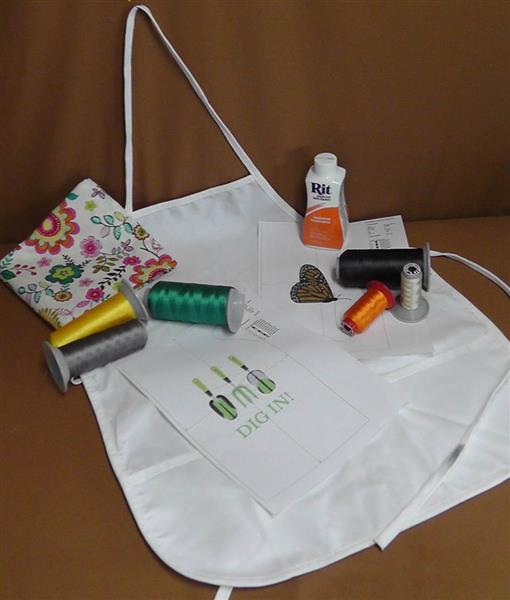
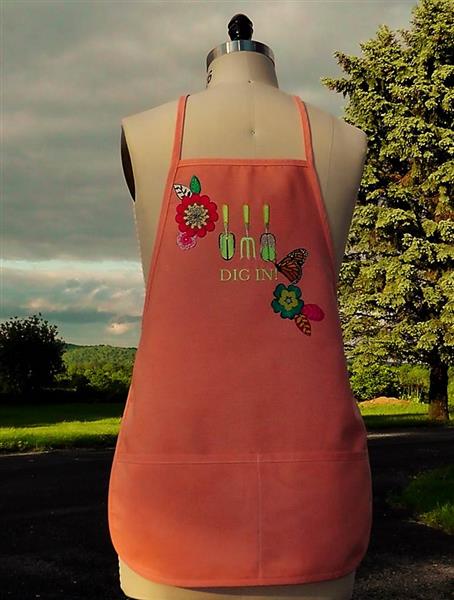
Purchase a white cotton apron, dye it with tangerine colored dye, and then add the embroidery and floral fabric elements.
Step 1:
Gather the supplies and read through the instructions before beginning. The designs done for the project were edited in size and color. Depending upon the hoop size for your machine you can edit the designs or leave them the original size.
(Click Image to Enlarge)
Step 2:
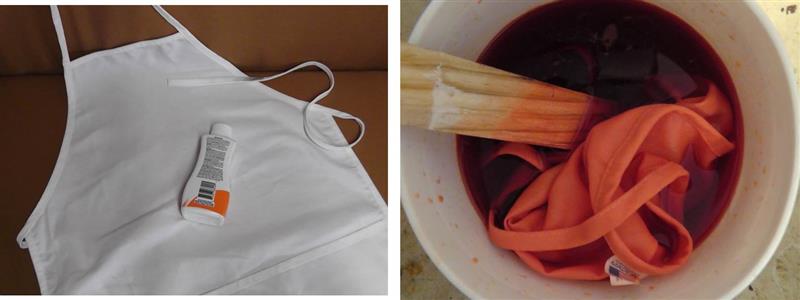
Read and follow the directions on the back of the bottle of dye to dye the apron. Dry the apron and press well.
(Click Image to Enlarge)
Step 3:
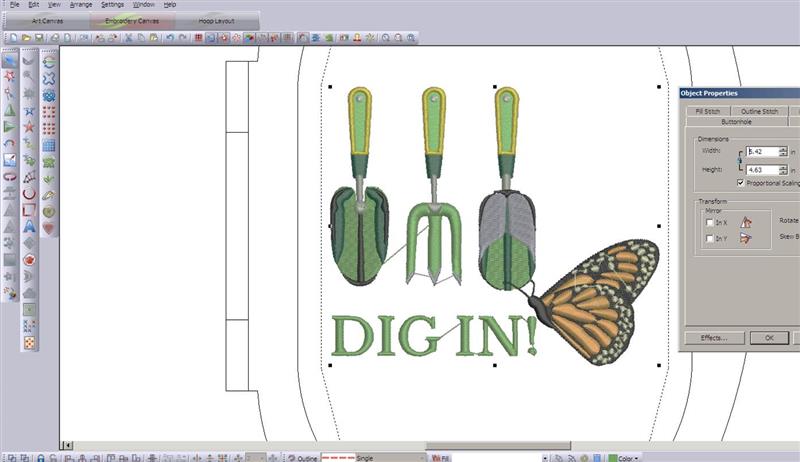
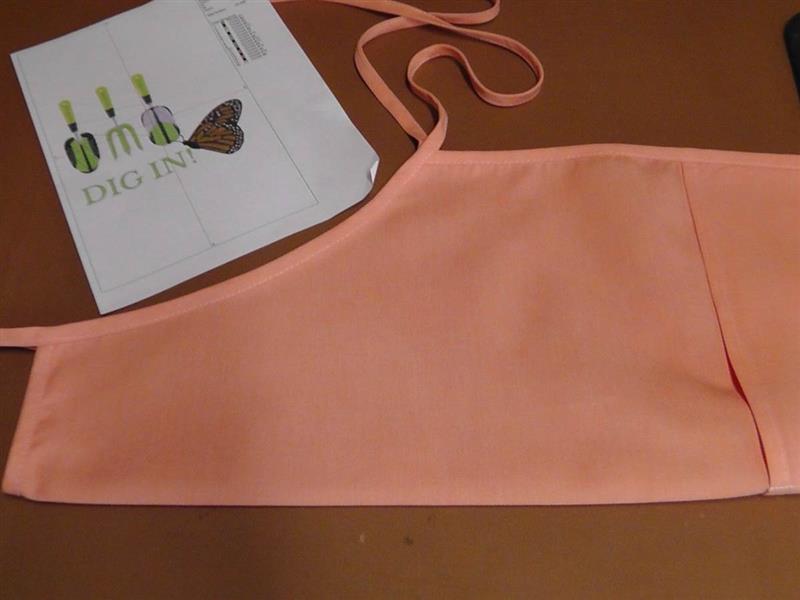
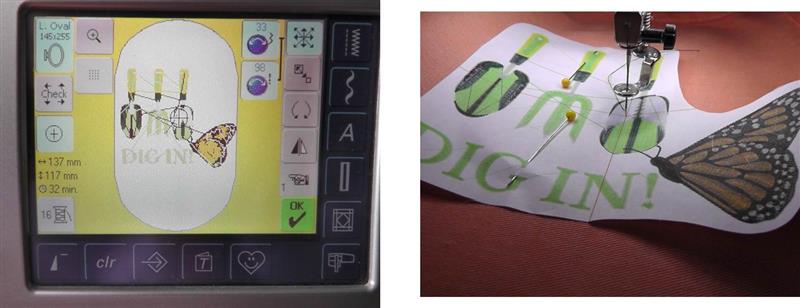
Optional: using embroidery editing software, import the “Dig In” design; enlarge the design 15%. Import the “Monarch Butterfly” design and reduce the size 15%. Position the butterfly over the design as shown. The final size of the design for the project was 5.42” x 4.63”. Be sure the final design will fit in the hoop or hoop twice if needed. Print a paper template of the design.
(Click Image to Enlarge)
Step 4:
Fold the apron in half lengthwise and finger press.
(Click Image to Enlarge)
Step 5:
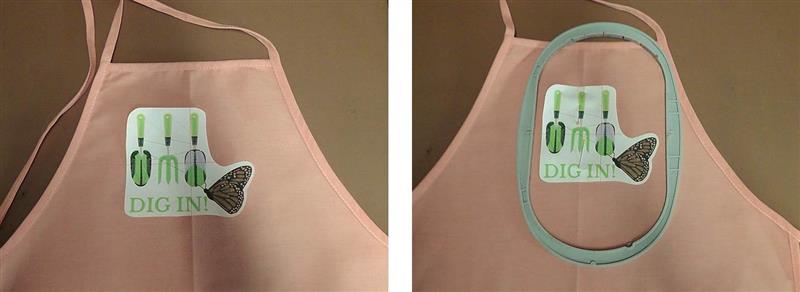
There is a choice to be made at this point. If the design is positioned with the center of the printout to the center of the apron the center of the apron crease aligns to the spade on the right next to the butterfly (photo on left). An option is to instead align the middle tool to the center crease on the apron (photo on right); the choice is yours. For the project, the position in the photo on the right was chosen.
(Click Image to Enlarge)
Step 6:
If aligning like the photo on the right then a new crease line for hoop alignment needs to be created. Fold back the paper template along the vertical crosshair. Fold the apron against the paper fold and finger press to crease. This is the new crease alignment for hooping.
(Click Image to Enlarge)
Step 7:
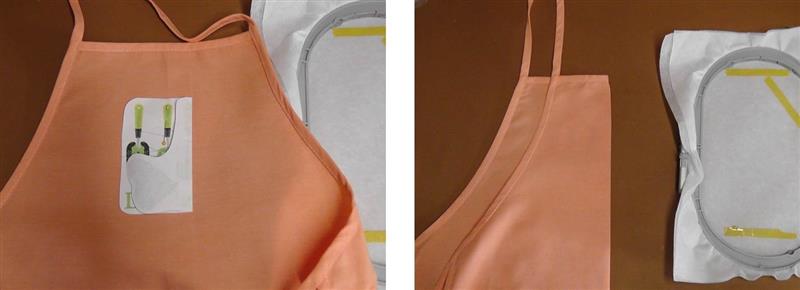
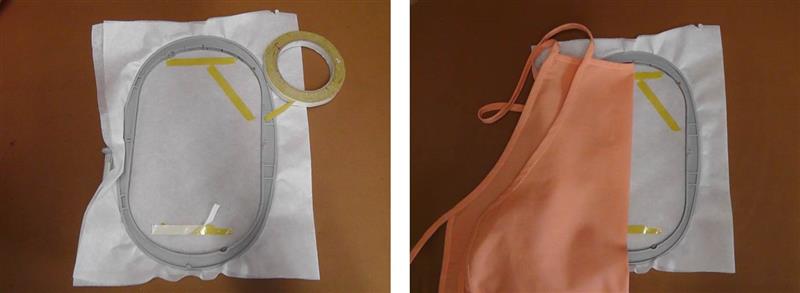
Hoop the apron if possible; sometimes the apron binding is too thick to hoop. In that case an option is to hoop two layers of tearaway stabilizer and then place pieces of embroidery tape on top of the stabilizer to secure the piece to be embroidered. Keep the tape out of the area to be stitched and remove the protective paper to align and secure the apron to the stabilizer.
(Click Image to Enlarge)
Step 8:
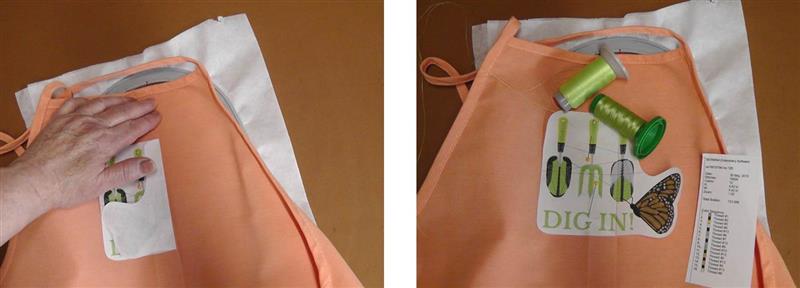
Open the apron and press the fabric firmly to the embroidery tape. After the apron is dyed, be aware you may wish to change the thread color choices that were originally planned.
(Click Image to Enlarge)
Step 9:
Load the “Dig In”/”Monarch Butterfly” design in the machine. Align the needle to the crosshairs on the paper template.
(Click Image to Enlarge)
Step 10:
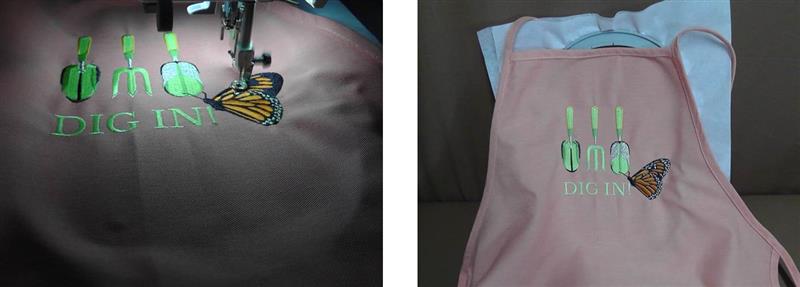
Stitch the design following the color sequence. After the embroidery is finished, remove the fabric from the hoop and remove the excess stabilizer; press the apron well.
(Click Image to Enlarge)
Step 11:
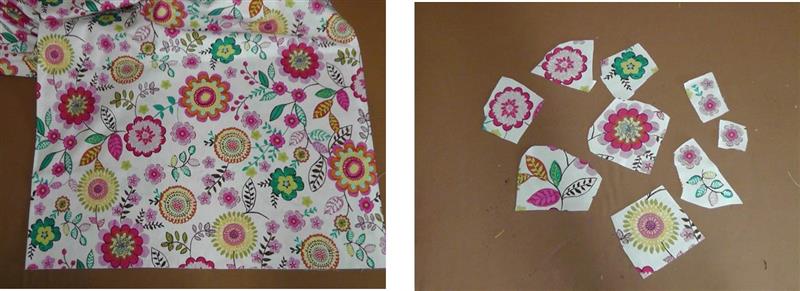
Analyze the chosen floral fabric and loosely cut around elements you think would be good for further decorating the apron.
(Click Image to Enlarge)
Step 12:
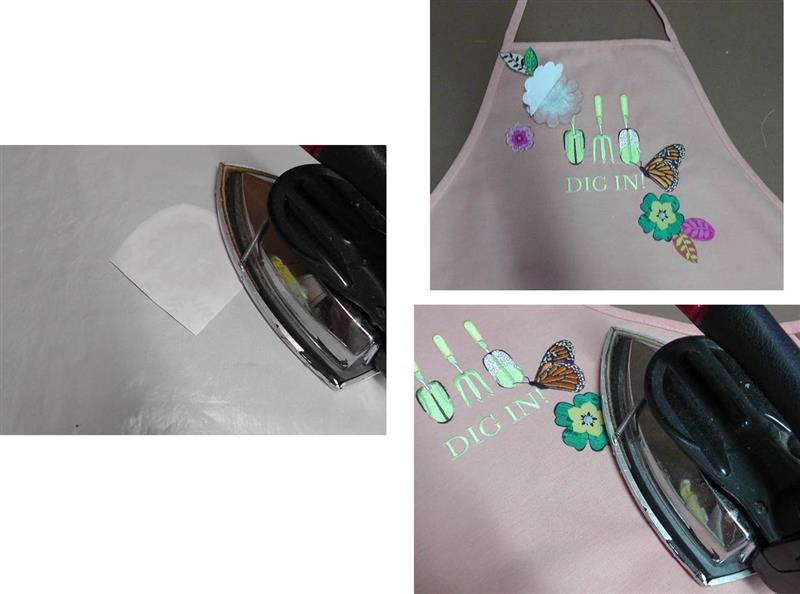
Cut pieces of Heat ‘n Bond and follow the manufacturer’s directions for applying to the back of the fabric pieces. Let the fabric cool then cut around the floral elements to be used. Lay the floral elements artfully around the design (add them anywhere you choose, even to the pockets). When you are happy with the placement remove the protective paper from the back of the floral elements and press in place. No further stitching is needed at this point but it could certainly be added to the floral elements if you desire.
(Click Image to Enlarge)
Step 13:
Congratulations on creating your new apron so you can begin to “Dig In” the dirt and create your garden.
Ramona Baird has been in the embroidery industry for over 23 years. She and her husband owned a commercial and retail embroidery store in Arizona for many years. She is an experienced digitizer having been mentored by award-winners Pat Williams and Lindee Goodall. Ramona is a contributor to “Creative Machine Embroidery” magazine having 5 covers to her credit. Ramona has worked for Wilcom America and served many years as Education Director for the American Sewing Guild. With a degree in fashion design, she is able to design and execute patterns which Pat Williams says are “out of the box” in creativity and application. Ramona likes to challenge the boundaries of embroidery and bring new and exciting designs, ideas, and projects to EmbroideryDesigns.com. She wants embroiderers of all levels to increase their skills and enjoyment in using their embroidery machine for gift-making and personal pleasure.