














































PROJECT INSTRUCTIONS


PROJECT INSTRUCTIONS

Applique May Day Flower Sucker Holder Embroidery Project
By
Starbird Inc.
on
May 11, 2015
Description
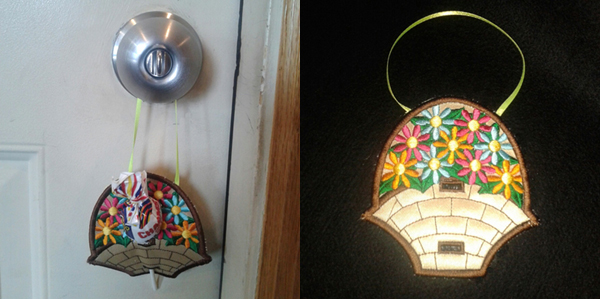
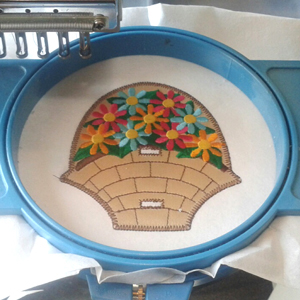
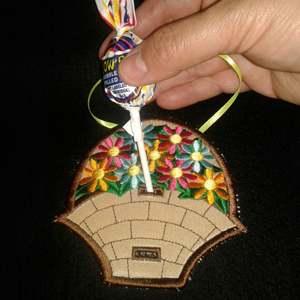
Create a charming May Day sucker holder featuring vibrant applique flowers. This delightful project uses two pieces of applique to form a decorative holder perfect for small treats. Ideal for festive celebrations or as a unique gift. Step-by-step instructions are included.
Step
of
Materials
Project Preview Video

QUICK VIEW
Applique Spring Garden Embroidery Bundle – Dragonfly, Bee, Butterfly, Flower & More (12 Designs)
$28.95
$17.37
Circle Price: $17.37

QUICK VIEW
Butterfly Sucker Holder
$5.95
$1.99
Circle Price: $1.84

QUICK VIEW
Basket Sucker Holder
$5.95
$1.99
Circle Price: $1.84
Tear Away Stabilizer
$7.98
Circle Price: $7.18

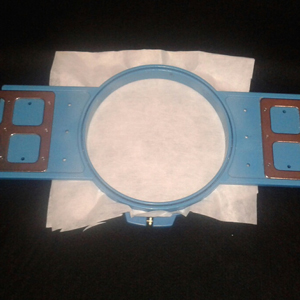
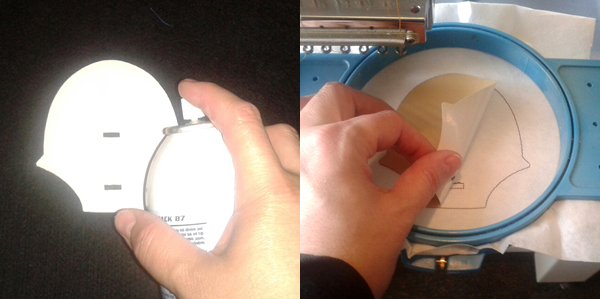
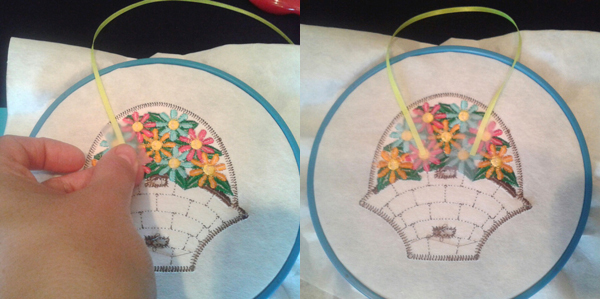
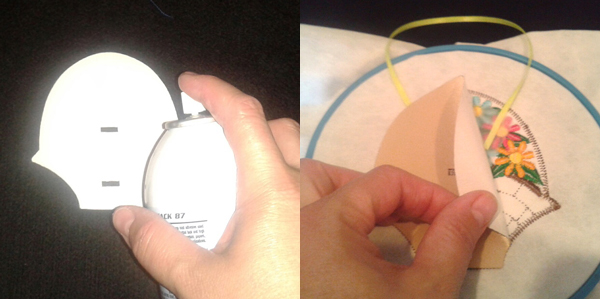
| Materials 1 May Day Sucker Holder embroidery design Tear away backing Bobbin thread to match the thread color of the last color stop 2 Applique fabric pieces Ribbon Suckers Tape We used PSA Twill, pressure sensitive twill, for our applique pieces.
Please let us know if we can cut the applique pieces for you. You can also cut
your own fabric to use. |
| Designs used in this project |
| Final Product: What You Will Create |
 |
|
Projects You May Like
Meet the Author:
Starbird Inc.

Starbird Inc. has been digitizing custom embroidery designs for over 25 years. They have seen so many wonderful and creative designs over the years that Starbird decided to create some of their own embroidery stock designs. Starbird Inc. is having a great time creating new and imaginative ideas and would like you to be able to enjoy them also.
Feedback
Characters Remaining
Please Login to Submit a Feedback
Invalid Characters, Please enter a valid Comment
Please enter a valid Comment
Reviewed On
Link is Broken, Please check the URL