Border OptionsHugging border, circle, square, or rectangle — with a 3mm satin stitch.
Backing OptionsAvailable with iron-on, sew-on, or velcro backing.
Fast ShippingShipped quickly from the USA.
Free Online Tools
Powerful embroidery utilities that save time and prevent costly mistakes.
Stitch AssistantRECOMMENDED
Get the exact stabilizer, machine settings, needle, and thread color sequence for every embroidery design you purchase — based on that design's stitch density, dimensions, and color count.
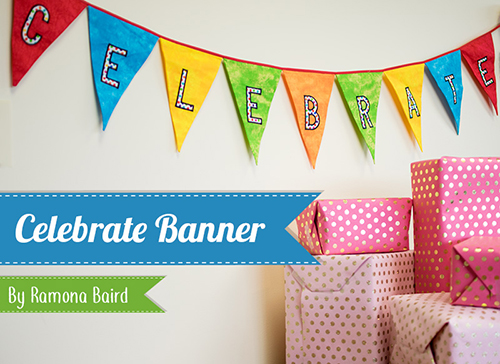
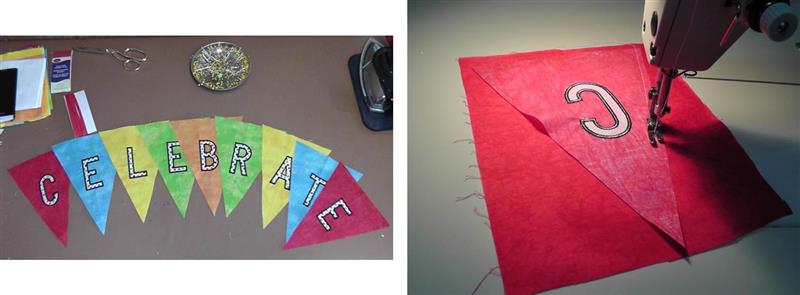
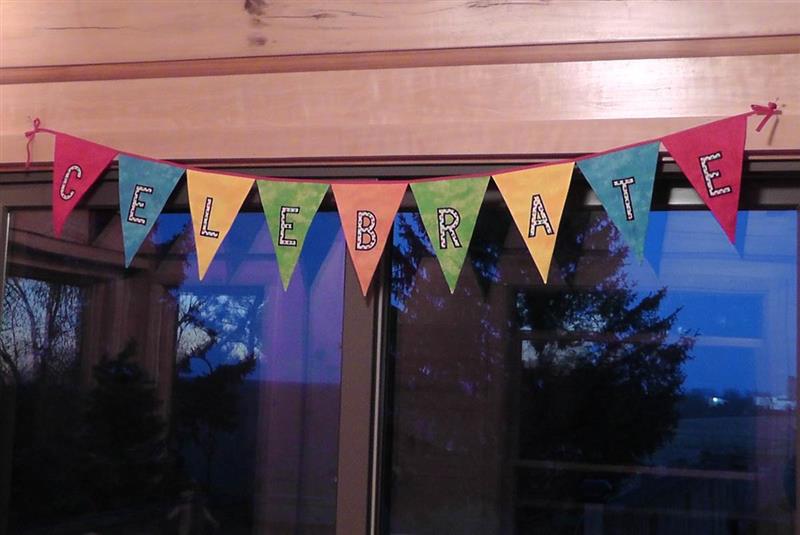
Craft a vibrant applique banner using colorful fabric and embroidered letters. Perfect for adding a festive touch to any event, this banner is strung with bias tape for easy hanging and reuse. Step-by-step instructions are included.
Use this technique to create any number of banners such as: Happy Holidays, Happy Birthday, Happy Anniversary, Welcome Home, etc. Just use the applique letters needed and repeat the easy process of sewing out the letter on fabric, cutting out the banner shape, sewing on the banner back and then assembling all the letters onto a bias tape string to mount the banner on a wall or window.
Step 1:
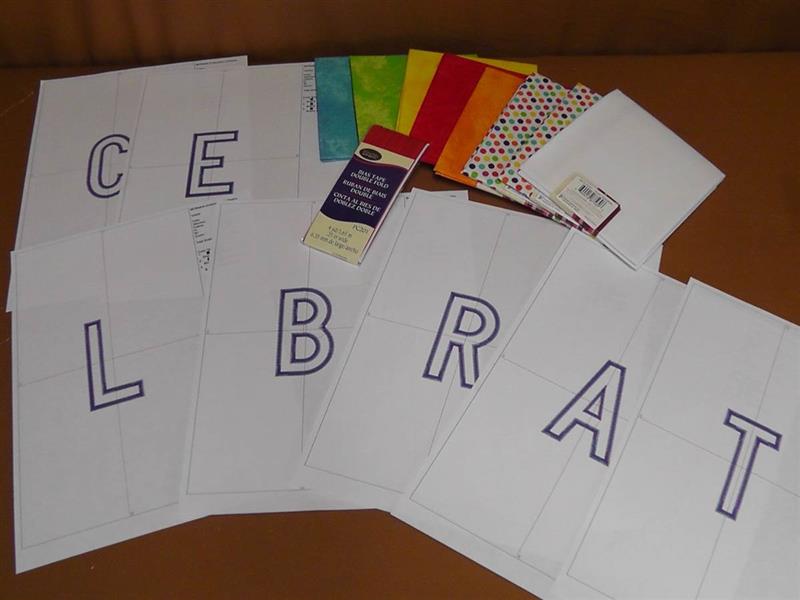
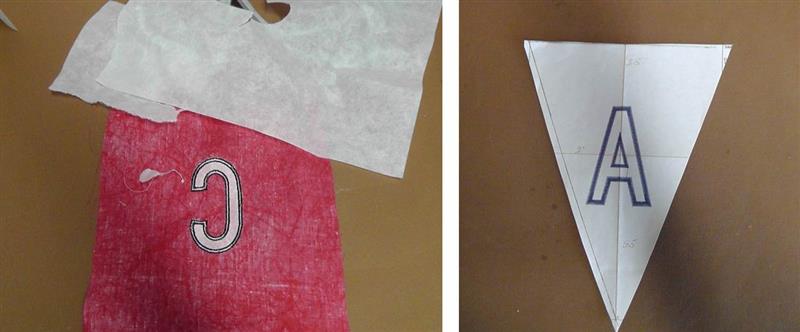
Gather the supplies and read through the instructions before beginning. Use colorful fabrics. Options are to use different background fabrics and keep the fabric inside the applique letter the same, keep all background and applique fabrics the same, or use up scraps of fabric in your stash to mix and match colors as you please. Print out a copy of each letter template.
(Click Image to Enlarge)
Step 2:
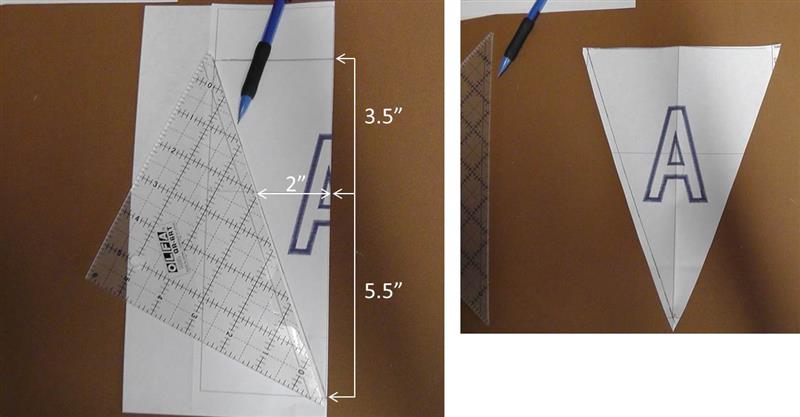
Choose one of the letter templates to create a pattern for the triangle for the banner. Fold the template in half lengthwise along the guide line. Make the banner background piece as long and wide as you’d like. For the project, from the center point the top was marked 3.5” up and the bottom tip was marked 5.5” down. The middle was marked 2” out. Lines were connected to shape the triangle and cut it out. Open up the paper template for a complete triangle to use as a pattern for the background fabric.
(Click Image to Enlarge)
Step 3:
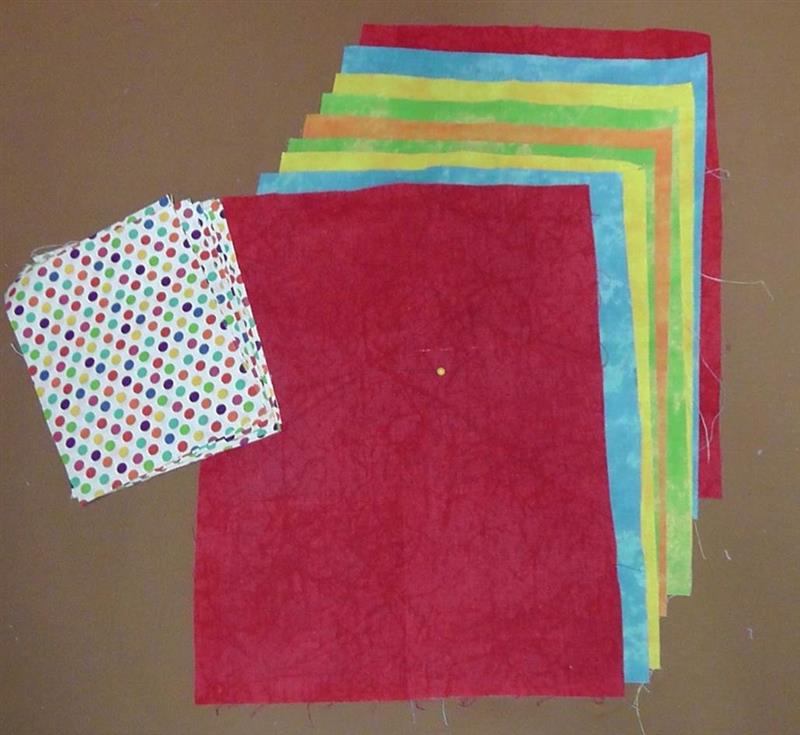
Cut pieces of fabric large enough for the banner background and hooping and also cut fabric for the applique letters. Line up the fabrics in the order you’d like to sew them out. For the project, the banner background will be used twice beginning and ending in red and only one of the color orange is used for the center color. One piece of dot fabric was cut for each letter. All fabrics were starched and pressed well.
(Click Image to Enlarge)
Step 4:
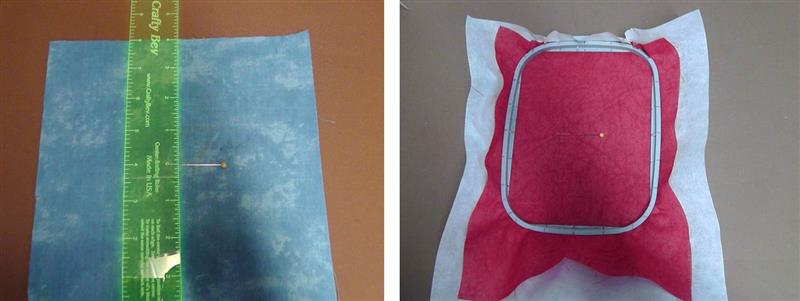
Using the template as a guide, measure down from the top of the fabric and place a pin for the center mark of the letter. Hoop the fabric with one layer of tearaway stabilizer.
(Click Image to Enlarge)
Step 5:
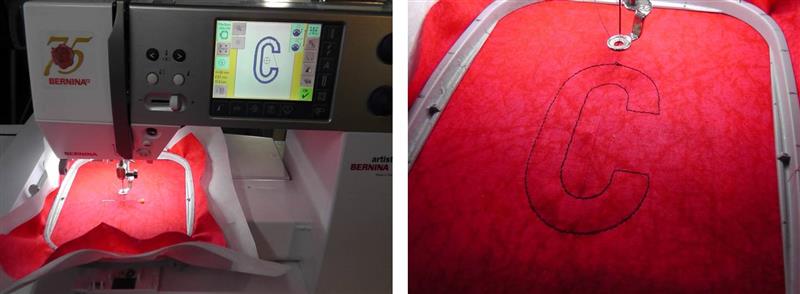
Load the first letter on the machine and stitch following the color sequence. The placement line for the applique fabric will sew first.
(Click Image to Enlarge)
Step 6:
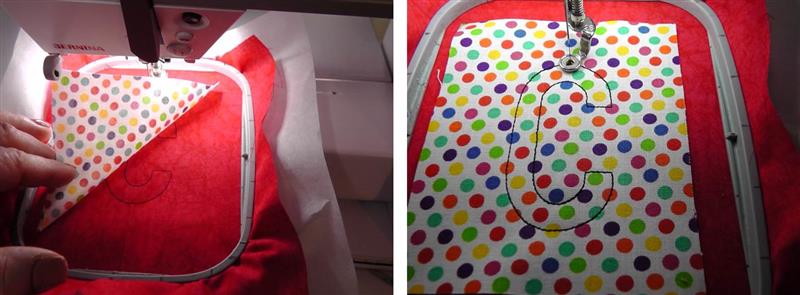
The machine will stop allowing placement of the applique fabric. Press the start button to sew the tack down, securing the applique fabric in place.
(Click Image to Enlarge)
Step 7:
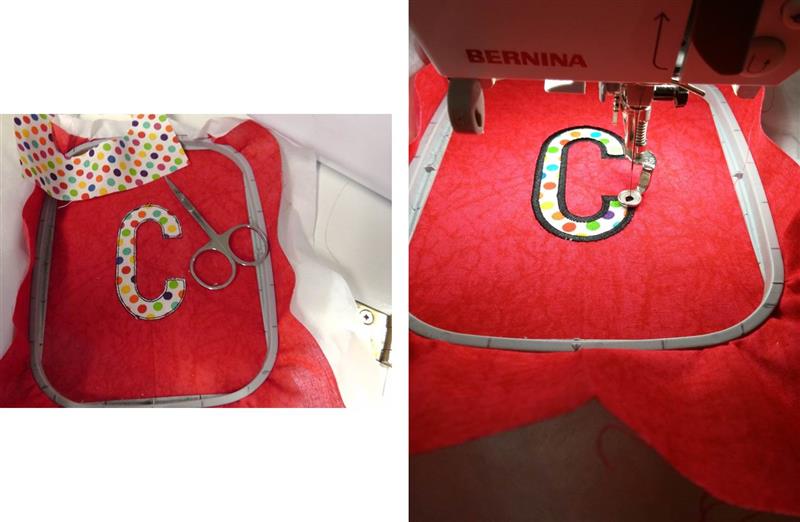
Remove the hoop from the machine and lay it on a flat surface. Carefully cut away the excess stabilizer with small sharp scissors. Place the hoop back on the machine and finish stitching the letter. Repeat the steps of hooping the fabric and stitching each applique letter on its appropriate background fabric until all letters have been stitched.
(Click Image to Enlarge)
Step 8:
Remove the hoop from the machine, remove the fabric, and remove the excess stabilizer. Now it is time to use the paper template to align to the letters to cut out the shape of the flags for the banner.
(Click Image to Enlarge)
Step 9:
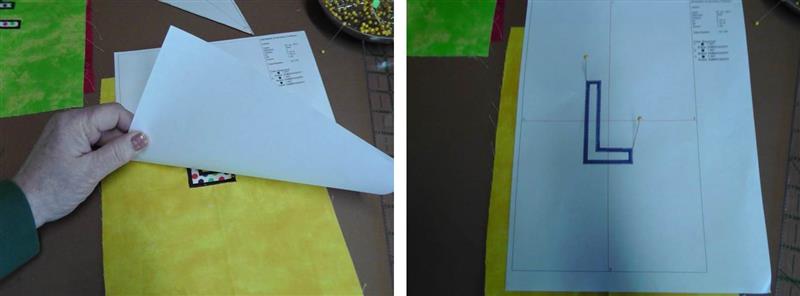
For each letter, realign the paper template over the letter matching the lines of the stitching to the stitching image printed on the paper. Place pins to hold It in place temporarily.
(Click Image to Enlarge)
Step 10:
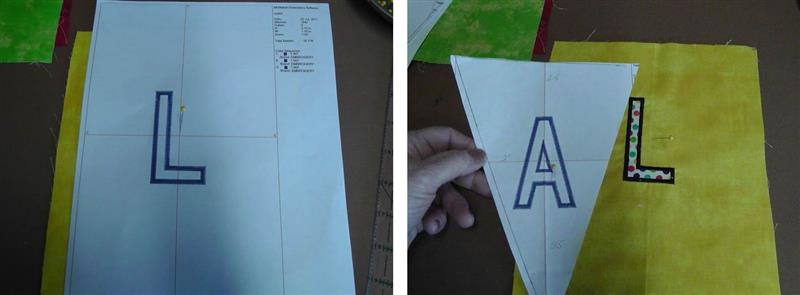
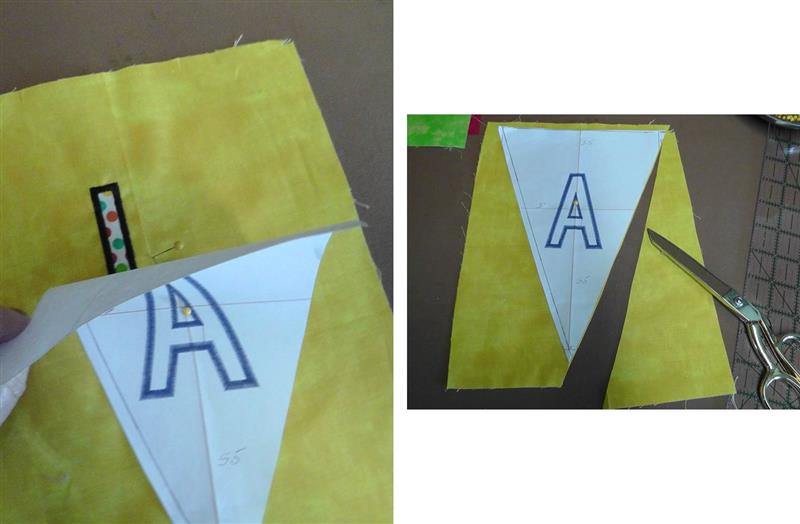
Place a pin at the center crosshairs and remove the other two pins. With the tip of the pin remaining in the fabric, pull back the top of the paper exposing where the pin goes into the fabric. Place another pin right at that point then remove the paper and its pin. Now the banner template will be used to cut out the background fabric.
(Click Image to Enlarge)
Step 11:
Place a pin in the center of the banner template crosshair. Align the tip of this pin with the pin in the fabric; this will align the template to the center of the letter on the fabric. Remove the pin in the fabric and pin the banner template in place. Cut out the fabric using the banner template as a guide.
(Click Image to Enlarge)
Step 12:
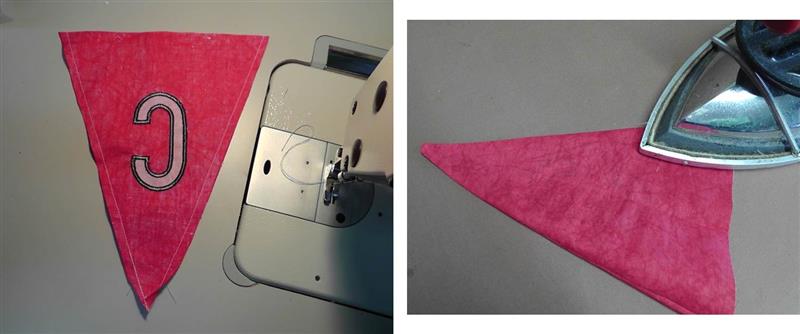
Repeat for all the remaining letters. Use the remaining fabric to sew a backing on each banner flag. Cut a piece of fabric larger than each flag, matching the same colors. Place right sides together. At the sewing machine stitch along each angled edge. Leave the top edge open for turning.
(Click Image to Enlarge)
Step 13:
Clip the point, turn the fabric right side out through the opening and press the banner flag well.
(Click Image to Enlarge)
Step 14:
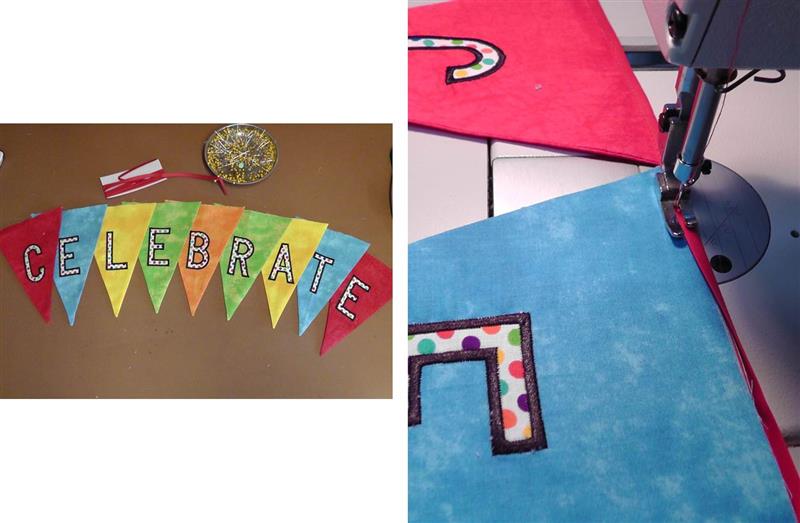
Lay the banner flags in order to be sure the word is spelled correctly. Now it is time to sew the flags together with the use of the double fold bias tape. Leaving an eight to ten inch tail at the beginning, begin sewing, edge stitching along the edge of just the binding. After sewing on just the binding for 8-10”, sandwich the top of each banner flag inside the double fold bias tape. Open up the bias tape and place the top cut edge of each flag to the crease mark on the binding, fold the top of the binding over the top of the flag and edgestitch the binding to the top of the flag.
(Click Image to Enlarge)
Step 15:
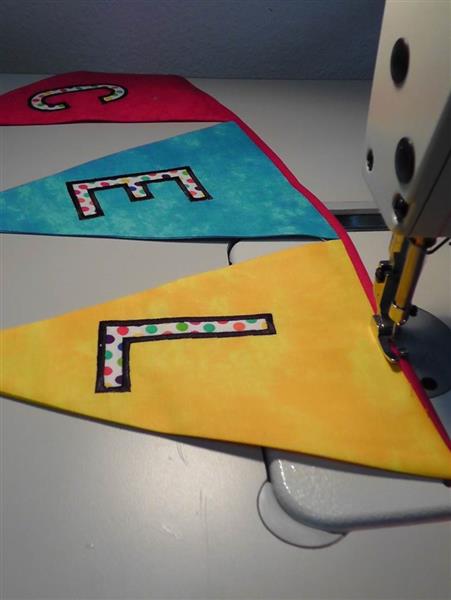
Butt the edge of one flag to the previous, sandwiching it inside the binding and edgestitching the binding in place. Continue until all the flags have been attached with the binding. At the end, continue to sew on the edge of just the binding leaving another eight to ten inch tail. Cut off the excess binding.
(Click Image to Enlarge)
Step 16:
Using the excess binding that was stitched at each end tie bows for hanging the banner over a window or doorway. Have fun creating banners for many occasions using this easy technique.
Ramona Baird has been in the embroidery industry for over 23 years. She and her husband owned a commercial and retail embroidery store in Arizona for many years. She is an experienced digitizer having been mentored by award-winners Pat Williams and Lindee Goodall. Ramona is a contributor to “Creative Machine Embroidery” magazine having 5 covers to her credit. Ramona has worked for Wilcom America and served many years as Education Director for the American Sewing Guild. With a degree in fashion design, she is able to design and execute patterns which Pat Williams says are “out of the box” in creativity and application. Ramona likes to challenge the boundaries of embroidery and bring new and exciting designs, ideas, and projects to EmbroideryDesigns.com. She wants embroiderers of all levels to increase their skills and enjoyment in using their embroidery machine for gift-making and personal pleasure.