Border OptionsHugging border, circle, square, or rectangle — with a 3mm satin stitch.
Backing OptionsAvailable with iron-on, sew-on, or velcro backing.
Fast ShippingShipped quickly from the USA.
Free Online Tools
Powerful embroidery utilities that save time and prevent costly mistakes.
Stitch AssistantRECOMMENDED
Get the exact stabilizer, machine settings, needle, and thread color sequence for every embroidery design you purchase — based on that design's stitch density, dimensions, and color count.
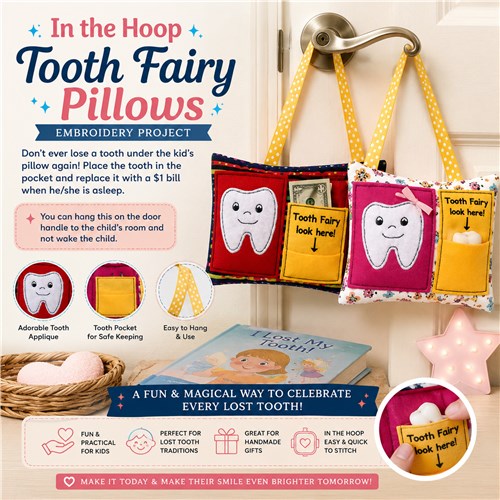
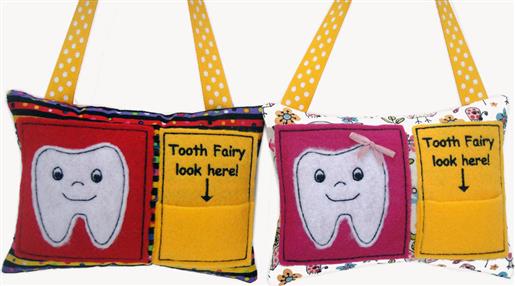
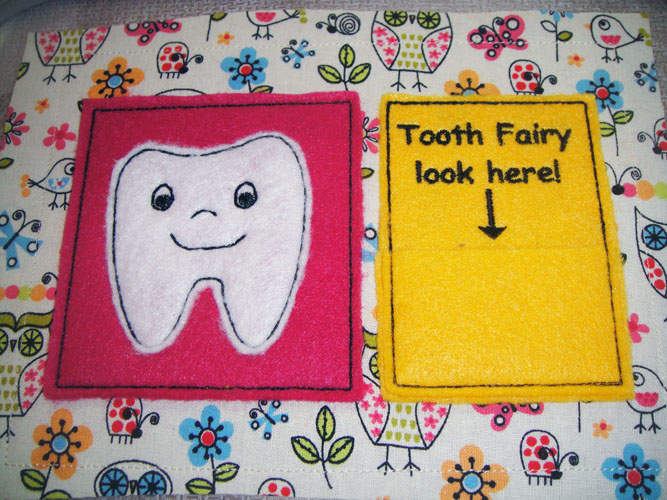
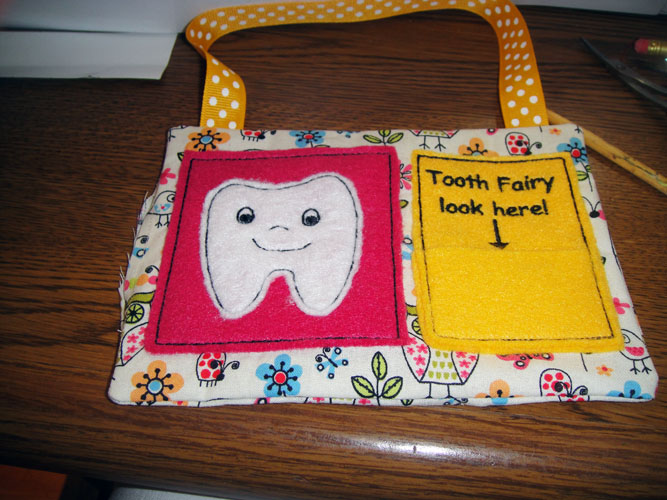
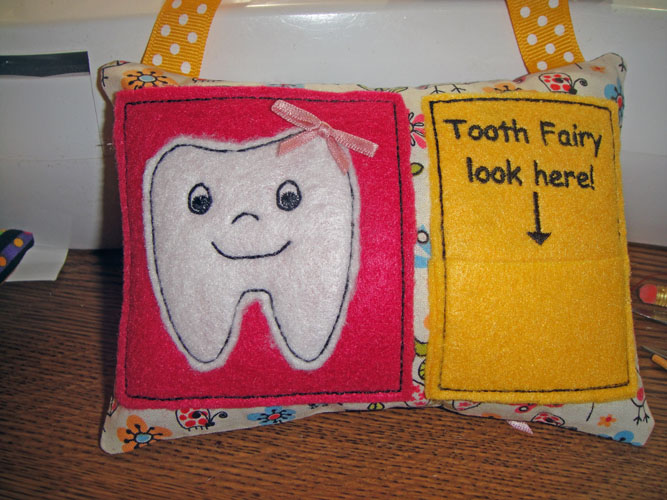
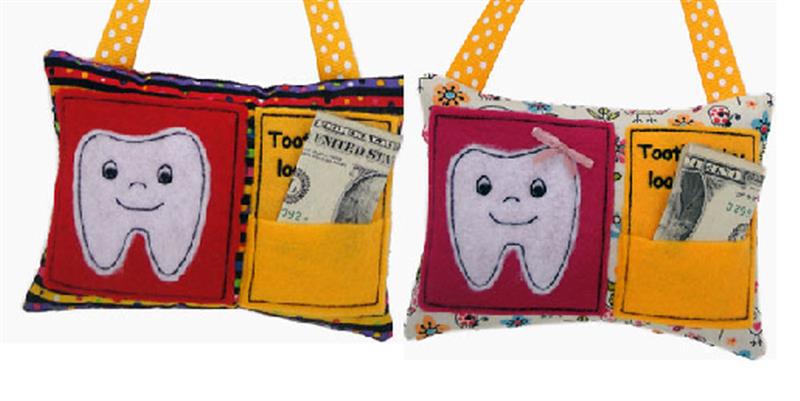
Ensure every lost tooth is safely stored with this charming tooth fairy pillow featuring a convenient pocket. Hang it on the child's door handle for easy access without disturbing their sleep. Perfect for a magical tooth fairy visit. Step-by-step instructions are included.
There are 11 color stops in this design, but in the darker fabric of the “boys” version black thread was used throughout the whole project. In the lighter colored “girl’s” version the tack down of the fabric and the final stitching lines were in a thread that matched the fabric; black thread was used for all other color stops.
Step 1:
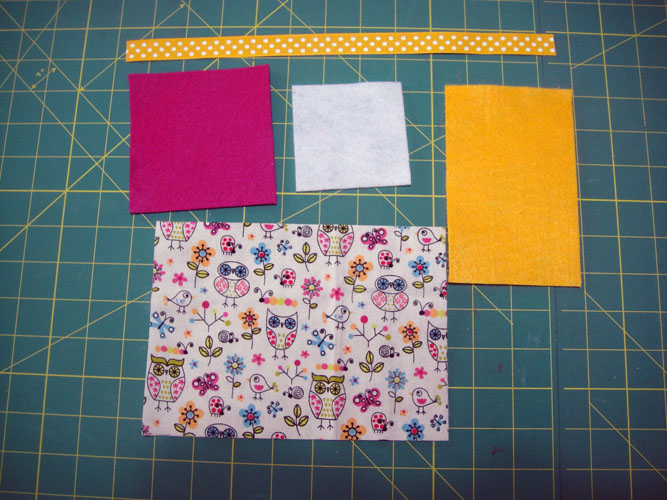
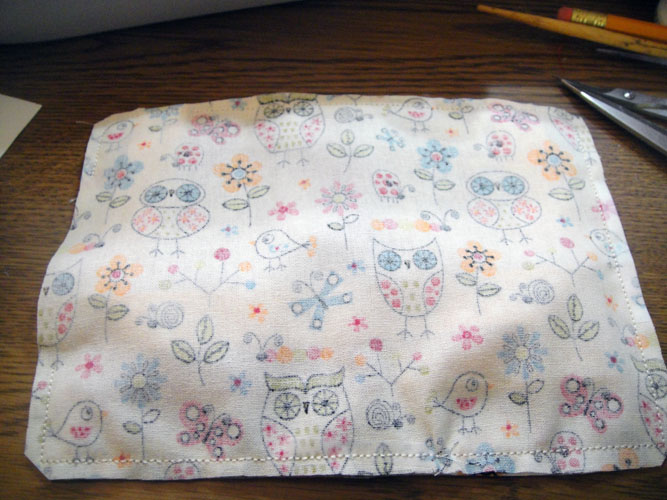
Cut two pieces of print fabric 5 ½” x 7 ½”. Cut 1 3” x 3” white felt square. Cut 1 4” x 4” felt square for under the tooth applique. Cut 1 3 ½” x 5 ½” of the second color felt square. Cut 12” of 5/8” grosgrain ribbon.
(Click Image to Enlarge)
Step 2:
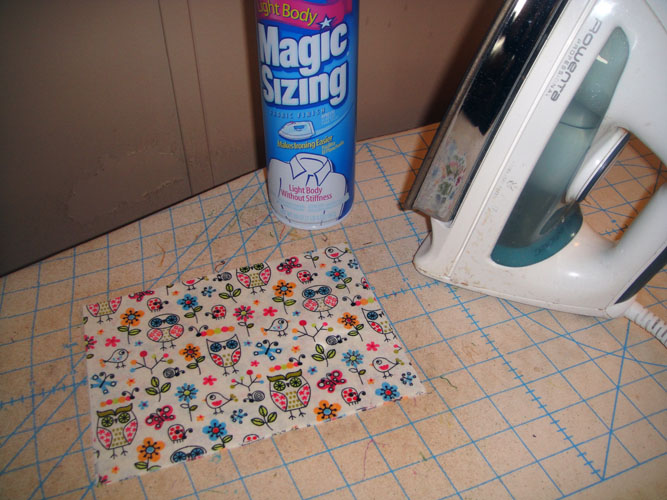
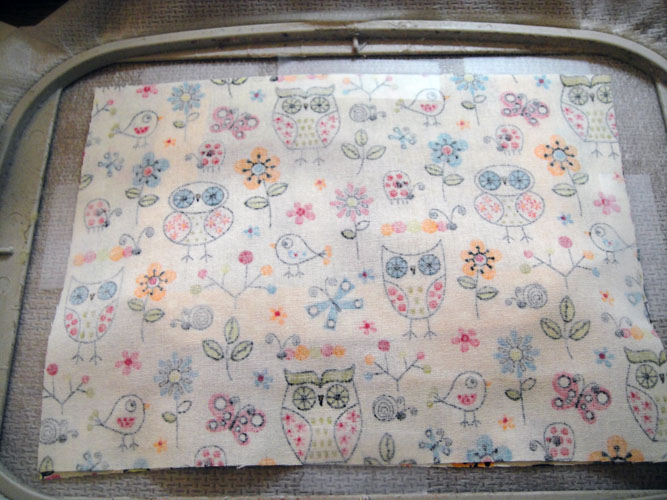
Press the cotton fabric with Magic Sizing.
(Click Image to Enlarge)
Step 3:
(Click Image to Enlarge)
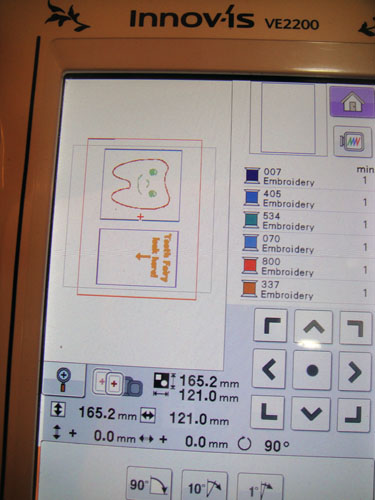
Load the design TOFYP in your embroidery machine. Some formats rotate the design automatically to fit in the hoop; others do not, so rotate if necessary so that the design will fit in the hoop.
Step 4:
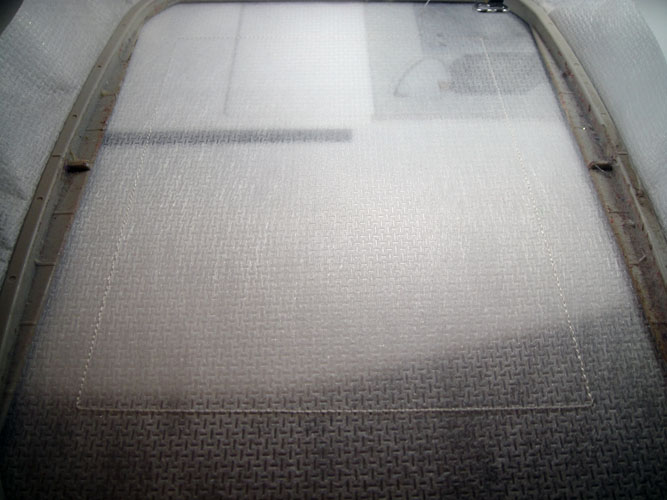
Hoop poly-mesh stabilizer in your 5” x 7” hoop; run the 1st color stop in thread to match the fabric for an outline for the pillow front.
(Click Image to Enlarge)
Step 5:
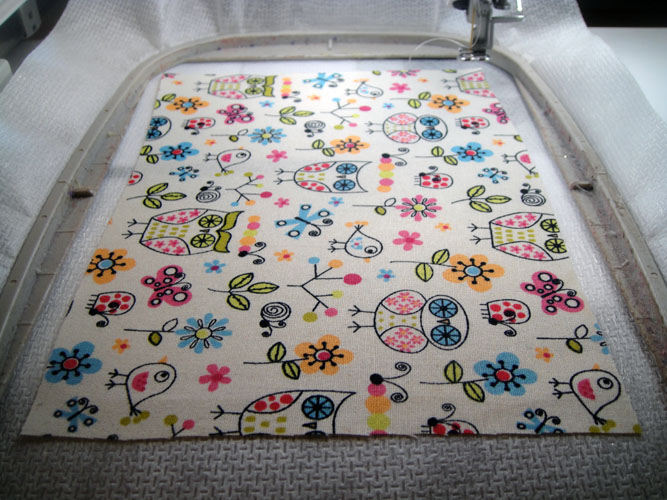
Spray adhesive on the back of a 5 ½” x 7 ½” pillow front fabric and place over the outline right side up; make sure the fabric edges exceed the outline by 1/2” in all directions; run color stop 2 to tack down the fabric.
(Click Image to Enlarge)
Step 6:
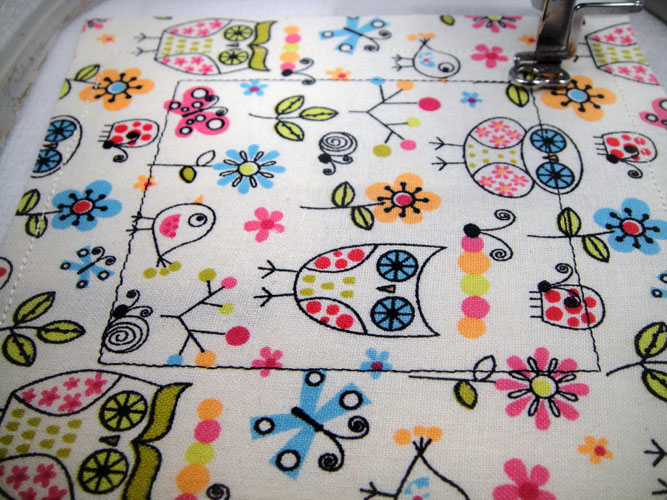
Change to black embroidery thread in the top of your machine and stitch color stop 3 as an outline for the square applique.
(Click Image to Enlarge)
Step 7:
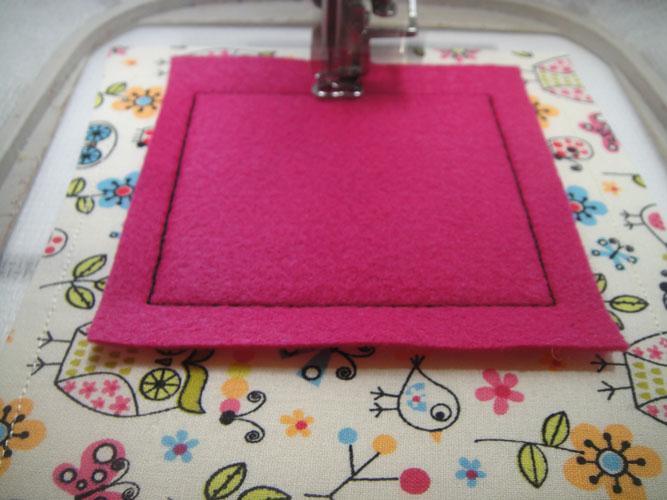
Spray adhesive on the 4” x 4” square of felt and place over the outlines so that the felt exceeds the outline by approximately ½” in all directions. Color Stop 4 will tack down the felt.
(Click Image to Enlarge)
Step 8:
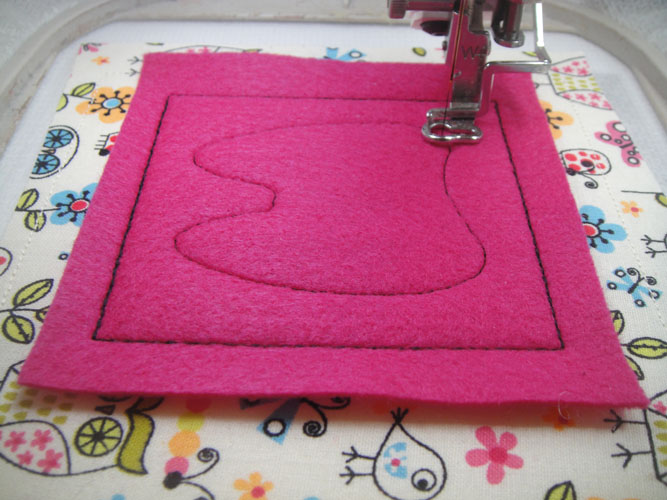
Run color stop 5 for an outline of the tooth.
(Click Image to Enlarge)
Step 9:
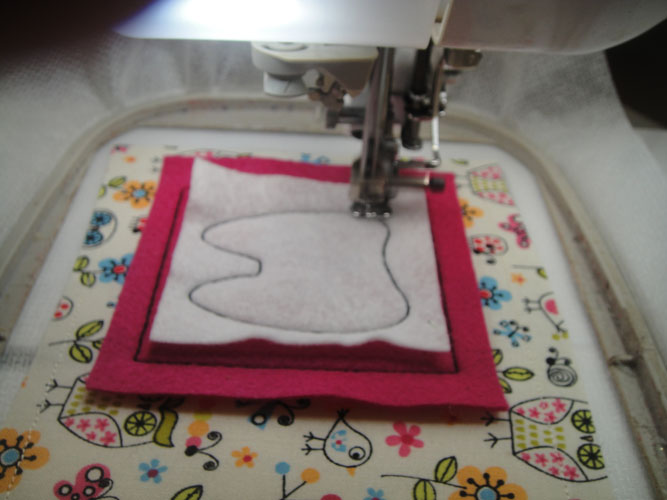
Spray adhesive on the white felt square and place over the tooth outline; run color stop 6 to tack down the tooth felt.
(Click Image to Enlarge)
Step 10:
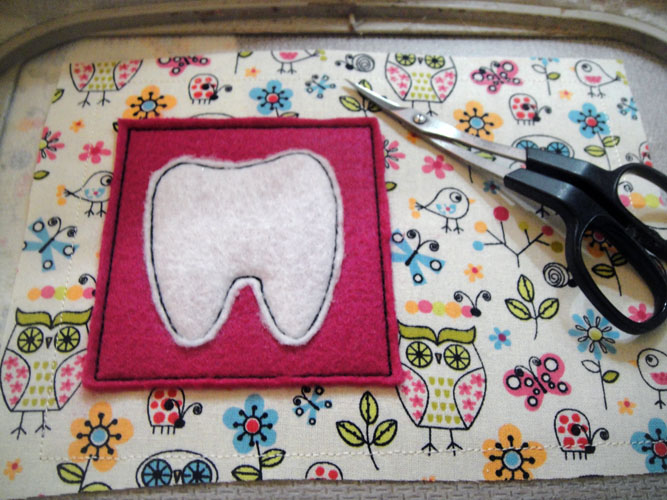
Trim around the felt square and tooth appliques about 1/8” from the tack down stitches.
(Click Image to Enlarge)
Step 11:
Run color stop 6 as the outline for the right side applique.
(Click Image to Enlarge)
Step 12:
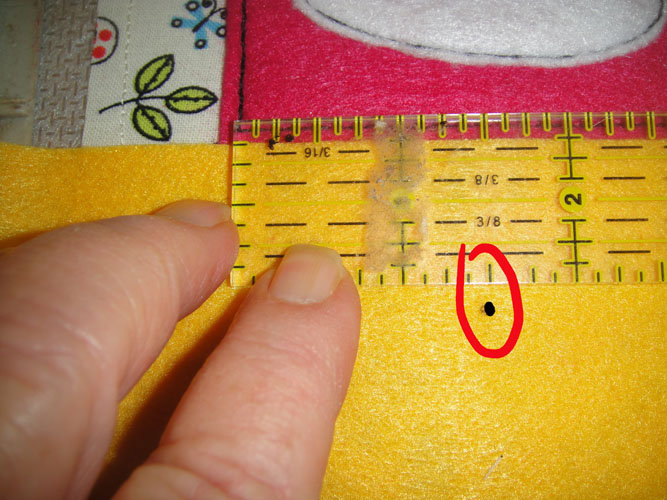
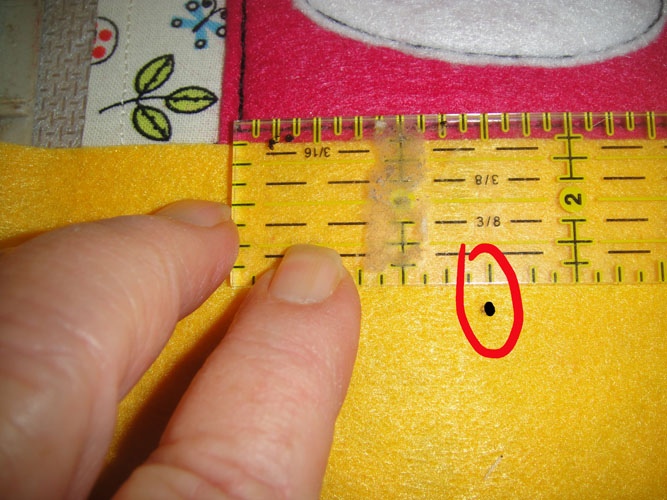
This time spritz the adhesive spray to the outline that is stitched in the hoop rather than to the felt. Place the yellow applique approximately ¼” above the top outline; measure up 1 ½” from the black outline on the adjoining square and make a mark with a Frixion pen on the current applique.
(Click Image to Enlarge)
Step 13:
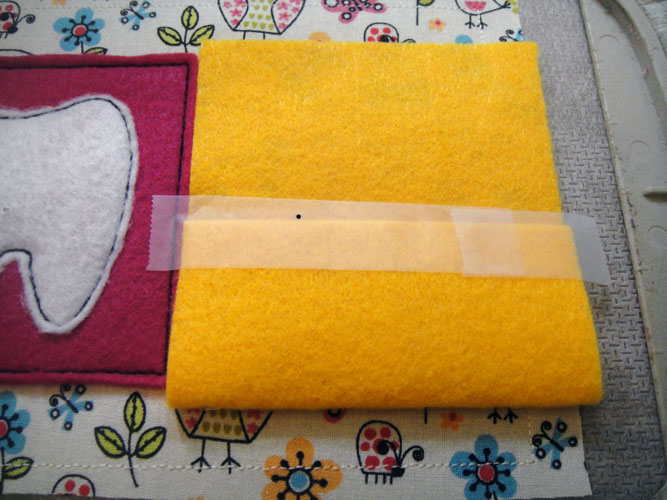
Fold the lower end of the current applique up to the mark you just made and tape down across the applique.
(Click Image to Enlarge)
Step 14:
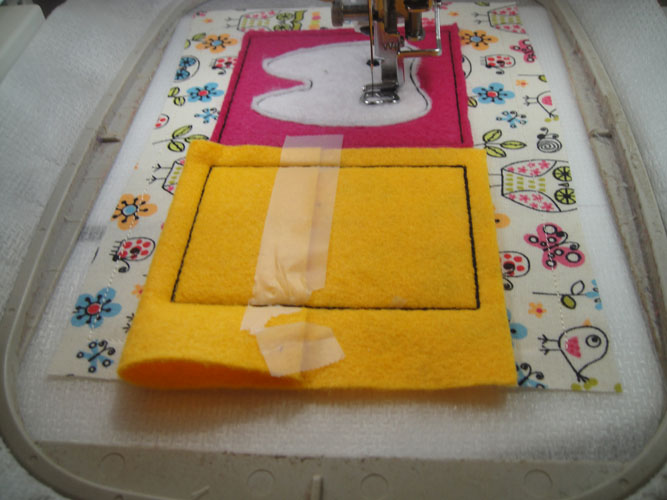
Run color stop 8 to tack down the pocket applique.
(Click Image to Enlarge)
Step 15:
Run color stop 9 and 10 to embroidery the face and lettering.
(Click Image to Enlarge)
Step 16:
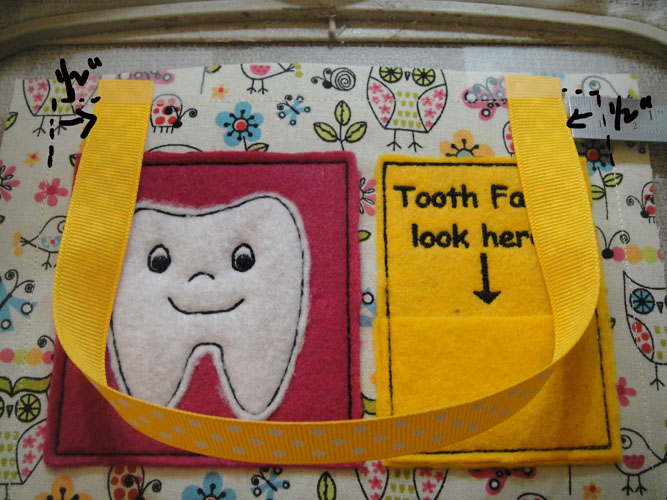
Tape the ribbon (face down if it has a pattern) over the top outlines of the pillow and ½” away from the ends of the pillow outlines.
(Click Image to Enlarge)
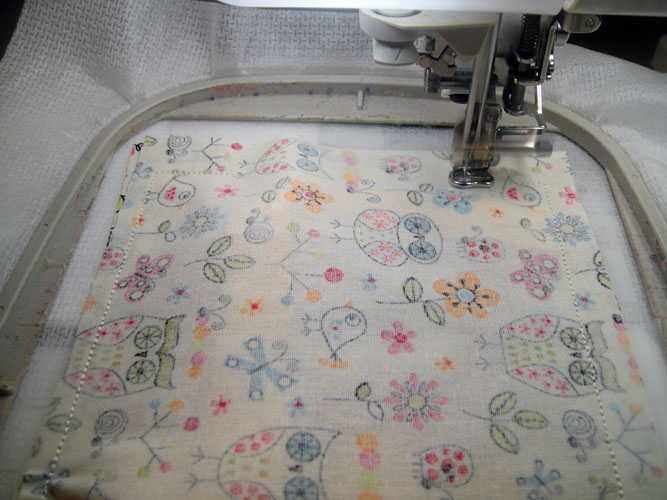
Step 17:
Place the pillow back right side down over the pillow front; scotch tape in place so it does not shift during stitching.
(Click Image to Enlarge)
Step 18:
Run the final color stop in a thread that matches your fabric to seam the pillow.
(Click Image to Enlarge)
Step 19:
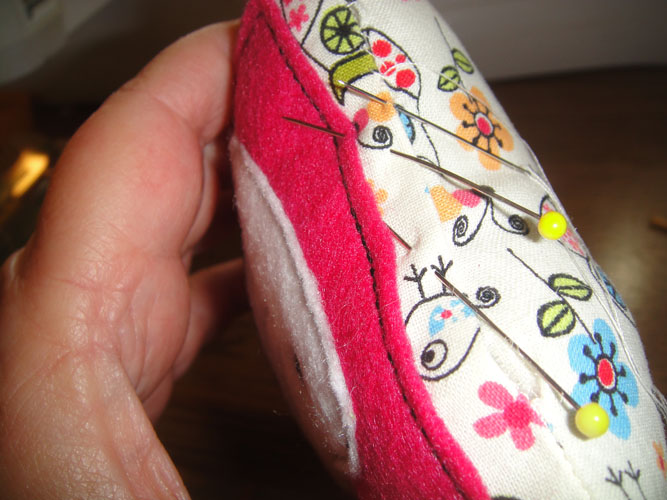
Remove the project from the hoop; trim approximately ¼” from the seam line all around; trim the corners diagonally for easier turning.
(Click Image to Enlarge)
Step 20:
Turn the pillow right side out through the opening on the left. Press the project from the back to remove the Frixion mark and to press out the wrinkles from the turning.
(Click Image to Enlarge)
Step 21:
Stuff the pillow; use a ladder or whip stitch to close the opening.
(Click Image to Enlarge)
Step 22:
If desired glue or stitch a purchased mini bow to a girl’s Tooth Fairy Pillow.
(Click Image to Enlarge)
Step 23:
When you remove the child’s tooth from the pocket replace it with a little cash to delight the child!
Award winning Digitizer, Embroidery Educator, Author and a Consultant to the Industry, Pat Williams has 30 years of experience in the embroidery industry. Pat has won multiple awards for her digitizing expertise including the 2007 Impressions Awards Grand Championship, Best of Show as well as the 1st and 2nd Place Awards. Pat’s love of digitizing has afforded her the opportunity to write numerous articles for Impressions magazine in the United States and Images Magazine in Europe. In 2001 Pat was named “Embroidery Educator of the Year.” For many years Pat taught digitizing seminars at the ISS Shows in Long Beach, CA and for Compucon software. She now resides in Tucson, AZ.