Border OptionsHugging border, circle, square, or rectangle — with a 3mm satin stitch.
Backing OptionsAvailable with iron-on, sew-on, or velcro backing.
Fast ShippingShipped quickly from the USA.
Free Online Tools
Powerful embroidery utilities that save time and prevent costly mistakes.
Stitch AssistantRECOMMENDED
Get the exact stabilizer, machine settings, needle, and thread color sequence for every embroidery design you purchase — based on that design's stitch density, dimensions, and color count.
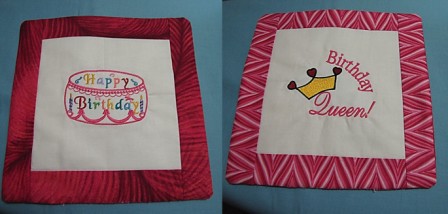
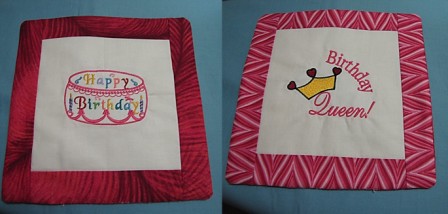
Create a vibrant, reversible wall hanging that celebrates birthdays with style. Featuring colorful designs on each side, this piece is perfect for adding a festive touch to any space. Step-by-step instructions are included.
Step
of
Reversible Birthday Wall Hanging
By Martha Montgomery
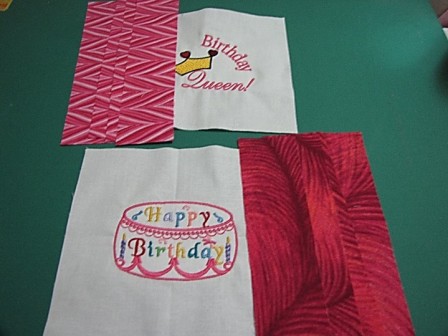
The solid fabric is the center front and center back of the project. The solid fabric is cut larger than needed, hooped and embroidered, and then cut down to the final desired size. This allows extra fabric for hooping. The batting adds body to the wall hanging, which is finished with a coordinating border.
Step 1:
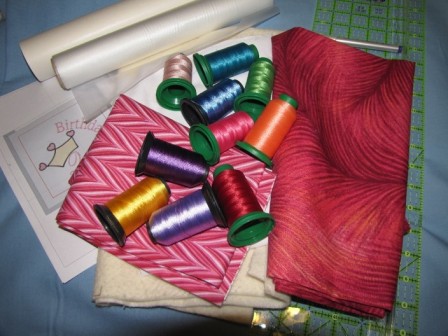
Read through all the instructions before beginning. Gather the supplies needed and print a paper copy of the designs to aid in hooping placement.
Step 2:
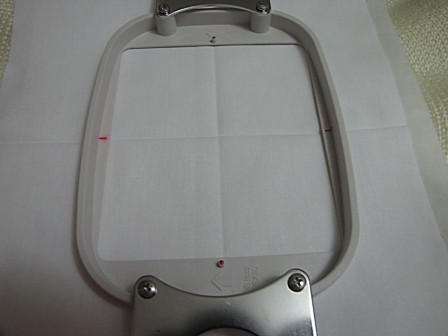
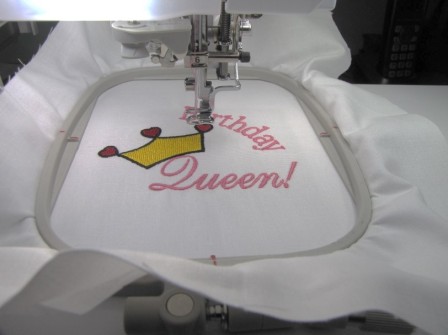
Find the center of the solid center front fabric by folding the fabric into fourths and pressing creases to aid in aligning the design. Hoop 1 piece of tearaway stabilizer and 1 piece of solid fabric together, aligning the centers of the fabric with the center markings on the hoop.
Step 3:
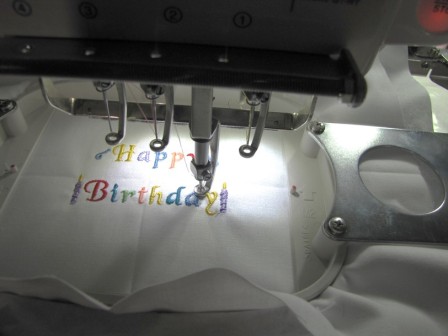
Carefully place the hooped fabric on the machine. At your machine, adjust the design as needed to align correctly with the center markings. Center the design on the hooped fabric, as you will need to trim the excess fabric once the design is stitched. Stitch design, following the color sequence, or choose your own colors.
Step 4:
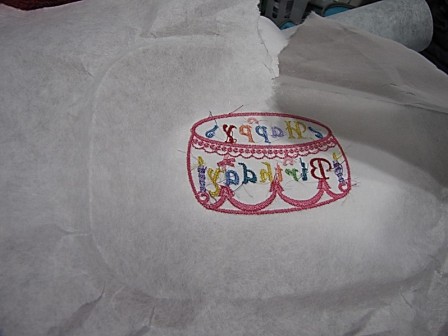
Remove hoop from machine, remove fabric and stabilizer from hoop. Carefully remove excess tearaway stabilizer, following manufacturer’s directions.
Step 5:
Repeat Steps 2-4 for the center back of the wall hanging, using the second design.
Step 6:
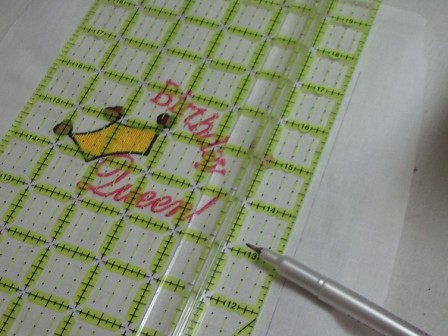
Trim each of the front and back center pieces to the desired size, making certain to center the design on each piece.
Step 7:
Gather the border pieces for each of the front and back center panel.
Step 8:
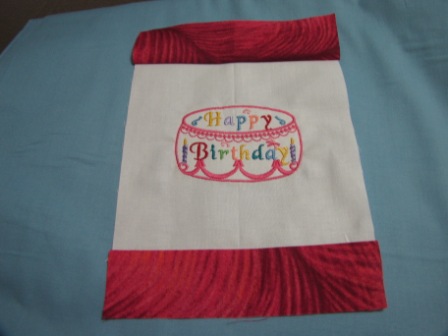
Place the two 10” x 2.5” border fabric pieces at the top and bottom of the embroidered center front fabric. With right sides together, sew the border to the center fabric using a ¼” seam allowance; press the seam toward the printed fabric. Repeat for the side border pieces. Repeat this step for the center back of the wall hanging.
Step 9:
Cut your batting to fit the size of the front and back panels of the wall hanging after borders have been sewn on and pressed.
Step 10:
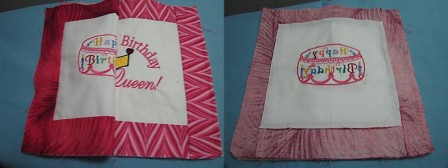
Layer the batting with the front panel right side up and the back panel right side facing down.
Step 11:
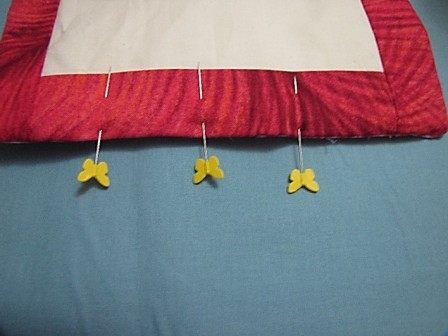
Stitch through all layers, using a ¼” seam. Leave approximately 3-4” open along one edge to turn the finished wall hanging right side out. Turn the wall hanging right side out. Stitch the open edge by hand stitching.
Step 12:
You have completed your reversible birthday wall hanging!
Martha has been sewing since childhood. She is a maker of garments, quilter and machine embroiderer. Martha loves all things fabric and fabric-related.