














































PROJECT INSTRUCTIONS


PROJECT INSTRUCTIONS

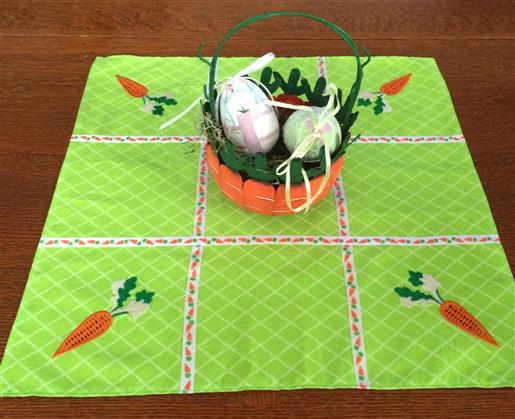
Easter Table Topper/Basket Liner Using a Cutwork Design Embroidery Project
By
Sue Gerhardt
on
March 25, 2015
Description
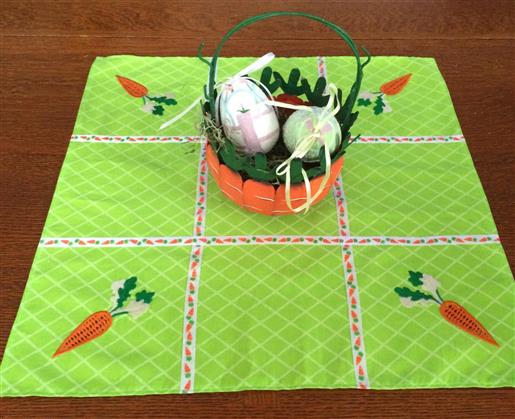
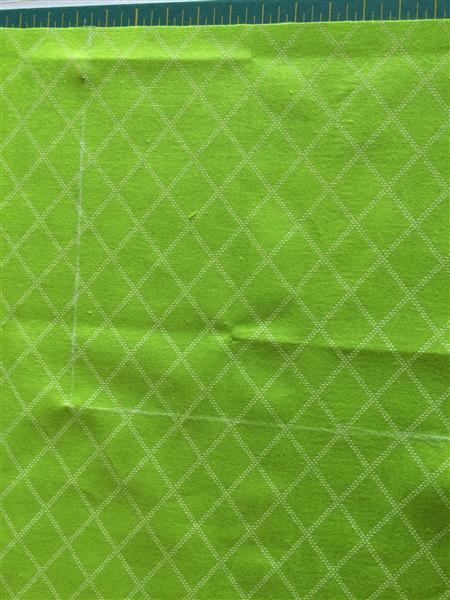
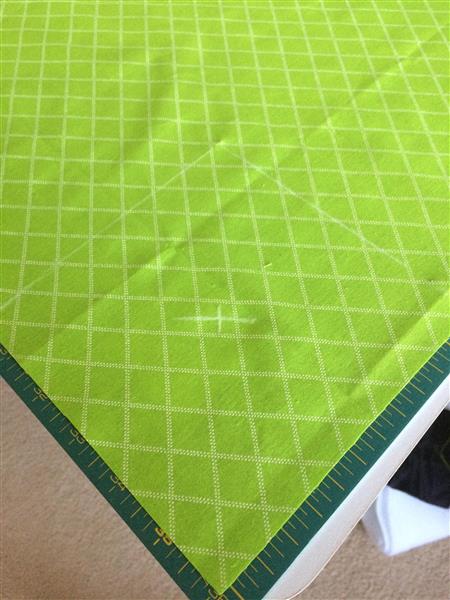
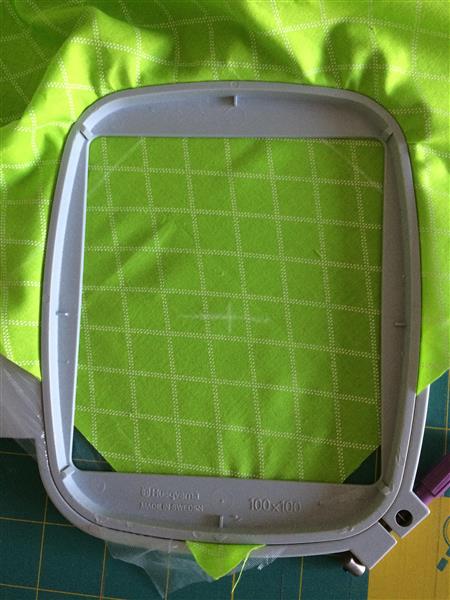
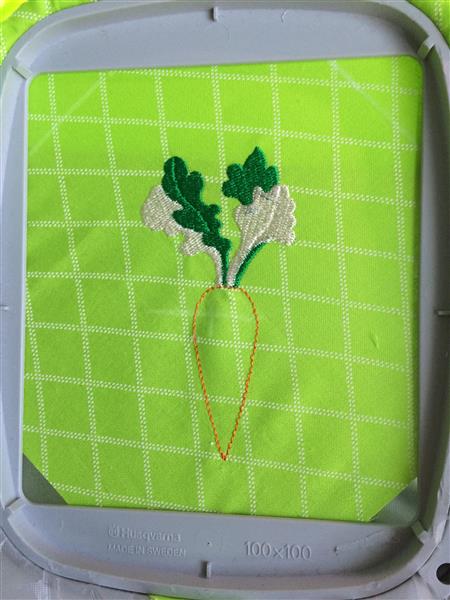
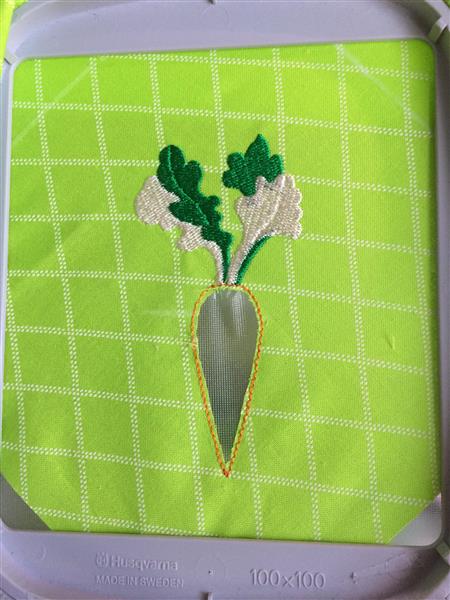
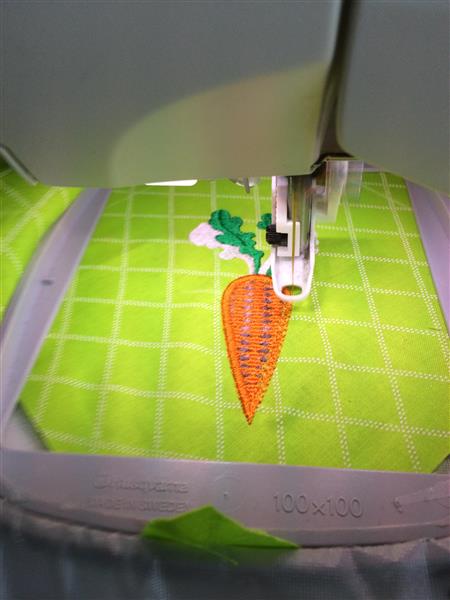
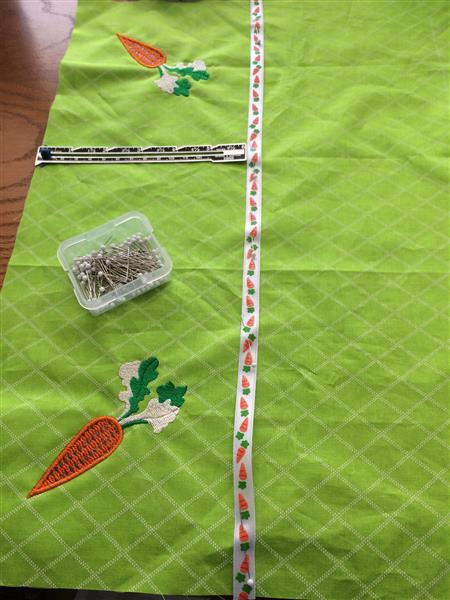
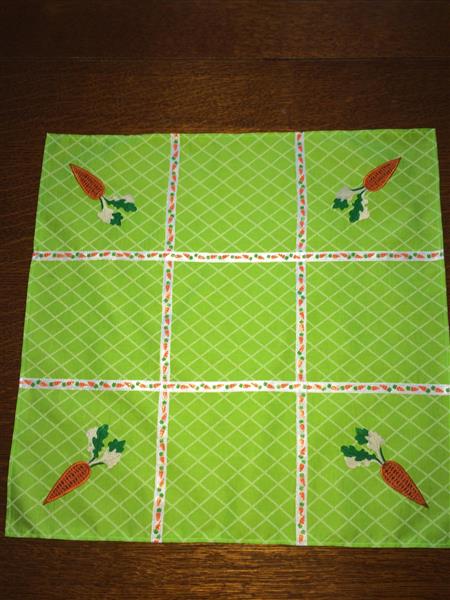
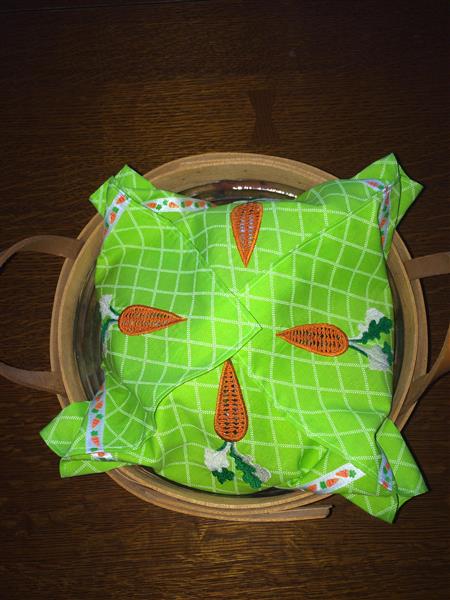
This is a perfect table topper to display an Easter basket, and you can also use it as a basket liner for your Easter meals. I will show you how to position your cutwork design perfectly in every corner.
Step
of
Materials
Project Preview Video

QUICK VIEW
Colorful Carrot
$8.00
$3.49
Circle Price: $3.34

Cut Away Stabilizer - 2.5 Oz wt.
$8.94
Circle Price: $8.05

Cut Away Stabilizer - 2 oz wt.
$8.52
Circle Price: $7.67

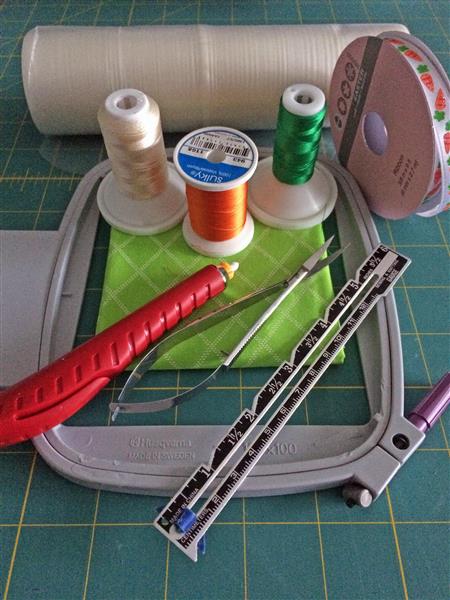
| Materials 1 Pre-washed fat quarter or ½ yard poly/cotton fabric Embroidery thread and embroidery bobbin thread Sewing thread that matches your fat quarter 4” x 4” or 100mm x 100mm embroidery hoop Medium weight disolvable stabilizer Measuring gauge A pair of sharp scissors Fabric chalk Pins 2 yards of decorative 3/8" ribbon |
| Designs used in this project |
| Final Product: What You Will Create |
 |
|
Projects You May Like
Meet the Author:
Sue Gerhardt

I've been sewing and making clothes from the age of 16 and started machine embroidering 8 years ago. I try to keep up with the latest embroidery trends by attending many classes at my local embroidery shop and just started learning how to quilt. I love to embroider on everything!
Feedback
Characters Remaining
Please Login to Submit a Feedback
Invalid Characters, Please enter a valid Comment
Please enter a valid Comment
Reviewed On
Link is Broken, Please check the URL