














































PROJECT INSTRUCTIONS


PROJECT INSTRUCTIONS
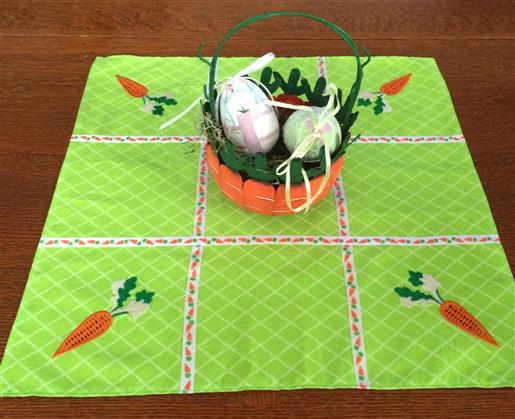
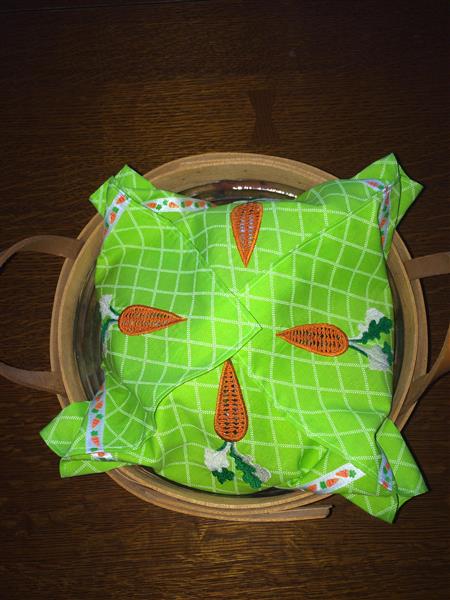
Cutwork Easter Table Topper or Basket Liner Embroidery Project
By
Sue Gerhardt
on
March 25, 2015
Description
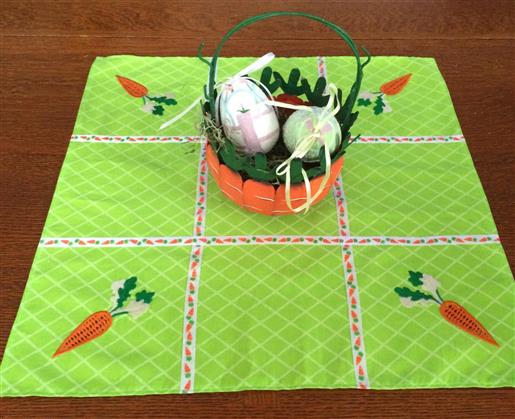
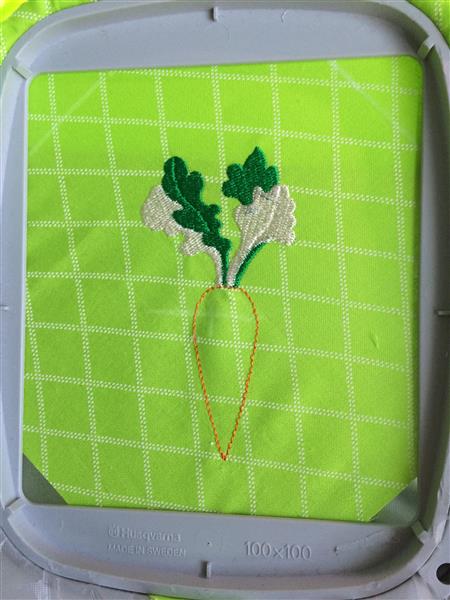
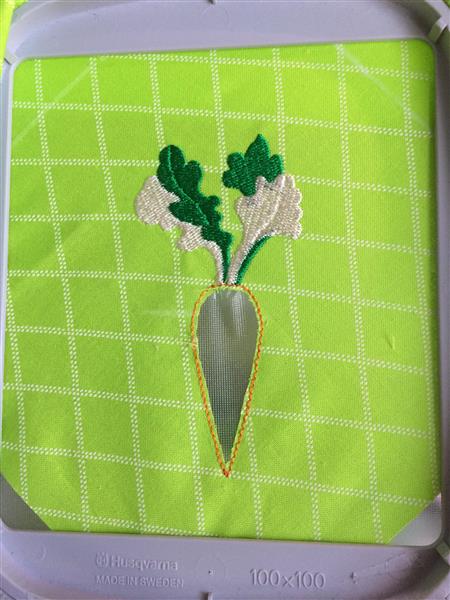
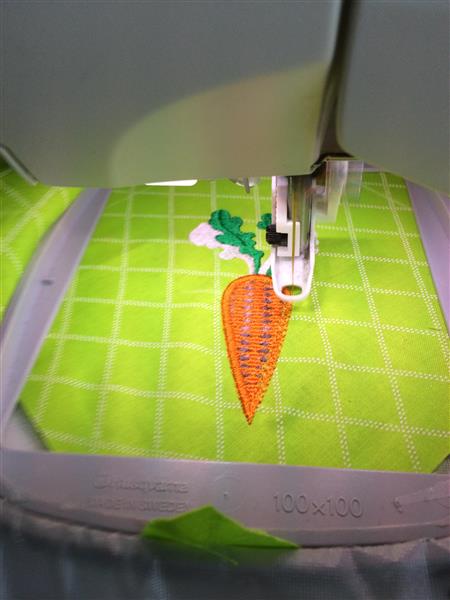
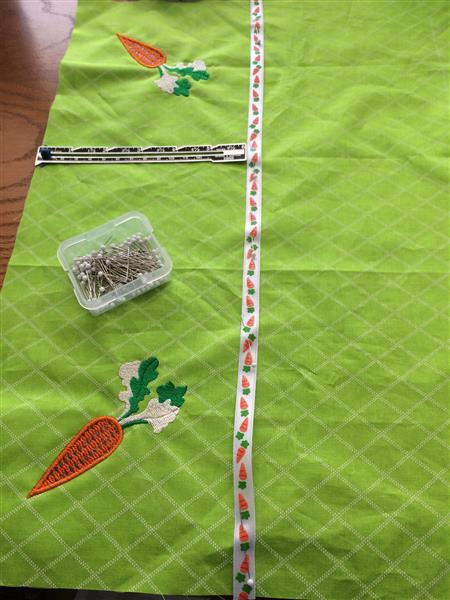
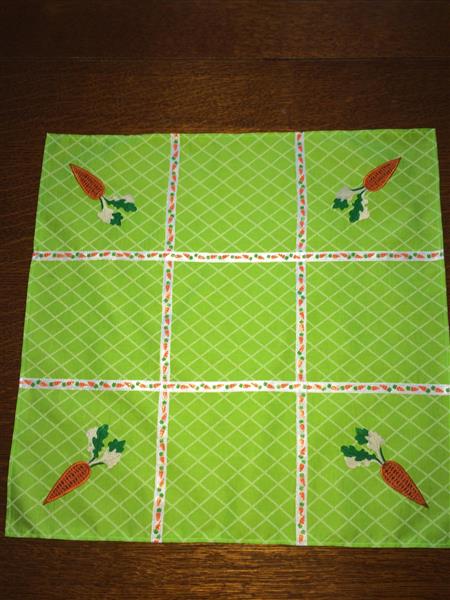
Enhance your Easter decor with this versatile cutwork table topper, perfect for displaying or lining an Easter basket. Its intricate design is sure to add a festive touch to your holiday meals. Step-by-step instructions are included.
Step
of
Materials
Project Preview Video

QUICK VIEW
Colorful Carrot
$8.00
$2.99
Circle Price: $2.84

Cut Away Stabilizer - 2.5 Oz wt.
$8.94
$7.15
Circle Price: $7.15

Cut Away Stabilizer - 2 oz wt.
$8.52
$6.82
Circle Price: $6.82

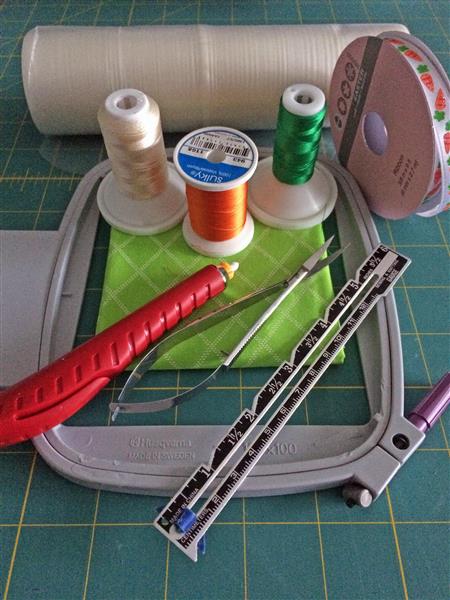
| Materials 1 Pre-washed fat quarter or ½ yard poly/cotton fabric Embroidery thread and embroidery bobbin thread Sewing thread that matches your fat quarter 4” x 4” or 100mm x 100mm embroidery hoop Medium weight disolvable stabilizer Measuring gauge A pair of sharp scissors Fabric chalk Pins 2 yards of decorative 3/8" ribbon |
| Designs used in this project |
| Final Product: What You Will Create |
 |
|
Projects You May Like
Meet the Author:
Sue Gerhardt

I've been sewing and making clothes from the age of 16 and started machine embroidering 8 years ago. I try to keep up with the latest embroidery trends by attending many classes at my local embroidery shop and just started learning how to quilt. I love to embroider on everything!
Feedback
Characters Remaining
Please Login to Submit a Feedback
Invalid Characters, Please enter a valid Comment
Please enter a valid Comment
Reviewed On
Link is Broken, Please check the URL