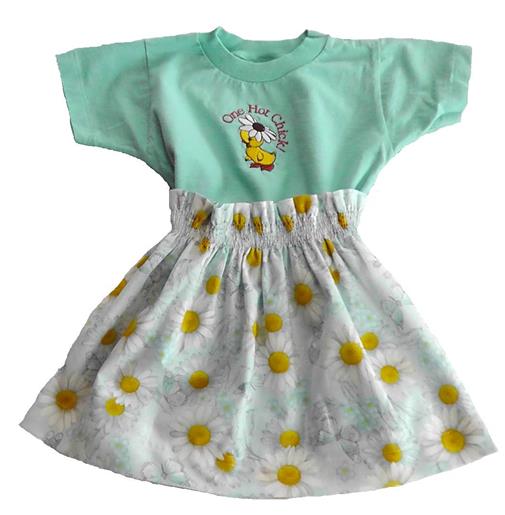
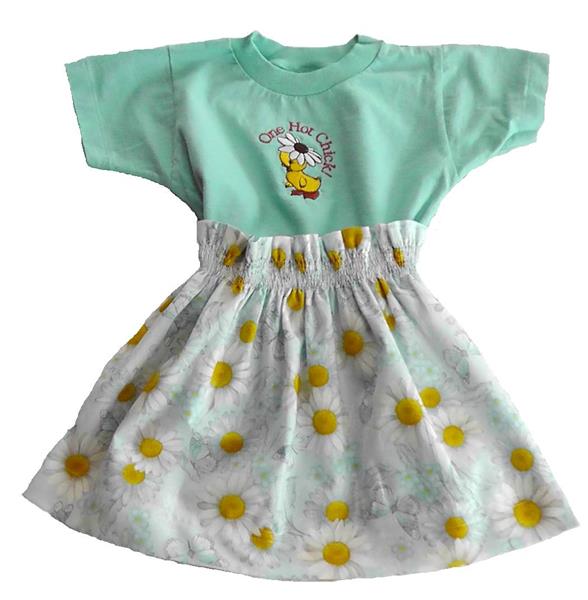
Begin with an embroidered onesie and add a simple skirt with an elastic-thread stitched waistline to create a cute and simple summer outfit for a toddler or use a tee shirt and create an outfit for an older child.
A onesie was used for the project, but a tee shirt will work as well. Choose the size needed and embroider a child’s design. “One Hot Chick” was chosen for the project but there are other great designs from which to choose. Use a light weight cotton fabric for the skirt that will allow nice when the elastic thread is sewn to form the ruffled waistline. An embroidery thread stitched hemline completes the one-seam skirt.
Step 1:
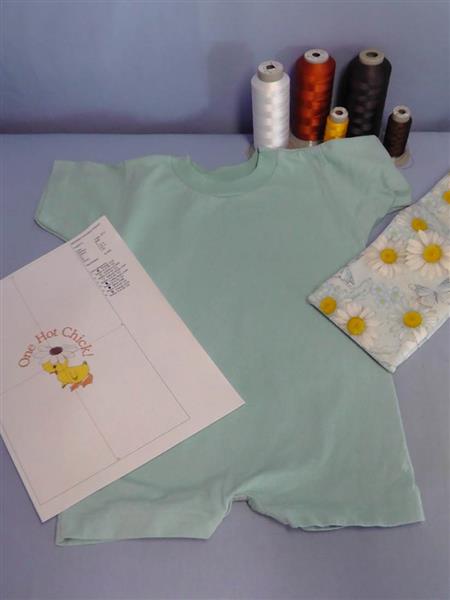
Gather the supplies and read the instructions before beginning. Print a template of the embroidery design.
(Click Image to Enlarge)
Step 2:
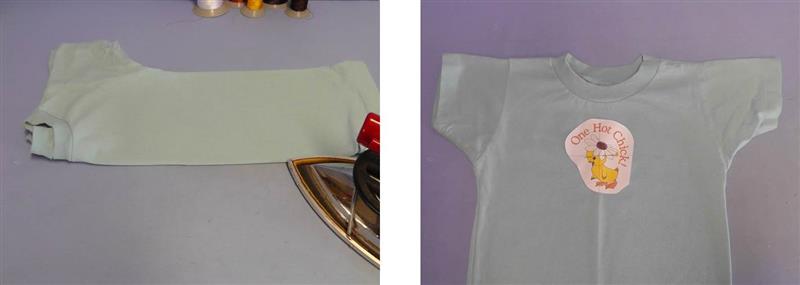
Fold the onesie or tee-shirt in half lengthwise and press in a small crease for the center front. Cut out the paper template of the design and center it along the crease in the desired position on the shirt.
(Click Image to Enlarge)
Step 3:
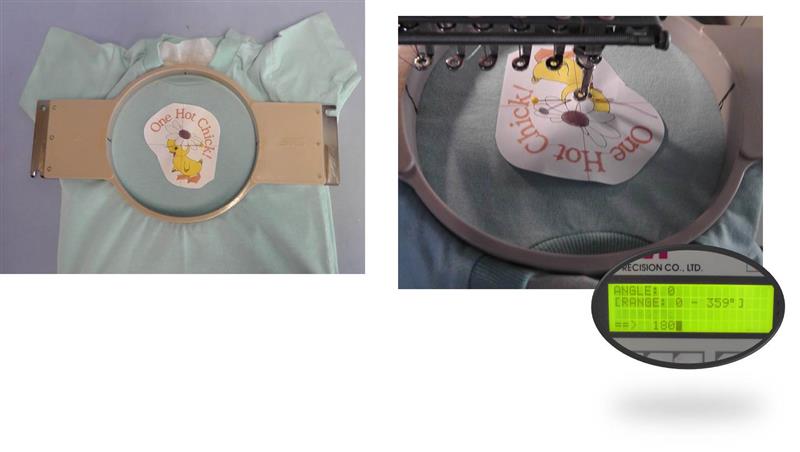
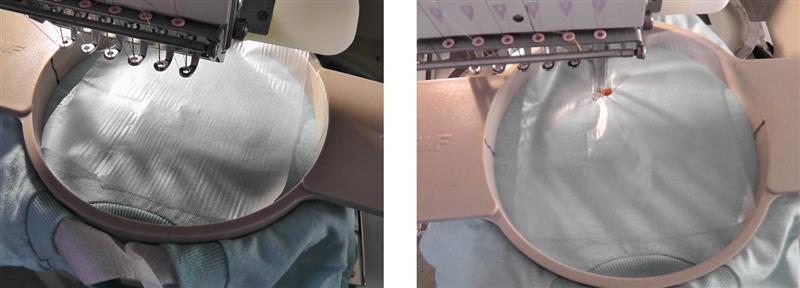
Hoop the shirt with the stabilizer. Align the needle to the center of the design. Depending on the machine, the fabric may have to be hooped upside down to be placed on the machine. If this is done, be sure to rotate the design 180 degrees so it will be stitched in the correct direction on the shirt.
(Click Image to Enlarge)
Step 4:
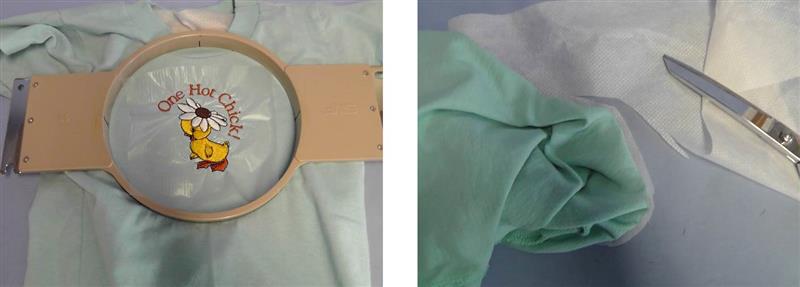
Remove the paper template and place a piece of water soluble topper down. Start the machine to stitch the design following the color sequence.
(Click Image to Enlarge)
Step 5:
After the design is completed, remove the fabric from the hoop and remove the excess stabilizers.
(Click Image to Enlarge)
Step 6:
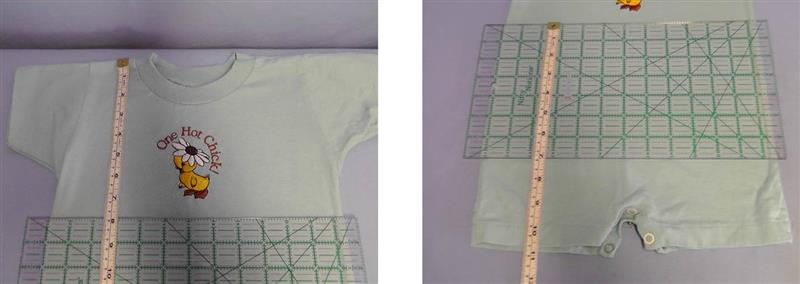
To make the skirt, measurements to cut the fabric are needed. Measure from the shoulder to the waistline and place the edge of a ruler at the waistline of the garment. From the waistline, measure down to determine the finished length of the skirt. To this measurement a fold at the waistline and hem will be added.
(Click Image to Enlarge)
Step 7:
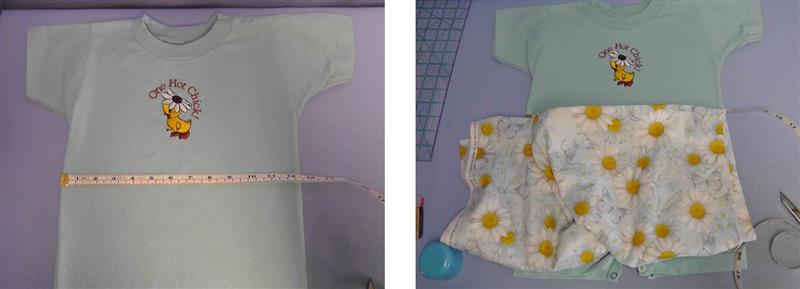
Also measure the width of the onesie or tee shirt. Double this measurement and add the seam allowance for the center back seam. Cut the skirt fabric from the measurements taken. For this skirt, the finished length was 12” plus 1 ½” to fold down at the top for the waistline ruffle and shirring and 2” for a hem so the fabric was cut 15 ½” in length. The width of the onesie was 12 ½” plus ½” for seam allowance to equal 13”. This measurement was doubled (26”) and the fabric cut this measurement for the width. Cut measurement of the skirt was 26” wide by 15 ½” long.
(Click Image to Enlarge)
Step 8:
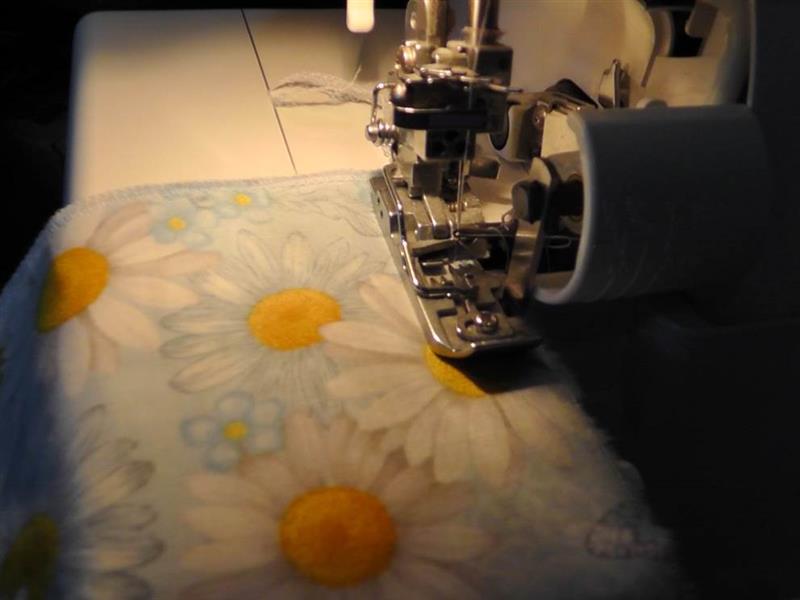
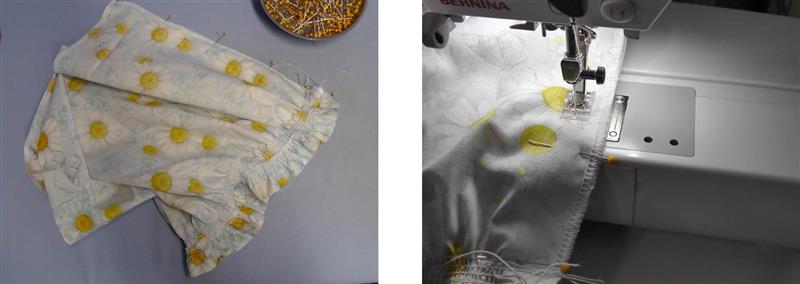
Serge around all the edges of the skirt fabric to clean finish it.
(Click Image to Enlarge)
Step 9:
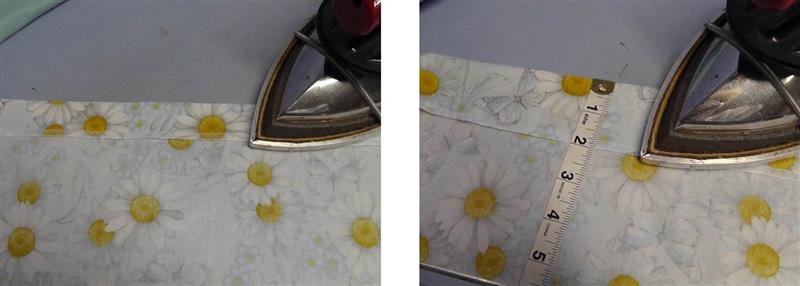
Measure, fold and press down the top edge of the fabric for the waistline shirring and measure, fold and press up the hem.
(Click Image to Enlarge)
Step 10:
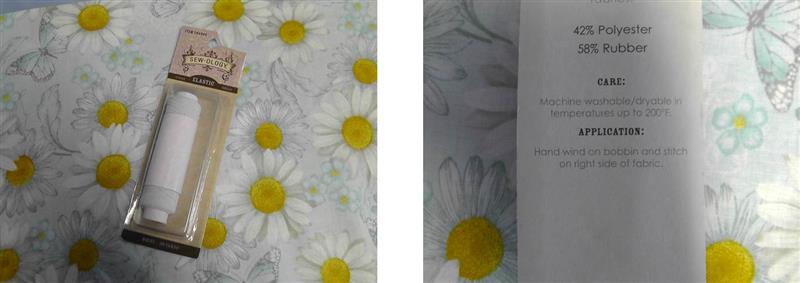
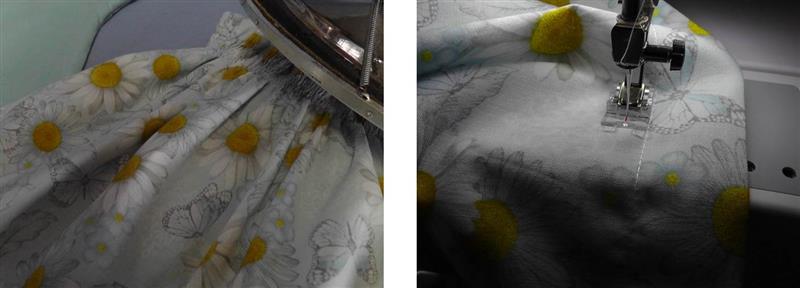
The next step will be to shirr the waistline with rows of stitching using elastic thread. Follow the manufacturer’s directions for winding the bobbin with the thread and stitching rows. Place regular sewing thread (or embroidery thread may be used) on the top.
(Click Image to Enlarge)
Step 11:
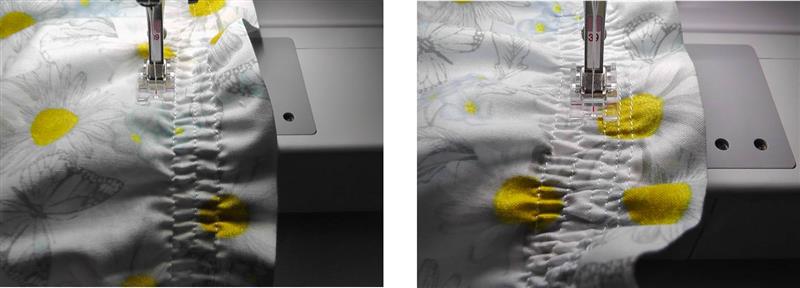
Create rows of stitching first ¼” apart beginning 1” down from the top folded edge at the waistline, then sew another row of stitching between the first rows created. For this 24 month size garment, 7 rows of stitching were created. Your garment may need more rows.
(Click Image to Enlarge)
Step 12:
After the shirring is done, pin the center back seam edges together and stitch, catching the ends of the rows of shirring within the seam allowance to secure the elastic thread.
(Click Image to Enlarge)
Step 13:
Press the seam open then holding an iron over the shirred area, create lots of steam with the iron to shrink the elastic to create the shirring. Top stitch the hem in place using two rows of stitching (use regular sewing thread or embroidery thread for the topstitching from the right side.)
(Click Image to Enlarge)
Step 14:
Congratulations on creating this simple summer outfit. The shirred waistline will hold the skirt in place and be comfortable for the child to wear.
Ramona Baird has been in the embroidery industry for over 23 years. She and her husband owned a commercial and retail embroidery store in Arizona for many years. She is an experienced digitizer having been mentored by award-winners Pat Williams and Lindee Goodall. Ramona is a contributor to “Creative Machine Embroidery” magazine having 5 covers to her credit. Ramona has worked for Wilcom America and served many years as Education Director for the American Sewing Guild. With a degree in fashion design, she is able to design and execute patterns which Pat Williams says are “out of the box” in creativity and application. Ramona likes to challenge the boundaries of embroidery and bring new and exciting designs, ideas, and projects to EmbroideryDesigns.com. She wants embroiderers of all levels to increase their skills and enjoyment in using their embroidery machine for gift-making and personal pleasure.